了不起的nodejs算是一本不错的入门书,不过书中个别案例存在bug,按照书中源码无法做出和书中相同效果,原本兴奋的心情掺杂着些许失落。
现在我们看一下第七章HTTP,一个Twitter Web客户端的例子。
先贴上书中源码
1.创建server.js

1 var qs = require('querystring');
2 require('http').createServer(function(req,res){
3 var body ="";
4 req.on('data',function(chunk){
5 body += chunk;
6 });
7 req.on('end',function(){
8 res.writeHead(200);
9 res.end('Done');
10 console.log('
got name �33[90m' + qs.parse(body).name + '�33[39m
');
11
12 });
13 }).listen(3000);
2.创建client.js
1 var http = require('http'),
2 qs = require('querystring');
3
4 function send (theName){
5 http.request({
6 host: '127.0.0.1',
7 port: 3000,
8 url: '/',
9 method:'POST'
10 },function(res){
11 res.setEncoding('utf8');
12 res.on('end',function(){
13 console.log('
�33[90m request complete!�33[39m' );
14 process.stdout.write('
your name: ');
15 });
16 }).end(qs.stringify({name: theName}));
17 }
18
19 process.stdout.write('
your name: ');
20 process.stdin.resume();
21 process.stdin.setEncoding('utf8');
22 process.stdin.on('data',function(name){
23 send(name.replace('
', ''));
24 })
很遗憾,最后出来的结果是这样子
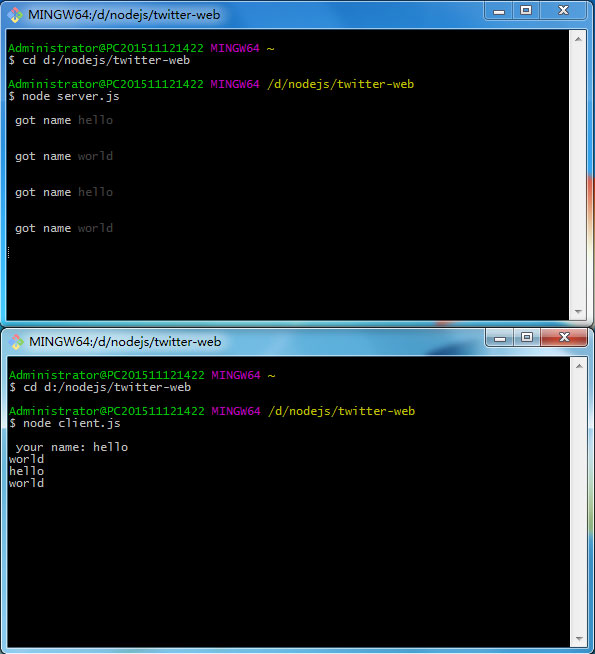
效果非常不理想
问题出在哪里呢,和源码一样啊?
哈哈,其实只需要将 client.js 中发送用户名的回调函数修改一下就可以了。
1 var http = require('http'),
2 qs = require('querystring');
3
4 function send (theName){
5 http.request({
6 host: '127.0.0.1',
7 port: 3000,
8 url: '/',
9 method:'POST'
10 },function(){
11 // res.setEncoding('utf8');
12 // res.on('end',function(){
13 console.log('
�33[90m request complete!�33[39m' );
14 process.stdout.write('
your name: ');
15 // });
16 }).end(qs.stringify({name: theName}));
17 }
18
19 process.stdout.write('
your name: ');
20 process.stdin.resume();
21 process.stdin.setEncoding('utf8');
22 process.stdin.on('data',function(name){
23 send(name.replace('
', ''));
24 })
最终结果就是这样子
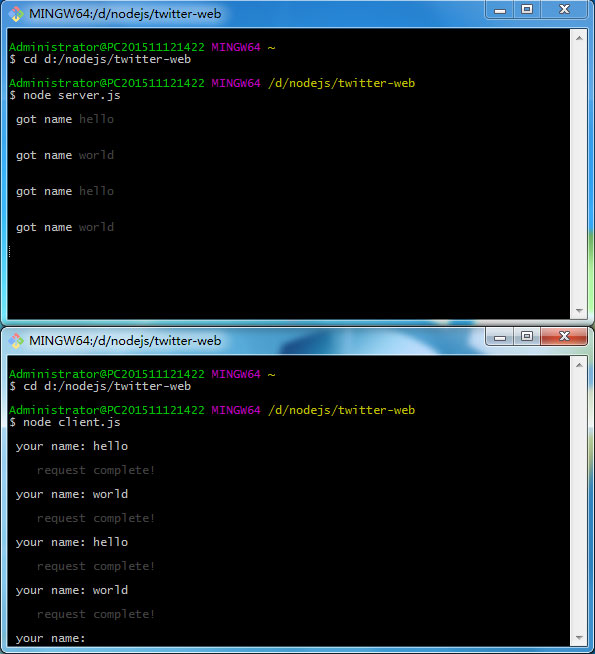
是不是很酷,虽然是一个很简单的小例子,不过对于初学者来说还是很有成就感的!