语言本身
ethereum官网 https://ethereum.org/zh/
笔记
| [类型] | [只能被__调用] |
private |
合约内部 |
internal |
合约内部/继承的合约 |
external |
合约外部 |
public |
任何 |
function test(n个参数) external view onlyOwner anotherModifier { /* ... */ }
参数可为 被调用函数的参数
payable 可支付,可接受ether 以太
官网文档
中文(更新很慢) https://solidity-cn.readthedocs.io/zh/latest/
英文 (最新进度) https://solidity.readthedocs.io/en/latest/
附上环境部分使用说明
注意:NPM安装路径默认是当前目录,修改参见 npm修改全局包安装路径
记得将全局模块目录加入PATH
REMIX-IDE
如果需要python2/3共存,只需要用改名法,具体如下

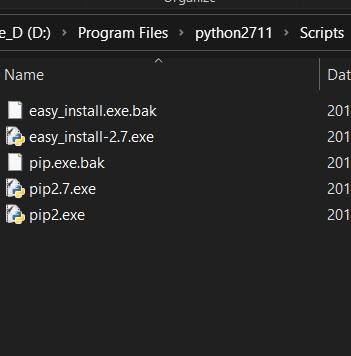
在重新打开命令行即可使得变量生效
记得使用 npm install remix-ide -g --python=python2 指定python2.exe
https://github.com/ethereum/remix-ide
VS2017安装solidity插件
|
FWIW If you have VS community 2017 then 1-Open the extension using something like 7zip or winzip,
2-Edit the file 'extension.vsixmanifest' simply replacing three ')' with ']'
3-Save it and it appears to work.
4-Double click the extension and it installs (though it does give a warning which you can ignore). 5-You can then do a new Solidity project and compile it.
By shaun pryszlak 2018/12/3
|
也就是以压缩包形式打开,编辑压缩包里的extension.vsixmanifest,搜索')'替换为']',然后保存压缩包,双击安装即可
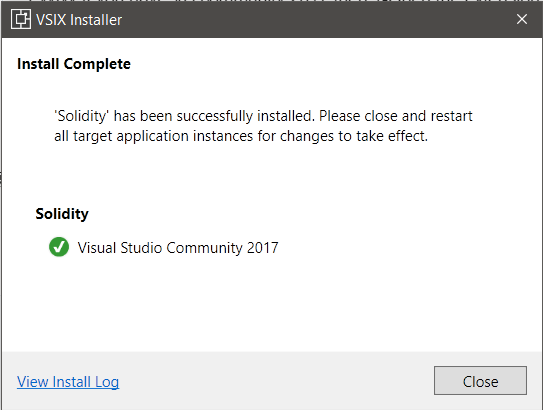
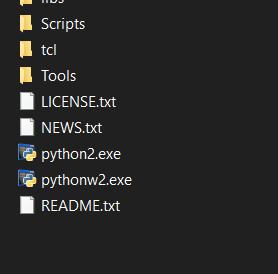
然后新建Solidity项目并查看项目里的 README.html 部署环境并操作
如果npm安装失败,查看日志发现是网络问题,请 设置 npm 源为淘宝镜像
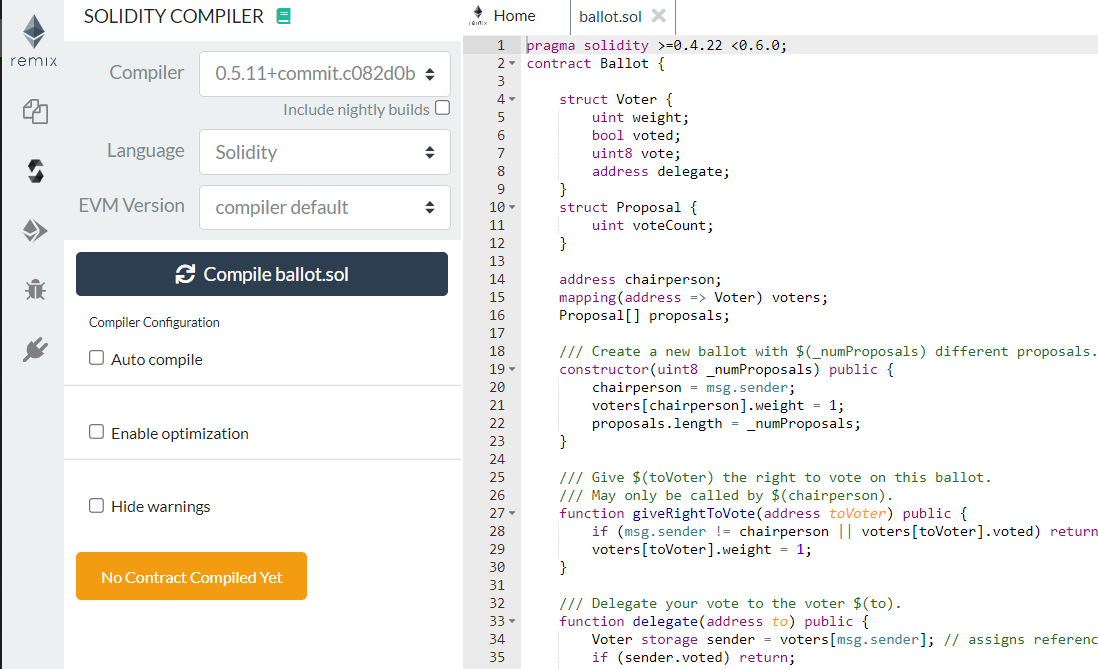
Remix 在线IDE(新版)使用教程
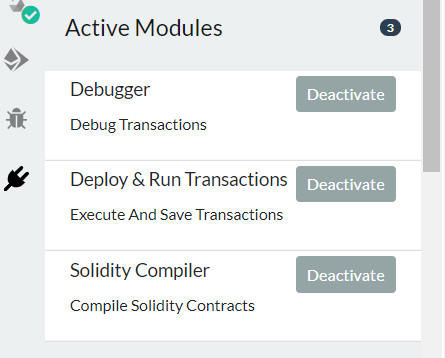
先激活3个基本插件
Debugger Debug
Deploy & Run Transactions
Solidity Compiler
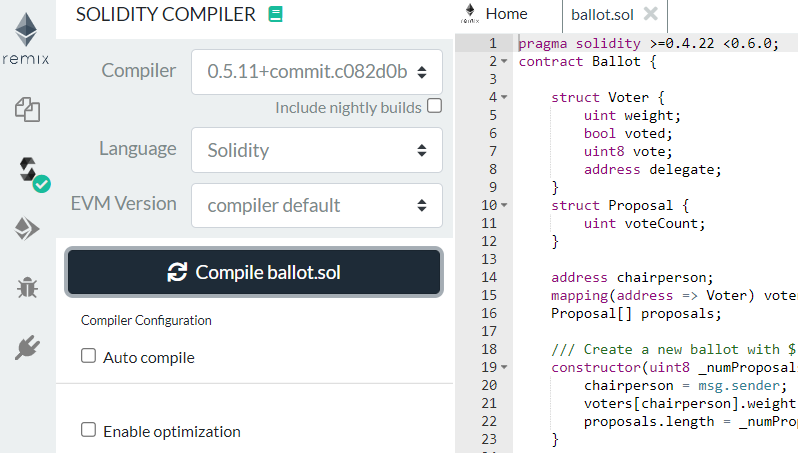
1. 编译当前打开的合约
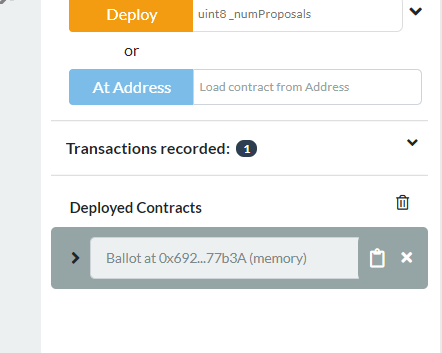
2. 部署
选择合约sol文件并点击黄色的Deploy按钮 (
Deploy会调用构造函数
我这里不传入参数,表示调用无参构造方法
当然也可以传入一个uint8值调用构造函数 constructor(uint8 _numProposals)
)

部署成功如下图
点击展开,

填入参数(如我这里填4)并点击前面的按钮即可调用对应的函数(如我的vote函数)
运行结果在控制台可见

基本使用就是这样,更多请自己探究,调试功能是支持的