 1 # -*- coding: utf-8 -*-
 2 """
 3 Created on Fri Nov 16 13:35:33 2018
 4
 5 @author: zhen
 6 """
 7 import urllib
 8 import urllib.request
 9 from bs4 import BeautifulSoup
10
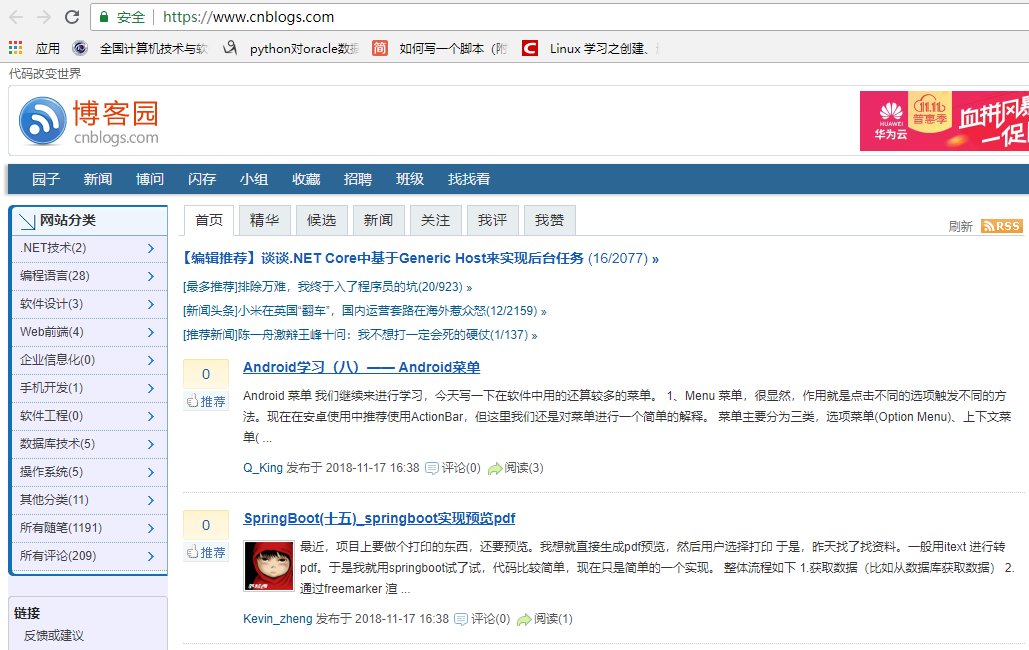
11 # 设置目标rootUrl,使用urllib.request.Request创建请求
12 rootUrl = "https://www.cnblogs.com/"
13 request = urllib.request.Request(rootUrl)
14
15 header = "Mozilla/5.0 (Windows NT 6.1; Win64; x64) AppleWebKit/537.36 (KHTML, like Gecko) Chrome/59.0.3071.115 Safari/537.36"
16 # 使用add_header设置请求头,将代码伪装成浏览器
17 request.add_header("User-Agent", header)
18
19 # 使用urllib.request.urlopen打开页面,使用read方法保存html代码
20 htmlUrl = urllib.request.urlopen(request).read()
21
22 # 使用BeautifulSoup创建html代码的BeautifulSoup实例,存为beautifulSoup
23 beautifulSoup = BeautifulSoup(htmlUrl)
24
25 # 获取尾页(对照前一小节获取尾页的内容看你就明白了)
26 total_page = int(beautifulSoup.find("div",class_= "pager").findAll("a")[-2].get_text())
27
28 list_item = beautifulSoup.findAll("a",class_="titlelnk")
29 for i in list_item: # 遍历所有的内容
30     href = i["href"] # 获取对应的href
31     req = urllib.request.Request(href)
32     req.add_header("User-Agent", header)
33     html = urllib.request.urlopen(req).read()
34     soup = BeautifulSoup(html)
35     # 获取标题
36     titleContent = soup.find("a", id="cb_post_title_url")
37     if titleContent is not None: # 判读是否为空
38         title = titleContent.get_text()
39         # 获取内容
40         content = soup.find("div").get_text().strip()
41         print(title, "
=====================================
", content[1:100])

爬虫结果:

