喜马拉雅
网页分析
|
1
2
3
4
5
6
7
8
|
- 打开我们要爬取的音乐专辑https://www.ximalaya.com/ertong/424529/- F12打开开发者工具- 点击XHR 随便点击一首歌曲会看到存储所有歌曲的地址【json格式】- 正常情况下我们直接用requests请求上面的地址就可以直接获取歌曲的所有信息<br>- 我们拿着上面获取的地址向浏览器发起请求,发现没有返回任何信息- 我们查看请求头中的信息发现有一个xm-sign参数,值为加密后的字符串,就是这个参数使我们获取不到数据- 31a0dbb5916dfe85d62d8fa5988efc43(36)1563537528652(26)1563537531252- 后面的时间戳为服务器时间戳和系统当前时间戳,计算过期时间- 我们分析出xm-sign参数的加密规则,每次请求都在headers加上我们自己生成的xm-sign参数即可 |
加密方式:
ximalaya-时间戳(sha1加密) + (100以内随机生成一个数) + 服务器时间 + (100以内随机生成一个数) + 系统当前时间

校验方式:
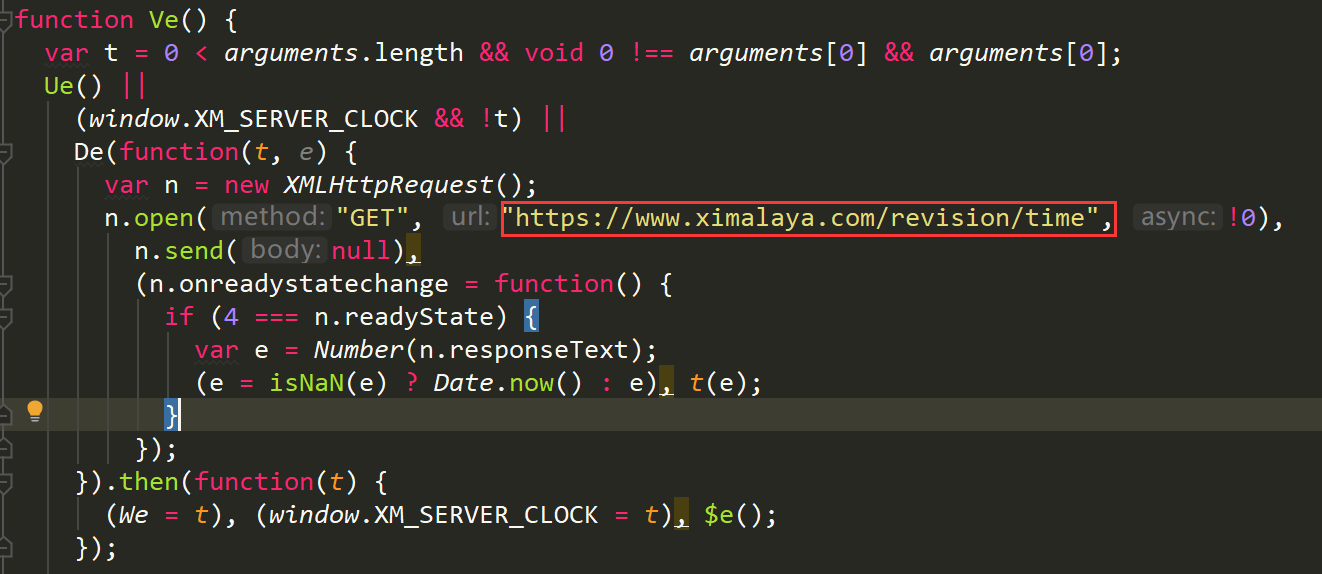
ximalaya-时间戳(sha1加密) + 服务器时间
获取地址

请求地址

告诉我们没有标志,此时感觉我们在请求时少了点参数,去查看请求头
查看请求头

后端逻辑代码
|
1
2
3
4
5
|
- 下载安装node.js https://nodejs.org/en/download/ 安装方式:<a href="https://blog.csdn.net/cai454692590/article/details/86093297">https://blog.csdn.net/cai454692590/article/details/86093297</a>- 获取服务器时间戳- 调用js代码中的函数生成xm-sign参数- 在headrs中加上生成的xm-sign参数像浏览器发起请求- 获取数据进行持久化 |
js代码需要改的
目标地址:

加密方式:

代码实现
安装pyexecjs模块
|
1
|
pip install pyexecjs |

# -*- coding: utf-8 -*-
# @Time    : 2019/7/19 19:05
import requests
import os
import re
from bs4 import BeautifulSoup
import lxml
import json
import execjs   # 操作js代码的库

headers = {
    'User-Agent': 'Mozilla/5.0 (Windows NT 10.0; Win64; x64) AppleWebKit/537.36 (KHTML, like Gecko) Chrome/74.0.3729.131 Safari/537.36',
    'Accept': 'text/html,application/xhtml+ xml,application/xml;q = 0.9,image/webp,image/apng,*/*;q=0.8, application/signe-exchange;v = b3',
    'Host': 'www.ximalaya.com'
}

'''爬取喜马拉雅服务器系统时间戳,用于生成xm-sign'''
def getxmtime():
    url="https://www.ximalaya.com/revision/time"
    response = requests.get(url, headers=headers)
    html = response.text
    return html

'''利用xmSign.js生成xm-sign'''
def exec_js():
    #获取喜马拉雅系统时间戳
    time = getxmtime()

    #读取同一路径下的js文件
    with open('xmSign.js',"r",encoding='utf-8') as f:
        js = f.read()

    # 通过compile命令转成一个js对象
    docjs = execjs.compile(js)
    # 调用js的function生成sign
    res = docjs.call('python',time)
    return res

"""获取专辑一共有多少页"""
def getPage():
    url = "https://www.ximalaya.com/ertong/424529/"
    html = requests.get(url,headers=headers).text
    # 创建BeautifulSoup对象
    suop = BeautifulSoup(html,'lxml')  # 实例化对象,使用lxml进行解析
    # 根据属性获取 最大页码
    max_page = suop.find("input",placeholder="请输入页码").attrs["max"]
    return max_page


response_list = []
"""请求歌曲源地址"""
def gethtml():
    # 调用exec_js函数生成xm-sign
    xm_sign = exec_js()
    # 将生成的xm-sign添加到请求投中
    headers["xm-sign"] = xm_sign
    max_page = getPage()
    for page in range(1,int(max_page)+1):
        url = "https://www.ximalaya.com/revision/play/album?albumId=424529&pageNum={}&sort=1&pageSize=30".format(page)
        # 下载
        response= requests.get(url,headers=headers).text
        response = json.loads(response)
        response_list.append(response)

"""数据持久化"""
def write_data():
    # 请求歌曲地址拿到响应数据json
    gethtml()
    for res in response_list:
        data_list = res["data"]["tracksAudioPlay"]
        for data in data_list:
            trackName = data["trackName"] # 歌名
            trackCoverPath = data["trackCoverPath"] # 封面地址
            music_path = data["src"] # url
            print(trackName,trackCoverPath,music_path)
write_data()

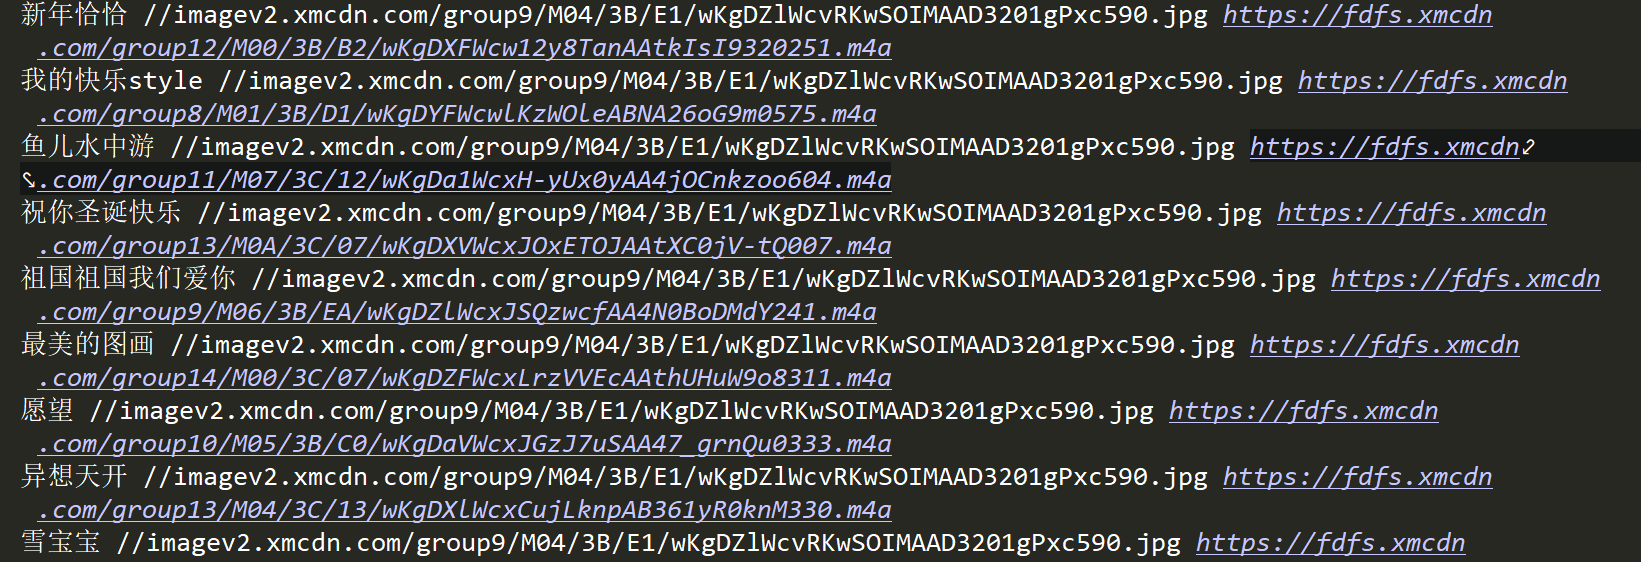
下载音频

