一、代理
正向代理
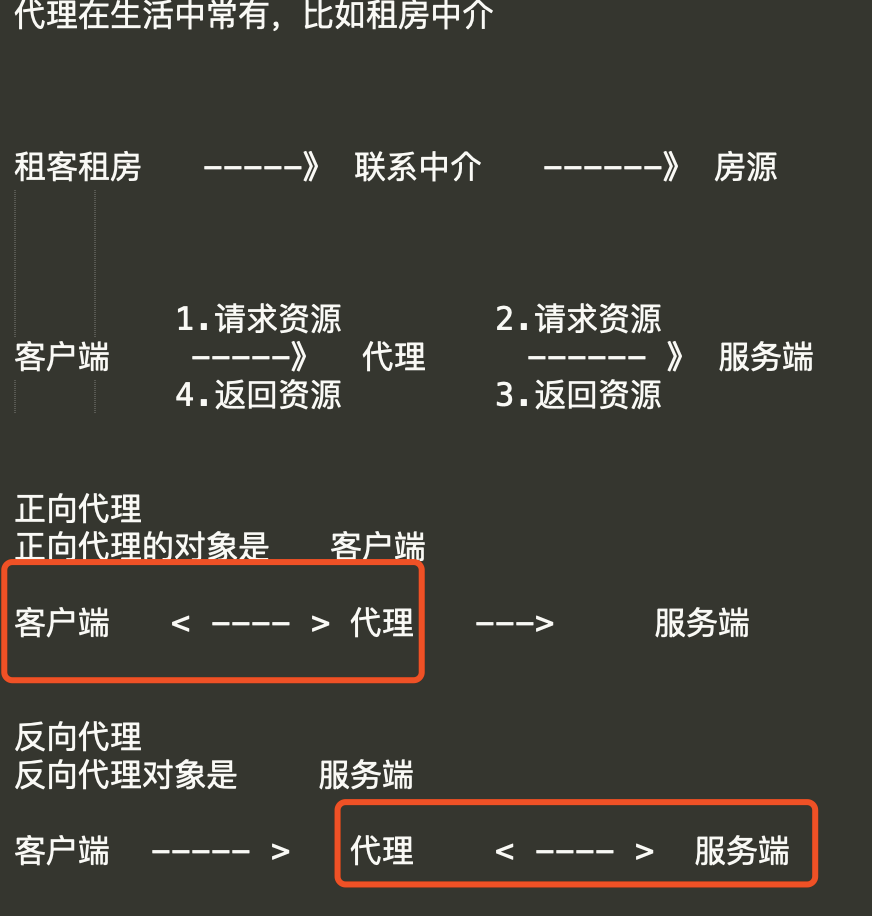
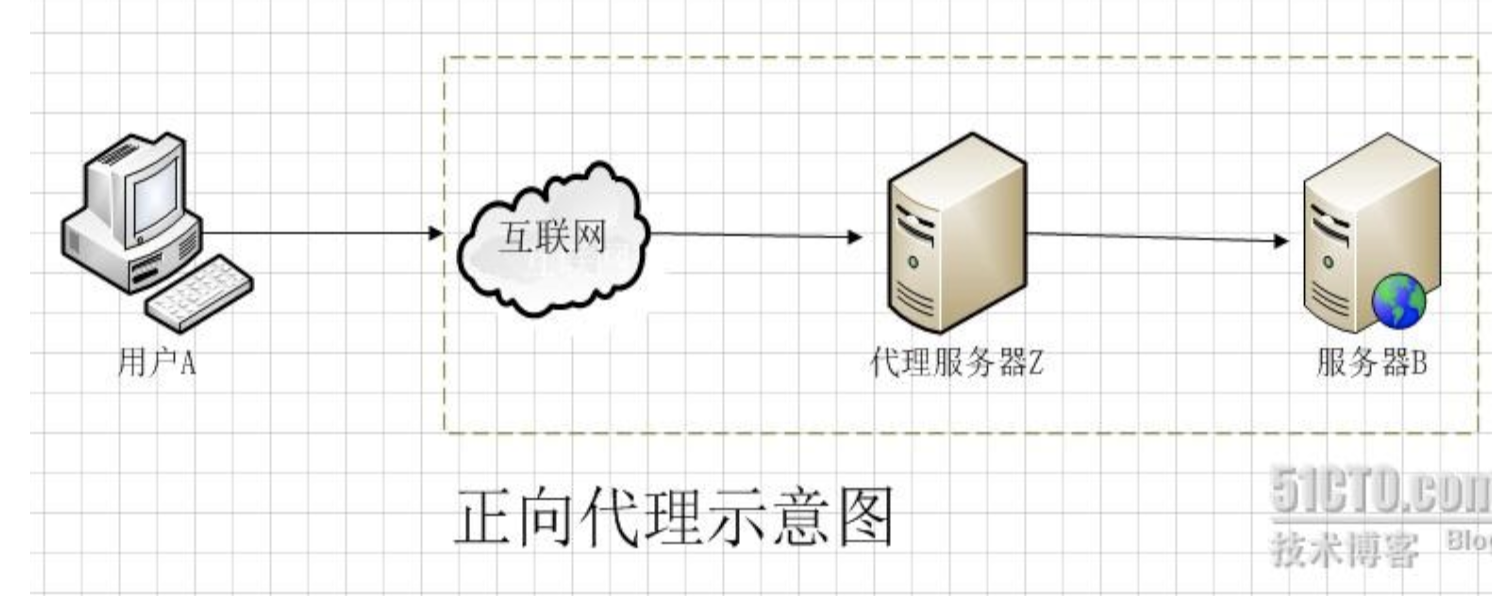
正向代理,也就是传说中的代理,他的工作原理就像一个跳板(VPN),简单的说:
我是一个用户,我访问不了某网站,但是我能访问一个代理服务器,这个代理服务器呢,他能访问那个我不能访问的网站,于是我先连上代理服务器,告诉他我需要那个无法访问网站的内容,代理服务器去取回来,然后返回给我。
反向代理
对于客户端而言,代理服务器就像是原始服务器。

实现一个反向代理
同过一个中间服务器来接受请求,并去实际的服务器中取数据,文件,返回。
准备两个服务器,这里我准备的两个虚拟机服务器。
主负载均衡节点的配置文件
主负载的nginx是通过yum直接安装的,修改默认的配置文件/etc/nginx/nginx.conf

web1服务器是我们的主要数据提供服务器,也就是我们通过yum安装的tengine,提供了访问请求的页面数据展示。
这里我的具体的配置前面博客写过,在/opt/tengine231/conf/nginx.conf中里面。web1的ip地址是192.168.16.122.
配置好了后可以通过访问192.168.16.61代理服务器,代理会把请求转发给服务器192.168.122,获取页面返回展示。
二、location语法详解
1、location语法的优先级
匹配符 匹配规则 优先级
=    精确匹配    1
^~    以某个字符串开头    2
~    区分大小写的正则匹配    3
~*    不区分大小写的正则匹配    4
!~    区分大小写不匹配的正则    5
!~*    不区分大小写不匹配的正则    6
/    通用匹配,任何请求都会匹配到    7
2、nginx.conf配置文件示例
server {
listen 80;
server_name pythonav.cn;
#优先级1,精确匹配,根路径
location =/ {
return 400;
}
#优先级2,以某个字符串开头,以av开头的,优先匹配这里,区分大小写
location ^~ /av {
root /data/av/;
}
#优先级3,区分大小写的正则匹配,匹配/media*****路径
location ~ /media {
alias /data/static/;
}
#优先级4 ,不区分大小写的正则匹配,所有的****.jpg|gif|png 都走这里
location ~* .*.(jpg|gif|png|js|css)$ {
root /data/av/;
}
#优先7,通用匹配
location / {
return 403;
}
}
3、root和alias区别
root与alias主要区别在于nginx如何解释location后面的url,这会使两者分别以不同的方式将请求映射到服务器文件上。
-
root的处理结果:root路径+location路径
-
alias的处理结果:使用alias路径替换location路径
alias是一个目录别名的定义,root则是最上层目录的定义。还有就是alias后面必须要用"/"结束,否则找不到文件,而root则可有可无。
root方法
语法  root  路径;
默认值 root   html;
配置块  http{}   server {}   location{}
alias方法
语法: alias  路径
配置块  location{}
root示例
root实例1:
location ^~ /av {
root /data/av; 注意这里可有可无结尾的 /
}
# 请求url是pythonav.cn/av/index.html时
web服务器会返回服务器上的/data/av/av/index.html
root实例2:
location ~* .*.(jpg|gif|png|js|css)$ {
root /data/av/;
}
# 请求url是pythonav.cn/girl.gif时
web服务器会返回服务器上的/data/static/girl.gif
alias示例
alias参数是使用alias路径替换location路径
alias是一个目录的别名
注意alias必须有 "/" 结束!
alias只能位于location块中
请求url是pythonav.cn/av/index.html时
web服务器会返回服务器上的/data/static/index.html
location ^~ /av {
alias /data/static/;
}
三、nginx负载均衡
概述:
Web服务器,直接面向用户,往往要承载大量并发请求,单台服务器难以负荷,我使用多台WEB服务器组成集群,前端使用Nginx负载均衡,将请求分散的打到我们的后端服务器集群中,
实现负载的分发。那么会大大提升系统的吞吐率、请求性能、高容灾

Nginx要实现负载均衡需要用到proxy_pass代理模块配置
Nginx负载均衡与Nginx代理不同地方在于
Nginx代理仅代理一台服务器,而Nginx负载均衡则是将客户端请求代理转发至一组upstream虚拟服务池
Nginx可以配置代理多台服务器,当一台服务器宕机之后,仍能保持系统可用。
upstream配置
在nginx.conf > http 区域中
upstream django {
       server 10.0.0.10:8000;
       server 10.0.0.11:9000;
}
在nginx.conf > http 区域 > server区域 > location配置中
添加proxy_pass
location / {
            root   html;
            index  index.html index.htm;
            proxy_pass http://django;
}
此时初步负载均衡已经完成,upstream默认按照轮训方式负载,每个请求按时间顺序逐一分配到后端节点。
upstream分配策略
weight 权重
upstream django {
       server 10.0.0.10:8000 weight=5;
       server 10.0.0.11:9000 weight=10;#这个节点访问比率是大于8000的
}
ip_hash
每个请求按访问ip的hash结果分配,这样每个访客固定访问一个后端服务器
upstream django {
    ip_hash;
       server 10.0.0.10:8000;
       server 10.0.0.11:9000;
}
backup
在非backup机器繁忙或者宕机时,请求backup机器,因此机器默认压力最小
upstream django {
       server 10.0.0.10:8000 weight=5;
       server 10.0.0.11:9000;
       server node.oldboy.com:8080 backup;
}
负载均衡实验环境规划
角色            ip                    主机名
lb01        192.168.119.10        lb01
web01        192.168.119.11        web01
web02        192.168.119.12        web02
关闭防火墙
iptables -F
sed  -i 's/enforcing/disabled/' /etc/selinux/config

systemctl stop firewalld
systemctl disable firewalld
web01服务器配置nginx,创建index.html
server {
listen 80;
server_name 192.168.119.11;
location / {
root /node;
index index.html index.htm;
}
}
mkdir /node
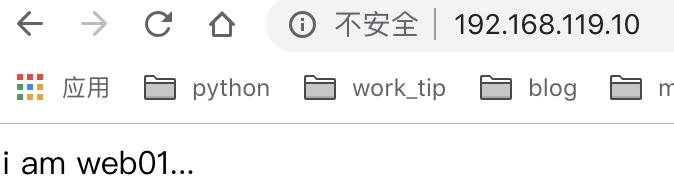
echo 'i am web01' > /node/index.html
#启动NGINX
./sbgin/nginx
web02服务器配置nginx,创建index.html
server {
listen 80;
server_name 192.168.119.12;
location / {
root /node;
index index.html index.htm;
}
mkdir /node
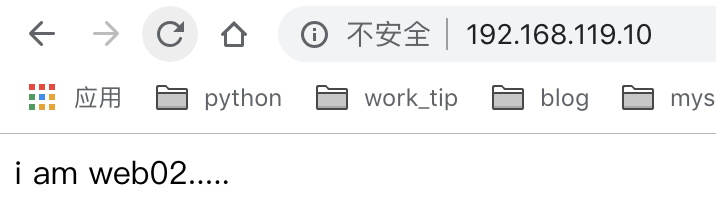
echo 'i am web02...' > /node/index.html
#启动nginx
./sbing/nginx
配置lb01服务器的nginx负载均衡
1.检查lb01的 nginx.conf
http {
    include       mime.types;
    default_type  application/octet-stream;
    sendfile        on;
    keepalive_timeout  65;
    upstream node {
      server 192.168.119.11:80;
      server 192.168.119.12:80;
}
    server {
        listen       80;
        server_name 192.168.119.10;
        location / {
          proxy_pass http://node;
          include proxy_params;  #需要手动创建
        }
    }
}
2.手动创建proxy_params文件,文件中存放代理的请求头相关参数
[root@lb01 conf]# cat /opt/nginx/conf/proxy_params
proxy_set_header Host $http_host;
proxy_set_header X-Real-IP $remote_addr;
proxy_set_header X-Forwarded-For $proxy_add_x_forwarded_for;

proxy_connect_timeout 30;
proxy_send_timeout 60;
proxy_read_timeout 60;

proxy_buffering on;
proxy_buffer_size 32k;
proxy_buffers 4 128k;
启动lb01负载均衡nginx服务

./sbin/nginx
访问lb01节点nginx,反复刷新
负载均衡调度算法
调度算法      概述
轮询        按时间顺序逐一分配到不同的后端服务器(默认)
weight       加权轮询,weight值越大,分配到的访问几率越高
ip_hash      每个请求按访问IP的hash结果分配,这样来自同一IP的固定访问一个后端服务器
url_hash      按照访问URL的hash结果来分配请求,是每个URL定向到同一个后端服务器
least_conn    最少链接数,那个机器链接数少就分发
1.轮询(不做配置,默认轮询)
2.weight权重(优先级)
3.ip_hash配置,根据客户端ip哈希分配,不能和weight一起用