云原生时代如何用 Prometheus 实现性能压测可观测-Metrics 篇


可观测性包括 Metrics、Traces、Logs3 个维度。可观测能力帮助我们在复杂的分布式系统中快速排查、定位问题,是分布式系统中必不可少的运维工具。
在性能压测领域中,可观测能力更为重要,除了有助于定位性能问题,其中Metrics性能指标更直接决定了压测是否通过,对系统上线有决定性左右,具体如下:
- Metrics,监控指标
- 系统性能指标,包括请求成功率、系统吞吐量、响应时长
- 资源性能指标,衡量系统软硬件资源使用情况,配合系统性能指标,观察系统资源水位
- Logs,日志
- 施压引擎日志,观察施压引擎是否健康,压测脚本执行是否有报错
- 采样日志,采样记录 API 的请求和响应详情,辅助排查压测过程中的一些出错请求的参数是否正常,并通过响应详情,查看完整的错误信息
- Traces,分布式链路追踪用于性能问题诊断阶段,通过追踪请求在系统中的调用链路,定位报错 API 的报错系统和报错堆栈,快速定位性能问题点
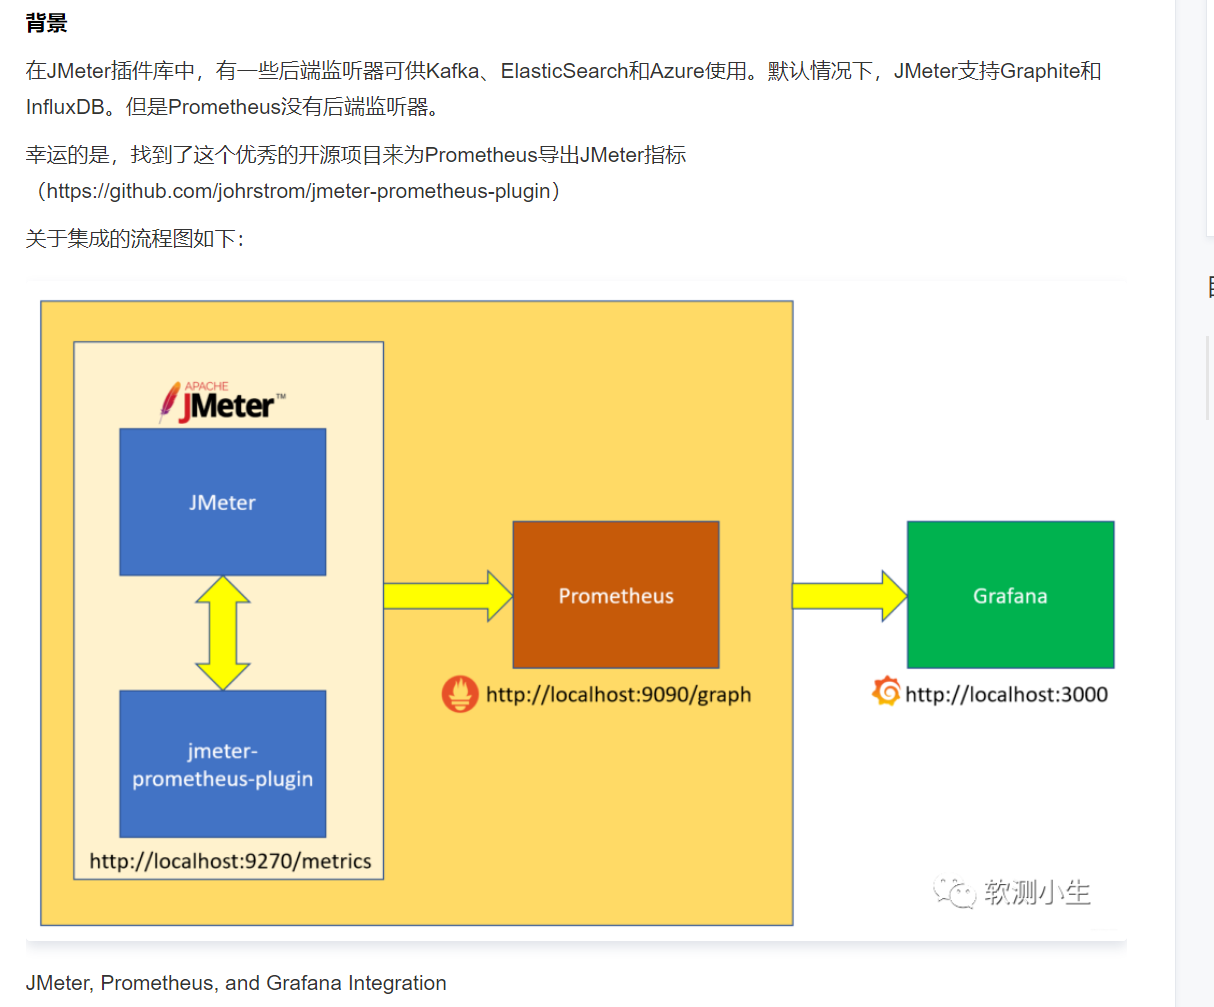
jmeter+Prometheus+Grafana集成
在JMeter插件库中,有一些后端监听器可供Kafka、ElasticSearch和Azure使用。默认情况下,Jmeter支持Graphite和InfluxDB。但是Prometheus没有后端监听器。
幸运的是,找到了这个优秀的开源项目来为Prometheus导出JMeter指标
(https://github.com/johrstrom/jmeter-prometheus-plugin)
下载 https://github.com/johrstrom/jmeter-prometheus-plugin 的jar文件,然后将其放在/lib/ext中,重启Jmeter就可以了
这个JMeter插件是高度可配置的监听器(和配置元素),允许用户定义自己的度量(名称、类型等),并通过Prometheus/metrics API将它们公开给Prometheus服务器。
简易理解:Jmeter插件,Jmeter配置jar插件后运行默认启动端口9270,访问 ip:9270 网站可查阅Jmeter性能测试数据,数据供Prometheus读取数据后以数据库可视化形式展示
jmeter 插件默认的端口监听IP是127.0.0.1用docker安装的prometheus是无法获取到数据的,需要在jmeter.properties里加个配置prometheus.ip=0.0.0.0
通过在JMeter中创建一个简单的脚本来验证安装,然后右击 线程组 > 添加 > 监听器 > Prometheus Listener

右键点击 线程组 > 添加 > 配置元件> Prometheus Metrics
运行JMeter测试,用几个线程配置你的线程组,并点击无限循环运行。
插件会默认帮你在本地创建一个端口为9270的服务,你访问网址:http://localhost:9270/metrics就会看到如下内容:
点击jmeter开始测试按钮,访问http://localhost:9270/metrics地址
- 安装好这个插件之后,需要增加一个 Listener,然后配置各种导出字段和参数,可以参考这个 jmx 文件的配置:https://github.com/johrstrom/jmeter-prometheus-plugin/blob/master/docs/examples/simple_prometheus_example.jmx,可以把这个 jmx 打开,然后把 Listener 拷贝到你的 Test Plan 即可。
- jmeter-prometheus-plugin 这个插件会把 JMeter 变成一个 Data Exporter,而不是通过 Prometheus Push Gateway 来主动推送监控信息,所以它会在本地启动一个端口,默认是 9270。
Prometheus 用的是docker,所以我必须让jmeter 用ip地址,而不是127.0.0.1访问
我输入:http://192.168.31.204:9270/metrics
提示总是失败。说明jmeter的prometheus插件没有bind到这个ip.只是bind localhost。
官方文档有说明:
https://github.com/johrstrom/jmeter-prometheus-plugin
Properties you can override
To overrider properties, add the Properties in the jmeter.properties file (JMETER_HOME/bin folder) and restart Jmeter to take effect
| Property | default | description |
|---|---|---|
| prometheus.port | 9270 | The port the http server will bind to |
| prometheus.ip | 127.0.0.1 | The ip the http server will bind to. Containers may need 0.0.0.0 |
| prometheus.delay | 0 | The delay (in seconds) the http server will wait before being destroyed |
| prometheus.save.threads | true | True or false value to save and collect jmeter thread metrics |
| prometheus.save.threads.name | jmeter_threads | The name of the metric describing jmeter threads |
| prometheus.save.jvm | true | Collect metrics from the JVM |
于是我修改 jmeter.properties,增加 prometheus.ip =0.0.0.0
然后再访问http://192.168.31.204:9270/metrics 就可以访问了。
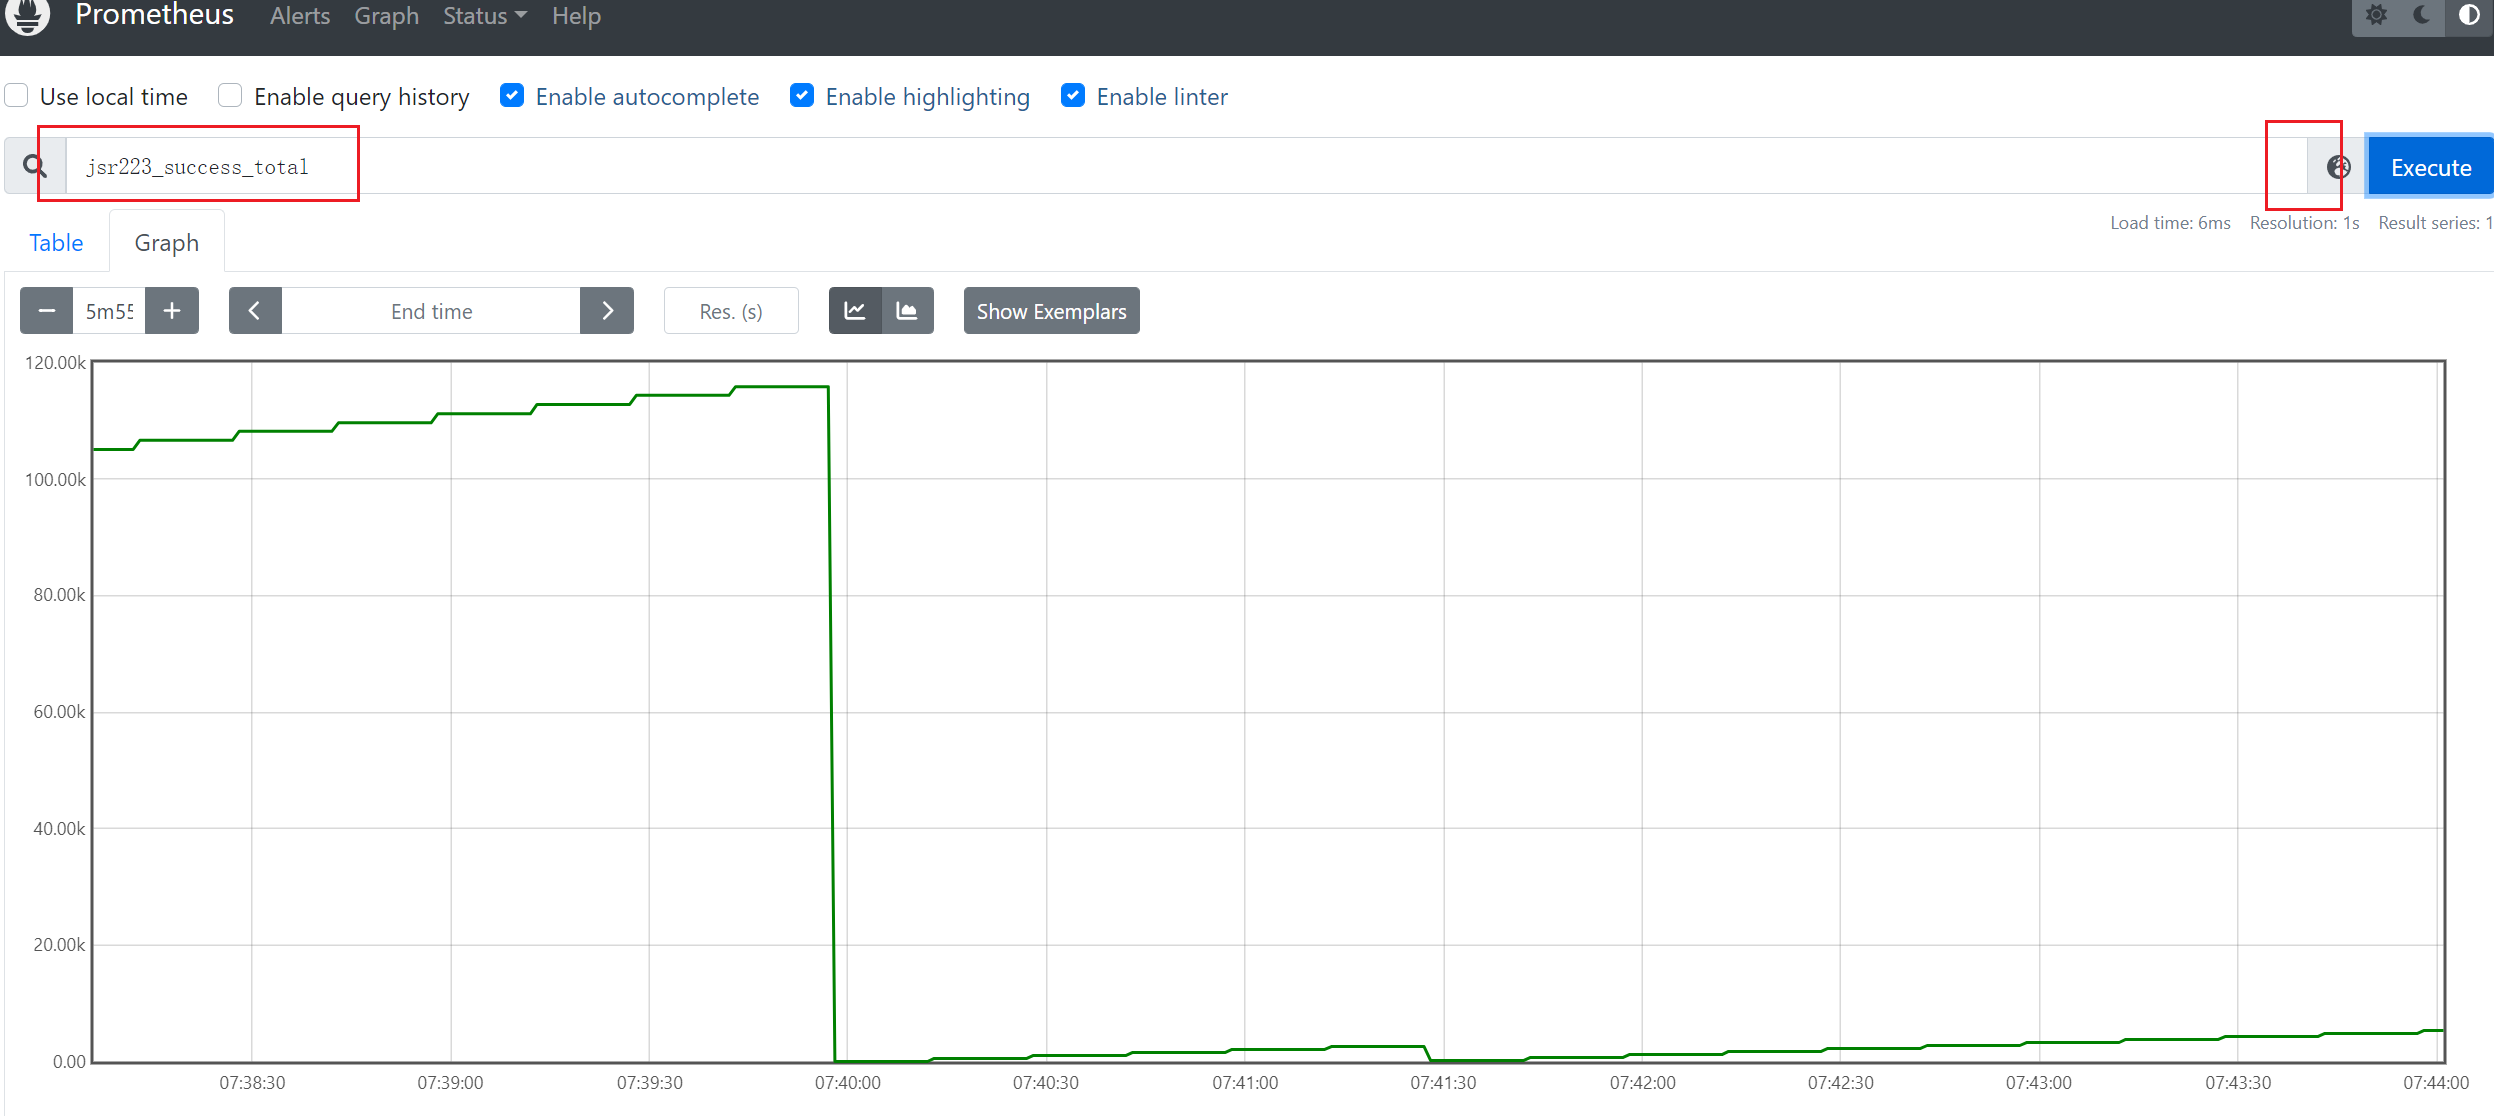
Viewing JMeter metrics in Prometheus

grafana搜索jmeter的模板:https://grafana.com/grafana/dashboards/?search=jmeter 数据源为prometheus
不用搜索grafana模板,这个插件的作者提供了一个:
Sample Grafana Dashboard
https://github.com/johrstrom/jmeter-prometheus-plugin/tree/master/docs/examples
Adding an excerpt from one of the author.
Another point of the plugin is that it does not need to send metrics to the JMeter controller to aggregate results as this is done by Prometheus itself.
https://dev.to/qainsights/jmeter-prometheus-and-grafana-integration-312n
参考:https://blog.csdn.net/qq_43629877/article/details/106901100
https://blog.csdn.net/weixin_45975639/article/details/123202900
https://cuiqingcai.com/9205.html 如何用 JMeter + Kubernetes + Prometheus + Grafana + Alert Manager 实时监控你的服务器 https://blog.csdn.net/devcloud/article/details/106273714
https://www.cnblogs.com/wxhou/p/13792757.html
https://blog.csdn.net/zbj18314469395/article/details/105638712/