准备工作
1、使用IDEA2018专业版,
我试了IDEA2019教育版和IDEA2020社区版,都无法顺利创建一个Spring项目,实在是恼火,一气之下,统统卸载掉。
重装了一个IDEA2018专业版,突然就变得很顺利了。
2、在IDEA中安装Spring插件
点击File--settings--Plugins,搜索“Spring”,安装Spring Assistant。

新建Spring项目
1、新建项目:New--Project,选择Spring

项目名为“hellospring”
IDEA有一个好处,当你创建spring项目时,它会自动下载所需要的spring包。
2、右键src,创建一个包(Package),名字叫作"hello"吧。
3、在hello包下创建两个class源文件:HelloWorld.java 和MainApp.java
其中,HelloWorld.java 中写入:
package hello;

public class HelloWorld {
    private String message;
    public void setMessage(String message){
        this.message  = message;
    }
    public void getMessage(){
        System.out.println("Your Message : " + message);
    }
}
MainApp.java中写入:
package hello;
import org.springframework.context.ApplicationContext;
import org.springframework.context.support.ClassPathXmlApplicationContext;

public class MainApp {
    public static void main(String[] args) {
        ApplicationContext context =
                new ClassPathXmlApplicationContext("Beans.xml");
        HelloWorld obj = (HelloWorld) context.getBean("helloWorld");
        obj.getMessage();
    }
}
上面MainApp.java文件里,有一个Beans.xml
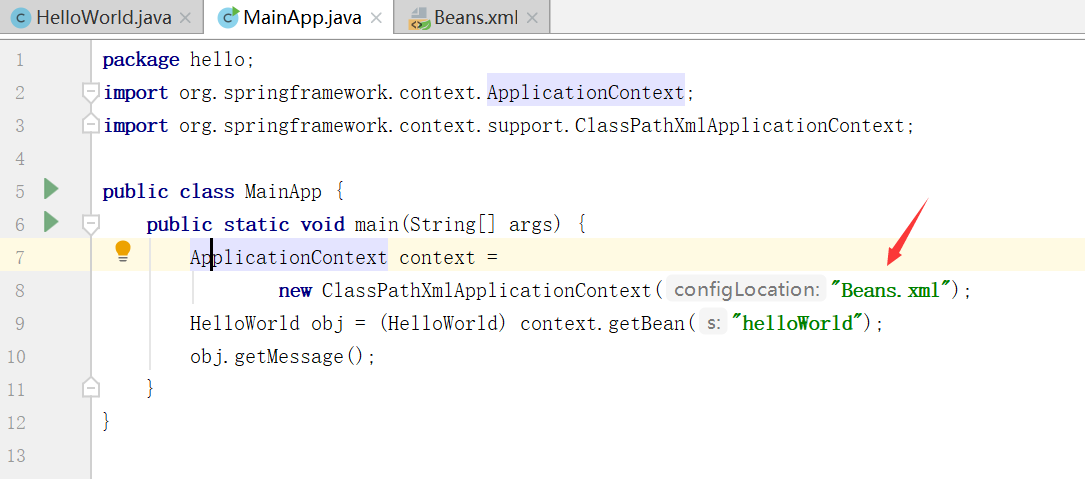
这是一个配置文件,需要手动创建它。
4、创建配置文件Beans.xml
右键src--New--XML Configuation File--Spring Config

命名为Beans,点击确定。
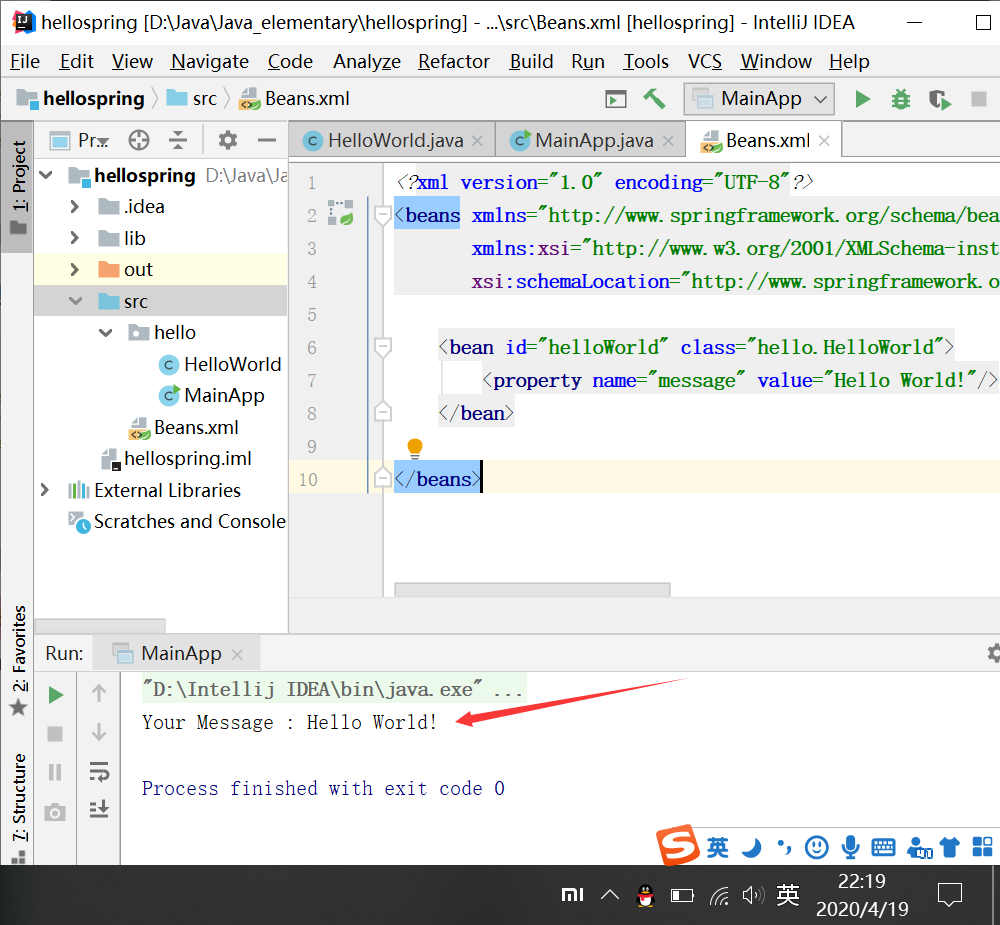
Beans.xml的内容如下:
<?xml version="1.0" encoding="UTF-8"?>
<beans xmlns="http://www.springframework.org/schema/beans"
       xmlns:xsi="http://www.w3.org/2001/XMLSchema-instance"
       xsi:schemaLocation="http://www.springframework.org/schema/beans http://www.springframework.org/schema/beans/spring-beans.xsd">

    <bean id="helloWorld" class="hello.HelloWorld">
        <property name="message" value="Hello World!"/>
    </bean>

</beans>
其实我们需要添加的只有这三行:
<bean id="helloWorld" class="hello.HelloWorld">
        <property name="message" value="Hello World!"/>
    </bean>
class 属性表示需要注册的 bean 的全路径,这里就是HelloWorld.java的文件路径
id 则表示 bean 的唯一标记。
这里的value中的值,就是输出到屏幕上的内容。
此时的目录结构如下:
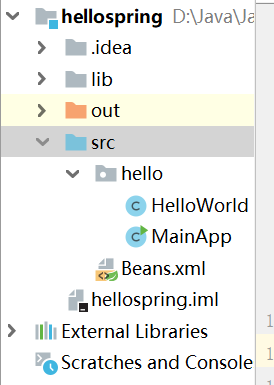
忽略掉out目录,那是程序运行之后自动生成的。
运行MainApp.java文件
输出结果如下:
试一下,修改value中的值,比如,改成下面这样:
<bean id="helloWorld" class="hello.HelloWorld">
        <property name="message" value="你好,Spring!"/>
    </bean>
再运行MainApp.java,结果如下:
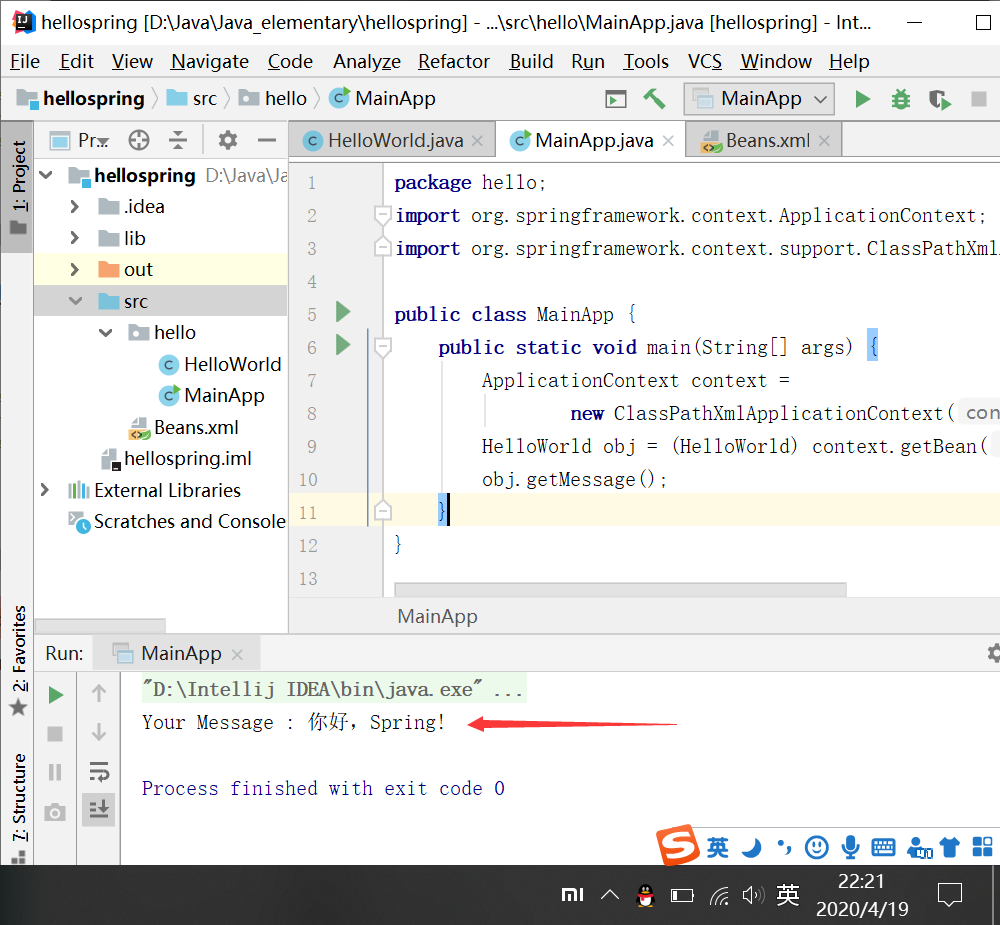
就这样,成功创建了第一个Spring程序。
每天学习一点点,每天进步一点点。