一、安装dwebsocket第三方库
pip install dwebsocket
# 安装dwebsocket库
# django-websocket已废弃
GitHub:
https://github.com/duanhongyi/dwebsocket
二、Django工程代码

display/views.py:
 1 from django.http import HttpResponse
 2 from django.shortcuts import render
 3
 4 # Create your views here.
 5 from dwebsocket.decorators import accept_websocket
 6
 7
 8 @accept_websocket
 9 def echo(request):
10     if not request.is_websocket():
11         # 判断是不是websocket连接
12         try:
13             message = request.GET['message']
14             # 如果是普通的http方法
15             return HttpResponse(message)
16         except:
17             return render(request, 'index.html')
18     else:
19         for message in request.websocket:
20             message = message.decode('utf-8')
21             # 接收前端发来的数据
22             print(message)
23             if message == 'connect_websocket':
24                 with open('/Users/yangjianliang/jmeter.log') as f:
25                     # 读取日志
26                     f.seek(0, 2)
27                     while True:
28                         line = f.readline().strip()
29                         if line:
30                             print(line)
31                             request.websocket.send(line.encode('utf-8'))
32                             # 发送消息到客户端
33             else:
34                 request.websocket.send('sorry!'.encode('utf-8'))
journal/urls.py:
 1 """journal URL Configuration
 2
 3 The `urlpatterns` list routes URLs to views. For more information please see:
 4     https://docs.djangoproject.com/en/2.2/topics/http/urls/
 5 Examples:
 6 Function views
 7     1. Add an import:  from my_app import views
 8     2. Add a URL to urlpatterns:  path('', views.home, name='home')
 9 Class-based views
10     1. Add an import:  from other_app.views import Home
11     2. Add a URL to urlpatterns:  path('', Home.as_view(), name='home')
12 Including another URLconf
13     1. Import the include() function: from django.urls import include, path
14     2. Add a URL to urlpatterns:  path('blog/', include('blog.urls'))
15 """
16 from django.contrib import admin
17 from django.urls import path
18
19 from display import views
20
21 urlpatterns = [
22     path('admin/', admin.site.urls),
23     path('echo/', views.echo),
24 ]
templates/index.html:
 1 <!DOCTYPE html >
 2 <html lang="en">
 3 <head>
 4     <meta http-equiv="Content-Type" content="text/html; charset=utf-8"/>
 5     <title>日志查看系统</title>
 6     <script src="/static/admin/js/vendor/jquery/jquery.js"></script>
 7     <script type="text/javascript">
 8         $(function () {
 9             $('#connect_websocket').click(function () {
10                 if (window.s) {
11                     window.s.close()
12                 }
13                 var socket = new WebSocket("ws://" + window.location.host + "/echo/");
14                 console.log(socket);
15                 socket.onopen = function () {
16                     console.log('WebSocket连接成功!');
17                     socket.send($('#connect_websocket').val());
18                 };
19                 socket.onmessage = function (e) {
20                     console.log('服务器日志为:' + e.data);
21                     $('#messagecontainer').append(e.data + '<br/>');
22                 };
23                 if (socket.readyState == WebSocket.OPEN) socket.onopen();
24                 window.s = socket;
25             });
26
27             $('#close_websocket').click(function () {
28                 if (window.s) {
29                     window.s.close();
30                     console.log('WebSocket已关闭!');
31                 }
32             });
33
34         });
35     </script>
36 </head>
37
38 <body>
39
40 <button style="background-color: green" type="button" id="connect_websocket" value="connect_websocket">实时查看日志</button>
41 <button style="background-color: red" type="button" id="close_websocket">关闭WebSocket</button>
42
43 <h3>JMeter日志(tail -f jmeter.log)</h3>
44 <hr/>
45 <div style="background-color: bisque" id="messagecontainer"></div>
46 <hr/>
47
48 </body>
49
50 </html>
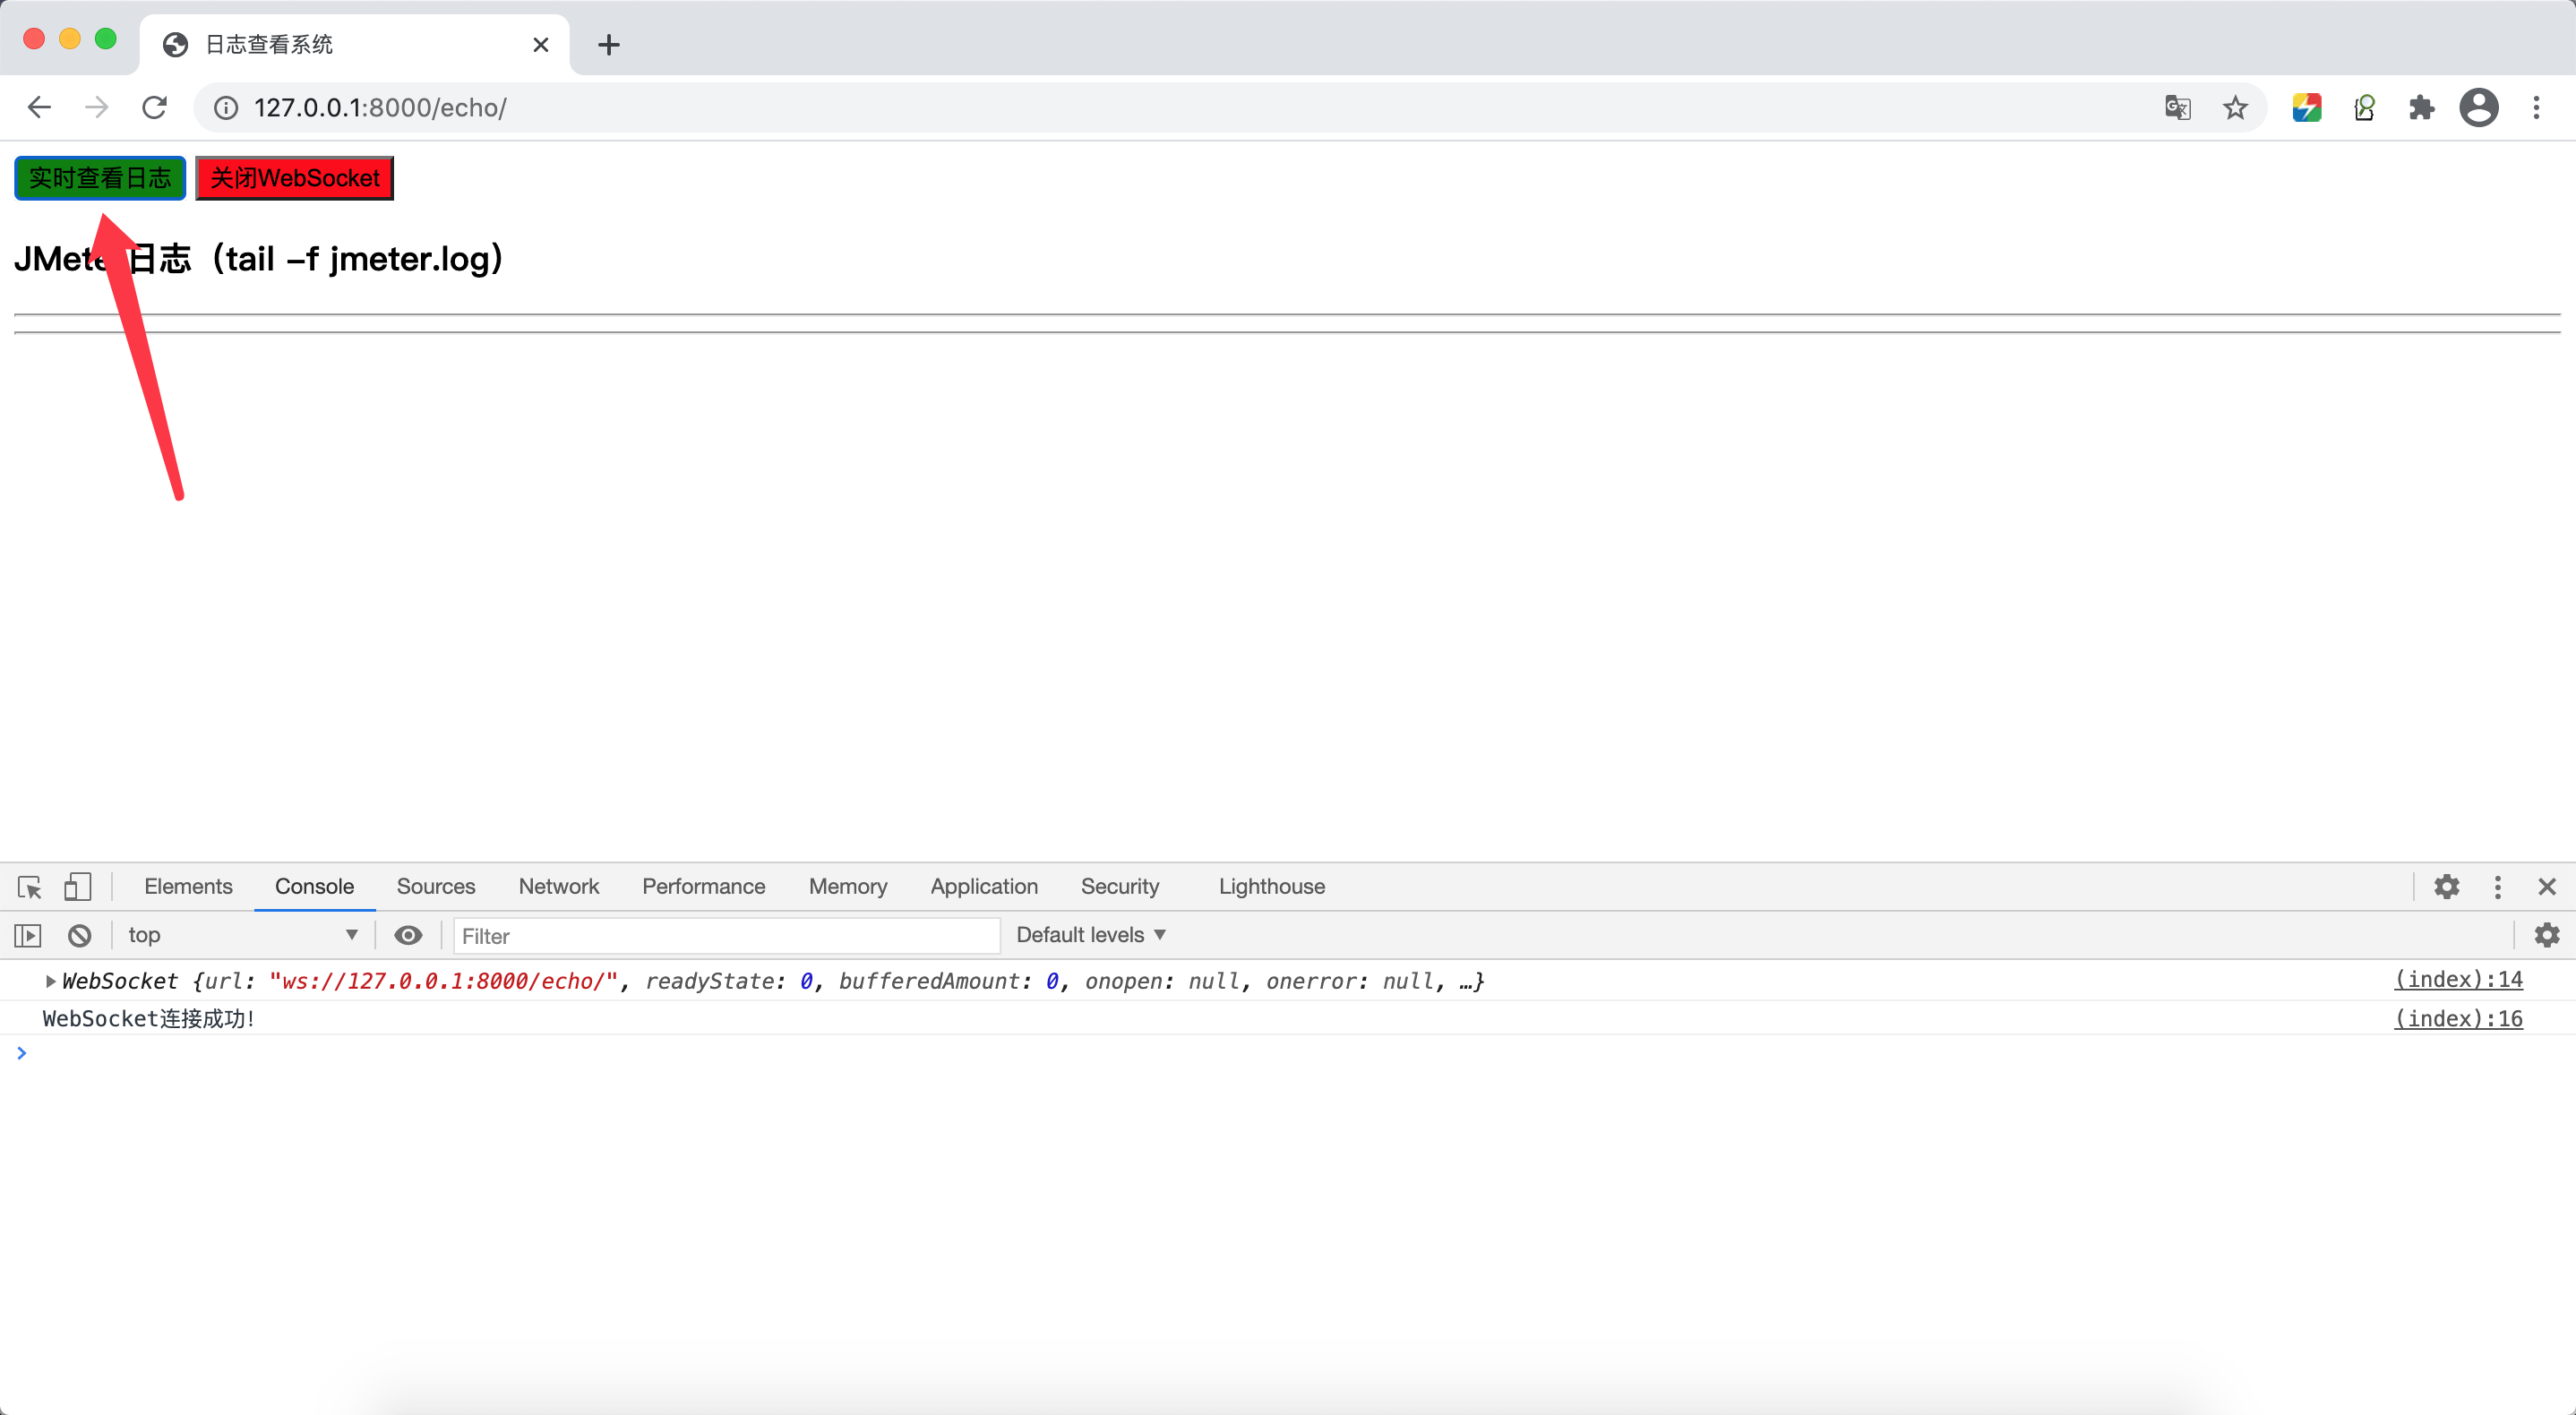
三、Web页面
访问http://127.0.0.1:8000/echo/


