学习目的:
1.了解主流的Docker仓库。
2.掌握Harbor私有仓库的搭建与使用。
3.掌握Harbor私有仓库的主从同步。
harbor的组成:
proxy:Nginx前端代理,主要是分发前端页面UI访问和镜像上传和下载流量。
registry:镜像仓库,负责存储镜像文件。
核心服务:提供Web UI、数据库、Token认证、webhook等功能。
日志服务:为了帮助监控Harbor运行,负责收集其他组件的log,供日后进行分析。
database:用来存储核心服务的一些数据。
这几个容器通过Docker link的形式连接在一起,这样,在容器之间可以通过容器名字互相访问。对终端用户而言,只需要暴露proxy(即Nginx)的服务端口。
分析:
Harbor是VMware公司开源的一个企业级Docker Registry项目,Harbor作为一个企业级私有Registry服务器,提供了更好的性能和安全,提升了用户使用Registry构建和运行环境传输镜像的效率。
Harbor是一个用于存储和分发Docker镜像的企业级Registry服务器。有了Docker自带的Registry为什么还要用Harbor?主要有以下几点原因。
① Harbor可以根据角色灵活地进行权限控制,如访客只需给pull权限即可。
② Harbor可以实现镜像同步。生产环境中对系统稳定性要求高,多个仓库可保证其高可用性。更常用的场景是,在企业级软件环境中,会在软件开发的不同阶段存在不同的镜像仓库。
③ Harbor可利用图形界面进行镜像的管理。
④ Harbor提供分层传输机制,优化网络传输。Docker镜像是是分层的,而如果每次传输都使用全量文件(所以用FTP的方式并不适合),显然不经济。必须提供识别分层传输的机制,以层的UUID为标识,确定传输的对象。
基础准备:
三台虚拟机,分别为 master,client。其中master作为Harbor仓库节点,salve做为备份节点,clinet作为Docker客户端
所有节点都已安装好docker-ce 。
实施:
1.配置镜像加速器
(1)配置加速器
[root@master ~]# vi /etc/docker/daemon.json
{
"registry-mirrors": ["https://registry.docker-cn.com"]
}
在daemon.json配置文件中添加加速器地址,可以添加多个,每个地址用逗号隔开。
[root@master ~]# vi /etc/docker/daemon.json
{
"registry-mirrors": ["https://registry.docker-cn.com","https://docker.mirrors.ustc.edu.cn"]
}
(2)重启docker
重启Docker后加速器生效
[root@master ~]# systemctl restart docker
2.部署harbor
(1)生成CA证书
Openssl是目前最流行的SSL密码库工具,提供了一个通用,功能完备的工具套件,用以支持SSL/TLS协议的实现。
[root@master ~]# systemctl restart docker
[root@master ~]# mkdir -p /data/ssl
[root@master ~]# cd /data/ssl/
[root@master ssl]# openssl req -newkey rsa:4096 -nodes -sha256 -keyout ca.key -x509 -days 2.235 -out ca.crt
Generating a 4096 bit RSA private key
..........................................................................................................++
.......................++
writing new private key to 'ca.key'
-----
You are about to be asked to enter information that will be incorporated
into your certificate request.
What you are about to enter is what is called a Distinguished Name or a DN.
There are quite a few fields but you can leave some blank
For some fields there will be a default value,
If you enter '.', the field will be left blank.
-----
Country Name (2 letter code) [XX]:#国家
State or Province Name (full name) []:#城市
Locality Name (eg, city) [Default City]:#城市
Organization Name (eg, company) [Default Company Ltd]:#公司名称
Organizational Unit Name (eg, section) []:#公司名称
Common Name (eg, your name or your server's hostname) []:#域名
Email Address []:#邮件地址
[root@master ssl]#
生成证书签名请求。
[root@master ssl]# openssl req -newkey rsa:4096 -nodes -sha256 -keyout www.yidaoyun.com.key -out www.yidaoyun.com.csr
Generating a 4096 bit RSA private key
...................................................................................++
.............................++
writing new private key to 'www.yidaoyun.com.key'
-----
You are about to be asked to enter information that will be incorporated
into your certificate request.
What you are about to enter is what is called a Distinguished Name or a DN.
There are quite a few fields but you can leave some blank
For some fields there will be a default value,
If you enter '.', the field will be left blank.
-----
Country Name (2 letter code) [XX]:#国家
State or Province Name (full name) []:#城市
Locality Name (eg, city) [Default City]:#城市
Organization Name (eg, company) [Default Company Ltd]:#公司
Organizational Unit Name (eg, section) []:#公司
Common Name (eg, your name or your server's hostname) []:#域名
Email Address []:#域名

Please enter the following 'extra' attributes
to be sent with your certificate request
A challenge password []:
An optional company name []:
生成注册表主机的证书。
[root@master ssl]# openssl x509 -req -days 2.235 -in www.yun.com.csr -CA ca.crt -CAkey ca.key -CAcreateserial -out www.yun.com.crt
Signature ok
subject=/C=CN/ST=Chongqing/L=chongqing/O=yun/OU=yun/CN=www.yun.com
Getting CA Private Key
[root@master ssl]# ls /data/ssl/
ca.crt  ca.srl                www.yun.com.csr
ca.key  www.yun.com.crt  www.yun.com.key
(2)分发证书
[root@master ssl]# cp -rvf  ./www.yun.com.crt  /etc/pki/ca-trust/source/anchors/
"./www.yun.com.crt" -> "/etc/pki/ca-trust/source/anchors/www.yun.com.crt"
[root@master ssl]# update-ca-trust enable
[root@master ssl]# update-ca-trust extract
(3)安装docker-compose
[root@master ~]# yum install -y docker-compose
Harbor下载地址:
https://storage.googleapis.com/harbor-releases/release-1.7.0/harbor-offline-installer-v1.7.5.tgz
解压文件
我用的是harbor-offline-installer-v1.5.3.tgz
[root@master ~]# tar -xzvf harbor-offline-installer-v1.5.3.tgz
[root@master ~]# cd harbor
编辑配置文件
[root@master harbor]# vi harbor.cfg
修改以下内容
hostname = 192.168.200.10    #修改harbor的启动IP,这里需要依据系统IP设置
ui_url_protocol = https   #启用加密传输协议https
ssl_cert = /data/ssl/www.yun.com.crt        #证书的位置
ssl_cert_key = /data/ssl/www.yun.com.key    #证书密钥位置
harbor_admin_password = 000000         #修改harbor的admin用户的密码
安装harbor
[root@master harbor]# ./prepare
Generated and saved secret to file: /data/secretkey
Generated configuration file: ./common/config/nginx/nginx.conf
Generated configuration file: ./common/config/adminserver/env
Generated configuration file: ./common/config/ui/env
Generated configuration file: ./common/config/registry/config.yml
Generated configuration file: ./common/config/db/env
Generated configuration file: ./common/config/jobservice/env
Generated configuration file: ./common/config/jobservice/config.yml
Generated configuration file: ./common/config/log/logrotate.conf
Generated configuration file: ./common/config/jobservice/config.yml
Generated configuration file: ./common/config/ui/app.conf
Generated certificate, key file: ./common/config/ui/private_key.pem, cert file: ./common/config/registry/root.crt
The configuration files are ready, please use docker-compose to start the service.
[root@master harbor]# ./install.sh --with-notary --with-clair
Creating harbor-log ... done
Creating harbor-db ... done
Creating notary-db ... done
Creating clair-db ... done
Creating redis ... done
Creating registry ... done
Creating harbor-adminserver ... done
Creating clair ... done
Creating harbor-ui ... done
Creating notary-signer ... done
Creating notary-server ... done
Creating harbor-jobservice ... done
Creating nginx ... done
✔ ----Harbor has been installed and started successfully.----
(7)访问harbor
在浏览器中,输入https://192.168.200.10即可访问Harbor
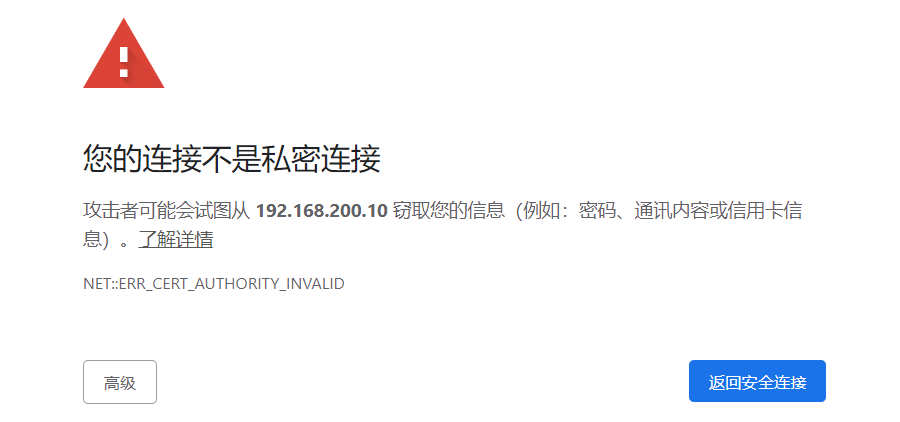
鼠标单击空白位置,输入this is unsafe (没有空格)
(8)登录harbor
以admin用户,密码为000000登录系统,

选择“配置管理”菜单命令,项目创建选择“仅管理员”,取消勾选“允许自注册”,复选框,然后单击“保存”按钮,
3.镜像管理与安全
(1)配置docker
配置本地daemon.json文件。
{
  "registry-mirrors": ["https://registry.docker-cn.com","https://docker.mirrors.ustc.edu.cn"],
  "insecure-registries": ["192.168.200.10"]      #注意更改IP
}
重启docker生效
[root@master ~]# systemctl restart docker
(2)重新启动harbor私有镜像仓库
让harbor修改过的配置立刻生效。
[root@master harbor]# ./prepare
清理所有harbor容器进程。
[root@master harbor]# docker-compose down
Stopping nginx              ... done
Stopping harbor-jobservice  ... done
Stopping harbor-ui          ... done
Stopping harbor-adminserver ... done
Stopping registry           ... done
Stopping redis              ... done
Stopping harbor-log         ... done
后台启动所有harbor容器进程。
[root@master harbor]# docker-compose up -d
(3)上传镜像
[root@master harbor]# docker pull centos
Using default tag: latest
latest: Pulling from library/centos
Digest: sha256:5528e8b1b1719d34604c87e11dcd1c0a20bedf46e83b5632cdeac91b8c04efc1
Status: Image is up to date for centos:latest
docker.io/library/centos:latest
[root@master ~]# docker tag centos:latest 192.168.200.10/library/centos:latest
登陆验证harbor仓库。
[root@master harbor]# docker login https://192.168.200.10
Username: admin
Password:
WARNING! Your password will be stored unencrypted in /root/.docker/config.json.
Configure a credential helper to remove this warning. See
https://docs.docker.com/engine/reference/commandline/login/#credentials-store
Login Succeeded
上传镜像到harbor仓库
[root@master harbor]# docker push 192.168.200.10/library/centos:latest
The push refers to repository [192.168.200.10/library/centos]
2653d992f4ef: Pushed
latest: digest: sha256:dbbacecc49b088458781c16f3775f2a2ec7521079034a7ba499c8b0bb7f86875 size: 529
重新启用漏洞扫描
[root@master harbor]# ./install.sh --with-notary --with-clair
(4)查看上传结果
在网页界面,
选择“项目”→“镜像仓库”菜单命令,查看镜像上传结果。

4.Docker客户端
(1)为docker客户端下发域名证书
在harbor本地执行操作,将Harbor上自签发的域名证书www.yun.com.crt复制到Docker客户端对应的目录下。
[root@master harbor]# cd /data/ssl/
[root@master ssl]# scp -r www.yidaoyun.com.crt 192.168.200.10:/etc/pki/ca-trust/source/anchors/
在Docker客户端上执行操作,让证书立刻生效。下发证书后必须重启client节点的Docker服务。
[root@client ~]# update-ca-trust enable
[root@client ~]# update-ca-trust extract
[root@client ~]# systemctl restart docker
(2)配置仓库
[root@client ~]# vi /etc/docker/daemon.json
{
  "registry-mirrors": ["https://registry.docker-cn.com","https://docker.mirrors.ustc.edu.cn"],
  "insecure-registries": ["192.168.200.10"]
}
[root@client ~]# systemctl daemon-reload
[root@client ~]# systemctl restart docker
[root@client ~]# docker pull nginx
Using default tag: latest
latest: Pulling from library/nginx
Digest: sha256:47ae43cdfc7064d28800bc42e79a429540c7c80168e8c8952778c0d5af1c09db
Status: Downloaded newer image for nginx:latest
docker.io/library/nginx:latest
(3)登陆仓库
[root@client ~]# cd /etc/pki/ca-trust/source/anchors/
[root@client anchors]# docker login https://192.168.200.10
Username: admin
Password:
WARNING! Your password will be stored unencrypted in /root/.docker/config.json.
Configure a credential helper to remove this warning. See
https://docs.docker.com/engine/reference/commandline/login/#credentials-store

Login Succeeded
(4)上传镜像
修改镜像的名字并上传harbor私有仓库
[root@client anchors]# docker tag nginx:latest 192.168.200.10/library/nginx:latest
[root@client anchors]# docker push 192.168.200.10/library/nginx:latest
The push refers to repository [192.168.200.10/library/nginx]
c6d74dcb7fe7: Pushed
b50a193ebf2e: Pushed
165eb6c3c0d3: Pushed
cf388fcf3527: Pushed
2418679ca01f: Pushed
764055ebc9a7: Pushed
latest: digest: sha256:2f1cd90e00fe2c991e18272bb35d6a8258eeb27785d121aa4cc1ae4235167cfd size: 1570
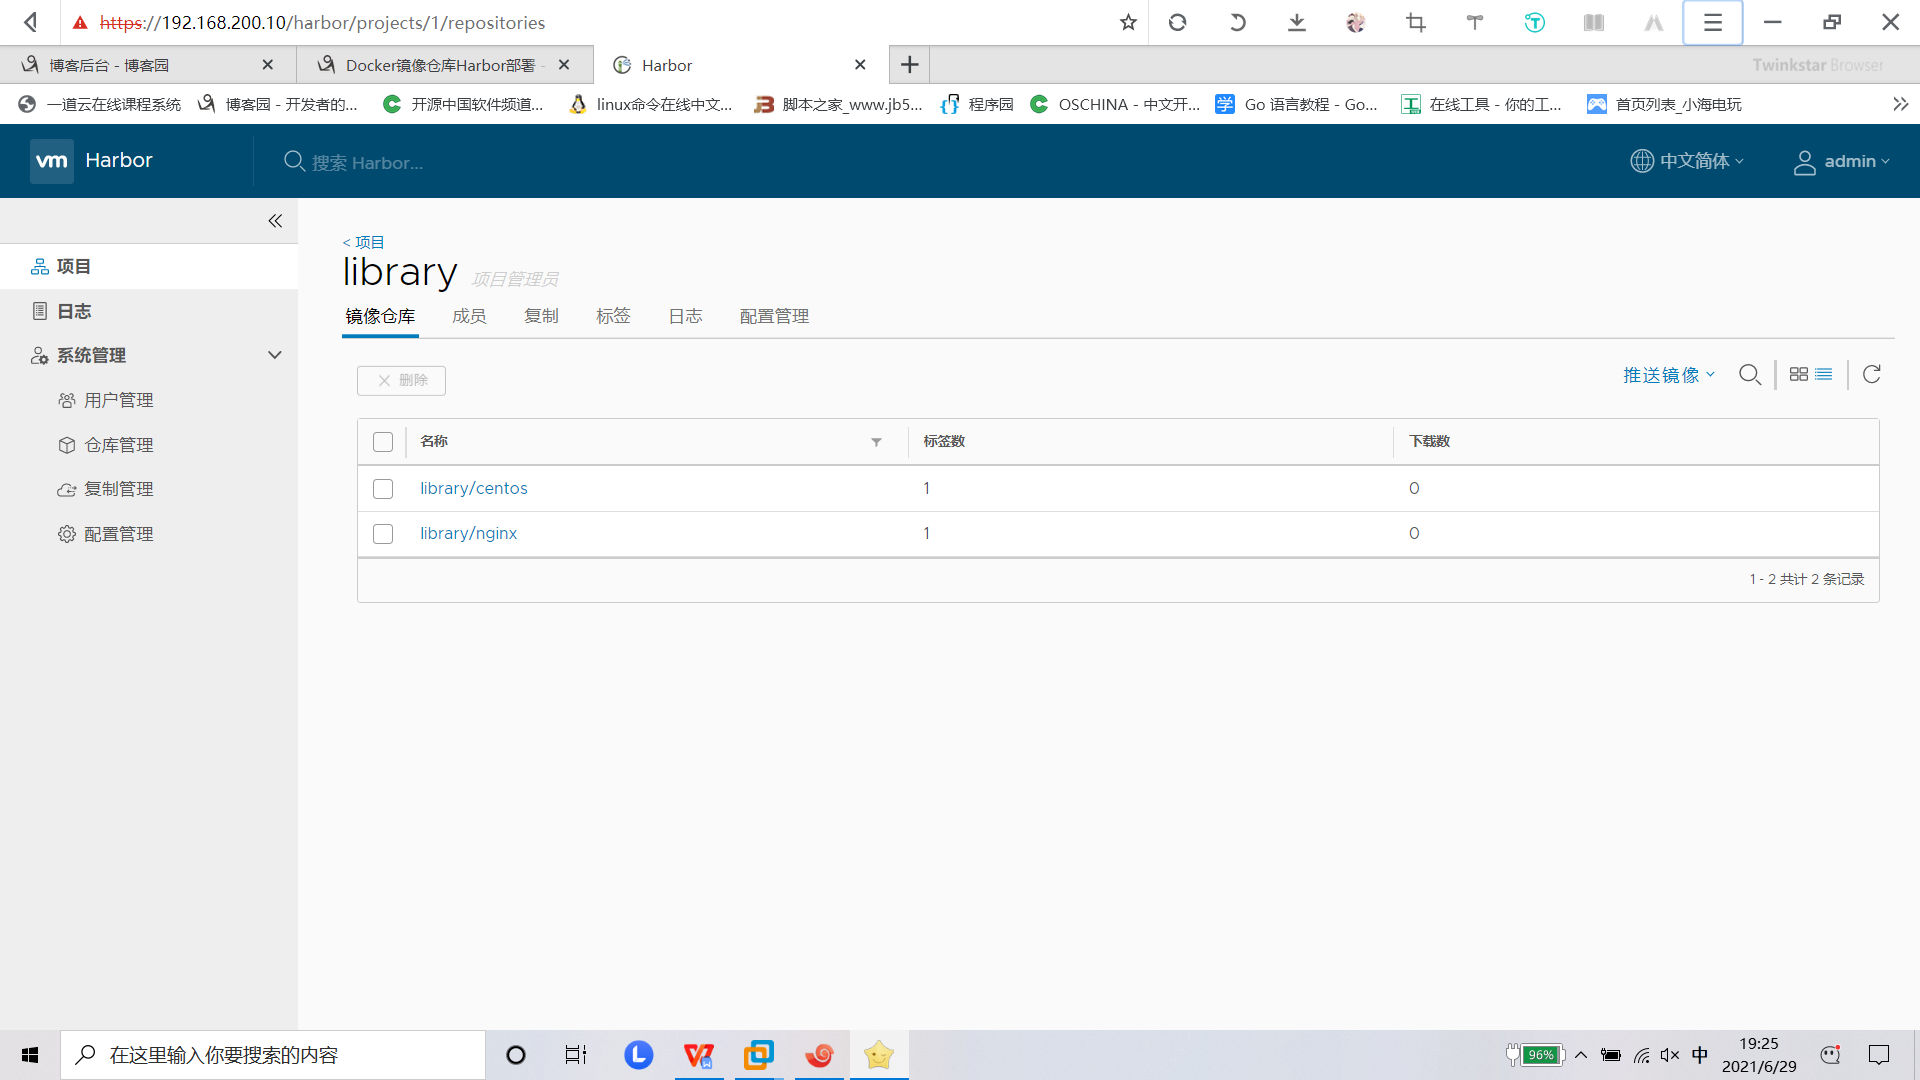
登录harbor界面进行查看。选择”项目“——>"镜像仓库"——”镜像“ 菜单命令,勾选镜像(latest)。