1.什么是LNMP架构
LNMP是指一组通常一起使用来运行动态网站或者服务器的自由软件名称首字母缩写。L指Linux,N指Nginx,M一般指MySQL,也可以指MariaDB,P一般指PHP,也可以指Perl或Python
2.LNMP架构是如何工作的
location / {
	index index.php;
}

location ~ .php$ {
	fastcgi_pass 127.0.0.1:9000;
}

location ~ .(jpg|png|gif)$ {
	root /code/images;
}
3.Nginx与PHP、MySQL之间是如何工作的
nginx 通过libevent 建立了网络连接池,通过nginx的 fast_cgi配置 (fastcgi_pass ip:port),用tcp 127.0.0.1:9000 方式连接 或者 unix socket unix:///var/run/unix.sock 方式 连接,php 与mysql 通过 php _ mysql 扩展,实现的tcp连接 (可以持久连接或非持久连接)*
4.如何安装LNMP架构
1. 安装
[root@web01 ~]# vim /etc/yum.repos.d/php.repo
[webtatic-php]
name = php Repository
baseurl = http://us-east.repo.webtatic.com/yum/el7/x86_64/
gpgcheck = 0

yum install nginx -y
yum remove php-mysql-5.4 php php-fpm php-common
yum -y install php71w php71w-cli php71w-common php71w-devel php71w-embedded php71w-gd php71w-mcrypt php71w-mbstring php71w-pdo php71w-xml php71w-fpm php71w-mysqlnd php71w-opcache php71w-pecl-memcached php71w-pecl-redis php71w-pecl-mongodb
yum install mariadb mariadb-server -y

2. 启动nginx php-fpm
	systemctl start nginx
	systemctl start php-fpm
5.Nginx与PHP集成的原理。
1.编写能解析PHP的Nginx配置文件
	[root@web01 conf.d]# cat php.cheng.com.conf
	server {
		listen 80;
		server_name php.cheng.com;
		root /code;

		location / {
			index index.php;
		}

		location ~ .php$ {
			fastcgi_pass 127.0.0.1:9000;
			fastcgi_param SCRIPT_FILENAME $document_root$fastcgi_script_name;
			include fastcgi_params;
		}
	}
2. 检测语法:
	[root@web01 conf.d]# nginx -t

3.重启nginx服务:
	[root@web01 conf.d]# systemctl restart nginx

4.编写PHP代码,测试访问效果.
	[root@web01 conf.d]# cat /code/info.php
	<?php
		phpinfo();
	?>

5.在本地做host劫持

6.PHP与MySQL集成的原理。
1.启动数据库
[root@web01 ~]# systemctl start mariadb
2.配置连接密码
[root@web01 ~]# mysqladmin password 000000
3.测试登录mysql
[root@web01 ~]# mysql -uroot -p000000
MariaDB [(none)]>
4.编写php连接数据库的代码
[root@web01 conf.d]# cat /code/mysqli.php
<?php
$servername = "localhost";
$username = "root";
$password = "000000";
//创建连接
$conn = mysqli_connect($servername,$username,$password);
//检测连接
if(!$conn){
die("Connection failed:".mysqli_connect_error());
}
echo "php连接MySQL数据库成功";
?>
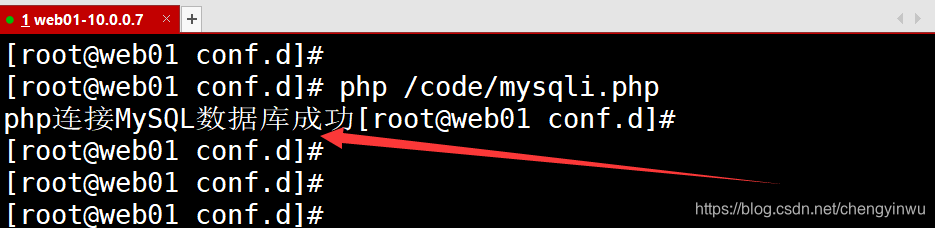
5.可以直接使用php命令测试
[root@web01 ~]# php /code/mysqli.php
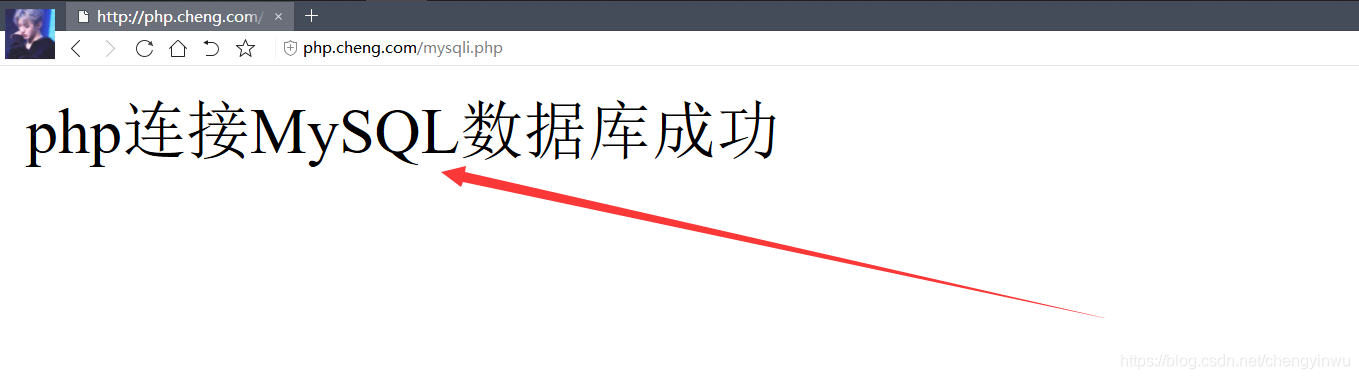
6.也可以通过浏览器去测试
7.通过LNMP架构部署Wordpress、Wecenter、edusoho、phpmyadmin、ecsho
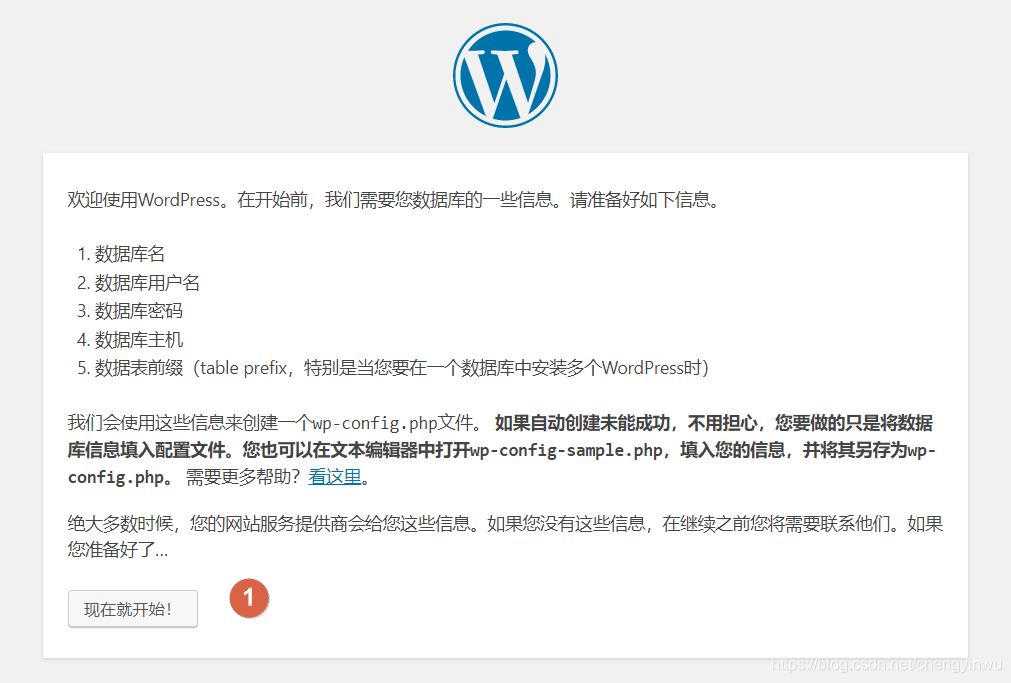
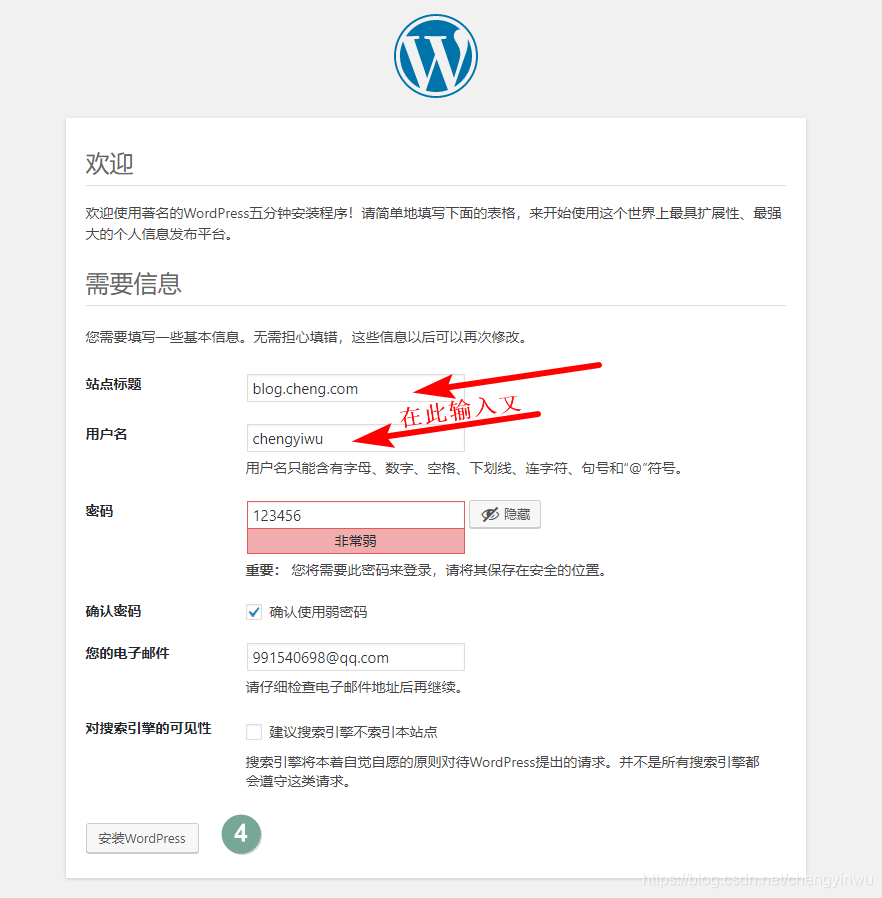
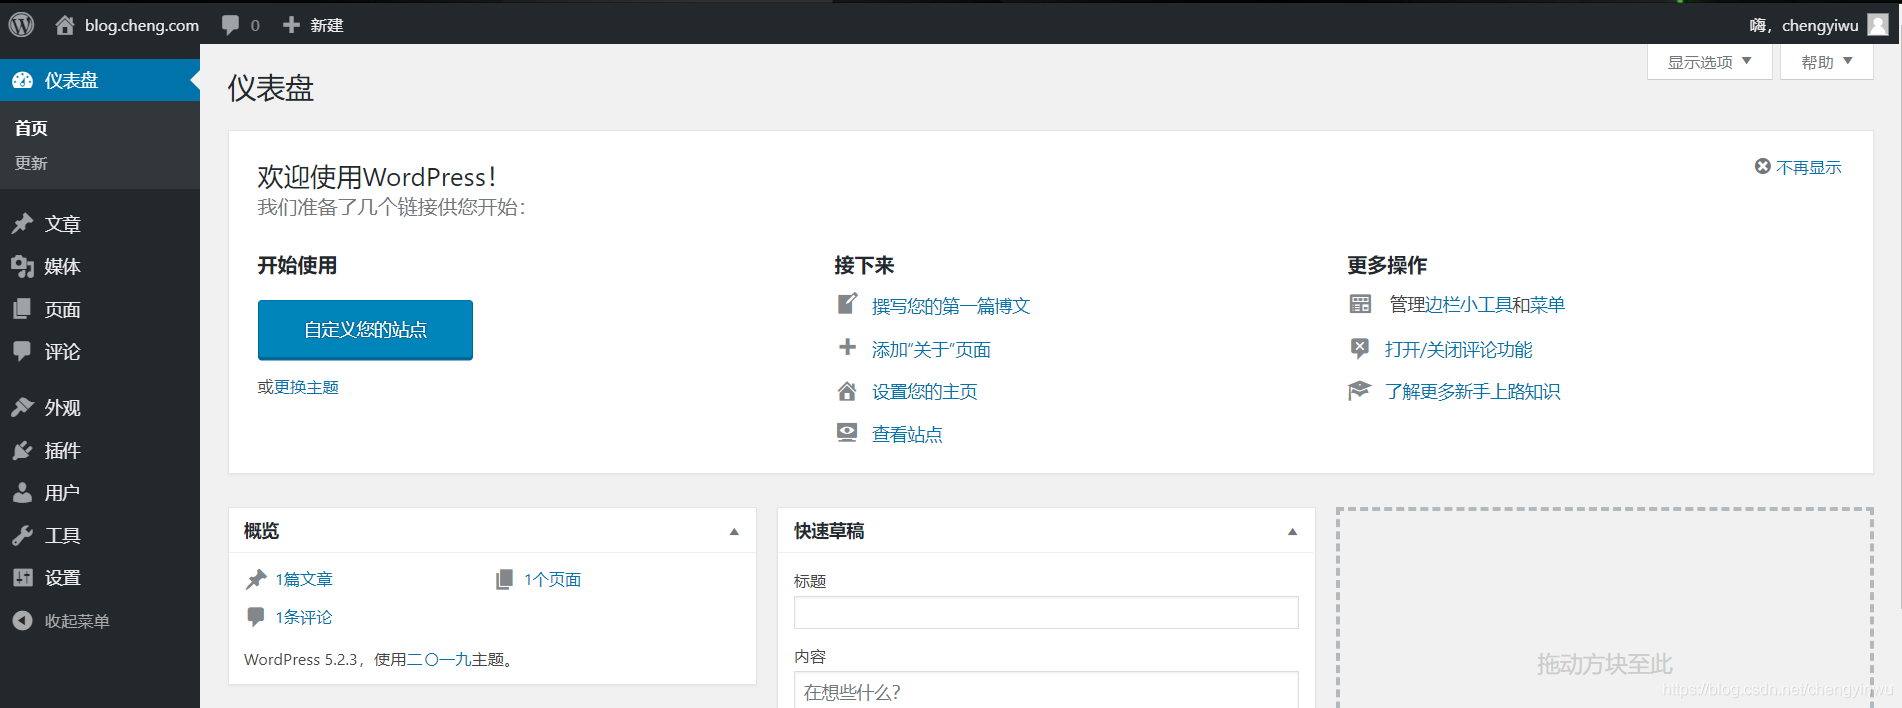
1. Wordpress部署:
1.编写Nginx集成PHP的配置文件 (定义域名以及站点的目录位置)
[root@web01 conf.d]# cat word.cheng.com.conf
server {
listen 80;
server_name word.cheng.com;
root /code/wordpress;
location / {
index index.php;
}
location ~ .php$ {
fastcgi_pass 127.0.0.1:9000;
fastcgi_param SCRIPT_FILENAME $document_root$fastcgi_script_name;
include fastcgi_params;
}
}
2.检测语法:
[root@web01 conf.d]# nginx -t
3.根据Nginx配置,初始化环境,然后上传代码
1.准备站点目录
[root@web01 conf.d]# mkdir /code
2.上传wordpress代码
[root@web01 conf.d]# cd /code
[root@web01 code]# tar xf wordpress-5.2.3-zh_CN.tar.gz
3.创建数据库名
[root@web01 code]# mysql -uroot -p000000
MariaDB [(none)]> create database wordpress;
MariaDB [(none)]> show databases;
+--------------------+
| Database |
+--------------------+
| information_schema |
| mysql |
| performance_schema |
| test |
| wordpress |
+--------------------+
5 rows in set (0.01 sec)
4.统一Nginx PHP的权限 为 www
[root@web01 code]# groupadd www -g 666
[root@web01 code]# useradd -u666 -g666 www
[root@web01 code]# chown -R www.www /code
5.修改配置及重启nginx php
[root@web01 code]# sed -i '/^user/c user www;' /etc/nginx/nginx.conf
[root@web01 code]# systemctl restart nginx
[root@web01 code]# sed -i '/^user/c user = www' /etc/php-fpm.d/www.conf
[root@web01 code]# sed -i '/^group/c group = www' /etc/php-fpm.d/www.conf
[root@web01 code]# systemctl restart php-fpm
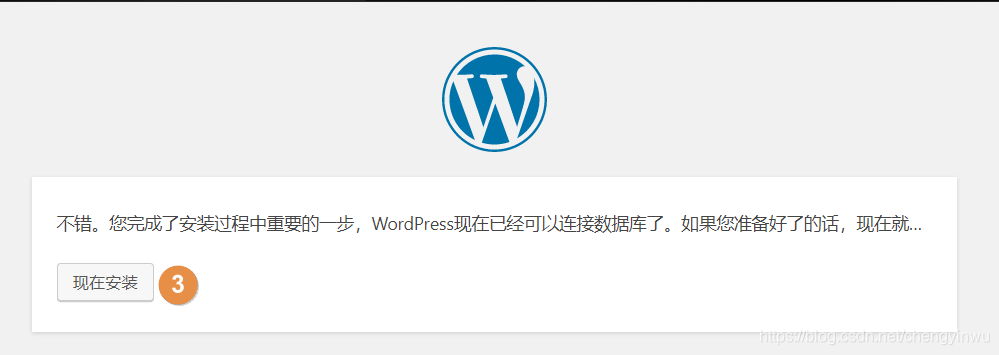
6.域名解析
部署图解一:


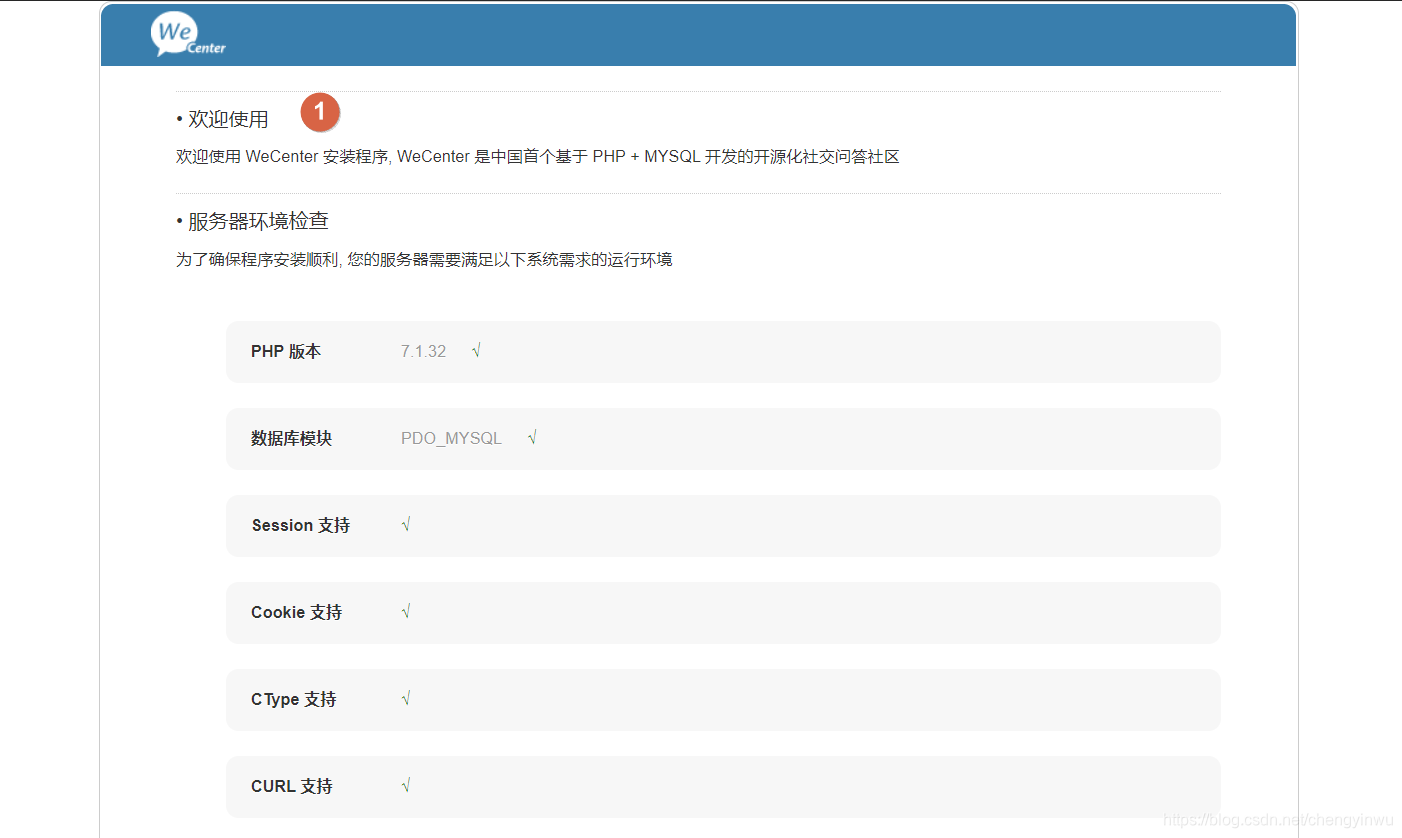
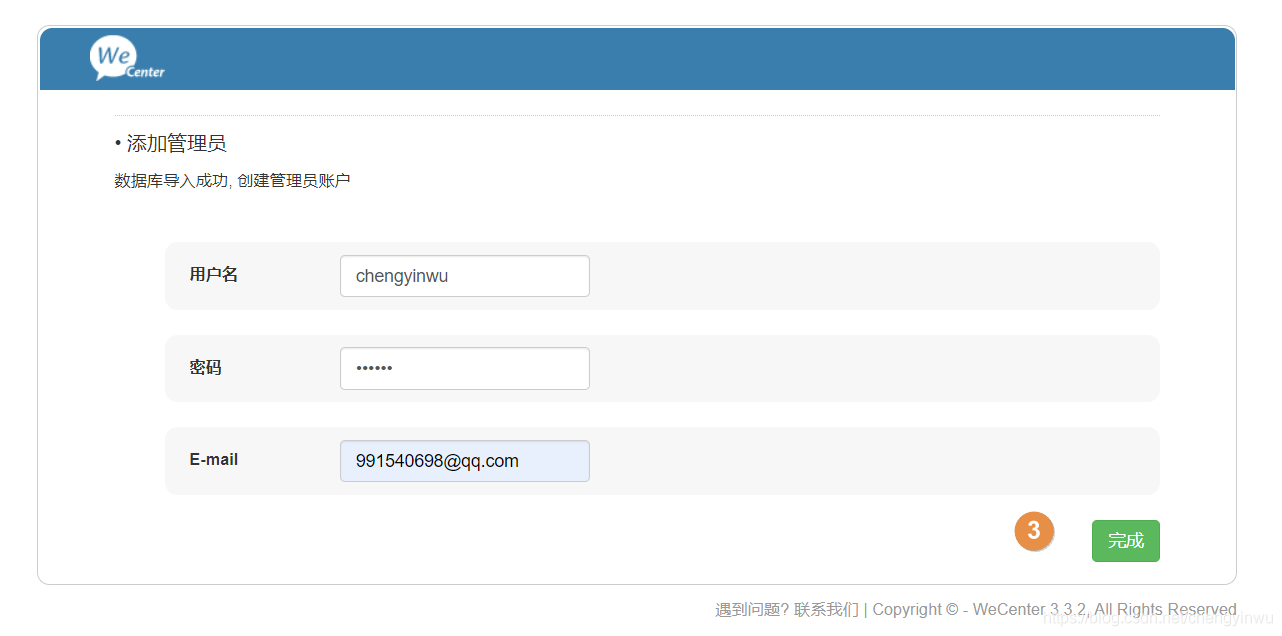
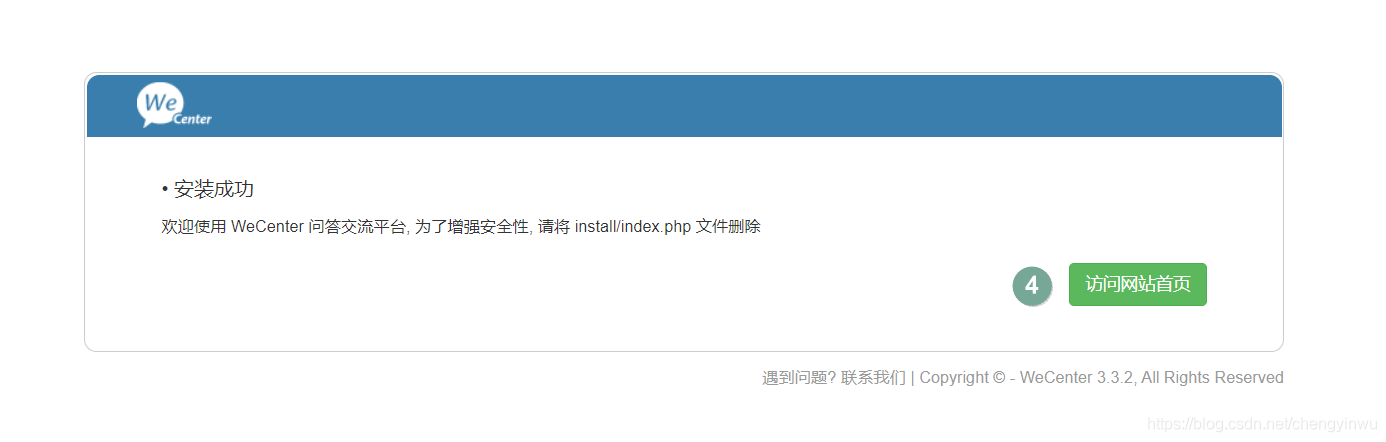
2.Wecenter部署:
1.编写Nginx的配置文件
[root@web01 zh]# cat /etc/nginx/conf.d/zh.cheng.com.conf
server {
listen 80;
server_name zh.cheng.com;
root /code/zh;
client_max_body_size 100m;
location / {
index index.php;
}
location ~ .php$ {
fastcgi_pass 127.0.0.1:9000;
fastcgi_param SCRIPT_FILENAME $document_root$fastcgi_script_name;
include fastcgi_params;
}
}
2.上传代码,变更代码的属主和属组
[root@web01 conf.d]# mkdir /code/zh
[root@web01 conf.d/zh]# rz WeCenter_3-3-2.zip
[root@web01 conf.d/zh]# unzip WeCenter_3-3-2.zip
[root@web01 code]# chown -R www.www /code
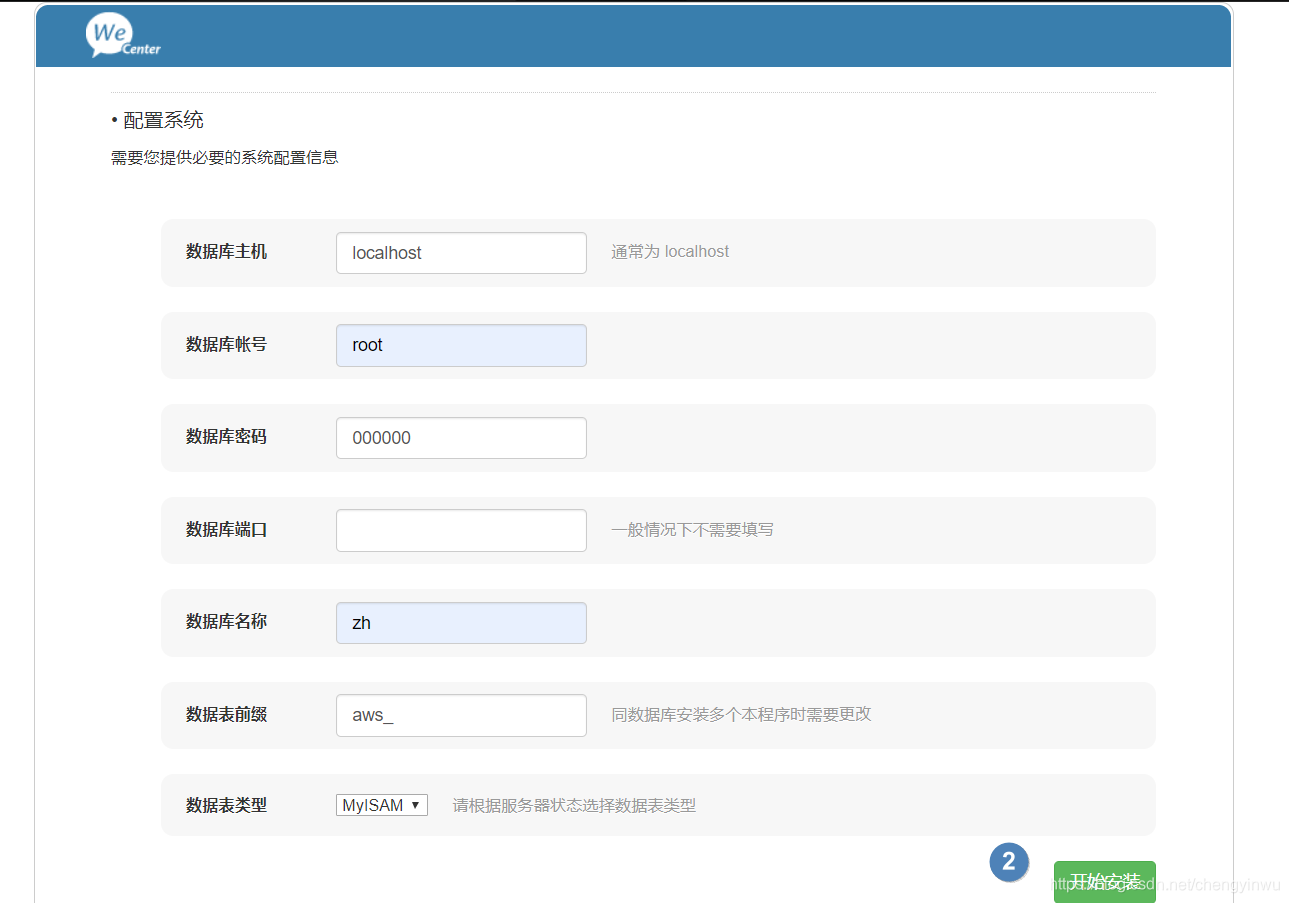
3.登录数据库.创建库名称
[root@web01 code]# mysql -uroot -p000000
MariaDB [(none)]> create database zh;
MariaDB [(none)]> show databases;
+--------------------+
| Database |
+--------------------+
| information_schema |
| mysql |
| performance_schema |
| test |
| wordpress |
| zh |
+--------------------+
6 rows in set (0.00 sec)
4.重启Nginx服务
[root@web01 code]# nginx -t
[root@web01 code]# systemctl restart nginx
5.配置域名解析
部署图解二:

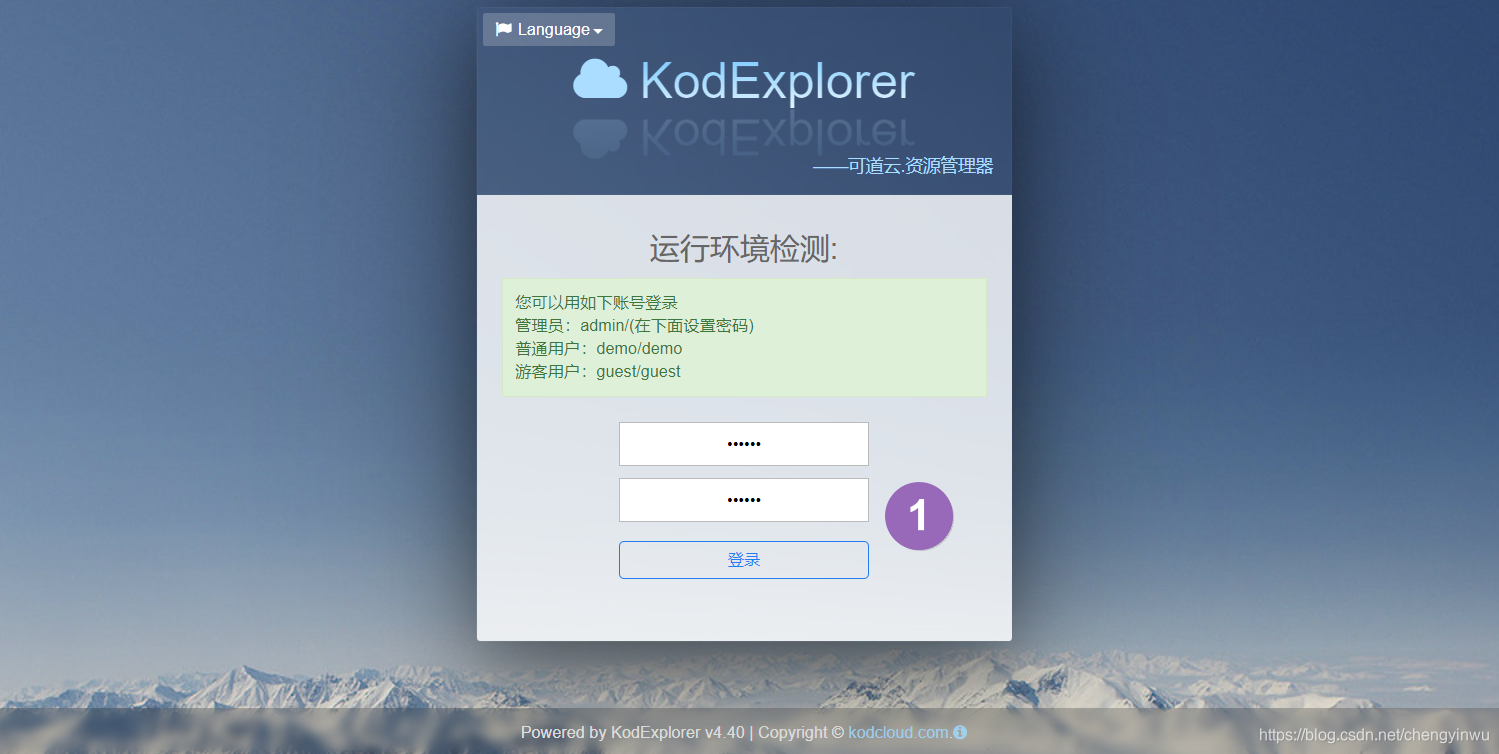
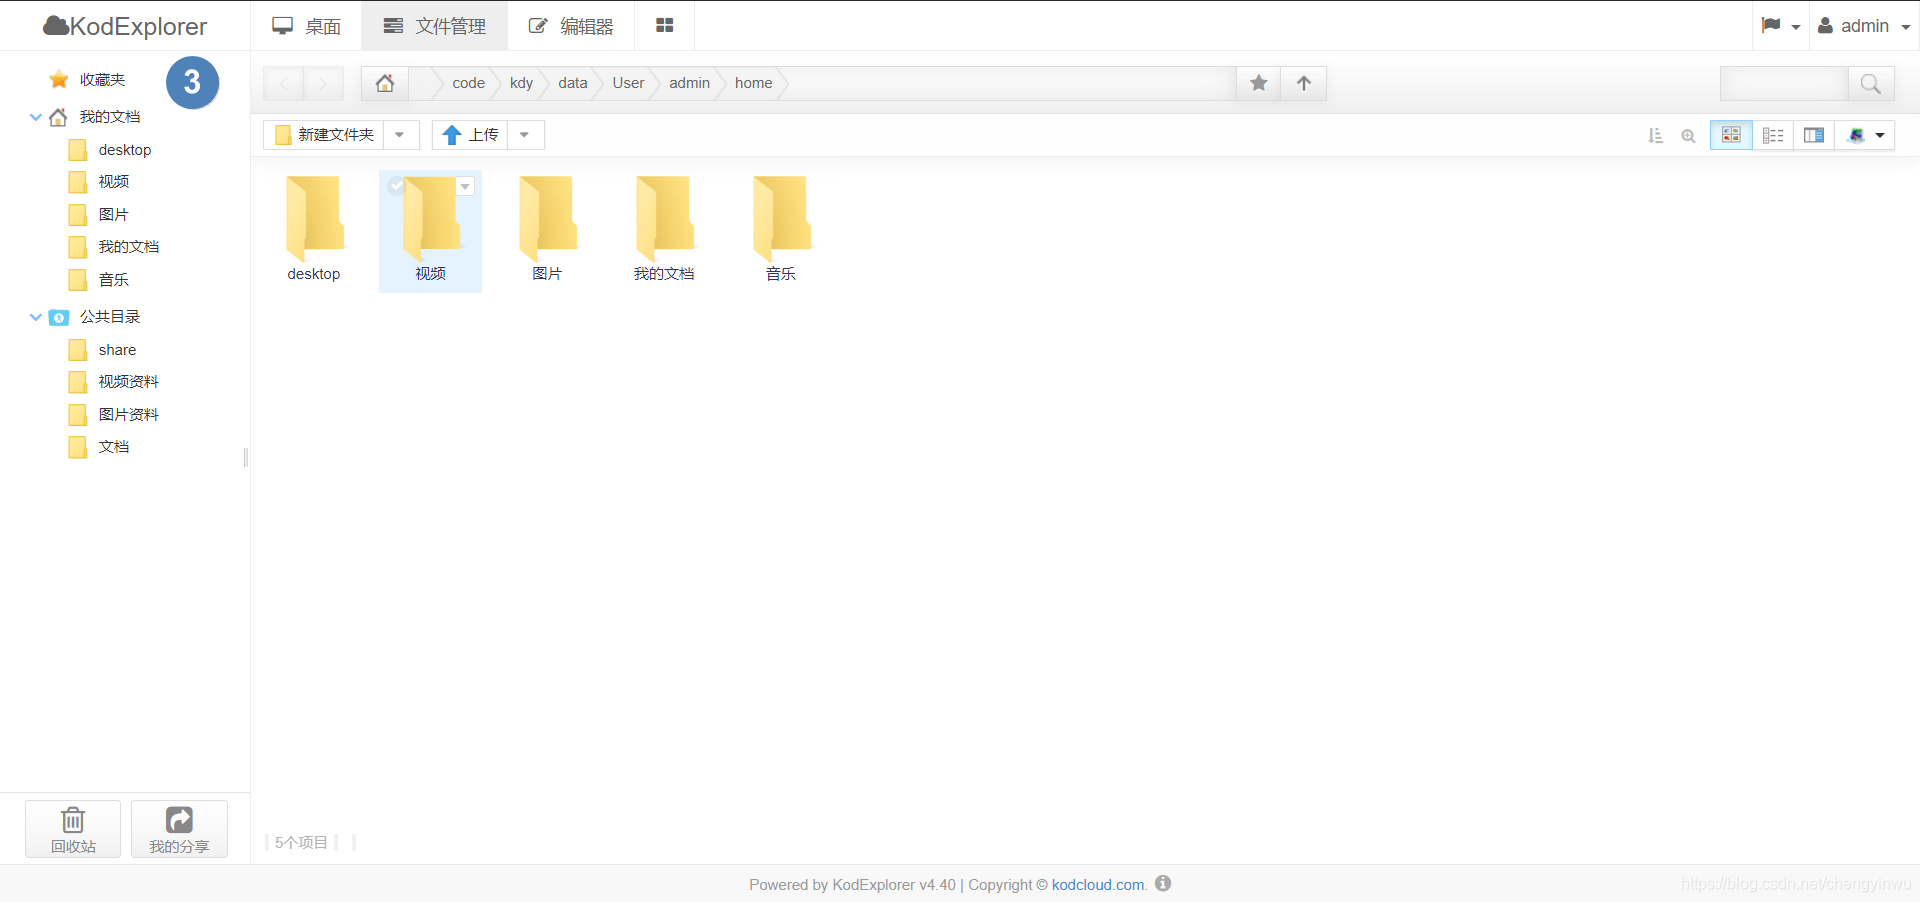
3.可道云网盘部署:
1.部署nginx配置文件:
[root@web01 kdy]# cat /etc/nginx/conf.d/kdy.cheng.com.conf
server {
	listen 80;
	server_name kdy.cheng.com;
	root /code/kdy;

	client_max_body_size 100m;

	location  {
	index index.php;
	}

	location ~ .php$ {
	fastcgi_pass 127.0.0.1:9000;
	fastcgi_param SCRIPT_FILENAME $document_root$fastcgi_script_name;
	include fastcgi_params;

	}

}

2.上传源代码文件,更改权限
[root@web01 conf.d]# mkdir /code/kdy
[root@web01 conf.d]# cd /code/kdy/
[root@web01 kdy]# rz kodexplorer4.40.zip
[root@web01 kdy]# chown -R www.www /code/

3.登录数据库.创建库名称   【可以不用创建数据库】
[root@web01 kdy]# mysql -uroot -p000000
MariaDB [(none)]> create database kdy;
Query OK, 1 row affected (0.00 sec)

MariaDB [(none)]> show databases;
+--------------------+
| Database           |
+--------------------+
| information_schema |
| kdy                |
| mysql              |
| performance_schema |
| test               |
| wordpress          |
| zh                 |
+--------------------+
7 rows in set (0.00 sec)

4.重启Nginx服务
[root@web01 kdy]# nginx -t
[root@web01 kdy]# systemctl restart nginx

5.配置域名解析
部署图解三:

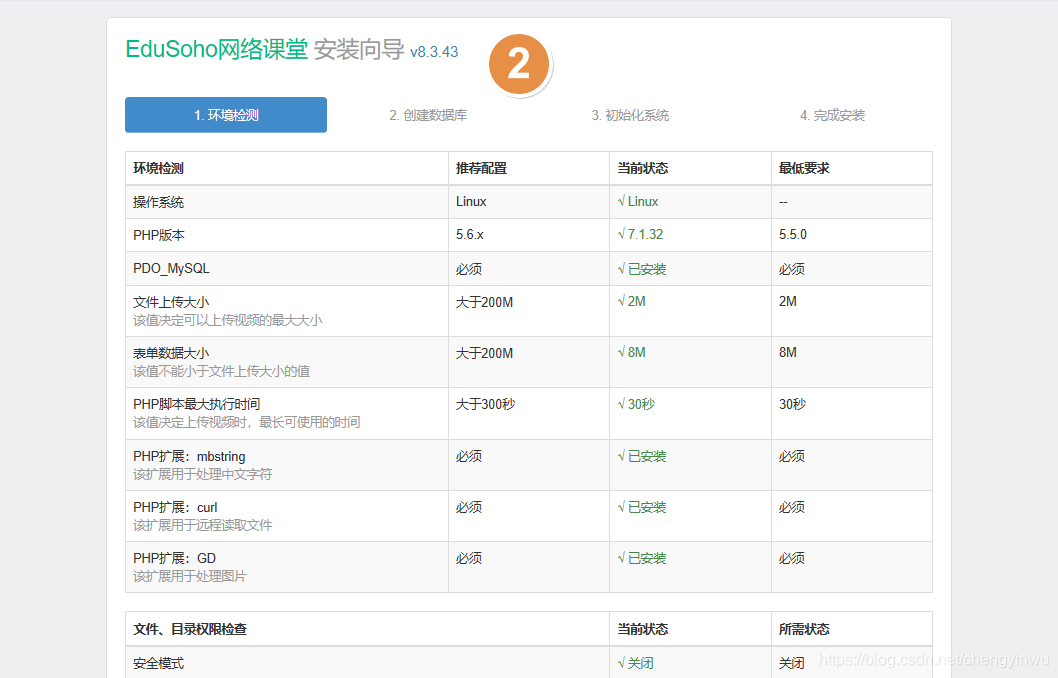
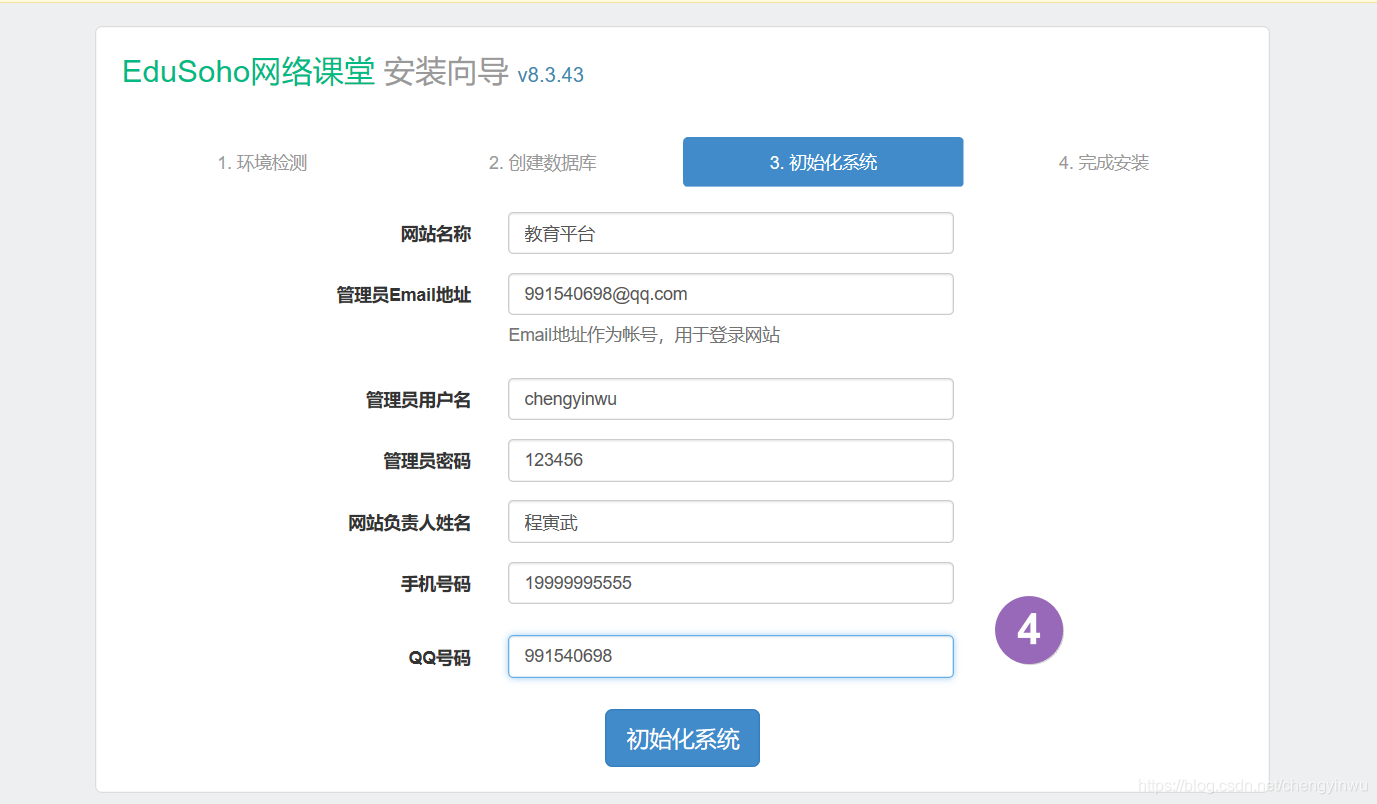
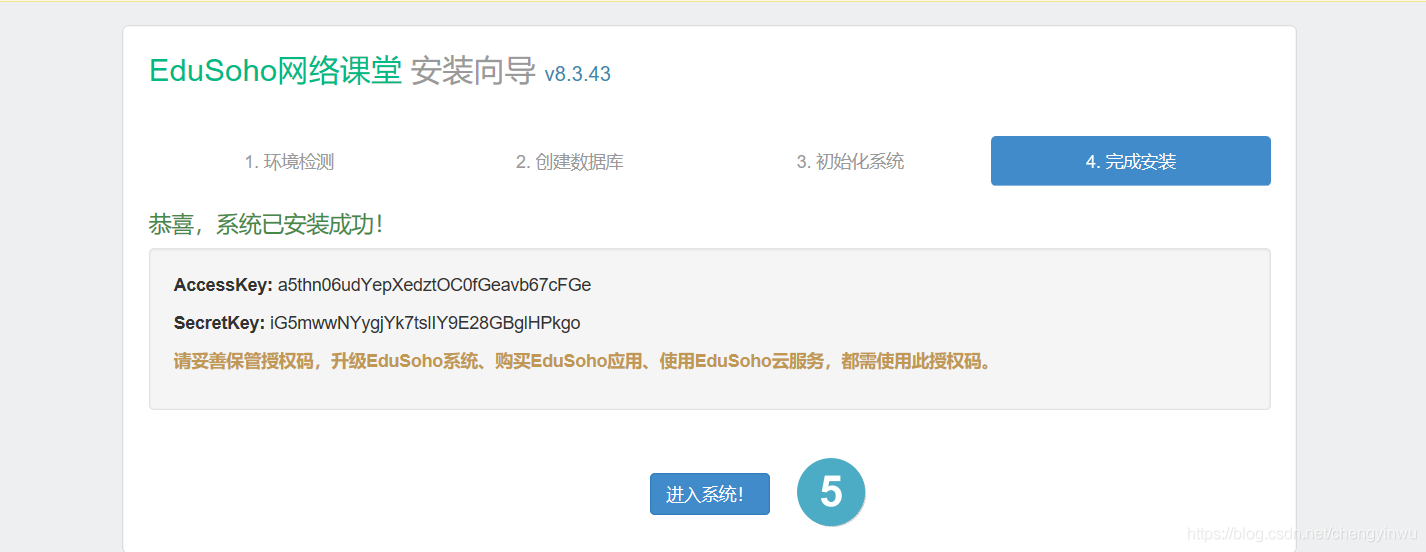
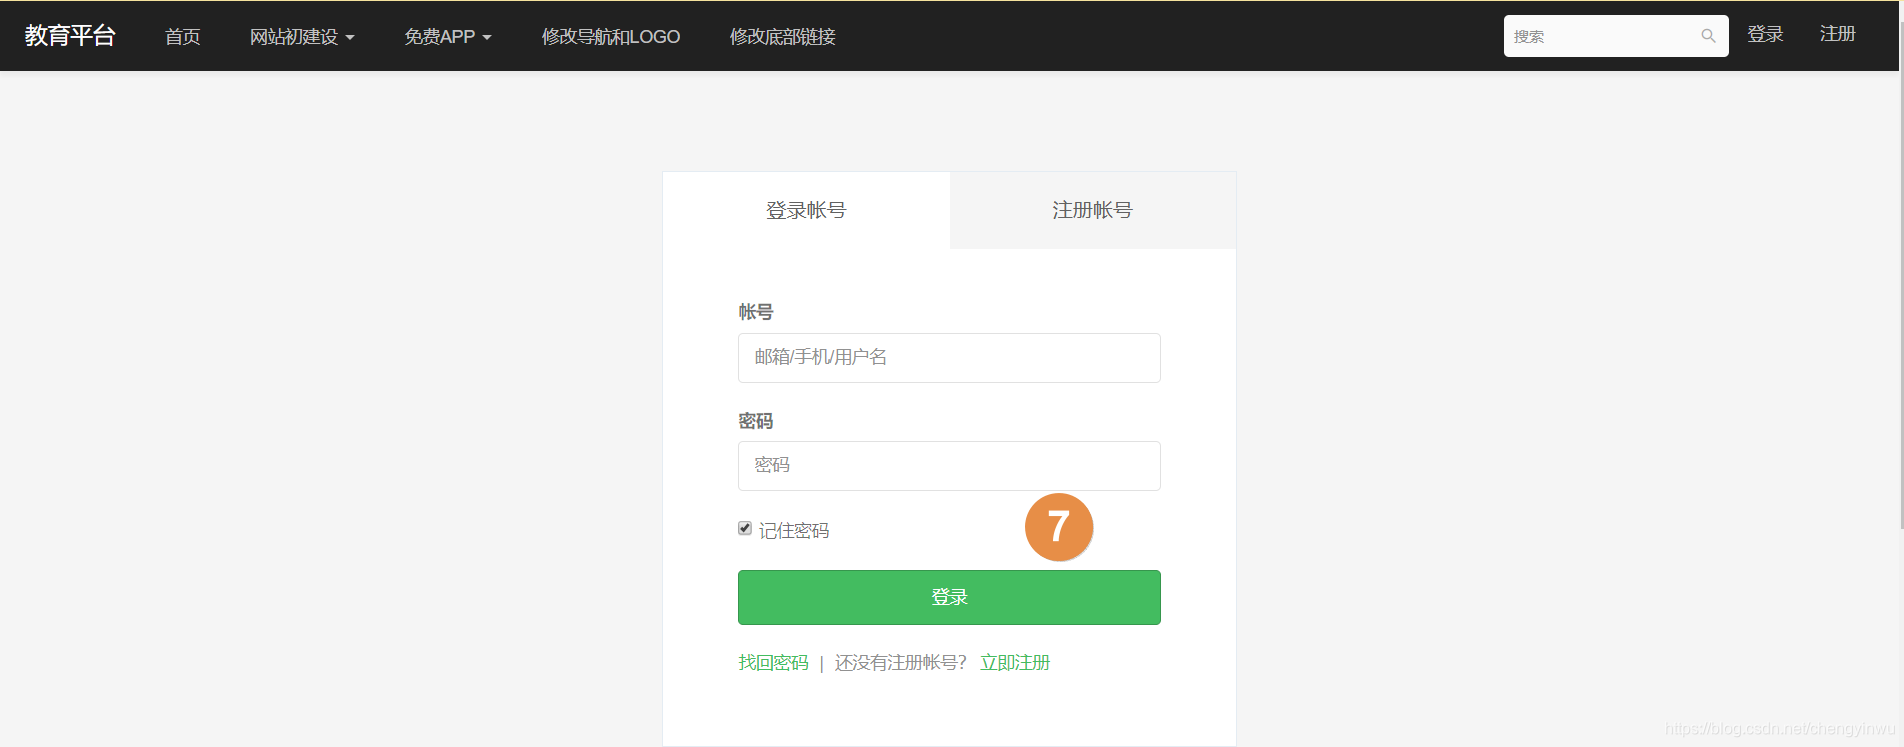
4.edusoho视频网站部署:
1.编写Nginx的配置文件
[root@web01 ~]# cat /etc/nginx/conf.d/edu.cheng.com.conf
server {
    listen 80;
    server_name edu.cheng.com;
    root /code/edusoho/web;

    location / {
        index app.php;
        try_files $uri @rewriteapp;
    }

    location @rewriteapp {
        rewrite ^(.*)$ /app.php/$1 last;
    }

    location ~ ^/udisk {
        internal;
        root /code/edusoho/app/data/;
    }

    location ~ ^/(app|app_dev).php(/|$) {
        fastcgi_pass   127.0.0.1:9000;
        fastcgi_split_path_info ^(.+.php)(/.*)$;
        include fastcgi_params;
        fastcgi_param  SCRIPT_FILENAME    $document_root$fastcgi_script_name;
        fastcgi_param  HTTPS              off;
        fastcgi_param HTTP_X-Sendfile-Type X-Accel-Redirect;
        fastcgi_param HTTP_X-Accel-Mapping /udisk=/code/edusoho/app/data/udisk;
        fastcgi_buffer_size 128k;
        fastcgi_buffers 8 128k;
    }

    # 配置设置图片格式文件
    location ~* .(jpg|jpeg|gif|png|ico|swf)$ {
        # 过期时间为3年
        expires 3y;

        # 关闭日志记录
        access_log off;

        # 关闭gzip压缩,减少CPU消耗,因为图片的压缩率不高。
        gzip off;
    }

    # 配置css/js文件
    location ~* .(css|js)$ {
        access_log off;
        expires 3y;
    }

    # 禁止用户上传目录下所有.php文件的访问,提高安全性
    location ~ ^/files/.*.(php|php5)$ {
        deny all;
    }

    # 以下配置允许运行.php的程序,方便于其他第三方系统的集成。
    location ~ .php$ {
        # [改] 请根据实际php-fpm运行的方式修改
        fastcgi_pass   127.0.0.1:9000;
        fastcgi_split_path_info ^(.+.php)(/.*)$;
        include fastcgi_params;
        fastcgi_param  SCRIPT_FILENAME    $document_root$fastcgi_script_name;
        fastcgi_param  HTTPS              off;
    }
}

2.上传产品源代码文件,更改权限
[root@web01 ~]# rz edusoho-8.3.43.zip
[root@web01 ~]# chown -R www.www /code/

3.登录数据库.创建库名称  【可以不用创建数据库】
[root@web01 ~]# mysql -uroot -p000000
MariaDB [(none)]> create database edusoho;
MariaDB [(none)]> show databases;
+--------------------+
| Database           |
+--------------------+
| information_schema |
| edusoho            |
| mysql              |
| performance_schema |
| test               |
| wordpress          |
| zh                 |
+--------------------+
7 rows in set (0.00 sec)

4.重启Nginx服务
[root@web01 ~]# nginx -t
[root@web01 ~]# systemctl restart nginx

5.配置域名解析
部署图解四: