一、配置虚拟目录
在tomcat上配置图片虚拟目录,在tomcat下conf/server.xml中添加:
<Context docBase="D:upload emp" path="/pic" reloadable="false"/>
访问http://localhost:8080/pic即可访问D:upload emp下的图片。
也可以通过eclipse配置,如下图:
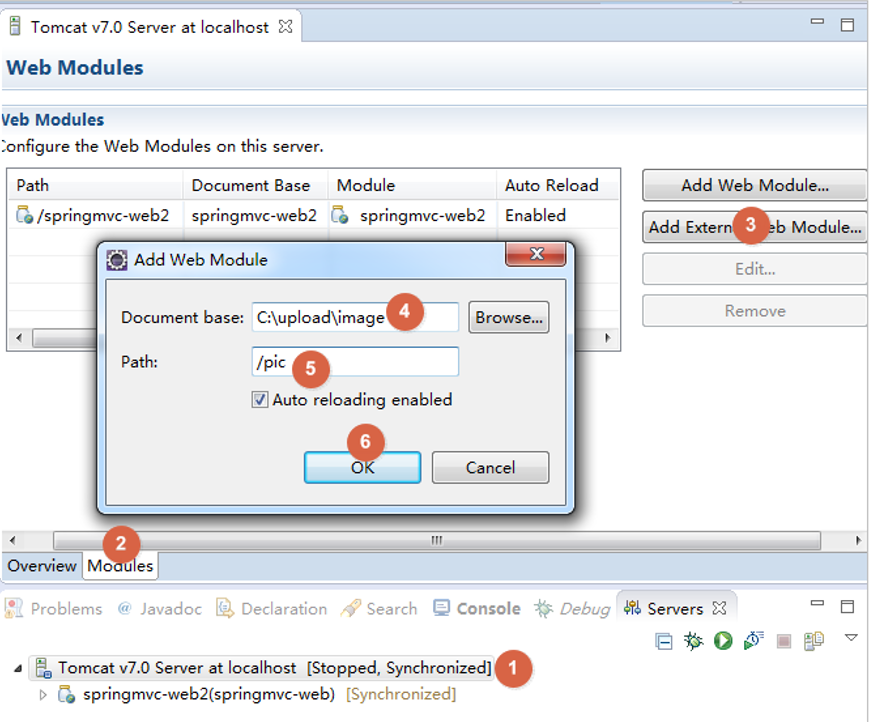
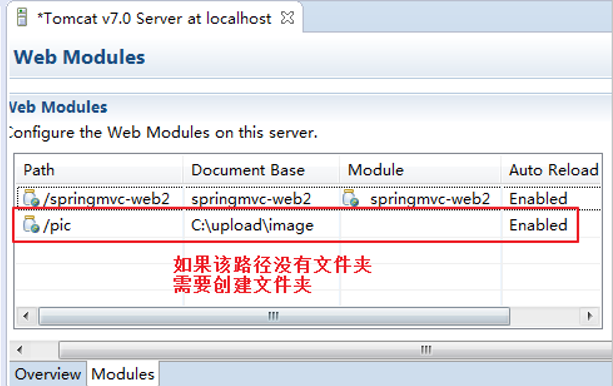
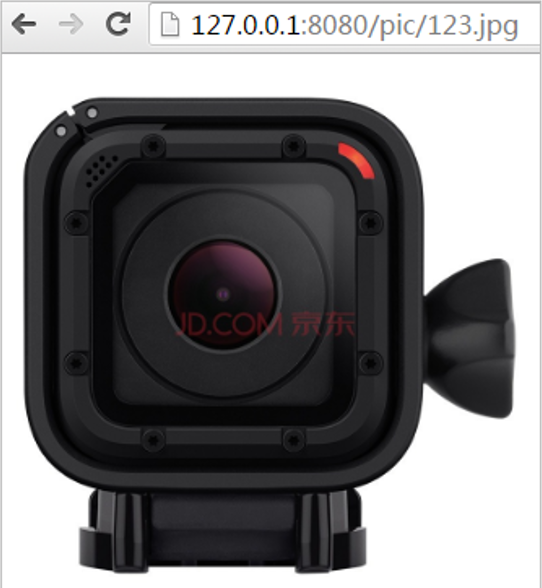
复制一张图片到存放图片的文件夹,使用浏览器访问
测试效果,如下图:
二、加入jar包

三、配置上传解析器
在springmvc.xml中配置文件上传解析器
  <!-- 文件上传,id必须设置为multipartResolver  -->
    <bean id="multipartResolver" class="org.springframework.web.multipart.commons.CommonsMultipartResolver">
        <!-- 设置文件上传大小 -->
        <property name="maxUploadSize" value="5000000"></property>
    </bean>
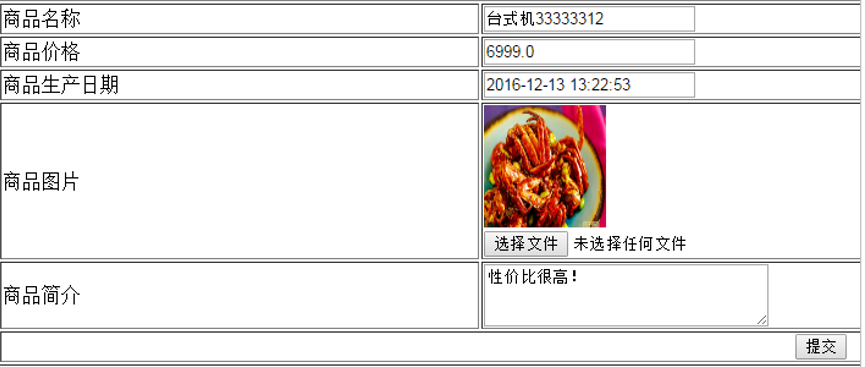
四、修改jsp页面
修改itemEdit.jsp:
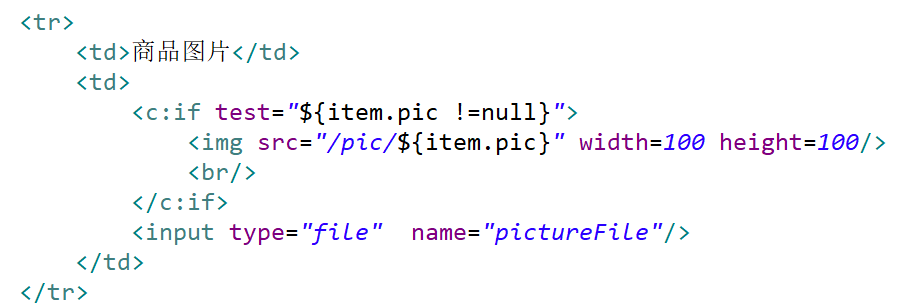

五、实现图片上传
在更新商品方法中添加图片上传逻辑
/**
 * 更新商品
 *
 * @param item
 * @return
 * @throws Exception
 */
@RequestMapping("updateItem")
public String updateItemById(Item item, MultipartFile pictureFile) throws Exception {
    // 图片上传
    // 设置图片名称,不能重复,可以使用uuid
    String picName = UUID.randomUUID().toString();

    // 获取文件名
    String oriName = pictureFile.getOriginalFilename();
    // 获取图片后缀
    String extName = oriName.substring(oriName.lastIndexOf("."));

    // 开始上传
    pictureFile.transferTo(new File("C:/upload/image/" + picName + extName));

    // 设置图片名到商品中
    item.setPic(picName + extName);
    // ---------------------------------------------
    // 更新商品
    this.itemService.updateItemById(item);

    return "forward:/itemEdit.action";
}
效果如下:
