最近要做个https 双向认证的,就做了个demo,踩了不少坑,记录一下.
主要还是对原理理解不够透彻,刚开始直接从网上搬个例子就用,结果大部分都不适用.
本文大纲:
1.单向,双向认证过程详解
2.证书格式说明
3.使用openssl生成证书
4.nginx配置(服务器端)
5.浏览器访问(客户端)
6.java代码访问(客户端)
7.使用购买的证书(信任机构签发的)
1.单向,双向认证过程详解
过程参考博客 http://blog.chinaunix.net/uid-26335251-id-3508651.html
单向认证只是客户端认证服务端, 双向认证就是相互都要认证(双向认证这种,在浏览器一般都体现为需要证书)
2.证书格式说明
在使用openssl自己生成证书的时候,会发现网上很多例子生成的证书格式都不同,同一篇文章里也会有很多种格式.
所以就需要了解下 不同格式有什么区别和联系
参考博客http://blog.csdn.net/justinjing0612/article/details/7770301
参考博客http://www.cnblogs.com/lzjsky/archive/2010/11/14/1877143.html
der,cer文件一般是二进制格式的,只放证书,不含私钥
crt文件可能是二进制的,也可能是文本格式的,应该以文本格式居多,功能同der/cer
pem文件一般是文本格式的,可以放证书或者私钥,或者两者都有
pem如果只含私钥的话,一般用.key扩展名,而且可以有密码保护
pfx,p12文件是二进制格式,同时含私钥和证书,通常有保护密码
3.使用openssl生成证书
创建一个文件夹存放生成的证书
1)创建根证私钥

openssl genrsa -out root-key.key 1024

2)创建根证书请求文件

openssl req -new -out root-req.csr -key root-key.key

具体如下

[root@localhost sslKey]# openssl req -new -out root-req.csr -key root-key.key

You are about to be asked to enter information that will be incorporated

into your certificate request.

What you are about to enter is what is called a Distinguished Name or a DN.

There are quite a few fields but you can leave some blank

For some fields there will be a default value,

If you enter '.', the field will be left blank.

-----

Country Name (2 letter code) [XX]:cn

State or Province Name (full name) []:bj

Locality Name (eg, city) [Default City]:bj

Organization Name (eg, company) [Default Company Ltd]:dc

Organizational Unit Name (eg, section) []:dc

Common Name (eg, your name or your server's hostname) []:root

Email Address []:


Please enter the following 'extra' attributes

to be sent with your certificate request

A challenge password []:

An optional company name []:
在2)的时候,会让填写信息,其中国家,省市,公司等需要和后面的证书保持一致.后面challenge password的地方直接回车就好
3)自签根证书

openssl x509 -req -in root-req.csr -out root-cert.cer -signkey root-key.key -CAcreateserial -days 3650


4)生成p12格式根证书,密码填写123456

openssl pkcs12 -export -clcerts -in root-cert.cer -inkey root-key.key -out root.p12


5)生成服务端key

openssl genrsa -out server-key.key 1024


6)生成服务端请求文件

openssl req -new -out server-req.csr -key server-key.key


具体如下

[root@localhost sslKey]# openssl req -new -out server-req.csr -key server-key.key

You are about to be asked to enter information that will be incorporated

into your certificate request.

What you are about to enter is what is called a Distinguished Name or a DN.

There are quite a few fields but you can leave some blank

For some fields there will be a default value,

If you enter '.', the field will be left blank.

-----

Country Name (2 letter code) [XX]:cn

State or Province Name (full name) []:bj

Locality Name (eg, city) [Default City]:bj

Organization Name (eg, company) [Default Company Ltd]:dc

Organizational Unit Name (eg, section) []:dc

Common Name (eg, your name or your server's hostname) []:*.ttt.com

Email Address []:


Please enter the following 'extra' attributes

to be sent with your certificate request

A challenge password []:

An optional company name []:
在6)的时候,国家省市公司和2)保持一致, Common Name 要特别注意, 要用你服务器的域名,我们测试用ttt.com
7)生成服务端证书(root证书,rootkey,服务端key,服务端请求文件这4个生成服务端证书)

openssl x509 -req -in server-req.csr -out server-cert.cer -signkey server-key.key -CA root-cert.cer -CAkey root-key.key -CAcreateserial -days 3650


8)生成客户端key

openssl genrsa -out client-key.key 1024


9)生成客户端请求文件

openssl req -new -out client-req.csr -key client-key.key


具体如下

[root@localhost sslKey]# openssl req -new -out client-req.csr -key client-key.key

You are about to be asked to enter information that will be incorporated

into your certificate request.

What you are about to enter is what is called a Distinguished Name or a DN.

There are quite a few fields but you can leave some blank

For some fields there will be a default value,

If you enter '.', the field will be left blank.

-----

Country Name (2 letter code) [XX]:cn

State or Province Name (full name) []:bj

Locality Name (eg, city) [Default City]:bj

Organization Name (eg, company) [Default Company Ltd]:dc

Organizational Unit Name (eg, section) []:dc

Common Name (eg, your name or your server's hostname) []:client common

Email Address []:


Please enter the following 'extra' attributes

to be sent with your certificate request

A challenge password []:

An optional company name []:


10)生成客户端证书(root证书,rootkey,客户端key,客户端请求文件这4个生成客户端证书)

openssl x509 -req -in client-req.csr -out client-cert.cer -signkey client-key.key -CA root-cert.cer -CAkey root-key.key -CAcreateserial -days 3650


11)生成客户端p12格式根证书(密码设置123456)

openssl pkcs12 -export -clcerts -in client-cert.cer -inkey client-key.key -out client.p12
第3步证书生成完毕,就可以使用这些证书了,首先在服务端进行配置,nginx的安装就不多说了,参考http://blog.csdn.net/qq315737546/article/details/51834866
注意下 ./configure 的时候,要增加ssl支持,需要换成 ./configure--with-http_ssl_module
下面贴出nginx的简易版配置文件
worker_processes  1;
events {
    worker_connections  1024;
}
http {
    include       mime.types;
    default_type  application/octet-stream;
    sendfile        on;
    keepalive_timeout  65;

    server {
        listen       443 ssl;
        server_name  ttt.com;
        ssl                  on;
        ssl_certificate      /data/sslKey/server-cert.cer;  #server证书公钥
        ssl_certificate_key  /data/sslKey/server-key.key;  #server私钥
        ssl_client_certificate /data/sslKey/root-cert.cer;  #根级证书公钥,用于验证各个二级client
        ssl_verify_client on;  #开启客户端证书验证

        location / {
            root   html;
            index  index.html index.htm;
        }
    }
}
启动nginx,然后在我们浏览器访问测试下.
5.浏览器访问(客户端)
(先在C:\Windows\System32\drivers\etc\hosts 里面做好 域名和ip的映射192.168.234.132 www.ttt.com)
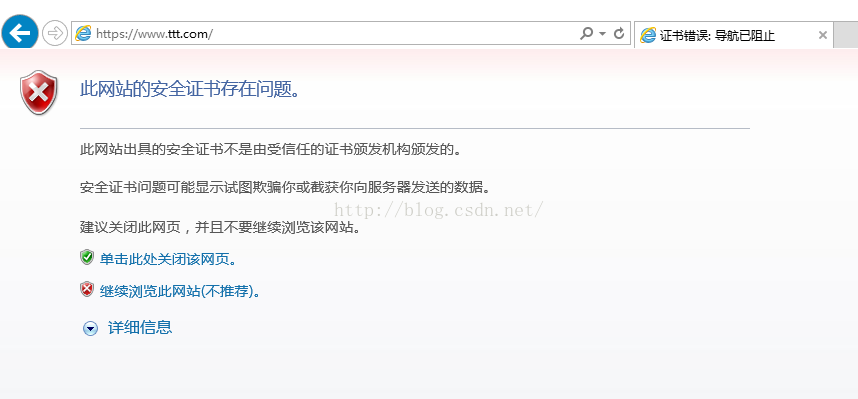
点击继续浏览此网站,则如下图

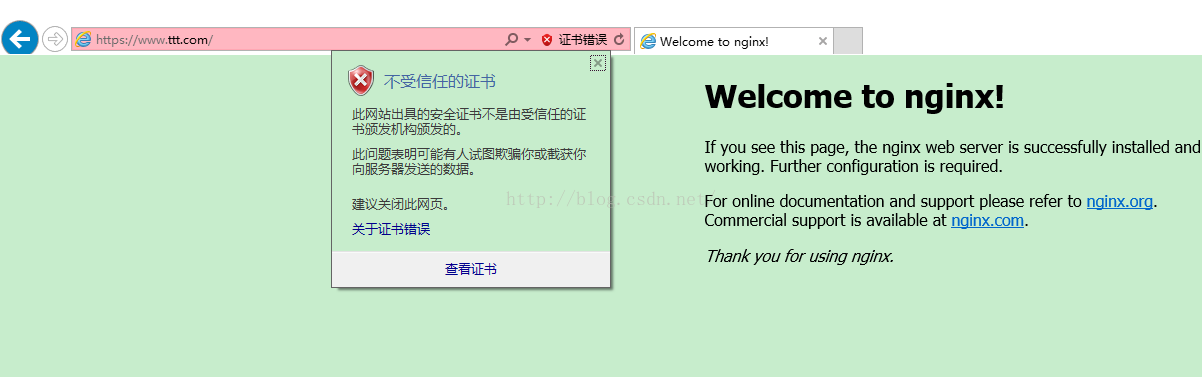
出现400错误,是因为我们没有带客户端证书的原因, 将client.p12 导入浏览器,则如下图
可以访问,但是证书会有红色x号.因为是我们自己签的.浏览器不信任
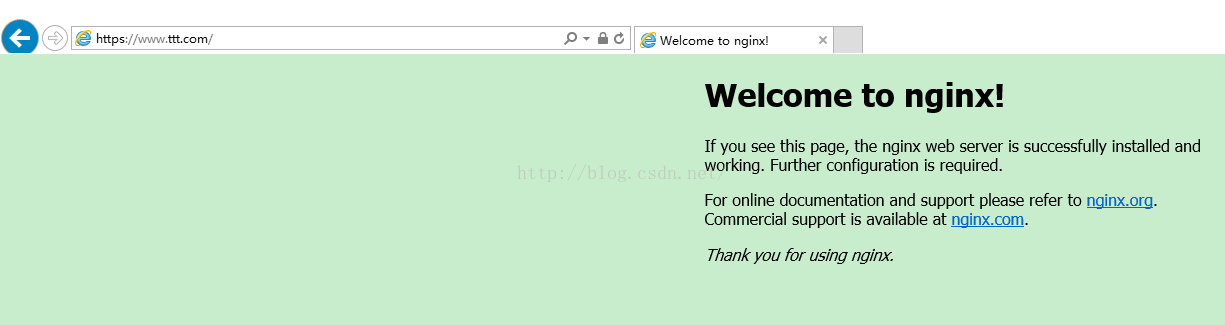
这时候我们将我们的root.p12也导入,证书存储不用默认的个人,选择 受信任的根证书颁发机构, 如果再访问如下图(可能要重启浏览器)
6.java代码访问(客户端)
根据我们在第1点里面的了解,双向认证是需要互相认证证书的. 所以客户端需要认证服务器证书,也要把客户端证书发送给服务器. 用浏览器做客户端的时候,认证服务器证书自动进行,提交客户端证书也是自动进行(需要导入证书到浏览器)
当我们用java代码来做的时候, 也是需要这些步骤.
1)首先是认证服务器证书, jdk有默认的信任证书列表$JRE/lib/security/cacerts
也会默认信任 $JRE/lib/security/jssecacerts 里的证书.
如果你把证书放到别的地方,则需要在代码中指定
(理论上如果是买的根机构签发的证书,是不需要导入到java自己的库里,但是java的和操作系统的信任库可能不一样,我们买的在浏览器就OK,在java中就必须手动导入服务端证书到信任列表中)
用keytool导入的时候注意下 keystore的路径. cacerts的默认密码是changeit
D:\>cd jdk1.7.0_80\jre7\lib\security
D:\jdk1.7.0_80\jre7\lib\security>keytool -import -alias ttt -keystore cacerts -file e:/HttpsDemo/server-cert.cer
输入密钥库口令:
所有者: CN=*.ttt.com, OU=dc, O=dc, L=bj, ST=bj, C=cn
发布者: CN=root, OU=dc, O=dc, L=bj, ST=bj, C=cn
序列号: a034f5e5d4b1c825
有效期开始日期: Thu Oct 20 00:01:52 CST 2016, 截止日期: Sun Oct 18 00:01:52 CST 2026
证书指纹:
         MD5: 65:CB:C9:0D:C4:E7:66:F9:09:3D:B4:17:E6:6B:E5:AB
         SHA1: 41:AD:9E:EB:61:88:AE:1B:A3:76:CE:F8:2C:BB:5D:74:C8:0D:2D:0D
         SHA256: 0D:17:D4:EF:2E:9D:89:EA:3A:1F:32:44:D5:12:DF:E0:EE:58:61:04:1A:28:BC:91:D4:7C:3F:AF:FE:99:79:16
         签名算法名称: SHA1withRSA
         版本: 1
是否信任此证书? [否]:  y
证书已添加到密钥库中
D:\jdk1.7.0_80\jre7\lib\security>
2) java代码(包含加载客户端证书)
import java.io.File;
import java.io.FileInputStream;
import java.io.InputStream;
import java.security.KeyStore;
import javax.net.ssl.SSLContext;
import org.apache.http.HttpEntity;
import org.apache.http.client.methods.CloseableHttpResponse;
import org.apache.http.client.methods.HttpGet;
import org.apache.http.conn.ssl.SSLConnectionSocketFactory;
import org.apache.http.impl.client.CloseableHttpClient;
import org.apache.http.impl.client.HttpClients;
import org.apache.http.ssl.SSLContexts;
import org.apache.http.util.EntityUtils;

public class HttpsDemo {
    private final static String PFX_PATH = "e:/HttpsDemo/client.p12";    //客户端证书路径
    private final static String PFX_PWD = "123456";    //客户端证书密码

   public static String sslRequestGet(String url) throws Exception {
        KeyStore keyStore = KeyStore.getInstance("PKCS12");
        InputStream instream = new FileInputStream(new File(PFX_PATH));
        try {
            keyStore.load(instream, PFX_PWD.toCharArray());
        } finally {
            instream.close();
        }
        SSLContext sslcontext = SSLContexts.custom().loadKeyMaterial(keyStore, PFX_PWD.toCharArray()).build();
        SSLConnectionSocketFactory sslsf = new SSLConnectionSocketFactory(sslcontext
                , new String[] { "TLSv1" }    // supportedProtocols ,这里可以按需要设置
                , null    // supportedCipherSuites
                , SSLConnectionSocketFactory.getDefaultHostnameVerifier());

        CloseableHttpClient httpclient = HttpClients.custom().setSSLSocketFactory(sslsf).build();
        try {
            HttpGet httpget = new HttpGet(url);
//            httpost.addHeader("Connection", "keep-alive");// 设置一些heander等
            CloseableHttpResponse response = httpclient.execute(httpget);
            try {
                HttpEntity entity = response.getEntity();
                String jsonStr = EntityUtils.toString(response.getEntity(), "UTF-8");//返回结果
                EntityUtils.consume(entity);
                return jsonStr;
            } finally {
                response.close();
            }
        } finally {
            httpclient.close();
        }
    }

    public static void main(String[] args) throws Exception {
        System.out.println(System.getProperty("java.home"));
        System.out.println(sslRequestGet("https://www.ttt.com/"));
    }
}
3) 编译运行2)里面的java文件
E:\HttpsDemo>javac -encoding utf-8 -cp commons-logging-1.1.1.jar;httpclient-4.5.jar;httpcore-4.4.1.jar; HttpsDemo.java
E:\HttpsDemo>java -cp commons-logging-1.1.1.jar;httpclient-4.5.jar;httpcore-4.4.1.jar; HttpsDemo
D:\jdk1.7.0_80\jre7
<!DOCTYPE html>
<html>
<head>
<title>Welcome to nginx!</title>
<style>
    body {
        width: 35em;
        margin: 0 auto;
        font-family: Tahoma, Verdana, Arial, sans-serif;
    }
</style>
</head>
<body>
<h1>Welcome to nginx!</h1>
<p>If you see this page, the nginx web server is successfully installed and
working. Further configuration is required.</p>
<p>For online documentation and support please refer to
<a href="http://nginx.org/">nginx.org</a>.<br/>
Commercial support is available at
<a href="http://nginx.com/">nginx.com</a>.</p>
<p><em>Thank you for using nginx.</em></p>
</body>
</html>
E:\HttpsDemo>
可以看到能正常访问了. 大功告成.(代码中增加了jre的输出,因为eclipse和cmd可能用的不是同一个,证书只导入了其中一个jre里,另一个运行不正常)
7.使用购买的证书(信任机构签发的)
如果是公司使用的话,证书一般是从信任机构那里买的.所以就不需要上面测试的root证书.
信任机构提供 服务端证书和私钥,客户端证书 就可以了.
如果报错
Exception in thread "main" javax.net.ssl.SSLHandshakeException: sun.security.validator.ValidatorException: PKIX path building failed: sun.security.provider.certpath.SunCertPathBuilderException: unable to find valid certification path to requested target
本文结束。