------------恢复内容开始------------
一、Thymeleaf引入
1.maven引入starter
<dependency>
            <groupId>org.springframework.boot</groupId>
            <artifactId>spring-boot-starter-thymeleaf</artifactId>
</dependency>
2.切换版本
由于SpringBoot的starter集成的thymeleaf2,我们需要切换成thymeleaf3,但是thymeleaf3需要layout2,所以需要加下面的版本修改
  <properties>
        <thymeleaf.version>3.0.9.RELEASE</thymeleaf.version>
        <thymeleaf-layout-dialect.version>2.2.2</thymeleaf-layout-dialect.version>
    </properties>
3.完整maven贴上
<?xml version="1.0" encoding="UTF-8"?>
<project xmlns:xsi="http://www.w3.org/2001/XMLSchema-instance"
         xmlns="http://maven.apache.org/POM/4.0.0"
         xsi:schemaLocation="http://maven.apache.org/POM/4.0.0 http://maven.apache.org/xsd/maven-4.0.0.xsd">
    <modelVersion>4.0.0</modelVersion>

    <groupId>muyer-springboot</groupId>
    <artifactId>quickStart</artifactId>
    <version>1.0-SNAPSHOT</version>

    <parent>
        <groupId>org.springframework.boot</groupId>
        <artifactId>spring-boot-starter-parent</artifactId>
        <version>1.5.9.RELEASE</version>
    </parent>
    <properties>
        <thymeleaf.version>3.0.9.RELEASE</thymeleaf.version>
        <thymeleaf-layout-dialect.version>2.2.2</thymeleaf-layout-dialect.version>
    </properties>
    <dependencies>
        <dependency>
            <groupId>org.springframework.boot</groupId>
            <artifactId>spring-boot-starter-web</artifactId>
        </dependency>
        <dependency>
            <groupId>org.springframework.boot</groupId>
            <artifactId>spring-boot-starter-thymeleaf</artifactId>
        </dependency>
    </dependencies>
</project>
二、Thymeleaf使用
1.创建templates文件夹
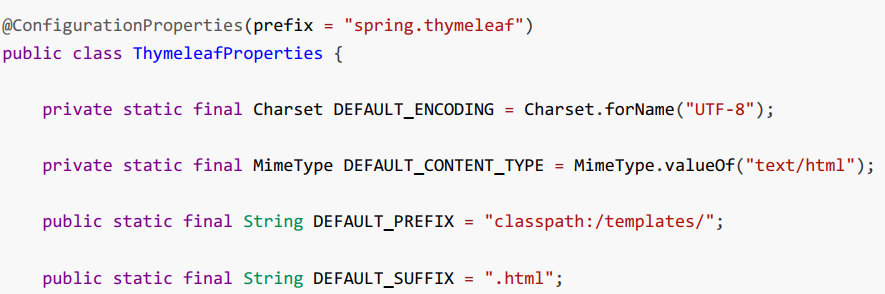
查看源码,如下图,我们只需要把HTML页面放在classpath:/templates/,thymeleaf就能够渲染了
2.创建HTML
创建的html页面需要引入thymeleaf的名称空间,才会有提示
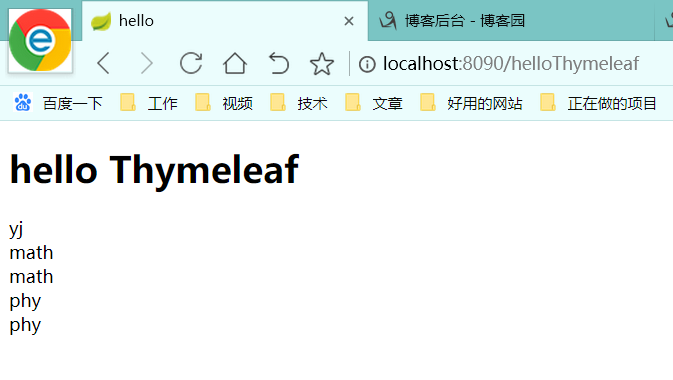
<!DOCTYPE html>
<html lang="en" xmlns:th="http://www.w3.org/1999/xhtml">
<head>
    <meta charset="UTF-8">
    <title>hello</title>
</head>
<body>
    <h1>hello Thymeleaf</h1>
    <div th:text="${name}"></div>
    <div th:each="item:${subject}">
        <div th:text="${item}"></div>
        [[${item}]]
    </div>
</body>
</html>
3.创建controller
@Controller
public class HelloController {
    @RequestMapping(value = "helloThymeleaf")
    public String hello(Map<String,Object> map){
        map.put("name","yj");
        map.put("subject", Arrays.asList("math","phy"));
        return "hello";
    }
}
4.启动测试,访问