Apache Axis2 Advanced User's Guide
Web services are application components which communicate using open protocols. Using Web Services we can publish our application's functions to everyone. This tutorial provides step by step instructions to develop Web Services using Axis2 Web Services / SOAP / WSDL engine and Eclipse IDE. Let's start.
1. Setup the Development Environment
1.1. First you need to set up the development environment. Following things are needed if you want to create Web Services using Axis2 and Eclipse IDE.
1) Apache Axis2 Binary Distribution - Download
2) Apache Axis2 WAR Distribution - Download
3) Apache Tomcat - Download
4) Eclipse IDE – Download
5) Java installed in your Computer – Download
6) Tomcat plugin for Eclipse - Download
7)Apache Axis2 plugin for Eclipse -
Download
1.2. Then you have to set the environment variables for Java and Tomcat. There following variables should be added.
JAVA_HOME :- Set the value to jdk directory (e.g. C:\Program Files\Java\jdk1.6.0_21)
TOMCAT_HOME :- Set the value to top level directory of your Tomcat install (e.g. D:\programs\apache-tomcat-6.0.29)
PATH :- Set the value to bin directory of your jdk (e.g. C:\Program Files\Java\jdk1.6.0_21\bin)
1.3. Installing Axis2 engine on Tomcat
Download and install Tomcat 6 or above. Now to install the Axis2 engine copy axis2.war into Tomcat's webapps directory. Now start the Tomcat server.
Testing the Axis2 Installation
You can test the Axis2 engine by opening the browser and typinghttp://localhost:8080/axis2 . Your browser will display the Axis2 home page and it should look like:
Axis2 Web Admin Module
Now click on the "Administration" link and then login as
User: admin
Password: axis2
After successful login you should be able to access the Administration panel. The administration panel will look like following screen shot:
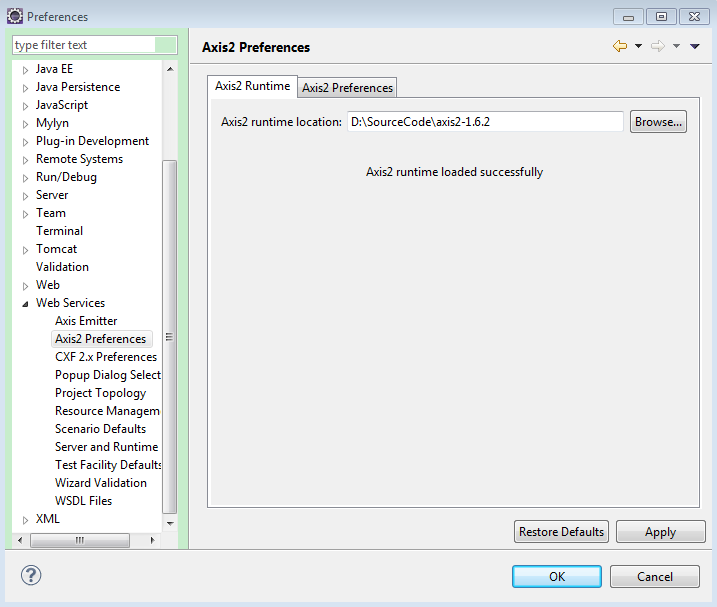
1.4. Then click on the Web Service –-> Axis2 Preferences and browse the top level directory of Apache Axis2 Binary Distribution.
2 Create Web Service
Deploying the Web Services
Now copy the HelloWorldService.aar into webapps/axis2/WEB-INF/services directory and restart the Tomcat. The Apache Axis2 engine will deploy the service on the server. Now open the browser and browser the urlhttp://localhost:8080/axis2/services/listServices. Your browser should display the service name as shown below:
3. Creating a Web service client
3.1 Select File --> New --> Other… and choose Web Service Client
3.2 Set the newly created Axis2 Web service (http://localhost:8080/axis2/services/FirstWebService?wsdl) as the Service definition. Then configure the Server runtime as previously and click finish.
3.3 This will generate two new classes called FirstWebServiceStub.java and FirstWebServiceCallbackHandler.java. Now we can create test class for client and use our web service. Create new class called TestClient.java and paste following code.