wordpress 搭建:
公司要使用自建地图、选用了国外的Mapplic 、但是Mapplic不支持直接编辑地图,需要用json的格式定义、但是wordpress版本的就有这个鬼东西,所以搞了一个这个东西
顺便说一下如果对展示效果要求没有特别高、可以考虑使用 Image Map Pro 插件、这个的JQ 版本有个编辑器可以用。

1、php升级:
升级原因:部分系统自带的php版本过低、需要升级到更高的版本
-- 当前版本查看: php -v
-- 查看安装包版本 rpm -qa php
-- 检查安装包 : yum list --enablerepo=remi --enablerepo=remi-php56 | grep php
-- 删除安装包 yum remove 包名 包名
-- 检查是否卸载成功: yum list installed |grep php
-- 更改数据源: yum install epel-release
-- rpm -ivh http://rpms.famillecollet.com/enterprise/remi-release-7.rpm
-- 或者
rpm -Uvh https://mirror.webtatic.com/yum/el7/epel-release.rpm
rpm -Uvh https://mirror.webtatic.com/yum/el7/webtatic-release.rpm
yum remove php-common -y #移除系统自带的php-common
yum install -y php72w php72w-opcache php72w-xml php72w-mcrypt php72w-gd php72w-devel php72w-mysql php72w-intl php72w-mbstring php72w-fpm php72w-opcache
-- 启动php-fpm : systemctl start php-fpm
参考:
https://www.cnblogs.com/dongqiliang/p/11921954.html
https://blog.csdn.net/weixin_42890981/article/details/83685981
https://www.jianshu.com/p/2b1d6cee223f
上面是直接端口9000转发、也可以选择通过套接方式 更改vi /etc/php-fpm.d/www.conf 内容 listen
;listen = 127.0.0.1:9000
listen = /tmp/php5-fpm.sock
然后nginx 做相应的更改 fastcgi_pass 端口转发的形式更改为文件的方式
fastcgi_pass unix:/tmp/php5-fpm.sock
然后重载一下nginx
systemctl restart nginx.service
https://www.cnblogs.com/zzyyxxjc/p/4361282.html
注: 特喵的还专门去找php安装的资料、结果跟着写了个hello word!
2、调整nginx 配置:
同事配置的时候遇到的一个问题、资源路径有"." 一直无法配置成功、路径重命名就可以正常访问了。
# ################## wordpress ##################################

server {
    listen       80;
    server_name  www.***.com;

    location / {
       # root   /usr/share/nginx/html;
       root   /home/wordpress;

        index  index.html index.htm index.php;
    }

    error_page   500 502 503 504  /50x.html;

    location ~ .php$ {
        root           /home/wordpress;
        fastcgi_pass   127.0.0.1:9000;
        fastcgi_index  index.php;
        fastcgi_param  SCRIPT_FILENAME  $document_root$fastcgi_script_name;
        include        fastcgi_params;
    }
}
重载nginx
systemctl restart nginx.service
这个时候打开网址www.***.com可以看到页面可以正常访问了。
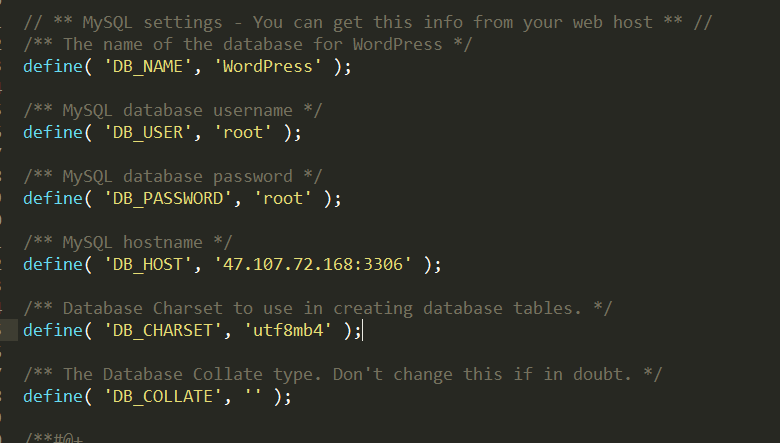
3、配置:
这里需要注意的是、centos7以上的版本可能不支持直接使用root账户进行连接、需要新建其他的数据库用户进行连接。
安排。。。