版本
Tensorflow的安装,我使用anaconda3.6 安装 最新版本 1.11.0;
废物不多说,先拿案例代码basic classification跑一下结果:
# TensorFlow and tf.keras
import tensorflow as tf
from tensorflow import keras

# Helper libraries
import numpy as np
import matplotlib.pyplot as plt

print(tf.__version__)

// 官网的包自动下载数据集
fashion_mnist = keras.datasets.fashion_mnist

(train_images, train_labels), (test_images, test_labels) = fashion_mnist.load_data()

class_names = ['T-shirt/top', 'Trouser', 'Pullover', 'Dress', 'Coat',
               'Sandal', 'Shirt', 'Sneaker', 'Bag', 'Ankle boot']


train_images = train_images / 255.0

test_images = test_images / 255.0


// 做数据检验
# plt.figure(figsize=(10,10))
# for i in range(25):
#     plt.subplot(5,5,i+1)
#     plt.xticks([])
#     plt.yticks([])
#     plt.grid(False)
#     plt.imshow(train_images[i], cmap=plt.cm.binary)
#     plt.xlabel(class_names[train_labels[i]])
# plt.show()


//模型的建立
model = keras.Sequential([
    keras.layers.Flatten(input_shape=(28, 28)),
    keras.layers.Dense(128, activation=tf.nn.relu),
    keras.layers.Dense(10, activation=tf.nn.softmax)
])


model.compile(optimizer=tf.train.AdamOptimizer(),
              loss='sparse_categorical_crossentropy',
              metrics=['accuracy'])

model.fit(train_images, train_labels, epochs=5)

// 模型的效果查看
test_loss, test_acc = model.evaluate(test_images, test_labels)

print('Test accuracy:', test_acc)

print('test loss', test_loss)
再来详解一下代码:
1.

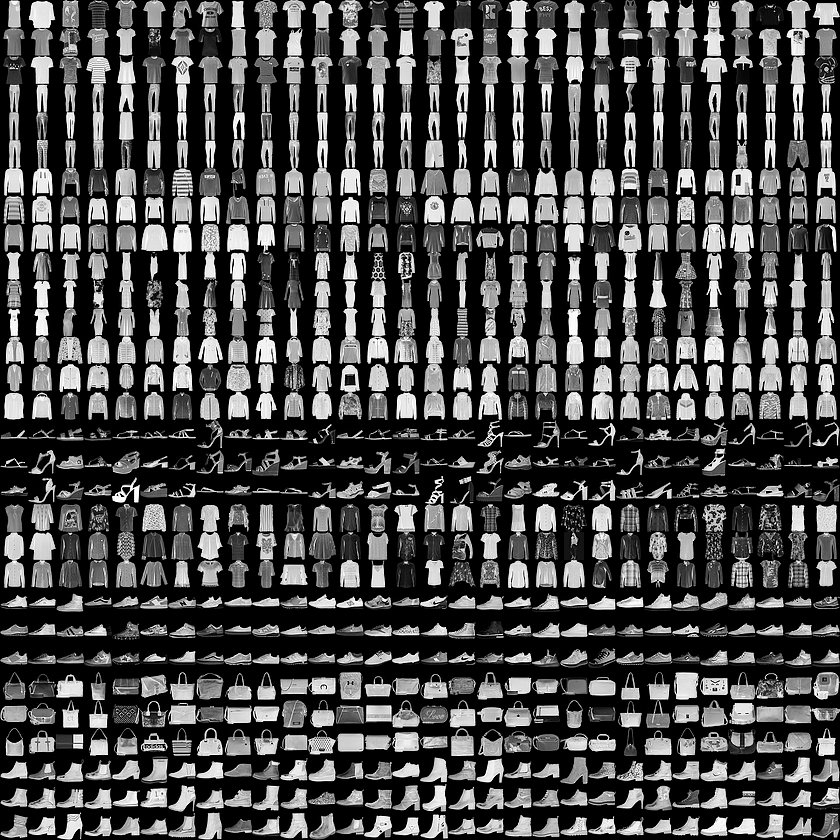
其中包含10个类别中的70,000个灰度图像。图像显示了低分辨率(28 x 28像素)的单件服装,如下所示:

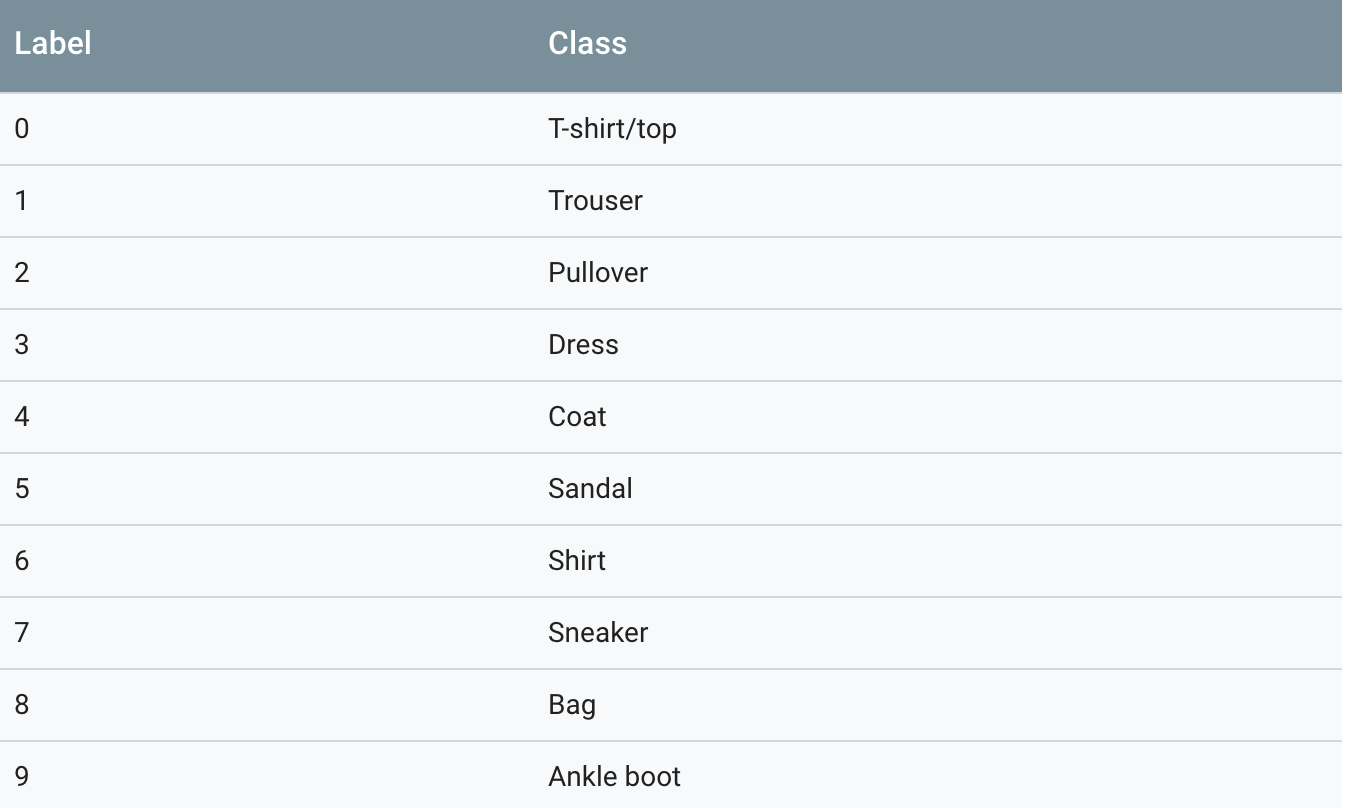
数据分类上一共有十种:

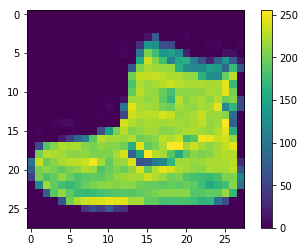
可以通过plt来查看样本的实例:
plt.figure()
plt.imshow(train_images[0])
plt.colorbar()
plt.grid(False)
fashion_mnist = keras.datasets.fashion_mnist

(train_images, train_labels), (test_images, test_labels) = fashion_mnist.load_data()

这一块的代码是官网的例子自动下载包,返回训练集和测试集,没啥好讲的,可以自己去看一下源码,我看了下,就是简单的下载文件检查文件,然后返回数据的dataSet()


2.
train_images = train_images / 255.0
在馈送到神经网络模型之前,我们将这些值缩放到0到1的范围。为此,将图像组件的数据类型从整数转换为float,并除以255.这是预处理图像的函数;

3.神经网络的基本构造块是层。层从馈送到其中的数据中提取表示结果。希望这些表示结果有助于解决手头问题。大部分深度学习都会把简单的层连在一起。大部分层(例如 tf.keras.layers.Dense)都具有在训练期间要学习的参数。
该网络中的第一层 tf.keras.layers.Flatten 将图像格式从二维数组(28x28 像素)转换成一维数组(28 * 28 = 784 像素)。可以将该层视为图像中像素未堆叠的行,并排列这些行。该层没有要学习的参数;它只改动数据的格式。
在扁平化像素之后,该网络包含两个 tf.keras.layers.Dense 层的序列。这些层是密集连接或全连接神经层。第一个 Dense 层具有 128 个节点(或神经元)。第二个(也是最后一个)层是具有 10 个节点的 softmax 层,
该层会返回一个具有 10 个概率得分的数组,这些得分的总和为 1。每个节点包含一个得分,表示当前图像属于 10 个类别中某一个的概率。
model = keras.Sequential([
    keras.layers.Flatten(input_shape=(28, 28)),
    keras.layers.Dense(128, activation=tf.nn.relu),
    keras.layers.Dense(10, activation=tf.nn.softmax)
])


编译模型,设置损失,优化器,指标
model.compile(optimizer=tf.train.AdamOptimizer(),
              loss='sparse_categorical_crossentropy',
              metrics=['accuracy'])

运行模型
model.fit(train_images, train_labels, epochs=5)
设置模型参数,这些参数暂时不用管,以后慢慢学习慢慢调整就可以了。

4.
print('Test accuracy:', test_acc)
查看模型的效果,关注准确率就返回准确率就可以了;