安装
首先进入项目目录,使用npm安装react-router-dom
1 npm install react-router-dom --save-dev
基本操作
然后我们新建俩个页面,分别命名为“home”和“detail”。在页面中编写如下代码:
 1 // home.js
 2 import React from 'react';
 3
 4 export default class Home extends React.Component{
 5       render(){
 6           return(
 7               <div>
 8                     <a>去detail</a>
 9              </div>
10          )
11     }
12 }
 1  // detail.js
 2  import React from 'react';
 3
 4   export default class Detail extends React.Component{
 5        render(){
 6            return(
 7                <div>
 8                      <a>回到home</a>
 9               </div>
10           )
11      }
12  }
然后再新建一个路由组件,命名为“Router.js”,并编写如下代码:
 1 import React from 'react';
 2 import {HashRouter, Route, Switch} from 'react-router-dom';
 3 import Home from '../home';
 4 import Detail from '../detail';
 5
 6
 7 const BasicRoute = () => (
 8     <HashRouter>
 9         <Switch>
10             <Route exact path="/" component={Home}/>
11             <Route exact path="/detail" component={Detail}/>
12         </Switch>
13     </HashRouter>
14 );
15
16
17 export default BasicRoute;
如上代码定义了一个纯路由组件,将俩个页面组件Home的Detail使用Router组件包裹,外面套用Switch作路由匹配,当路由组件检测到地址栏与Route的path匹配时,就会自动加载响应页面。然后在入口文件中——我这里指定的是index.js—编写如下代码:
1 import React from 'react';
2 import ReactDOM from 'react-dom';
3 import Router from './router/router';
4
5 ReactDOM.render(
6   <Router/>,
7   document.getElementById('root')
8 );
这里相当于向页面返回了一个路由组件。我们运行看一下效果,在地址栏输入“http://localhost:3000/#/”:
home.js

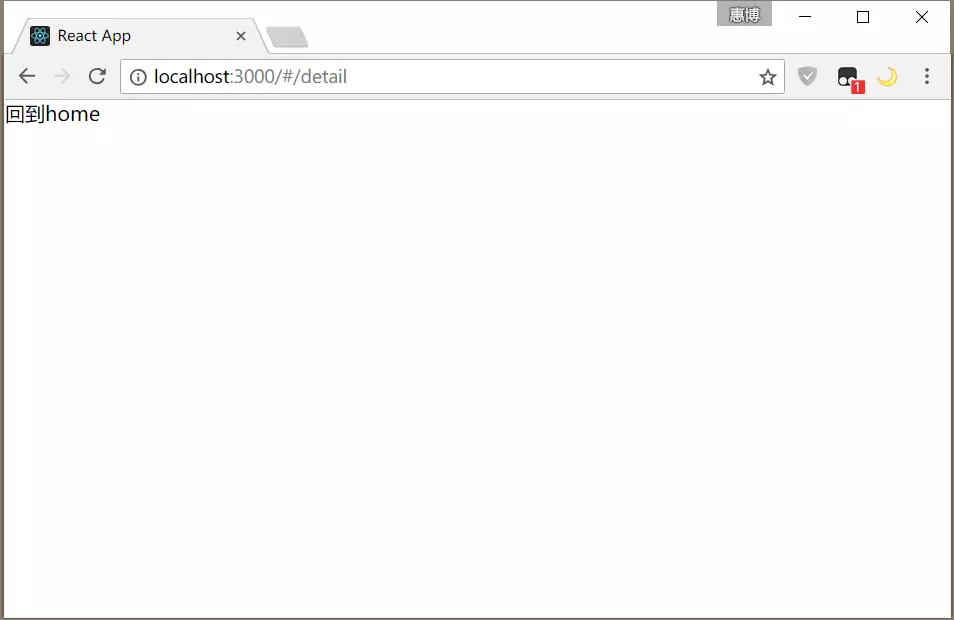
输入“http://localhost:3000/#/detail”:
detail.js
通过a标签跳转
可以看到其实路由已经开始工作了,接下来我们再来做页面间的跳转。在home.js和detail.js中,我们修改如下代码:
 1 // home.js
 2
 3 import React from 'react';
 4
 5
 6     export default class Home extends React.Component {
 7         render() {
 8             return (
 9                 <div>
10                 <a href='#/detail'>去detail</a>
11             </div>
12         )
13     }
14 }
 1 // detail.js
 2
 3 import React from 'react';
 4
 5
 6 export default class Home extends React.Component {
 7     render() {
 8         return (
 9             <div>
10                 <a href='#/'>回到home</a>
11             </div>
12         )
13     }
14 }
重新打包运行,在浏览器地址输入“http://localhost:3000”,试试看页面能否正常跳转。如果不能,请按步骤一步一步检查代码是否有误。以上是使用a标签的href进行页面间跳转,此外react-router-dom还提供了通过函数的方式跳转页面。
通过函数跳转
首先我们需要修改Router.js中的俩处代码:
1 ...
2 import {HashRouter, Route, Switch, hashHistory} from 'react-router-dom';
3 ...
4 <HashRouter history={hashHistory}>
5 ...
然后在home.js中:
import React from ‘react’
 1 // home.js
 2
 3 export default class Home extends React.Component {
 4     constructor(props) {
 5         super(props);
 6     }
 7
 8
 9     render() {
10         return (
11             <div>
12                 <a href='#/detail'>去detail</a>
13                 <button onClick={() => this.props.history.push('detail')}>通过函数跳转</button>
14             </div>
15         )
16     }
17 }
在a标签下面添加一个按钮并加上onClick事件,通过this.props.history.push这个函数跳到detail页面。在路由组件中加入的代码就是将history这个对象注册到组件的props中去,然后就可以在子组件中通过props调用history的push方法跳转页面。
很多场景下,我们还需要在页面跳转的同时传递参数,在react-router-dom中,同样提供了俩种方式进行传参。
url传参
在router.js中,修改如下代码:
1 ...
2 <Route exact path="/detail/:id" component={Detail}/>
3 ...
然后修改detail.js,使用this.props.match.params获取url传过来的参数:
1 ...
2 componentDidMount() {
3     console.log(this.props.match.params);
4 }
5 ...
在地址栏输入“http://localhost:3000/#/detail/3”,打开控制台:
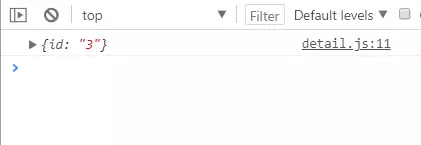
可以看到传过去的id=3已经被获取到了。react-router-dom就是通过“/:”去匹配url传递的参数。
隐式传参
此外还可以通过push函数隐式传参。
修改home.js代码如下:
// home.js

import React from 'react';


export default class Home extends React.Component {
    constructor(props) {
        super(props);
    }


    render() {
        return (
            <div>
                <a href='#/detail/3'>去detail</a>
                    <button onClick={() => this.props.history.push({
                        pathname: '/detail',
                        state: {
                            id: 3
                        }
                })}>通过函数跳转</button>
            </div>
        )
    }
}
在detail.js中,就可以使用this.props.history.location.state获取home传过来的参数:
1 // detail.js
2
3 componentDidMount() {
4     //console.log(this.props.match.params);
5     console.log(this.props.history.location.state);
6 }
跳转后打开控制台可以看到参数被打印:

其他函数
replace
有些场景下,重复使用push或a标签跳转会产生死循环,为了避免这种情况出现,react-router-dom提供了replace。在可能会出现死循环的地方使用replace来跳转:
1 this.props.history.replace('/detail');
goback
场景中需要返回上级页面的时候使用:
1 this.props.history.goBack();