今天参考了园子朋友的Wcf 介绍及列子,索性自己写个Wcf hello word!
废话不说了,自己上代码,及图片。
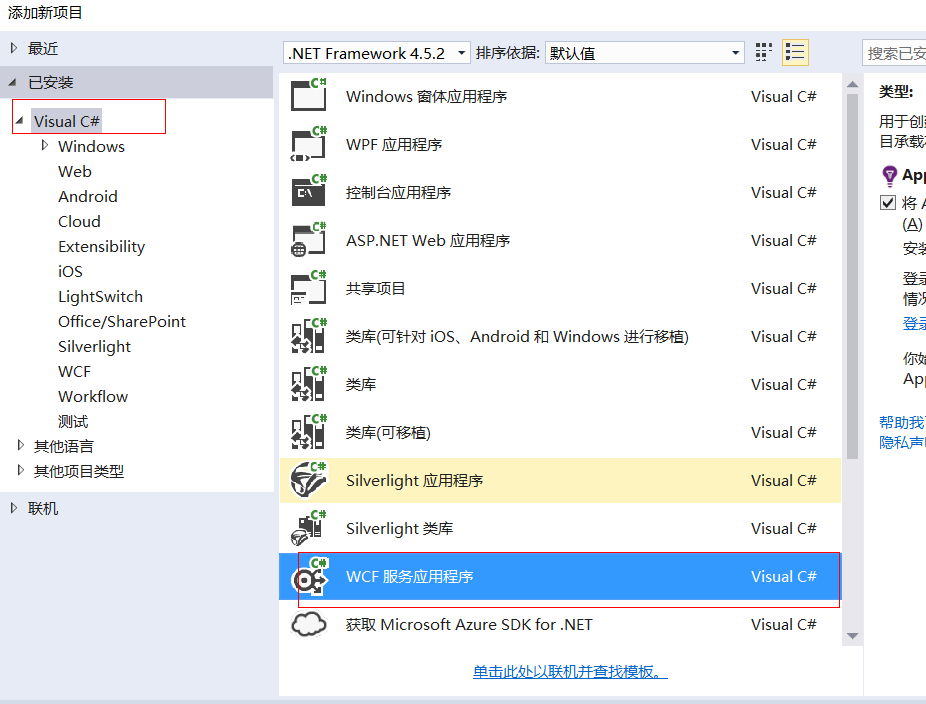
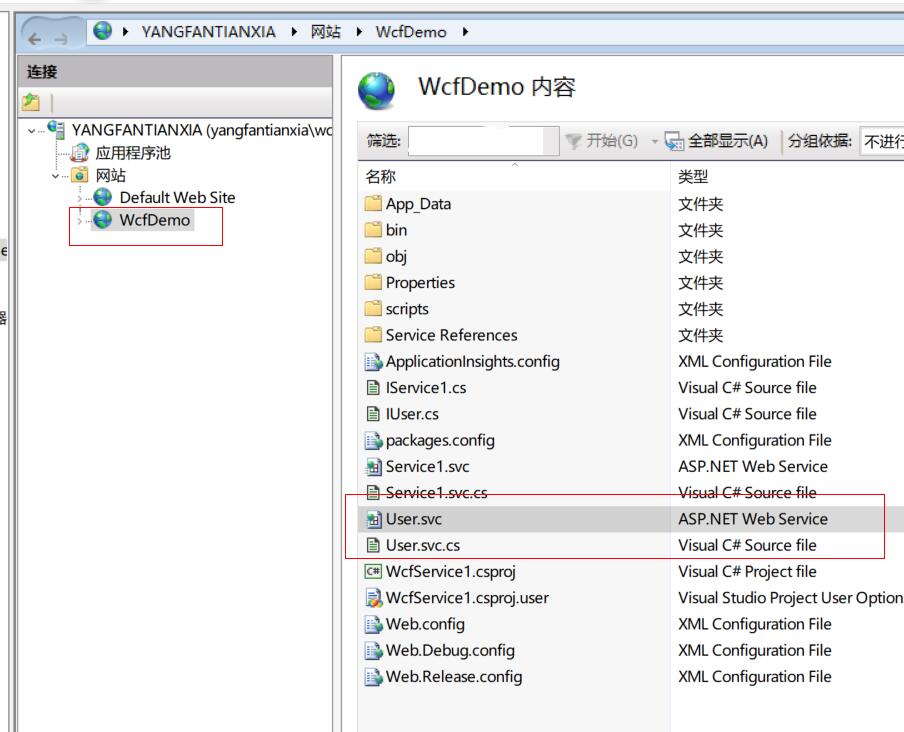
1. 首先先创建WCF 服务应用程序
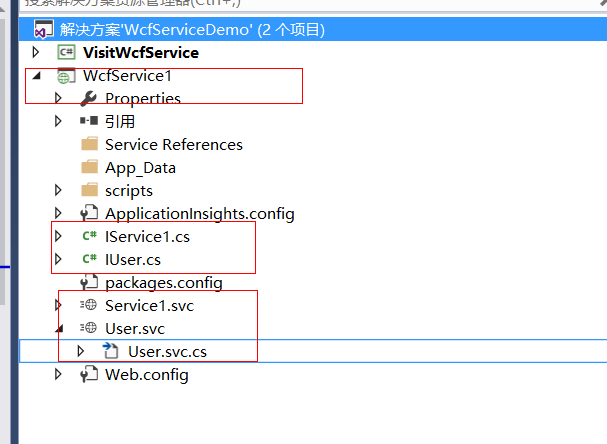
创建成功后,默认包含了IService1.cs, Service.svc,自己又添加了User.svc,默认IUser.cs自动生成,参考下图,
2. IUser.cs及User.svc.cs代码如下
 1 using System;
 2 using System.Collections.Generic;
 3 using System.Linq;
 4 using System.Runtime.Serialization;
 5 using System.ServiceModel;
 6 using System.Text;
 7
 8 namespace WcfService1
 9 {
10     // 注意: 使用“重构”菜单上的“重命名”命令,可以同时更改代码和配置文件中的接口名“IUser”。
11     [ServiceContract]
12     public interface IUser
13     {
14         [OperationContract]
15         void DoWork();
16
17         [OperationContract]
18         string GetUserName(string inputValue);
19
20         [OperationContract]
21         UserEntity GetUserEntity();
22     }
23
24     public class UserEntity
25     {
26         public string Id { get; set; }
27         public string Name { get; set; }
28         public int Age { get; set; }
29         public string Address { get; set; }
30     }
31 }
 1 using System;
 2 using System.Collections.Generic;
 3 using System.Linq;
 4 using System.Runtime.Serialization;
 5 using System.ServiceModel;
 6 using System.Text;
 7
 8 namespace WcfService1
 9 {
10     // 注意: 使用“重构”菜单上的“重命名”命令,可以同时更改代码、svc 和配置文件中的类名“User”。
11     // 注意: 为了启动 WCF 测试客户端以测试此服务,请在解决方案资源管理器中选择 User.svc 或 User.svc.cs,然后开始调试。
12     public class User : IUser
13     {
14         public void DoWork()
15         {
16         }
17
18         public string GetUserName(string inputValue)
19         {
20             return inputValue;
21         }
22
23         public UserEntity GetUserEntity()
24         {
25             UserEntity uEntity = new UserEntity();
26             uEntity.Id = "001";
27             uEntity.Name = "刘若英";
28             uEntity.Age = 16;
29             uEntity.Address = "北京市大兴区";
30             return uEntity;
31         }
32
33     }
34 }
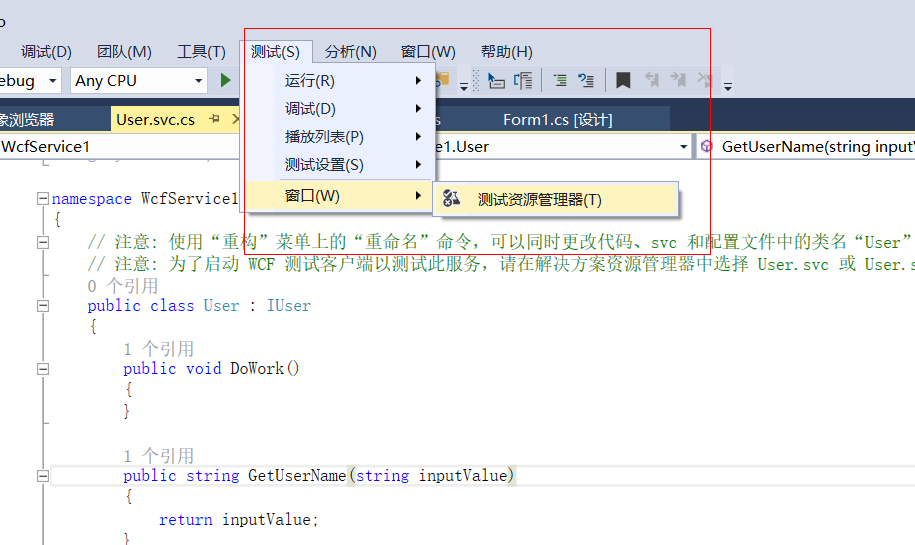
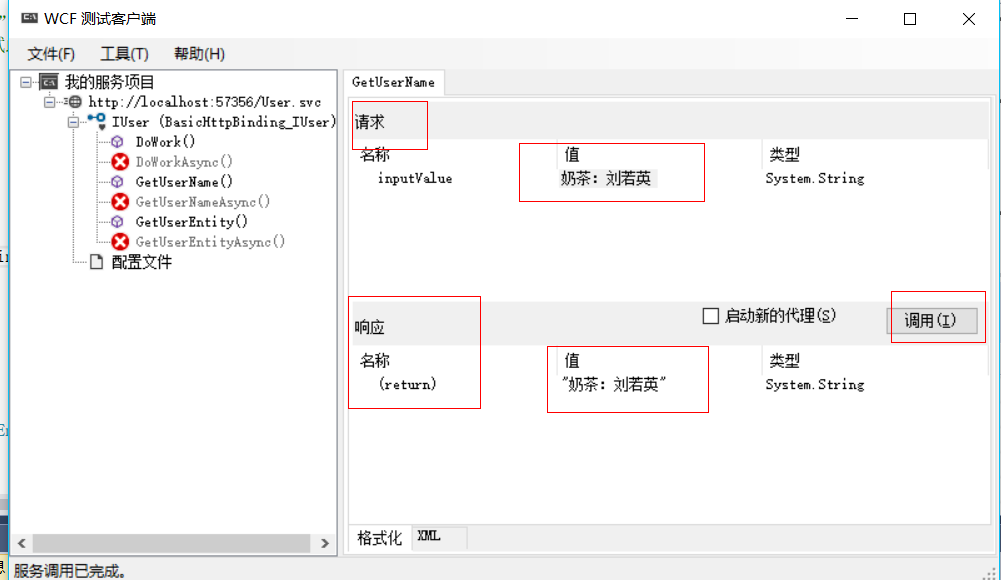
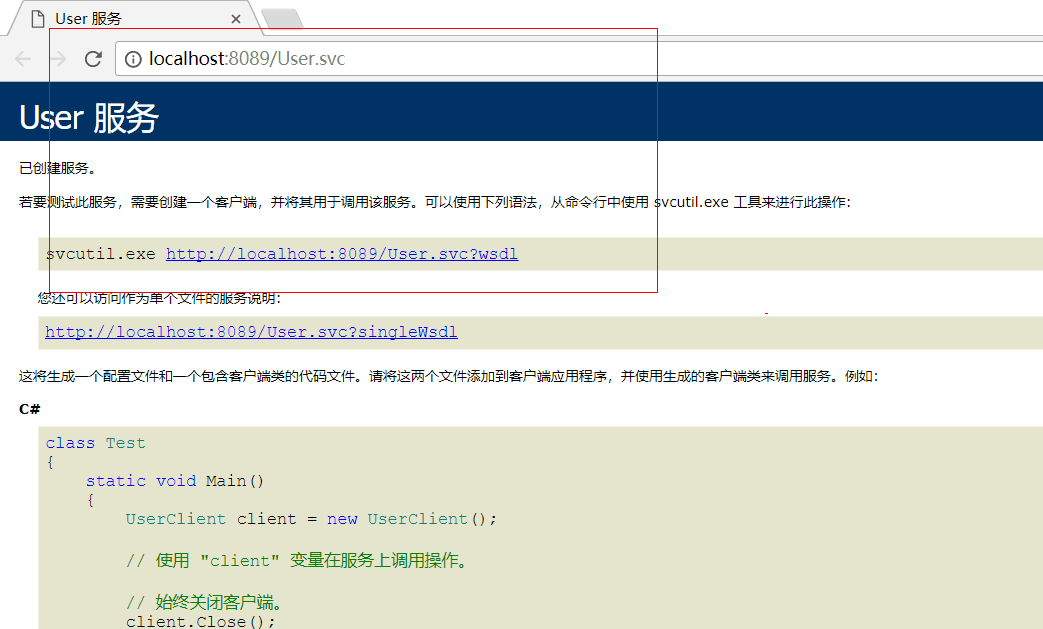
3. WCF服务应用程序编写完后,可以测试
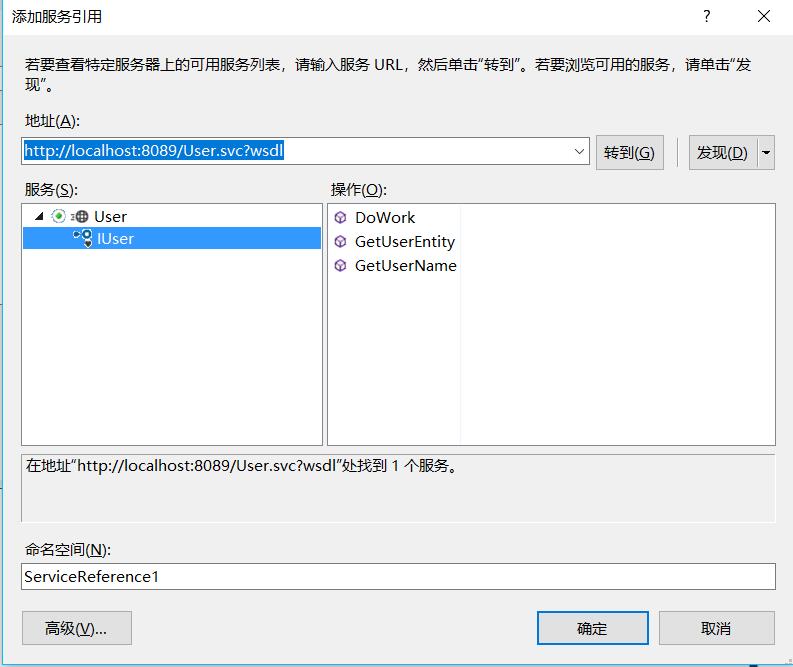
4.发布到IIS
5.创建Windows 窗体应用程序进行测试(上图)
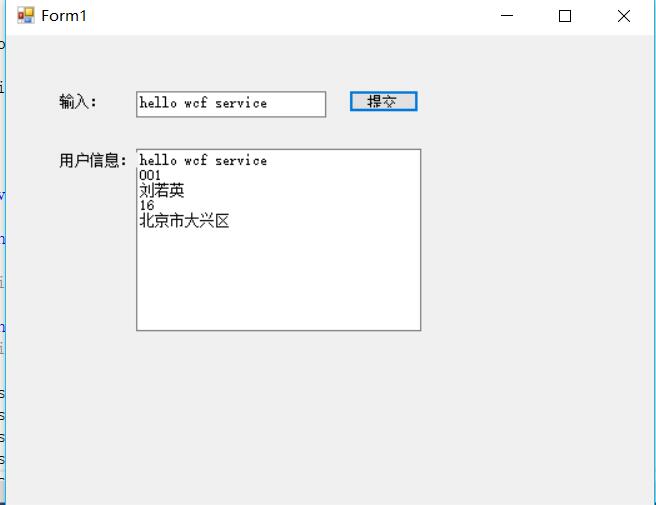
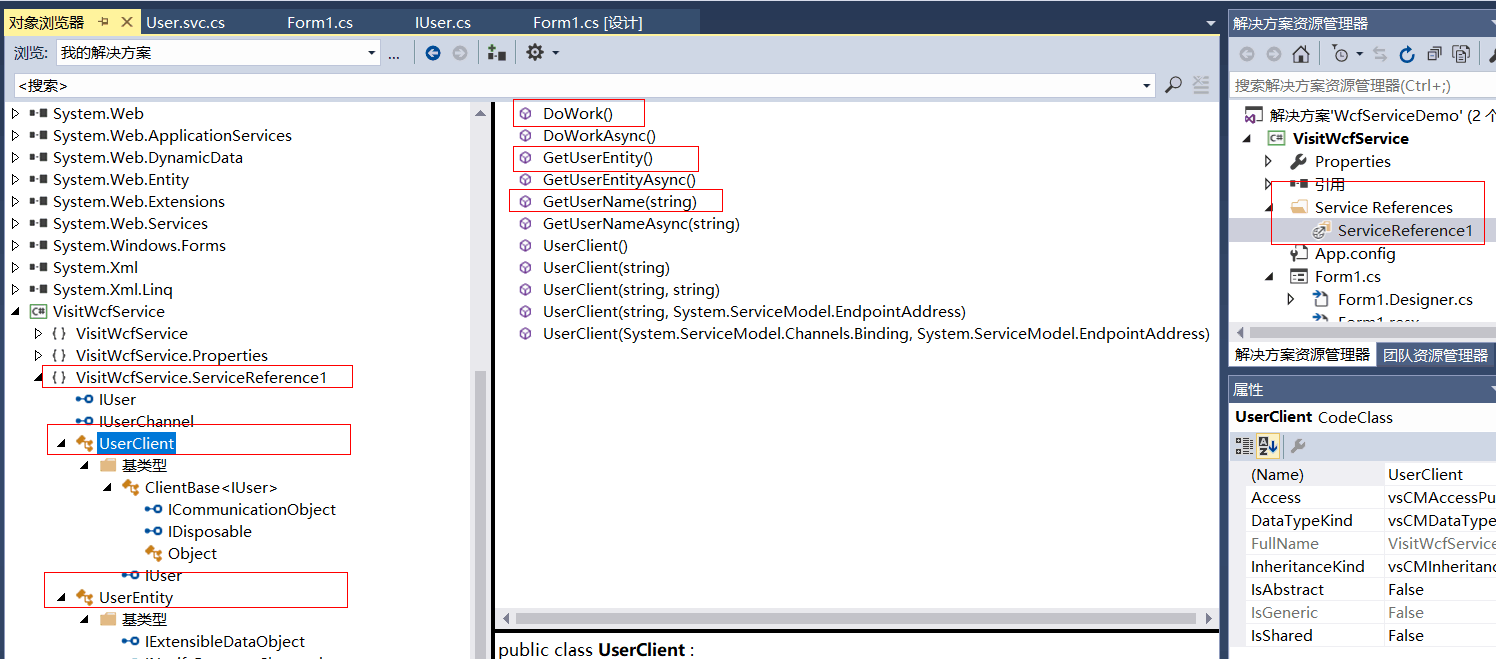
6.客户端代码如下
 1    public partial class Form1 : Form
 2     {
 3         public Form1()
 4         {
 5             InitializeComponent();
 6         }
 7
 8
 9         private void btnSubmit_Click(object sender, EventArgs e)
10         {
11             string inputValue = txtInputValue.Text.Trim();
12
13             ServiceReference1.UserClient userClient = new ServiceReference1.UserClient();
14
15             string getWcfServiceValue = userClient.GetUserName(inputValue);
16             ServiceReference1.UserEntity uEntity = userClient.GetUserEntity();
17
18             txtUserEntity.AppendText(getWcfServiceValue + "
");
19             txtUserEntity.AppendText(uEntity.Id + "
");
20             txtUserEntity.AppendText(uEntity.Name + "
");
21             txtUserEntity.AppendText(uEntity.Age.ToString() + "
");
22             txtUserEntity.AppendText(uEntity.Address + "
");
23         }
24     }