Harbor是一个CNCF(cloud native computing foundtion)毕业的项目,是一个被广泛使用的企业级私有仓库管理平台。支持安全漏洞分析、内容签名和验证、支持多租户、跨多个中心的复制、身份集成和基于角色的访问控制、可扩展的API和Web UI。
相对对于docker register功能更加的强大,更便于管理。
Harbor2.3 安装
- 环境准备
| 主机名 | IP | CPU | 内存 | 操作系统 | 磁盘空间 |
|---|---|---|---|---|---|
| harbor-01 | 192.168.22.115 | 1核(生产环境最少2核) | 4G(生产环境最少4G) | CentOS Linux release 7.6.1810 (Core) | 60G(最少40G) |
- 安装
- 创建用户
useradd op && echo '123456' | passwd op --stdin
sed -irn '/^root/a op    ALL=(ALL)    NOPASSWD: ALL' /etc/sudoers
su - op
- 到docker-compose github官方仓库,下载docker-compose 最新版本 ,这里我们使用的是1.29.2
sudo wget https://github.com/docker/compose/releases/download/1.29.2/docker-compose-Linux-x86_64
sudo mv docker-compose-Linux-x86_64 docker-compose && sudo mv docker-compose /usr/bin/
sudo chmod +x /usr/bin/docker-compose
docker-compose -v
- 到harbor github官方仓库,下载harbor 最新稳定版安装包, 我们这里使用的为2.3.0版本,由于安装包比较大需要等待一会儿
sudo yum -y install wget
sudo wget https://github.com/goharbor/harbor/releases/download/v2.3.0/harbor-offline-installer-v2.3.0.tgz
- 解压缩
tar -zxvf harbor-offline-installer-v2.3.0.tgz  && cd harbor
cd harbor && cp harbor.yml.tmpl harbor.yml
修改配置文件内容如下,最好使用https的方式进行访问,harbor的新版本默认都会强制使用使用https的方式进行访问,我们需要提前把证书上传到指定的目录下面,我们这里的目录为/etc/harbor/ssl/,根据自己的情况进行修改:
[op@vm0 harbor]$ diff harbor.yml harbor.yml.tmpl
5c5
< hostname: harbor.liulv.net
---
> hostname: reg.mydomain.com
17,18c17,18
<   certificate: /etc/harbor/ssl/harbor.liulv.net.pem
<   private_key: /etc/harbor/ssl/harbor.liulv.net.key
---
>   certificate: /your/certificate/path
>   private_key: /your/private/key/path
- 开始安装harbor
sudo ./install.sh
- 检查安装结果
[op@vm0 harbor]$ sudo docker-compose ps
      Name                     Command                  State                                          Ports
------------------------------------------------------------------------------------------------------------------------------------------------
harbor-core         /harbor/entrypoint.sh            Up (healthy)
harbor-db           /docker-entrypoint.sh 96 13      Up (healthy)
harbor-jobservice   /harbor/entrypoint.sh            Up (healthy)
harbor-log          /bin/sh -c /usr/local/bin/ ...   Up (healthy)   127.0.0.1:1514->10514/tcp
harbor-portal       nginx -g daemon off;             Up (healthy)
nginx               nginx -g daemon off;             Up (healthy)   0.0.0.0:80->8080/tcp,:::80->8080/tcp, 0.0.0.0:443->8443/tcp,:::443->8443/tcp
redis               redis-server /etc/redis.conf     Up (healthy)
registry            /home/harbor/entrypoint.sh       Up (healthy)
registryctl         /home/harbor/start.sh            Up (healthy)
-
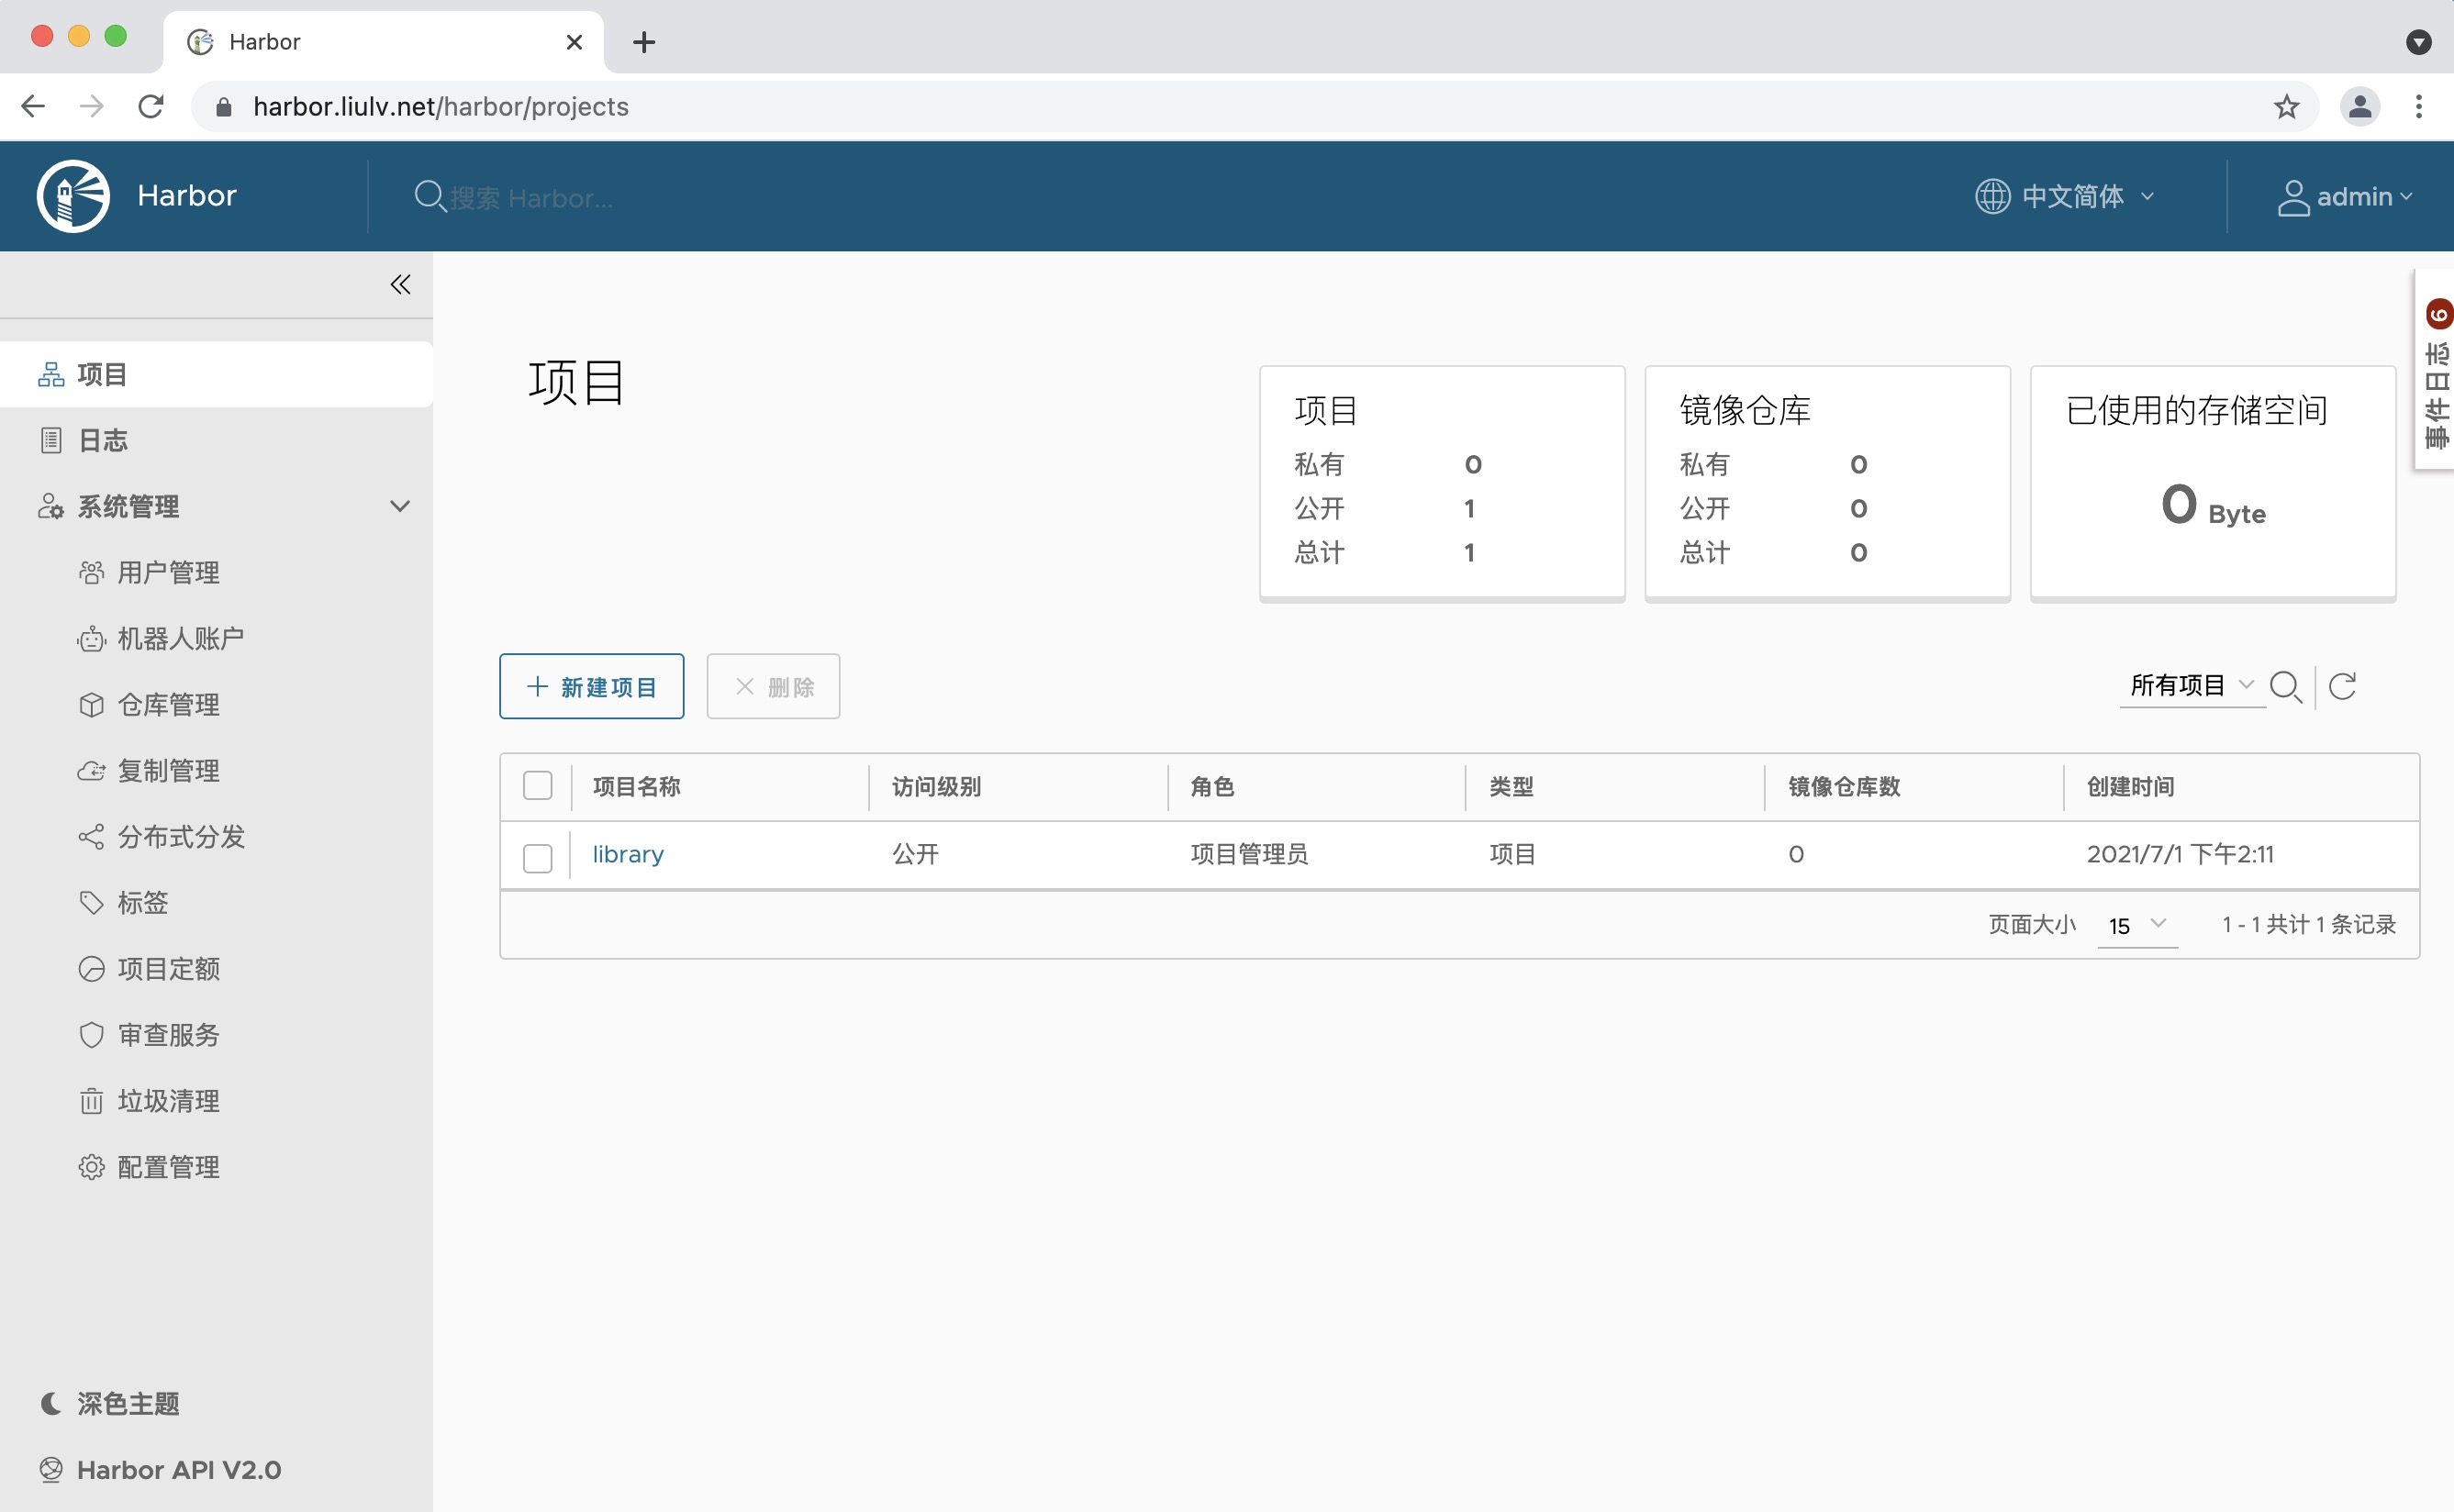
浏览器测试,默认的用户名和密码(admin/Harbor12345)
-
如果有需要变更harbor配置文件的操作,需要重新执行./prepare实现重载, 然后再重新
启动服务即可
./prepare
docker-compose down && docker-compose create
Habor 2.3 使用
- docker客户端登录harbor,上传镜像、拉取镜像
[op@harbor-01 ~]$ sudo docker login harbor.liulv.net -u admin -p Harbor12345
WARNING! Using --password via the CLI is insecure. Use --password-stdin.
WARNING! Your password will be stored unencrypted in /root/.docker/config.json.
Configure a credential helper to remove this warning. See
https://docs.docker.com/engine/reference/commandline/login/#credentials-store

Login Succeeded

# docker默认保存用户名和密码的地方
[op@harbor-01 ~]$ sudo ls /root/.docker
config.json
[op@harbor-01 ~]$
[op@harbor-01 ~]$ sudo cat /root/.docker/config.json
{
	"auths": {
		"harbor.liulv.net": {
			"auth": "YWRtaW46SGFyYm9yMTIzNDU="
		}
	}
}
# 我们可以查看docker用户名和密码
[op@harbor-01 ~]$
[op@harbor-01 ~]$ echo "YWRtaW46SGFyYm9yMTIzNDU=" | base64 --decode
admin:Harbor12345[op@harbor-01 ~]$
- 上传镜像
我们首先在harbor的web端创建一个web的项目,推动命令直接会有提示:
docker tag SOURCE_IMAGE[:TAG] harbor.liulv.net/web/REPOSITORY[:TAG]
sudo docker pull nginx:latest
sudo docker images
sudo docker tag nginx:latest harbor.liulv.net/web/nginx-server:1.20
sudo docker push harbor.liulv.net/web/nginx-server:1.20
此时我们在web端已经看到了我上传的镜像

- 下载镜像
# 删除本地打完tag的镜像,我们发现并没有真实的删除,只是untaged,因为有镜像分层的缘故, nginx-server:1.20 和nginx: lastest共用一个镜像层。所以我们还得必须删除nginx:lastest
[op@harbor-01 ~]$ sudo docker rmi harbor.liulv.net/web/nginx-server:1.20
Untagged: harbor.liulv.net/web/nginx-server:1.20
Untagged: harbor.liulv.net/web/nginx-server@sha256:1c70a669bbf07f9862f269162d776c35144b116938d1becb4e4676270cff8f75
[op@harbor-01 ~]$
[op@harbor-01 ~]$ sudo docker rmi nginx:latest
Untagged: nginx:latest
Untagged: nginx@sha256:353c20f74d9b6aee359f30e8e4f69c3d7eaea2f610681c4a95849a2fd7c497f9
Deleted: sha256:4cdc5dd7eaadff5080649e8d0014f2f8d36d4ddf2eff2fdf577dd13da85c5d2f
Deleted: sha256:63d268dd303e176ba45c810247966ff8d1cb9a5bce4a404584087ec01c63de15
Deleted: sha256:b27eb5bbca70862681631b492735bac31d3c1c558c774aca9c0e36f1b50ba915
Deleted: sha256:435c6dad68b58885ad437e5f35f53e071213134eb9e4932b445eac7b39170700
Deleted: sha256:bdf28aff423adfe7c6cb938eced2f19a32efa9fa3922a3c5ddce584b139dc864
Deleted: sha256:2c78bcd3187437a7a5d9d8dbf555b3574ba7d143c1852860f9df0a46d5df056a
[op@harbor-01 ~]$
[op@harbor-01 ~]$ sudo docker pull harbor.liulv.net/web/nginx-server:1.20
1.20: Pulling from web/nginx-server
b4d181a07f80: Already exists
66b1c490df3f: Pull complete
d0f91ae9b44c: Pull complete
baf987068537: Pull complete
6bbc76cbebeb: Pull complete
32b766478bc2: Pull complete
Digest: sha256:1c70a669bbf07f9862f269162d776c35144b116938d1becb4e4676270cff8f75
Status: Downloaded newer image for harbor.liulv.net/web/nginx-server:1.20
harbor.liulv.net/web/nginx-server:1.20
我们发现速度非常的快,而且在harbor私库中,我们也可到了nginx-server的已经有一个下载记录了。