一、效果图:


二、选择颜色:
分【固定颜色模式】和【自由取模式】。


三、操作栏功能:

1、撤销:撤销上一步操作,可一直往上进行,直到全部清空。
2、清空:直接清除所有绘画。
3、橡皮擦:去除不要的绘画部分。
4、保存:一键保存相册。
四、实现方式:
贝塞尔曲线结合drawrect绘画。
代码结构:

核心代码模块:
#pragma mark - 画画
-(void)touchesBegan:(NSSet<UITouch *> *)touches withEvent:(UIEvent *)event
{
    UITouch *touch = [touches anyObject];
    CGPoint currentPoint = [touch locationInView:self];
    self.bezierPath = [[YJBezierPath alloc] init];
    self.bezierPath.lineColor = self.lineColor;
    self.bezierPath.isErase = self.isErase;
    [self.bezierPath moveToPoint:currentPoint];

    [self.beziPathArrM addObject:self.bezierPath];

}

-(void)touchesMoved:(NSSet<UITouch *> *)touches withEvent:(UIEvent *)event{

    UITouch *touch = [touches anyObject];
    CGPoint currentPoint = [touch locationInView:self];

    CGPoint previousPoint = [touch previousLocationInView:self];
    CGPoint midP = midpoint(previousPoint,currentPoint);
    //  这样写不会有尖头
    [self.bezierPath addQuadCurveToPoint:currentPoint controlPoint:midP];
    [self setNeedsDisplay];

}

-(void)touchesEnded:(NSSet<UITouch *> *)touches withEvent:(UIEvent *)event{
    UITouch *touch = [touches anyObject];
    CGPoint currentPoint = [touch locationInView:self];
    CGPoint previousPoint = [touch previousLocationInView:self];
    CGPoint midP = midpoint(previousPoint,currentPoint);
    [self.bezierPath addQuadCurveToPoint:currentPoint   controlPoint:midP];
    // touchesMoved
    [self setNeedsDisplay];

}
-(void)drawRect:(CGRect)rect{
    if (self.beziPathArrM.count) {
        for (YJBezierPath *path in self.beziPathArrM) {
            if (path.isErase) {
                [self.backgroundColor setStroke];
            }else{
                [path.lineColor setStroke];
            }

            path.lineCapStyle = kCGLineCapRound;
            path.lineJoinStyle = kCGLineCapRound;
            if (path.isErase) {
                path.lineWidth = 10;    //   这里可抽取出来枚举定义
                [path strokeWithBlendMode:kCGBlendModeDestinationIn alpha:1.0];
            }else{
                path.lineWidth = 3;
                [path strokeWithBlendMode:kCGBlendModeNormal alpha:1.0];
            }
            [path stroke];
        }
    }

    [super drawRect:rect];
}
外部引用代码:
#import "BaiBanViewController.h"
#import "BaibanView.h"

@interface BaiBanViewController ()
@property (nonatomic,strong) BaibanView  *baibanV;

@end

@implementation BaiBanViewController

-(BaibanView *)baibanV{
    if(_baibanV==nil){
        _baibanV=[[BaibanView alloc] initWithFrame:CGRectMake(0, 64, KScreenWidth, KScreenHeight - 64)];
    }
    return  _baibanV;
}

- (void)viewDidLoad {
    [super viewDidLoad];
    self.navigationItem.title = @"画 板";
    [[UIBarButtonItem appearance] setBackButtonTitlePositionAdjustment:UIOffsetMake(0, -60) forBarMetrics:UIBarMetricsDefault];
    self.view.backgroundColor = [UIColor whiteColor];

    //添加画板功能
    [self.view addSubview:self.baibanV];

}
简单吧~
五、源码获取:
我直接把我的测试Demo放上去了,大家下载后,直接定位画板功能即可。

========================更新于2017年==========================
上面那种方式,是利用drawrect方式绘画,通过cpu渲染,所以一定程度上比较耗cpu,内存也有一定上升
因此,如果你的应用不需要橡皮擦功能,只需要上一步或下一步这种的撤销操作,可以利用CAShapeLayer集合来实现,原理如下:
每一笔都是一个layer,然后一层层叠加在底view上,并记录到一个list里,这样,上一步和下一步都是直接对一个layer进行add或remove,简单明了,而且这种对于,绘画特殊图形也比较方便(比如画圆、矩形等)
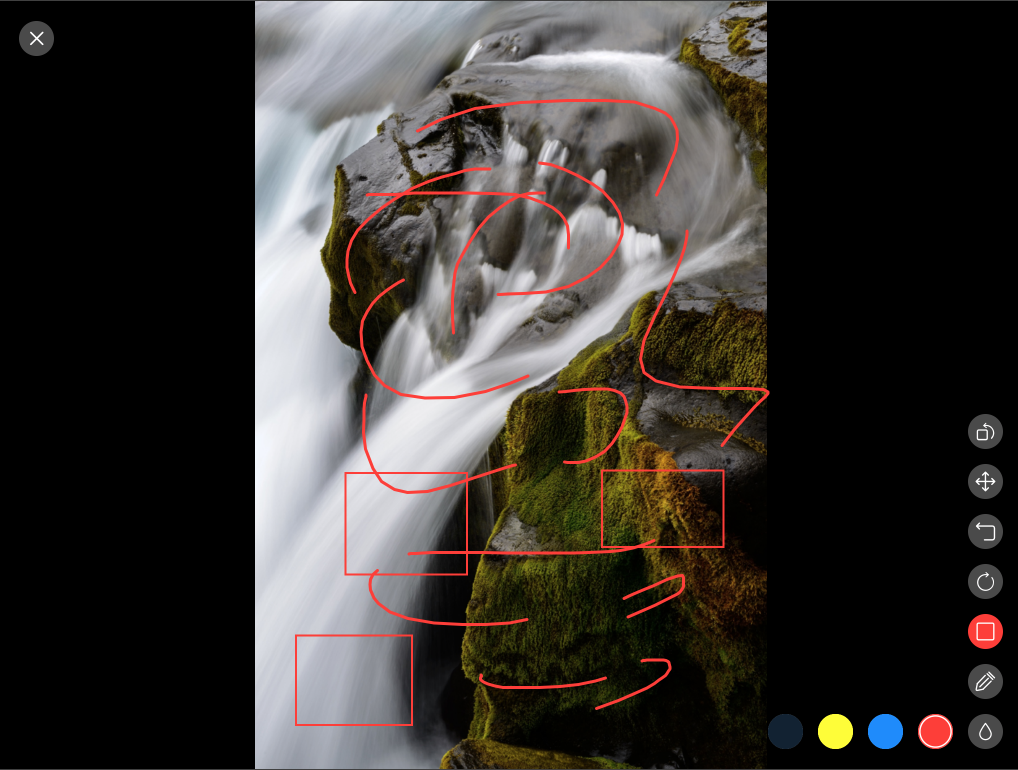
下图是我另一个应用的涂鸦功能截图,这种对内存和cpu消耗特别低,而且集成了缩放、旋转功能, 大家可以借鉴一下。
但这种实现,如果需要橡皮擦功能,只能实现橡皮擦擦除区域与layer有交汇点,就清除layer(类似苹果相册编辑里的橡皮擦功能),如果想实现任意清除, 我暂时没想到特别好的解决方式。
