首先是zabbix-server端的安装
一、初始化系统设置
systemctl stop firewalld.service
systemctl disable firewalld.service
setenforce 0
sed -i '/^S/s/enforcing/disabled/' /etc/selinux/config
二、LAMP安装
mkdir /etc/yum.repos.d/bak
mv /etc/yum.repos.d/C* /etc/yum.repos.d/bak/
wget -O /etc/yum.repos.d/CentOS-Base.repo http://mirrors.aliyun.com/repo/Centos-7.repo
sed -i -e '/mirrors.cloud.aliyuncs.com/d' -e '/mirrors.aliyuncs.com/d' /etc/yum.repos.d/CentOS-Base.repo
yum clean all
yum makecache
yum install -y mariadb mariadb-server httpd php php-mysql
systemctl enable --now httpd
systemctl enable --now mariadb
三、安装zabbix
rpm -ivh https://mirrors.tuna.tsinghua.edu.cn/zabbix/zabbix/4.0/rhel/7/x86_64/zabbix-release-4.0-2.el7.noarch.rpm
-
替换源
sed -i 's#http://repo.zabbix.com#https://mirrors.tuna.tsinghua.edu.cn/zabbix#g' /etc/yum.repos.d/zabbix.repo
yum install -y zabbix-server-mysql zabbix-web-mysql
四、配置MySQL
-
安装
    yum install -y mariadb-server
    systemctl enable --now mariadb
-
初始化数据库
mysql_secure_installation
-
创建数据库
    mysql -uroot -predhat
    MariaDB [(none)]> create database zabbix character set utf8 collate utf8_bin;
    MariaDB [(none)]> grant all on zabbix.* to zabbix@localhost identified by '12345';
-
导入数据
    rpm -ql zabbix-server-mysql
    cd /usr/share/doc/zabbix-server-mysql-4.0.20/
    gzip -d create.sql.gz
    mysql -uzabbix -p12345 zabbix < create.sql
五、配置zabbix-server
-
配置Zabbix Serve
    vim /etc/zabbix/zabbix_server.conf
        DBHost = localhost
        DBName=zabbix
        DBUser=zabbix
        DBPassword=12345
-
启动Zabbix Server
    systemctl enable --now zabbix-server

    more /var/log/zabbix/zabbix_server.log     // 日志路径
如果没有端口监听可能是selinux没有关闭

-
启动httpd
  systemctl start httpd.service
  systemctl status httpd.service
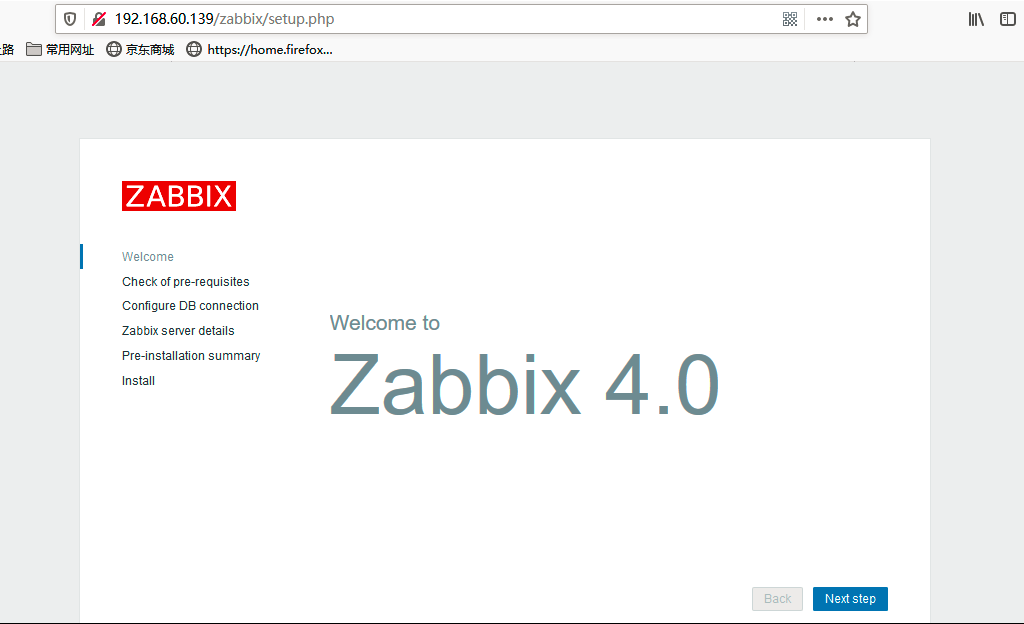
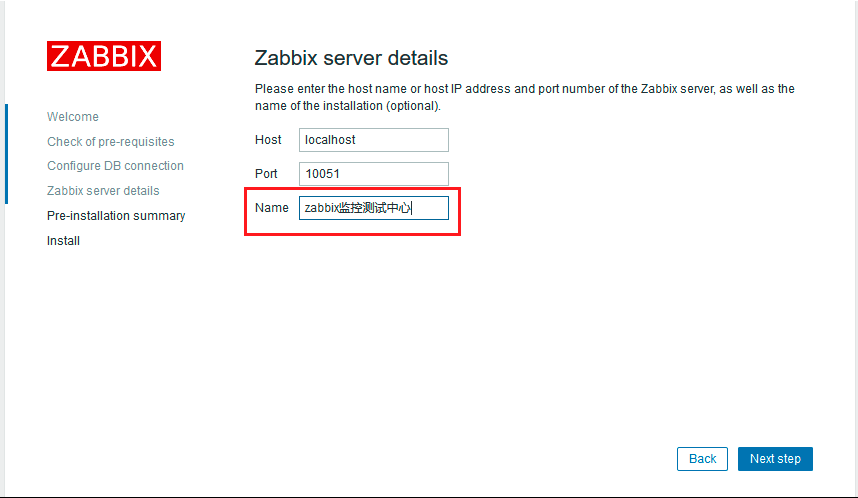
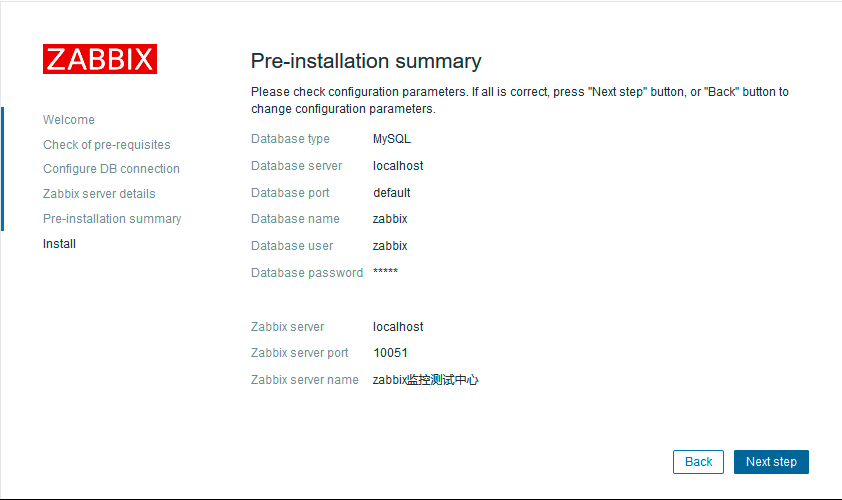
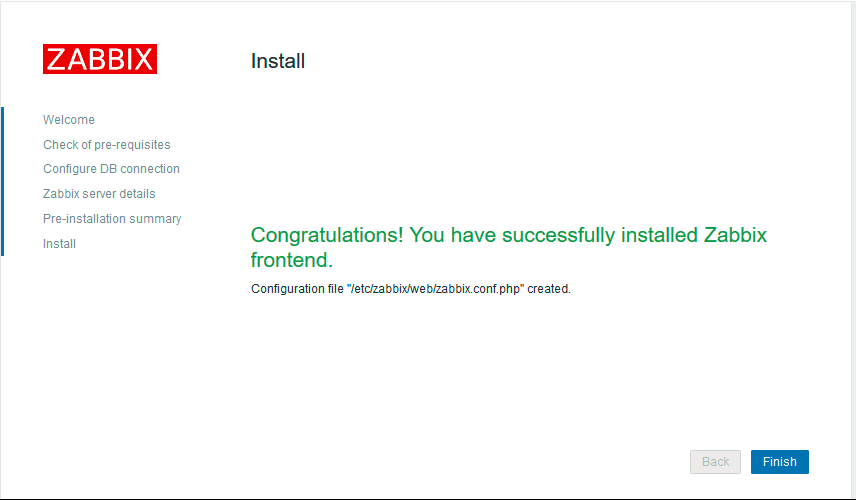
- 浏览器访问http://192.168.60.139/zabbix
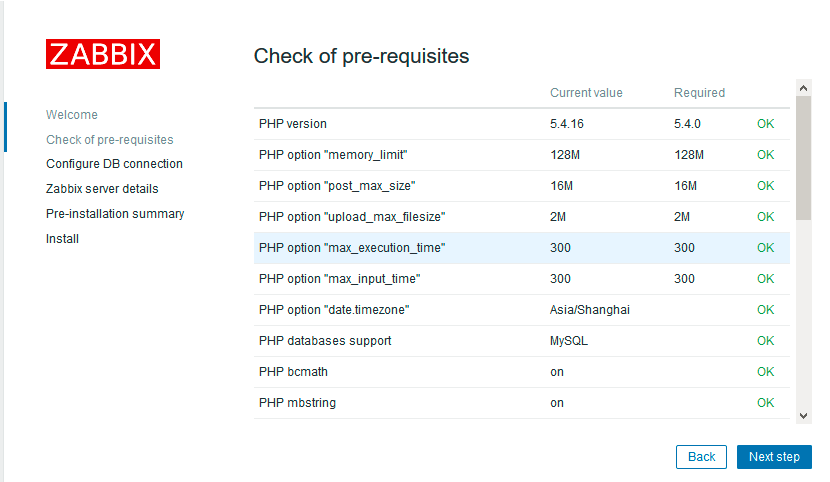
下一步,由于时区问题会看到下图:
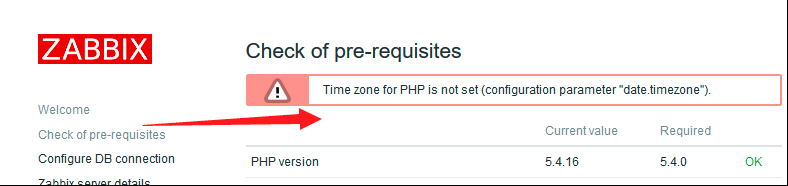
修改时区
    vim /etc/httpd/conf.d/zabbix.conf
      php_value date.timezone Asia/Shanghai
    systemctl restart httpd
刷新页面
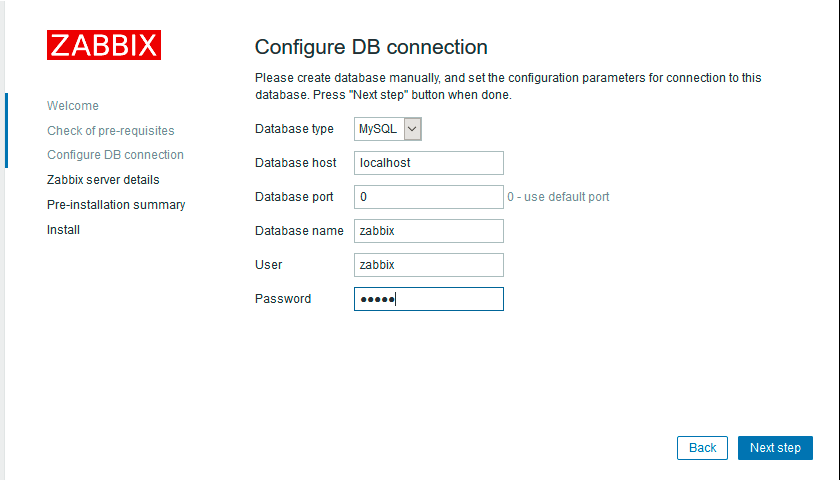
如果出现连接不到数据库,但是自己的库名,密码都是写的对的,可能是selinux没有关,zabbix-server没有启动起来,还有可能是数据库的字符集设置的不对
最后使用Admin,zabbix登录
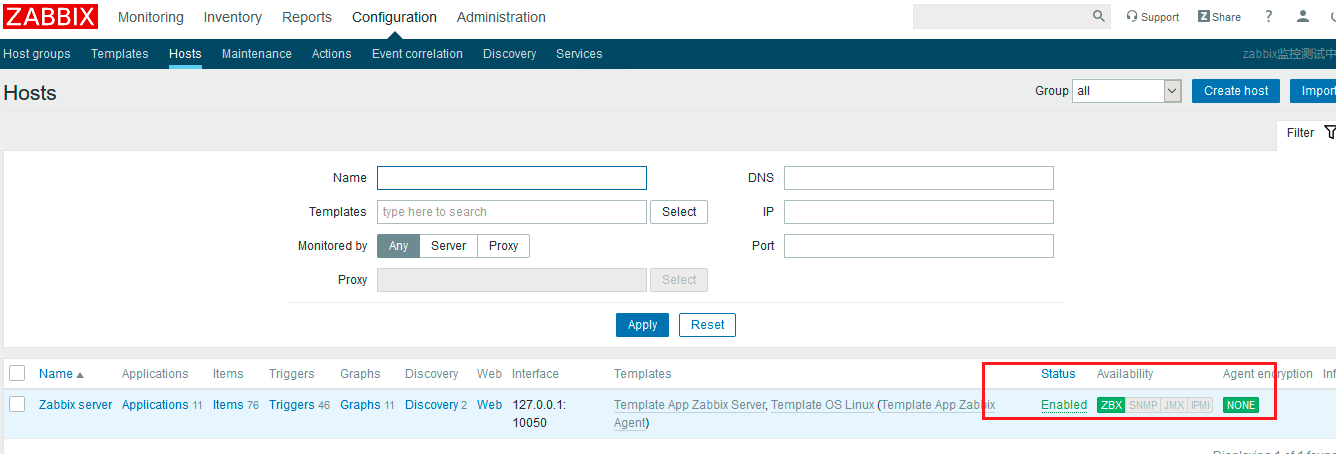
六、添加监控主机
安装Zabbix Agent
yum install zabbix-agent -y
systemctl enable --now zabbix-agen
查看端口

浏览器查看监控的主机
接下来是zabbix-agent端
wget https://mirrors.tuna.tsinghua.edu.cn/zabbix/zabbix/4.0/rhel/7/x86_64/zabbix-agent-4.0.9-3.el7.x86_64.rpm
rpm -ivh zabbix-agent-4.0.9-3.el7.x86_64.rpm
vim /etc/zabbix/zabbix_agentd.conf
    Server=192.168.60.139     // server主机的ip

systemctl enable --now zabbix-agent.service
2020-05-14 22:36:44