一、前言
1、如下面演示所示:点击评论的时候是评论该条动态,点击评论的内容列表就是在回复发起评论的那个人。

二、主要知识
1、功能实现分析
第一步:用户点击“评论”,跳转到一个单独的评论页面
第二步:如果是点击评论列表,跳转到一个单独的回复页面(评论页面和回复页面是同一个)
第三步:输入评论或者回复的内容,点击发送的时候请求后端接口评论成功
第四步:评论成功后跳转到浏览动态的页面
2、前台实现
Found.vue中:
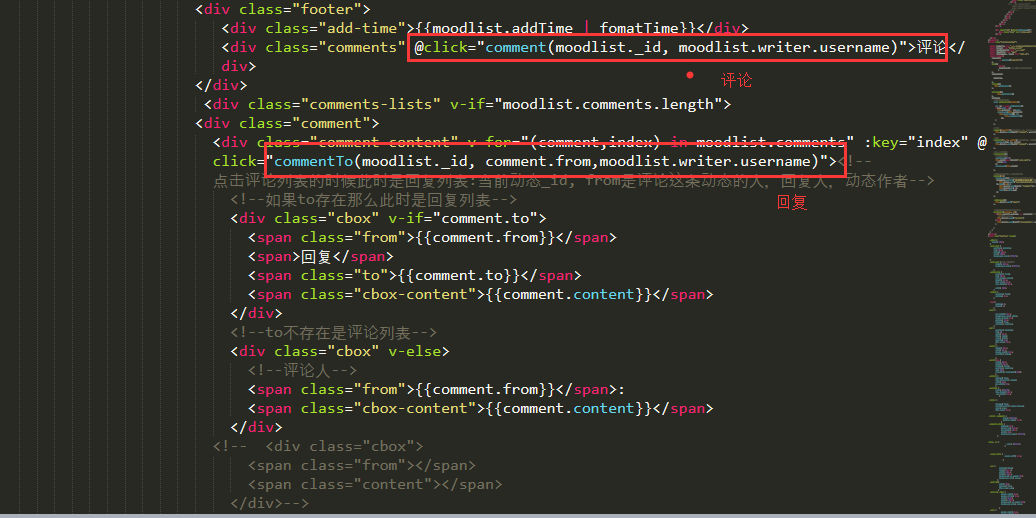
(1)评论的时候将该条动态的id, 发布该条动态的用户名传进去, 回复的时候将该条动态的id、comment.from是评论的人、以及发布动态的用户
(2)这里使用的是动态路由参数:https://www.jianshu.com/p/45ee7a6bdc0c
      //评论
      comment(id,writer){//moodlist._id, moodlist.writer.username
        this.$router.push({path:'/comment', query:{id, writer}})
      },

      //回复
      commentTo(id, to, writer){//id是动态id, to是被回复的人,writer是发表动态的人
        console.log(id, to, writer)
        this.$router.push({path:'/comment', query:{id, to, writer}})

      },
Comment.vue中:
(1)因为评论和回复组件是用的同一个,所以用是否传入了“被回复人”来区分是回复还是评论

(2)data对象里面保存从Found.vue中传过来的参数
data(){
           return{
                to:this.$route.query.to || '', //to是被回复的人
                id:this.$route.query.id || '', //动态的id
                 writer:this.$route.query.writer || '',
                content:''//评论或者回复的内容
            }


        },
computed:{
          ...mapState(['userInfo'])
        },
(3)comment方法请求后台评论
comment(){
                if(!this.content){
                    Toast('内容不能为空')
                    return
                }

                this.$axios.post('/api/comment/comment',{
                    writer: this.writer, //发动态的作者
                    from: this.userInfo.username, //回复人
                    to: this.to, //被回复的用户
                    Mood:this.id, //动态的id
                    content: this.content //评论内容
                }).then((rs)=>{
                    console.log(111)

                    if(this.writer === this.userInfo.username && this.to === this.userInfo.username){
                        //返回到上一个路由
                        this.$router.go(-1)
                        Toast(rs.data.msg)
                        return
                    }

                    this.$router.go(-1)
                    Toast(rs.data.msg)


                })
            }
3、后台实现
(1)实现用户评论和回复功能需要用到三个schema对象模型,首先是用户User对象模型、PdMood动态schema模型、Comment评论schmema模型
User对象模型:
let express = require('express')

let mongoose = require('mongoose')

module.exports = new mongoose.Schema({
    username: String,
    password: String,

    nickName:{
        type: String,
        default: '一只会说话的猪'
    },
    isAdmin:{ //标识是否为管理员
        type: Boolean,
        default: false
    },
    avater:{
        type: String,
        default:'http://localhost:4000/public/images/ava.jpg'

    },
    description:{
        type:String,
        default:'这个人很懒,什么都没留下'
    },

    cartList:{
        type: Array
    }
})
PdMood动态对象模型:
/*
用户动态的schemas
*/
var mongoose = require('mongoose')
module.exports = new mongoose.Schema({
    addTime:{
        type: Date,
        default: Date.now
    },
    content:String, //用户发表内容
    writer:{
       type: mongoose.Schema.Types.ObjectId, //这里的类型是User里面的id
       ref:'User'//关联User集合
    },
    comments:[{
        type:mongoose.Schema.Types.ObjectId,
        ref:'Comment'
    }],
    moodImg:{//用户上传的图片数组
        type: Array,
        default:[]
    }
})
Comment评论模型:
let express = require('express')

let mongoose = require('mongoose')

module.exports = new mongoose.Schema({
    addTime:{
        type: Date,
        default: Date.now
    },
    content:{
        type:String
    },
    writer:{
        type:String
    },
    from:{
        type:String
    },
    to:{
        type:String
    },
    Mood:{
        type:mongoose.Schema.Types.ObjectId,
        ref:'PdMood'
    }

})
(2)前台点击“发送”请求后台:"/comment"接口
/*
处理用户评论的模块
*/
let User = require('../Models/User')
let PdMood = require('../Models/PdMood')
let Comment = require('../Models/Comment')
let express = require('express')
let router = express.Router()

router.post('/comment',(req,res)=>{
    let content = req.body.content //接受到评论内容
    let from = req.body.from //评论人
    let to = req.body.to ||'' //被评论
    let moodId = req.body.Mood //被评论动态的id
    //拿到这些参数之后新建一个评论对象存储这些参数
    let writer = req.body.writer//发布动态的人
    console.log(content,from,to,moodId,writer)
    new Comment({
        content: content,
        from: from,
        to: to,
        Mood: moodId,
        writer: writer
    })
    .save()//保存
    .then((rs)=>{//保存成功之后去动态表里面查找动态
        PdMood.findOne({
            _id: moodId
        }).then((result)=>{
            let comments = result.comments //取到关于该动态的所有评论
            comments.push(rs._id) //在当前的动态数中将当前的评论加到该动态的评论数组中
            PdMood.update({//更新该动态
              _id: moodId
            },{
                comments:comments
            })
            .then(()=>{
                res.json({
                    code:0,
                    msg:'评论成功'
                })
            })
        })
    })
})

module.exports = router;