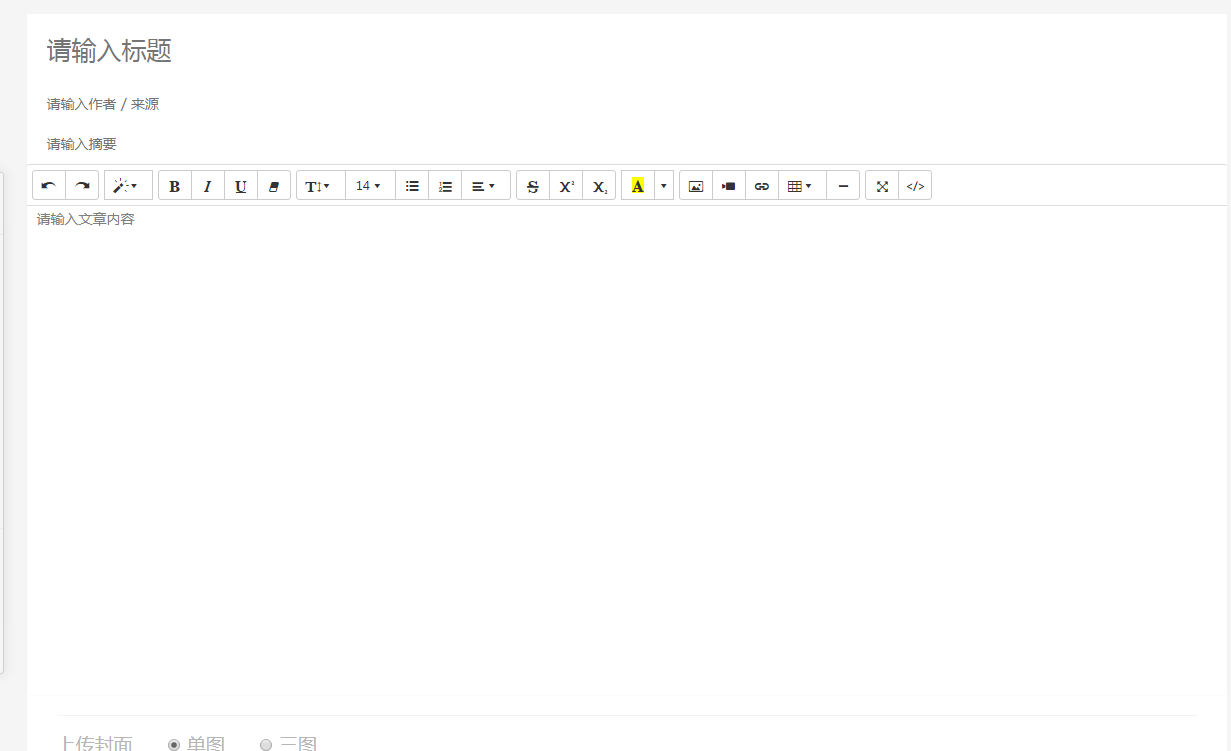
summernote比较突出的优点就是能保持复制过来的东西的原有样式,并且比较流畅。
官方文档地址:https://summernote.org/getting-started
我是用到cdn引入
    <!-- 插件引入 -->
        <link href="http://cdnjs.cloudflare.com/ajax/libs/summernote/0.8.9/summernote.css" rel="stylesheet">
        <script src="http://netdna.bootstrapcdn.com/bootstrap/3.3.5/js/bootstrap.js"></script>
        <script src="http://cdnjs.cloudflare.com/ajax/libs/summernote/0.8.9/summernote.js"></script>
        <!--引入中文JS包-->
        <script src="https://cdn.bootcss.com/summernote/0.8.10/lang/summernote-zh-CN.js"></script>  //因为这个插件是国外的写的,一定要引入这个中文包,不然编辑器是默认的英文
HTML
<div id="summernote"></div> //内容载体
JS
//        编辑器功能=====================================
         $("#summernote").summernote({
             lang : 'zh-CN',// 语言
            height : 496, // 高度
            minHeight : 300, // 最小高度
            placeholder : '请输入文章内容', // 提示
            // summernote自定义配置
            toolbar: [
              ['operate', ['undo','redo']],
              ['magic',['style']],
              ['style', ['bold', 'italic', 'underline', 'clear']],
              ['para', ['height','fontsize','ul', 'ol', 'paragraph']],
              ['font', ['strikethrough', 'superscript', 'subscript']],
              ['color', ['color']],
              ['insert',['picture','video','link','table','hr']],
              ['layout',['fullscreen','codeview']],
            ],
            callbacks : { // 回调函数
                // 上传图片时使用的回调函数   因为我们input选择的本地图片是二进制图片,需要把二进制图片上传服务器,服务器再返回图片url,就需要用到callback这个回调函数
                onImageUpload : function(files) {
                    var form=new FormData();
                        form.append('myFileName',files[0])  //myFileName 是上传的参数名,一定不能写错
                    $.ajax({
                        type:"post",
                        url:"${path}/Img/upload", //上传服务器地址
                        dataType:'json',
                        data:form,
                        processData : false,
                           contentType : false,
                           cache : false,
                           success:function(data){
                            console.log(data.data)
                              $('#summernote').summernote('editor.insertImage',data.data);
                           }
                    })
                }
            }
        });
注意:
$('#summernote').summernote('insertImage', url, filename); 官方文档提供的图片插入封装函数,在本地环境下服务器返回的url并不能展示在编辑框内,所以不要怀疑这个函数的作用,当你放到生产环境的时候自然会展示在编辑框内,这个问题我花了一个下午才证明,希望不要再踩坑
最终效果图
