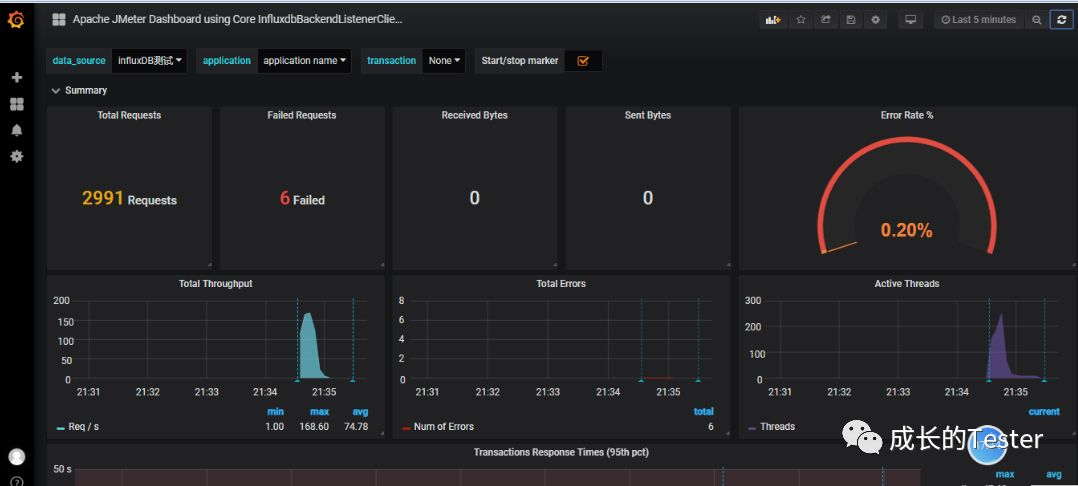
查看笔记
http://note.youdao.com/noteshare?id=c700365713abb98bd3d10e6f45393af9&sub=6F4E14FF3F9D4167AE7F7D01D5BD31A1
一、Influxdb的安装
1.搭建influxdb
在linux服务器上,输入命令 wget https://dl.influxdata.com/influxdb/releases/influxdb-1.2.0.x86_64.rpm ,下载安装包;
下载完成后,输入命令 sudo yum localinstall influxdb-1.2.0.x86_64.rpm ,解压安装包;
启动查看是否存在influx
ps aux | grep influx;

启动influxdb服务。
1 # centos7.0以上版本 1.1 systemctl start influxdb
1.2 systemctl restart influxdb
1.3 systemctl stop influxdb2 # centos7.0以下版本 service influxdb start
2、配置文件路径 :vi /etc/influxdb/influxdb.conf
3.启动influx时,遇到这个问题,升级influxdb。
Redirecting to /bin/systemctl start influxdb.service

4.Liunx关闭防火墙,方便使用web界面打开influxdb。如下命令:
sudo systemctl stop firewalld.service && sudo systemctl disable firewalld.service。

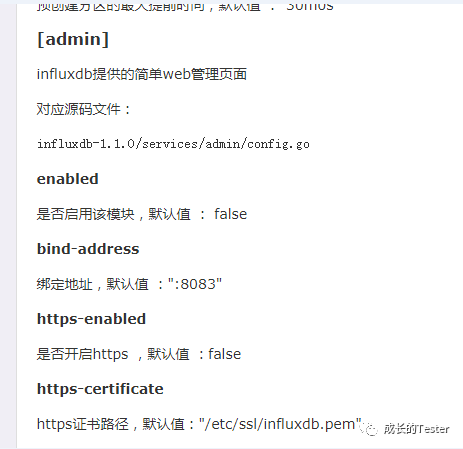
5.使用虚拟机ip:8083端口即可。
虚拟机ip查看,ifconfig
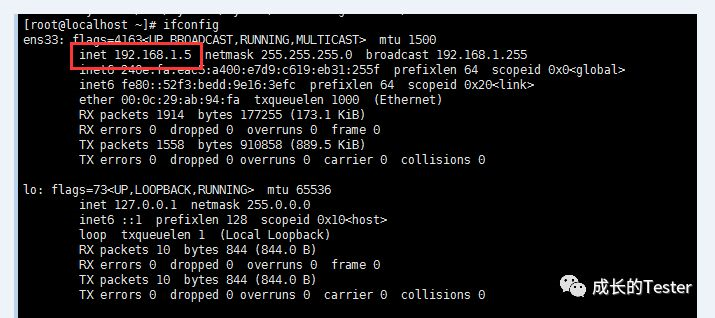
web界面访问:

二、Grafana的安装。
7.可视化工具Grafana:简介及安装
1.安装
进入官网https://grafana.com/grafana/download
wget https://s3-us-west-2.amazonaws.com/grafana-releases/release/grafana-5.3.2-1.x86_64.rpm
(安装软件)sudo yum localinstall grafana-5.3.2-1.x86_64.rpm
2.service grafana-server start
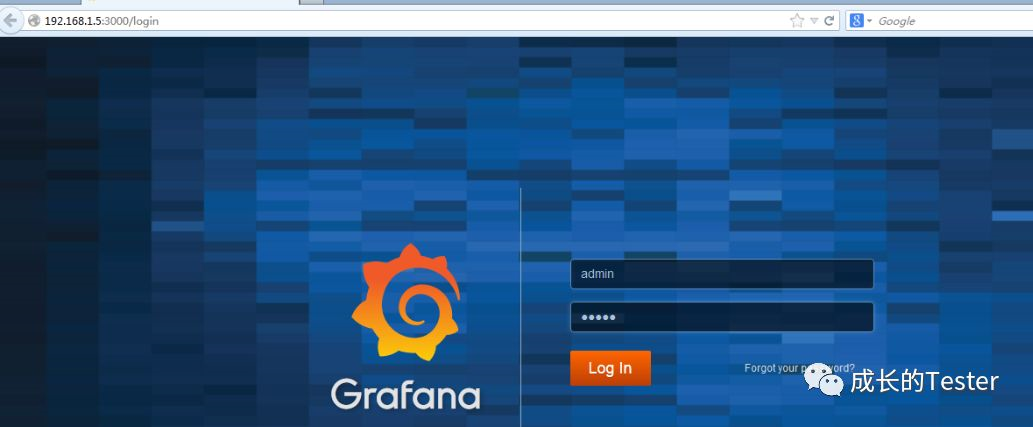
web访问Grafana http://192.168.1.5:3000/ 默认登录名/密码:admin/admin
3.创建DashBoard
创建好数据源之后,就需要创建DashBoard(仪表盘),可以自定义,也可以导入你需要的仪表盘,官方提供了很多的可选仪表盘。
https://grafana.com/dashboards
BashBoard地址:BashBoard
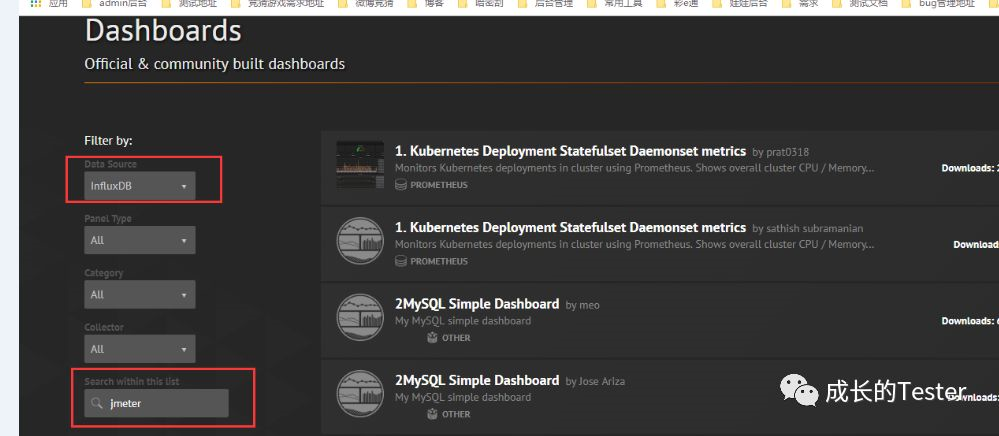
这里我选择jmeter相关的仪表盘,选择导入,示例如下:
①、搜索jmeter仪表盘
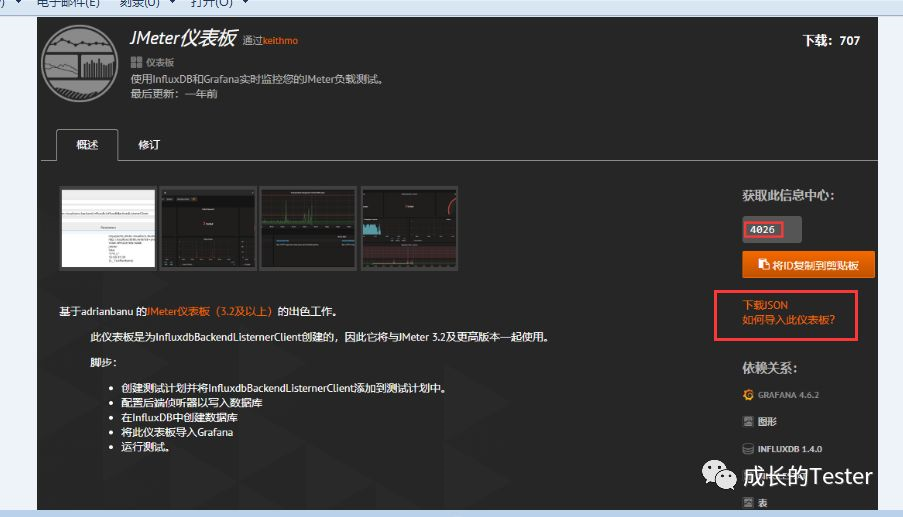
②、选择对应的仪表盘ID或者下载json格式的文件。
三,jmeter测试。
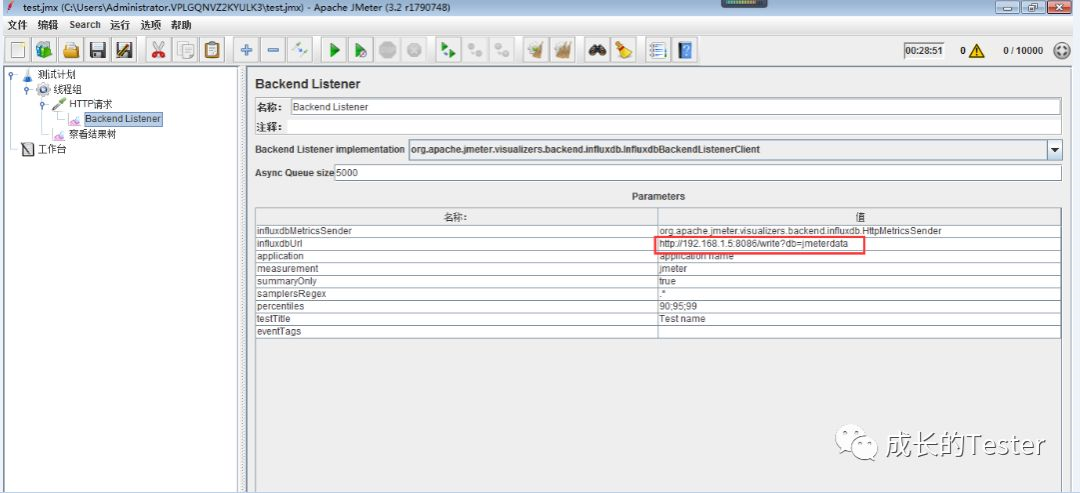
1、使用jmeter3.2版本以上,否则会失败。
http://192.168.1.5:8086/write?db=jmeterdata
虚拟机IP:8086/write?db=jmeterdata(db代表的是influxdb的数据库)
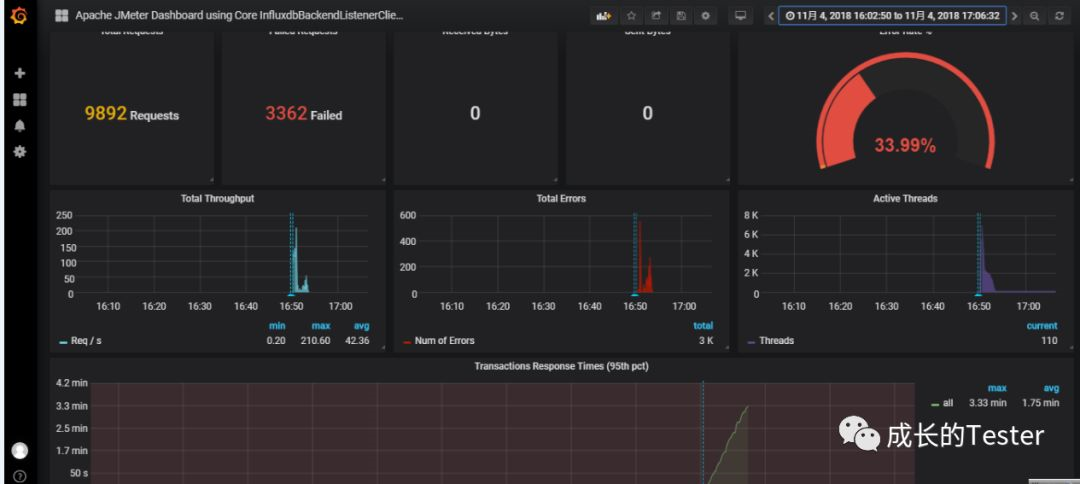
四,查看数据。
