网上对自定义View总结的文章都很多,但是自己还是写一篇,好记性不如多敲字!
其实自定义View就是三大流程,onMeasure、onLayout、onDraw。看名字就知道,onMeasure是用来测量,onLayout布局,onDraw进行绘制。
那么何时开始进行View的绘制流程,这就要从ViewRoot和DecorView的概念说起。
ViewRoot对应于ViewRootImpl类,是连接WindowManager和DecorView的纽带,View的三大绘制流程都是通过ViewRoot来完成的。在ActivityThread中,当Activity被创建时,会将DecorView添加到Window中,同时创建一个ViewRootImpl对象,并将ViewRootImpl对象和DecorView对象建立关联。
以上摘自《Android开发艺术探索》第4章View的工作原理
我们通常开发时,更新UI一般都是不能在子线程中进行,假如在子线程中更新,会抛出异常。这并不是因为只有UI线程才能更新UI,而是ViewRootImpl对象是在UI线程中创建。
View的绘制就是从ViewRoot的performTraversals方法开始的。
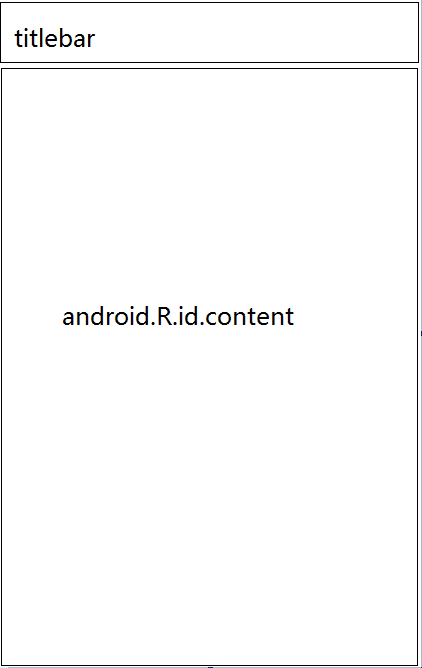
DecorView是一个顶级View,一般是一个竖直方向的LinearLayout,包含一个titlebar和内容区域。我们在Activity中setContentView中设置的布局文件就是加载到内容区域。内容区域是个FrameLayout。

onMeasure
大多数情况下,我们如果在布局文件中,对自定义View的layout_width和layout_height不设置wrap_content,我们一般都是不需要进行处理的,但是如果要设置为wrap_content,我们需要在测量时,对宽高进行测量。
protected void onMeasure(int widthMeasureSpec, int heightMeasureSpec)
重写onMeasure方法,我们可以看到两个传入的int值widthMeasureSpec和heightMeasureSpec。Java中int类型是4个字节,也就是32位,这两个int值中的高2位代表SpecMode,也就是测量模式,低32位则是代表SpecSize也就是在某个测量模式下的大小。
我们不需要自己写代码进行位运算得到SpecMode和SpecSize,Android内置了MeasureSpec类来处理。
int widthMode = MeasureSpec.getMode(widthMeasureSpec);
int widthSize = MeasureSpec.getSize(widthMeasureSpec);
那SpecMode测量模式占2位,二进制2位可以表达最多4种情况,还好,测量模式只有三种情况,每一种情况有其特殊的意思。
| SpecMode | 含义 |
|---|---|
| UNSPECIFIED | 父容器不对当前View有任何限制,就是说View可以取任意大小。 |
| EXACTLY | 父容器测量出View需要的精确大小,对于match_parent和具体数值情况xxdp |
| AT_MOST | 当前View所能取的最大尺寸,一般是给定一个大小,View的尺寸不能超过该大小,一般用于warp_content |
以下摘自实验室小伙伴的总结,《自定义View,这一篇就够了》。对于我们在布局中定义的尺寸和测量模式的对应关系,看了下面的总结,就不会有任何疑惑了。
match_parent:EXACTLY。怎么理解呢?match_parent就是要利用父View给我们提供的所剩余空间,而父View剩余空间是确定的,也就是这个测量模式的整数里面存放的尺寸。
wrap_content:AT_MOST。怎么理解?就是我们想要将大小设置为包裹我们View内容,那么尺寸大小就是父View给我们作为参考的尺寸,只要不超过这个尺寸就可以了,具体尺寸就根据我们的需求去设定。
固定尺寸(如100dp):EXACTLY。怎么理解呢?用户自己指定了大小,我们就不用再去干涉了,当然是以指定的大小为主啦。
重写onMeasure
通过前文的描述,我们已经可以动手重写onMeasure函数了。
@Overrideprotected void onMeasure(int widthMeasureSpec, int heightMeasureSpec) {
    super.onMeasure(widthMeasureSpec, heightMeasureSpec);

    int width = MeasureSpec.getSize(widthMeasureSpec);
    int widthMode = MeasureSpec.getMode(widthMeasureSpec);
    int height = MeasureSpec.getSize(heightMeasureSpec);
    int heightMode = MeasureSpec.getMode(heightMeasureSpec);

    if (widthMode == MeasureSpec.AT_MOST && heightMode == MeasureSpec.AT_MOST) {
        setMeasuredDimension(WRAP_WIDTH, WRAP_HEIGHT);
    } else if (widthMode == MeasureSpec.AT_MOST) {
        setMeasuredDimension(WRAP_WIDTH, height);
    } else if (heightMode == MeasureSpec.AT_MOST) {
        setMeasuredDimension(width, WRAP_HEIGHT);
    }
}
只处理AT_MOST情况也就是wrap_content,其他情况则沿用系统的测量值即可。setMeasuredDimension会设置View宽高的测量值,只有setMeasuredDimension调用之后,才能使用getMeasureWidth()和getMeasuredHeight()来获取视图测量出的宽高,以此调用这两个方法得到的值都会是0。
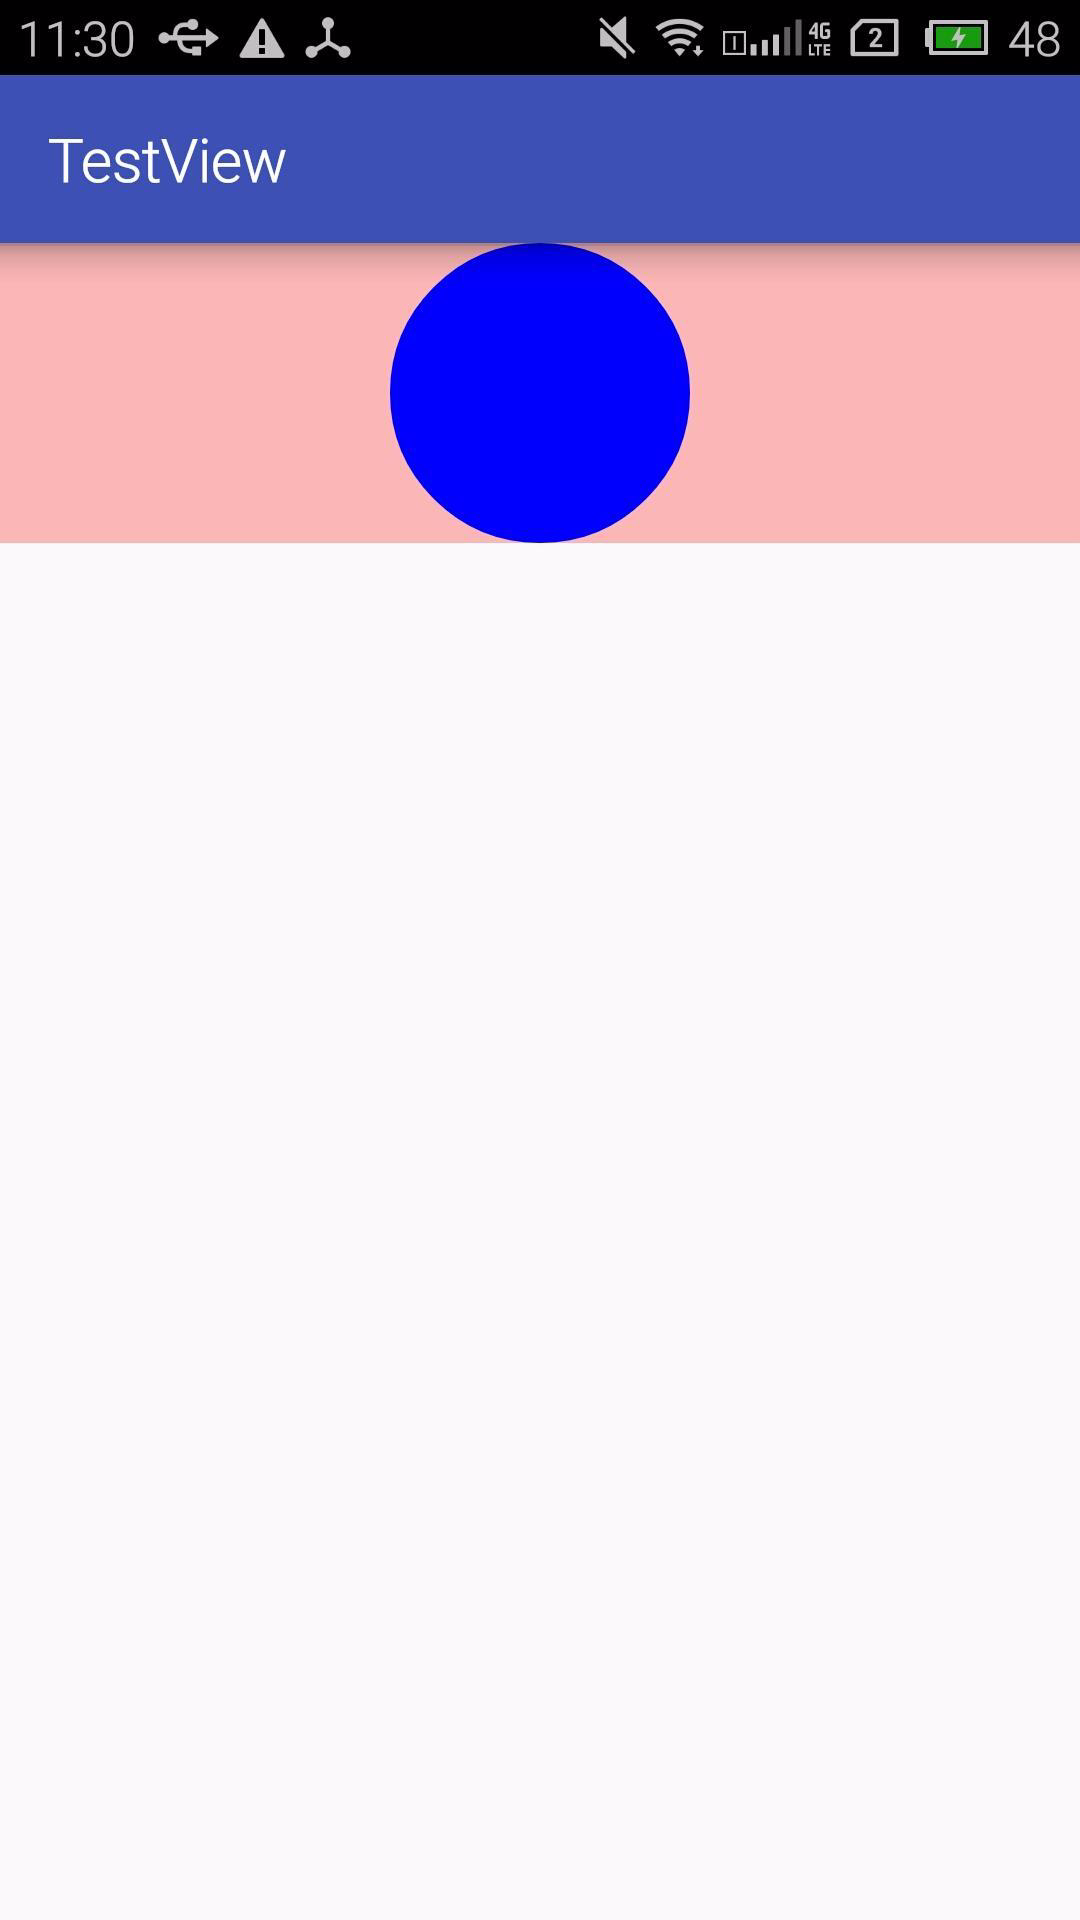
上述是一个通用的些烦,我们实现一个自定义View,画一个圆。
xml布局如下:
<com.zhu.testview.MyView
    android:id="@+id/my_view"
    android:layout_width="match_parent"
    android:layout_height="100dp"
    android:background="#44ff0000" />

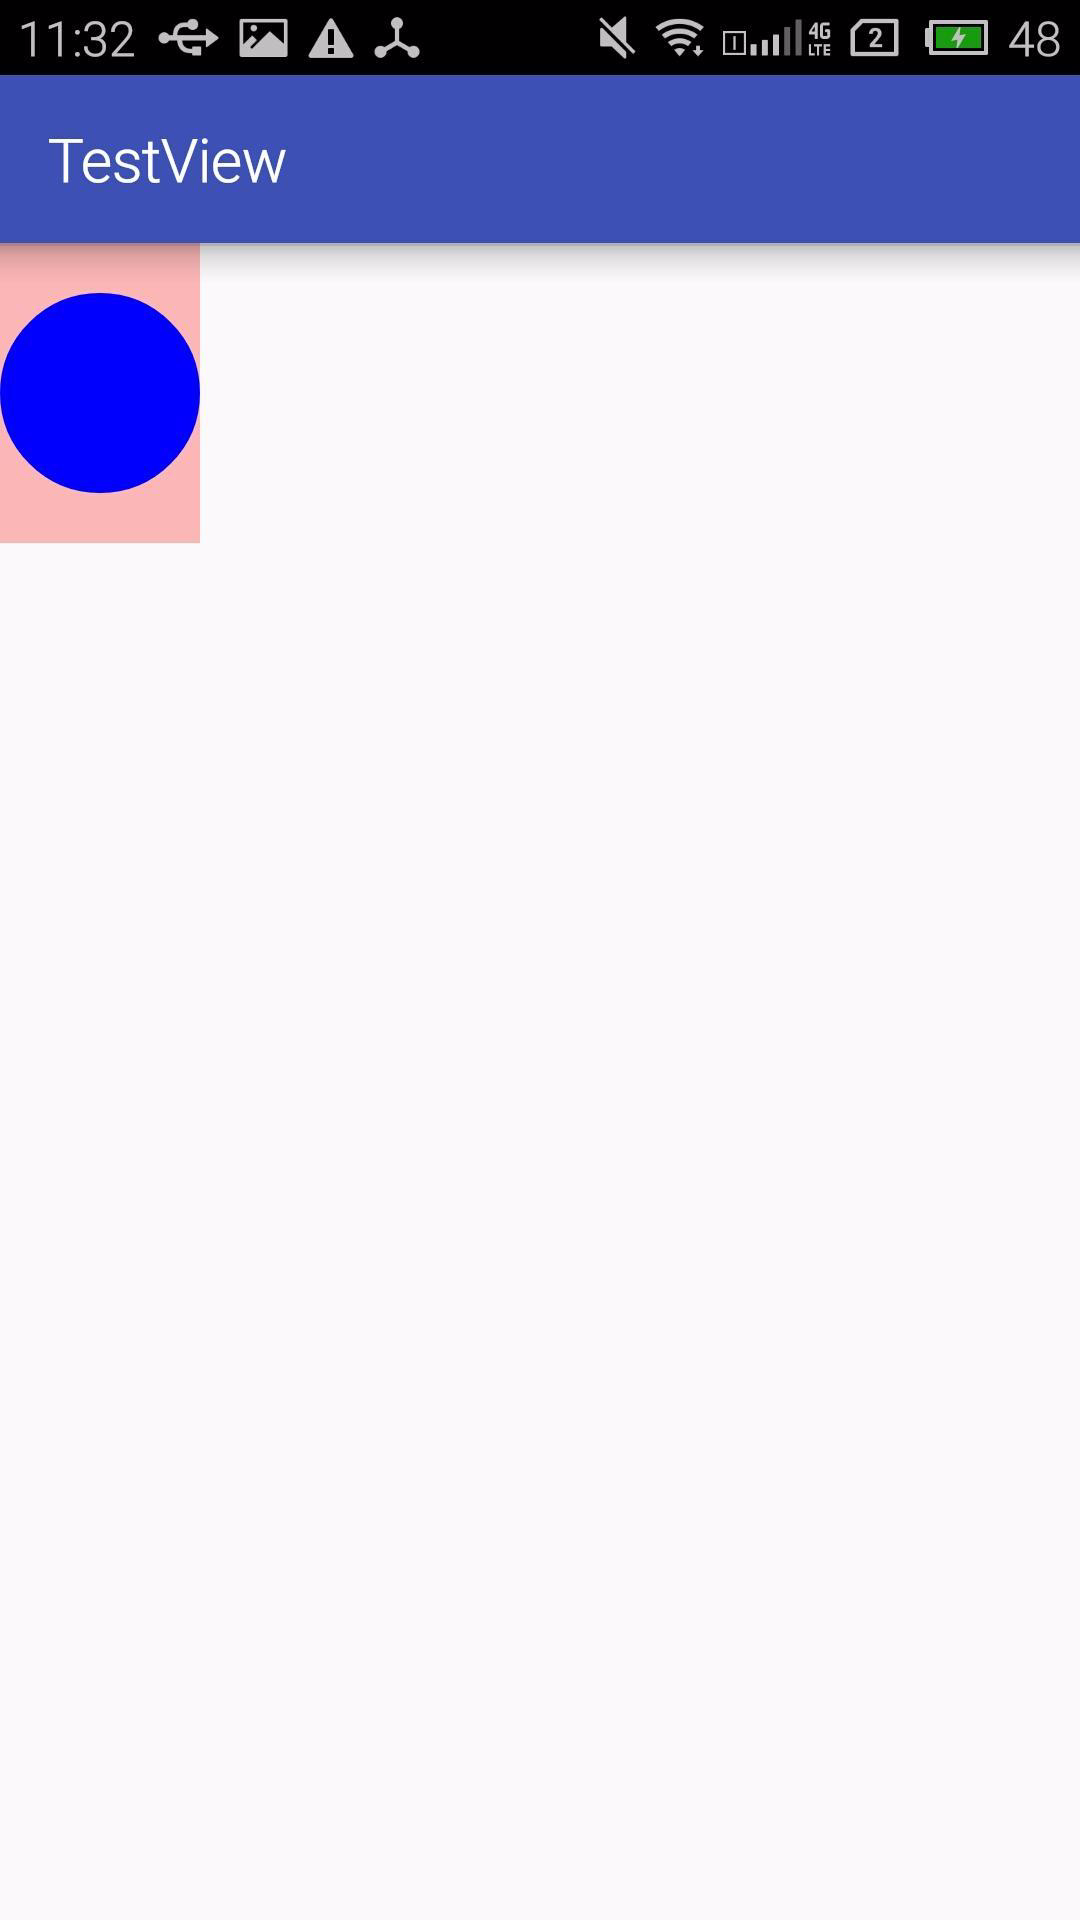
我们将其中的宽改为wrap_content,并设置默认的宽高为200;
private final int WRAP_WIDTH = 200;
private final int WRAP_HEIGHT = 200;
<com.zhu.testview.MyView
    android:id="@+id/my_view"
    android:layout_width="wrap_content"
    android:layout_height="100dp"
    android:background="#44ff0000" />

我们看到宽度已经不是原先的match_parent了。
注意
如果我们不处理AT_MOST情况,那么即使设置了wrap_content,最终的效果也和match_parent一样,这是因为这种情况下,View的SpecSize就是父容器测量出来可用的大小。
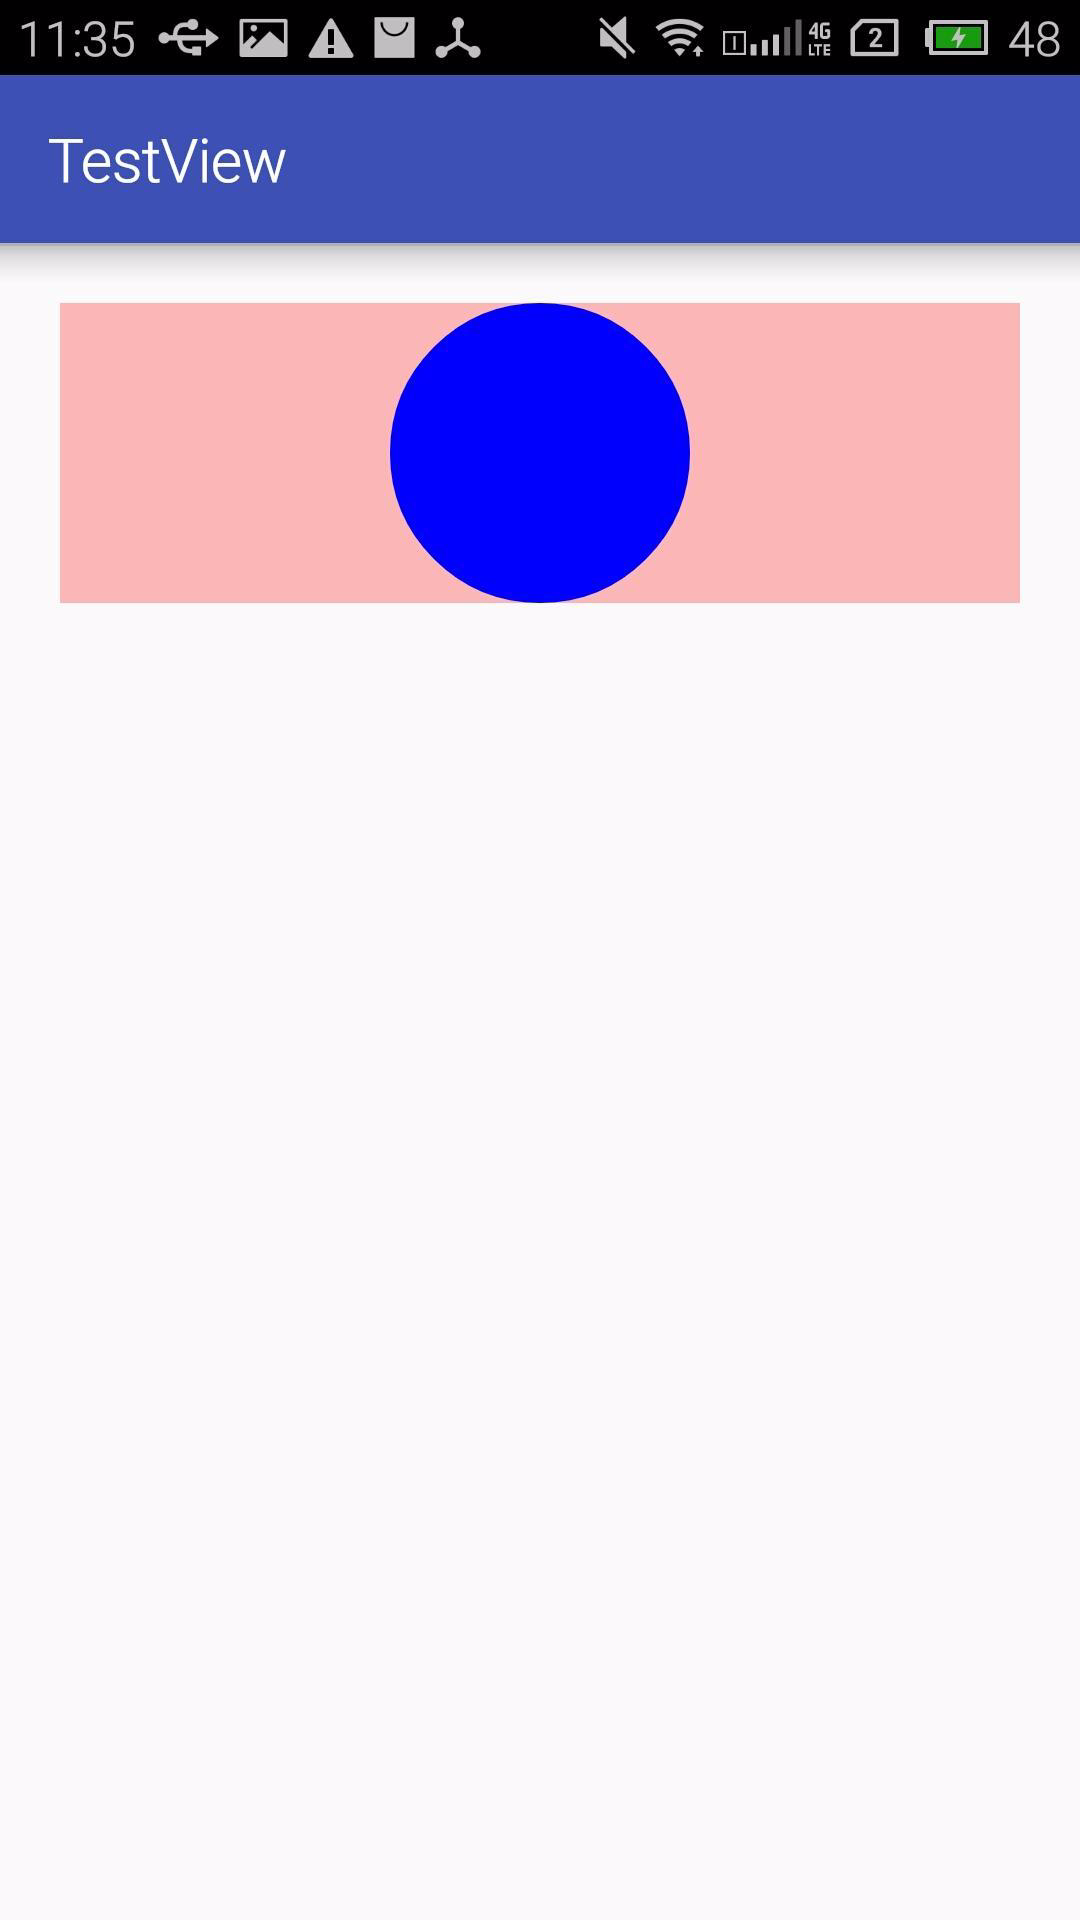
如果我们设置了margin会有什么效果呢?我们来看看。
<com.zhu.testview.MyView
    android:id="@+id/my_view"
    android:layout_width="wrap_content"
    android:layout_height="100dp"
    android:layout_margin="20dp"
    android:background="#44ff0000" />

看来margin属性的效果生效了,但是由于我们并没有处理margin属性,而margin属性是由父容器控制的,因此,我们自定义View中就不需要做特殊处理。但是padding属性就需要我们做处理。
int paddingLeft = getPaddingLeft();
int paddingRight = getPaddingRight();
int paddingTop = getPaddingTop();
int paddingBottom = getPaddingBottom();
到这里整个onMeasure过程就基本差不多了。
注意
1、某些极端情况下,系统可能要多次measure才能确定最终测量的宽高,这时onMeasure中拿到的不一定是准确的,所以onLayout或onSizeChanged中获取宽高。
protected void onSizeChanged(int w, int h, int oldw, int oldh)

我们看到onMeasure进行了两次测量。当开启了旋转时,每当手机旋转,我们就要重新measure,然后会调用onSizeChanged()方法。这个方法头两个参数是当前尺寸大小,后两个是上一次测量的尺寸。
2、在onLayout过程后,我们就可以调用getWidth()方法和getHeight()方法来获取视图的宽高了。getWidth()方法和getMeasureWidth()的值基本相同。但getMeasureWidth()方法在measure()过程结束后就可以获取到了,而getWidth()方法要在layout()过程结束后才能获取到。另外,getMeasureWidht()方法中的值是通过setMeasuredDimension()方法来进行设置的,而getWidth()方法中的值是通过视图右边的坐标减去左边的坐标计算出来的。
3、Activity中需要View的宽高时,onCreate、onStart、onResume中都是无法获取的。这是由于View的生命周期和Activity的生命周期不是同步的。解决方法有如下三种:
-
Activity中在onWindowFocusChanged中获取。这时View已经初始化完了,可以获取宽高。当Activity窗口获得焦点和失去焦点时均会被调用,因此该函数会被调用多次。
@Override
public void onWindowFocusChanged(boolean hasFocus) {
   super.onWindowFocusChanged(hasFocus);
    if (hasFocus) {
        int width = myView.getWidth();
        int height = myView.getHeight();
        Log.d(TAG, " " + width);
        Log.d(TAG, "height: " + height);
        Log.d(TAG, "measuredWidth: " + myView.getMeasuredWidth());
        Log.d(TAG, "measuredHeight: " + myView.getMeasuredHeight());
    }
}

-
view.post(runnable)
通过post将一个runnable放到消息队列尾部,等到looper调用此runnable,这时View也已经初始化好了。
myView.post(new Runnable() {
   @Override    public void run() {
       Log.d(TAG, "measuredWidth: " + myView.getMeasuredWidth());
       Log.d(TAG, "measuredHeight: " + myView.getMeasuredHeight());
    }
});
可以在onCreate、onStart和onResume中调用view.post(runnable)方法。
-
ViewTreeObserver
使用ViewTreeObserver的回调可以完成获取View的宽高。
ViewTreeObserver observer = myView.getViewTreeObserver();
observer.addOnGlobalLayoutListener(new ViewTreeObserver.OnGlobalLayoutListener() {
    @Override    public void onGlobalLayout() {
        Log.d(TAG, "observer measuredWidth: " + myView.getMeasuredWidth());
        Log.d(TAG, "observer measuredHeight: " + myView.getMeasuredHeight());
    }
});
这里使用了onGlobalLayoutListener接口,当View树的状态发生改变或View树内部的View可见性发生改变时,onGlobalLayout会被回调,这也说明onGlobalLayout会被调用多次。
作者:拿头撞鸡
链接:http://www.jianshu.com/p/1695988095a5