上文我们讲到Springboot整合Elastic-Job整合的demo,只是简单的实现了主要功能。本文在上文基础上,进行新的调整。
事件追踪
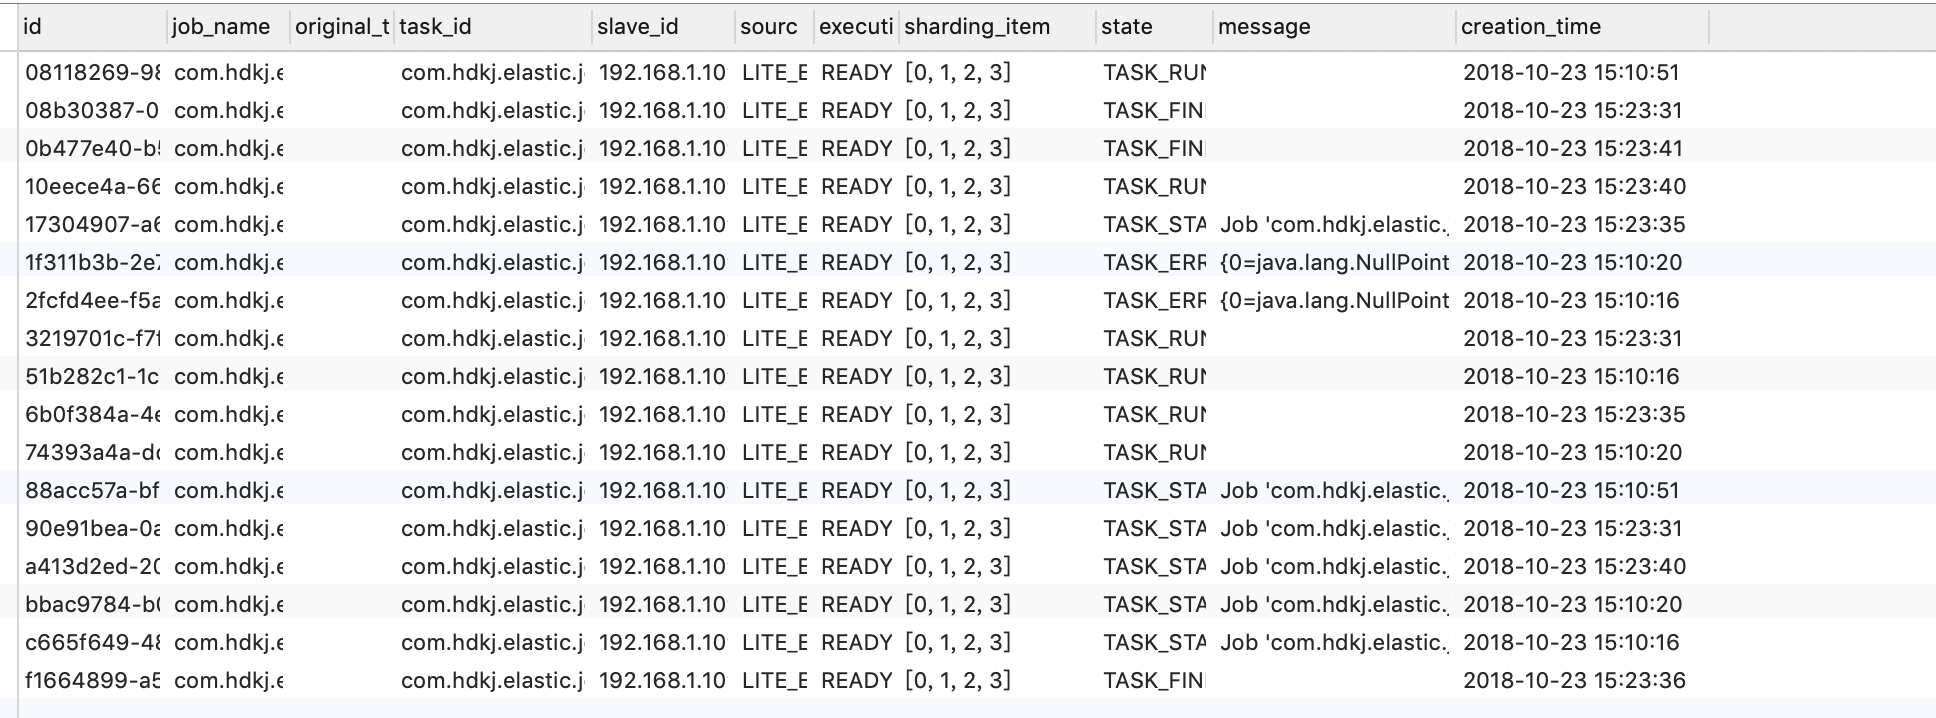
Elastic-Job提供了事件追踪功能,可通过事件订阅的方式处理调度过程的重要事件,用于查询、统计和监控。Elastic-Job目前提供了基于关系型数据库两种事件订阅方式记录事件。我们只需要将添加如下配置即可
/**
     * 将作业运行的痕迹进行持久化到DB
     */
    @Bean
    public JobEventConfiguration jobEventConfiguration(){
        return new JobEventRdbConfiguration(dataSource);
    }
项目运行后,Elastic-Job会自动创建JOB_EXECUTION_LOG和JOB_STATUS_TRACE_LOG两张表以及若干索引。

使用注解
上文我们添加一个任务的步骤是,定义一个任务类,再在配置类中定义任务属性,并加入到SpringJobScheduler。如果我们有几百个任务,配置类基本就无法维护了。那怎么优化呢,我们可以参考@Schedual注解,在job上定义一个注解,每次启动的时候扫描注解自动将job加入到SpringJobScheduler中。
1.抽象添加job方法
@Component
public class ElasticJobHandler {
    @Autowired
    private ZookeeperRegistryCenter regCenter;
    @Resource
    private JobEventConfiguration jobEventConfiguration;
    @Resource
    private ElasticJobListener elasticJobListener;

    /**
     * @Description 任務配置類
     */
    private LiteJobConfiguration getLiteJobConfiguration(final Class<? extends SimpleJob> jobClass,
                                                         final String cron,
                                                         final int shardingTotalCount,
                                                         final String shardingItemParameters) {
        return LiteJobConfiguration.newBuilder(new SimpleJobConfiguration(
                JobCoreConfiguration.newBuilder(jobClass.getName(), cron, shardingTotalCount)
                        .shardingItemParameters(shardingItemParameters).build()
                        , jobClass.getCanonicalName())
        ).overwrite(true).build();
    }

    public void addJob(final SimpleJob simpleJob,
                       final String cron,
                       final Integer shardingTotalCount,
                       final String shardingItemParameters)
            throws IllegalAccessException, InstantiationException {
        LiteJobConfiguration jobConfig =
                getLiteJobConfiguration(simpleJob.getClass(), cron, shardingTotalCount, shardingItemParameters);

         new SpringJobScheduler(simpleJob, regCenter, jobConfig, jobEventConfiguration, elasticJobListener).init();
    }
}
2.添加ElasticScheduler注解
@Component
@Target({ ElementType.TYPE })
@Retention(RetentionPolicy.RUNTIME)
public @interface ElasticScheduler {
    /**
     * 任务名称
     * @return
     */
    String name();

    /**
     * cron表达式,用于控制作业触发时间
     * @return
     */
    String cron() default "";

    /**
     * 分片参数
     * @return
     */
    String shardingItemParameters() default "";

    /**
     * 总分片数
     * @return
     */
    int shardingTotalCount();

    /**
     * 任务描述信息
     * @return
     */
    String description() default "";
}
3.定义扫描方法
@Component
public class ElasticSchedulerAspect implements ApplicationContextAware, InitializingBean {
    private ApplicationContext applicationContext;
    @Autowired
    private ElasticJobHandler elasticJobHandler;
    @Override
    public void afterPropertiesSet() throws Exception {
        registrJob(applicationContext);
    }

    /**
     * 解析context信息,开始注册
     * @param applicationContext
     */
    private void registrJob(ApplicationContext applicationContext) {
        String[] beanNamesForAnnotation = applicationContext.getBeanNamesForAnnotation(ElasticScheduler.class);
        for (String beanName : beanNamesForAnnotation) {
            Class<?> handlerType = applicationContext.getType(beanName);
            Object bean = applicationContext.getBean(beanName);
            ElasticScheduler annotation = AnnotationUtils.findAnnotation(handlerType, ElasticScheduler.class);
            addJobToContext(annotation,bean);
        }
    }

    /**
     * 将任务添加到容器中
     * @param elasticScheduler
     * @param bean
     */
    private void addJobToContext(ElasticScheduler elasticScheduler, Object bean) {
        String cron = elasticScheduler.cron();
        String name = elasticScheduler.name();
        String description = elasticScheduler.description();
        String shardingItemParameters = elasticScheduler.shardingItemParameters();
        Integer shardingTotalCount = elasticScheduler.shardingTotalCount();
        try {
            elasticJobHandler.addJob((SimpleJob) bean,cron,shardingTotalCount,shardingItemParameters);
        } catch (IllegalAccessException e) {
            e.printStackTrace();
        } catch (InstantiationException e) {
            e.printStackTrace();
        }
    }

    @Override
    public void setApplicationContext(ApplicationContext applicationContext) throws BeansException {
        this.applicationContext=applicationContext;
    }

}
4.使用注解
@Component
@ElasticScheduler(cron = "0/5 * * * * ?",shardingTotalCount = 4,name = "测试注解",shardingItemParameters = "0=0,1=0,2=1,3=1")
public class StockSimpleJob implements SimpleJob {
    @Override
    public void execute(ShardingContext shardingContext) {
        System.out.println(String.format("------Thread ID: %s, 任務總片數: %s, " +
                        "當前分片項: %s.當前參數: %s," +
                        "當前任務名稱: %s.當前任務參數: %s"
                ,
                Thread.currentThread().getId(),
                shardingContext.getShardingTotalCount(),
                shardingContext.getShardingItem(),
                shardingContext.getShardingParameter(),
                shardingContext.getJobName(),
                shardingContext.getJobParameter()

        ));
    }
}
注意,该注解只为了不想引入太多外部依赖自己随手写的,只为给大家提供思路。git上已经有人对用注解整合Elastic-Job了,大家可自行搜索。