饮水思源:https://www.bilibili.com/video/BV1Zy4y1K7SH?p=99&spm_id_from=pageDriver
①创建项目
vue create vue-github-example
启动调试:
cd vue-github-example
npm run serve
用谷歌浏览器访问相应链接,笔记本用FN+F12启动开发者模式。修改App.vue,删去HelloWorld.vue等文件。

<template>
  <h1>hello</h1>
</template>

<script>
export default {
  name: 'App',
  components: {
  }
}
</script>

<style>
</style>
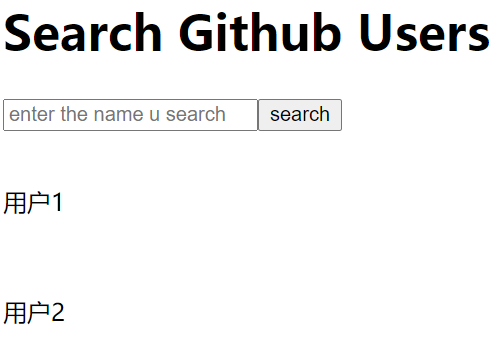
②实现静态页面

不考虑CSS等,在App.vue的<template></template>中添加如下内容:
  <div>
    <h1>Search Github Users</h1>
    <input type="text" placeholder="enter the name u search">
    <button>search</button>
    <div>
      <div>
        <a href="www.baidu.com">
          <img src="" style=" 100px">
        </a>
        <p>用户1</p>
      </div>
      <div>
        <a href="www.baidu.com">
          <img src="" style=" 100px">
        </a>
        <p>用户2</p>
      </div>
    </div>
  </div>
可以通过https://api.github.com/search/users?q=xxx拿到用户数据
③拆分成组件
App.vue:
<template>
  <div>
    <Search />
    <MyList />
  </div>
</template>

<script>
import Search from './components/Search.vue'
import MyList from './components/MyList.vue'

export default {
  name: 'App',
  components: {
    Search,
    MyList,
  }
}
</script>

<style>
</style>
④测试交互
Search.vue:
<template>
  <div>
    <h1>Search Github Users</h1>
    <input type="text" placeholder="enter the name u search" v-model="keyWord">
    <button @click="getUsers">search</button>
  </div>
</template>

<script>
export default {
  name: 'Search',
  data() {
    return {
      keyWord: '',
    }
  },
  methods: {
    getUsers() {
      console.log(this.keyWord)
    },
  },
}
</script>

<style>
</style>
⑤安装axios并用它请求数据
https://www.npmjs.com/package/axios
npm i axios
安装好后,重启一下调试模式。

<template>
  <div>
    <h1>Search Github Users</h1>
    <input type="text" placeholder="enter the name u search" v-model="keyWord">
    <button @click="getUsers">search</button>
  </div>
</template>

<script>
import axios from 'axios'

export default {
  name: 'Search',
  data() {
    return {
      keyWord: '',
    }
  },
  methods: {
    getUsers() {
      axios.get(`https://api.github.com/search/users?q=${this.keyWord}`)
        .then(resp => {
          console.log(resp.data);
        })
        .catch(error => {
          console.log(error.message);
        })
    },
  },
}
</script>

<style>
</style>
用全局事件总线,把Search中的list传递给MyList组件。
Search:
import axios from 'axios'

export default {
  name: 'Search',
  data() {
    return {
      keyWord: '',
    }
  },
  methods: {
    getUsers() {
      axios.get(`https://api.github.com/search/users?q=${this.keyWord}`)
        .then(resp => {
          // console.log(resp.data);
          this.$bus.$emit('updateUsers', resp.data.items)
        })
        .catch(error => {
          console.log(error.message);
        })
    },
  },
}
MyList:
export default {
  name: 'MyList',
  components: {
  },
  methods: {
    handleUpdateUsers(users) {
      console.log(users)
    },
  },
  mounted() {
    this.$bus.$on('updateUsers', this.handleUpdateUsers);
  },
  beforeDestroy() {
    this.$bus.$off('updateUsers')
  },
}
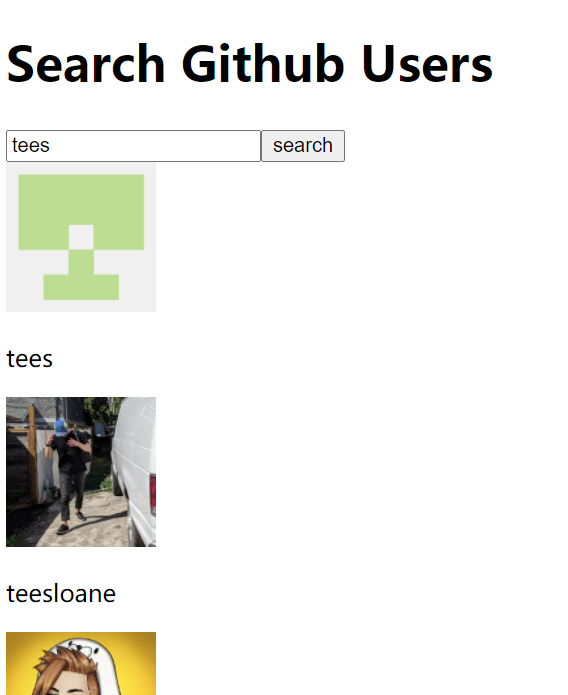
⑥储存数据并呈现到页面


<template>
  <div>
    <div v-for="user in users" :key="user.login">
      <a :href="user.html_url" target="_blank">
        <img :src="user.avatar_url" style=" 100px">
      </a>
      <p>{{user.login}}</p>
    </div>
  </div>
</template>

<script>
export default {
  name: 'MyList',
  components: {
  },
  data() {
    return {
      users: [],
    }
  },
  methods: {
    handleUpdateUsers(users) {
      console.log(users)
      this.users = users
    },
  },
  mounted() {
    this.$bus.$on('updateUsers', this.handleUpdateUsers);
  },
  beforeDestroy() {
    this.$bus.$off('updateUsers')
  },
}
</script>

<style>
</style>
⑦优化

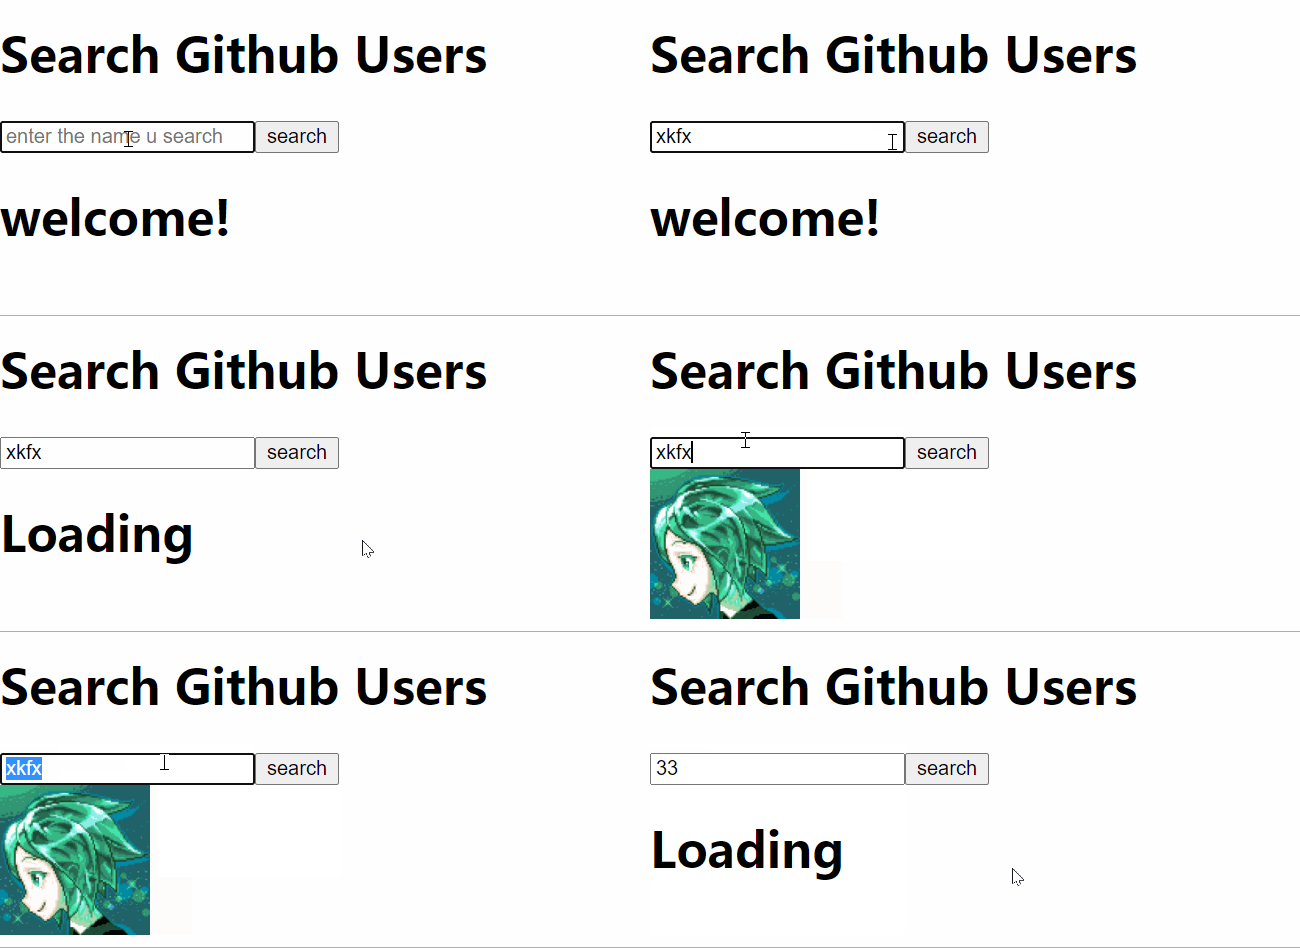
事实上,列表存在4种互斥的状态:一,还没进行第一次查询的欢迎状态;二,加载列表状态;三,显示列表状态;四,错误信息状态。
显示哪种状态主要由Search组件决定:
<template>
  <div>
    <h1>Search Github Users</h1>
    <input type="text" placeholder="enter the name u search" v-model="keyWord">
    <button @click="getUsers">search</button>
  </div>
</template>

<script>
import axios from 'axios'

export default {
  name: 'Search',
  data() {
    return {
      keyWord: '',
    }
  },
  methods: {
    getUsers() {
      if (this.keyWord.trim() == '') {
        alert('输入不能为空')
        return
      }
      let stateOfRequest = {
        code: 1, // 0 从未更新的初态 1 加载中 2 请求成功 3 请求失败
        data: [],
      }
      this.$bus.$emit('updateUsers', stateOfRequest)
      axios.get(`https://api.github.com/search/users?q=${this.keyWord}`)
        .then(resp => {
          stateOfRequest.code = 2
          stateOfRequest.data = resp.data.items
          this.$bus.$emit('updateUsers', stateOfRequest)
        })
        .catch(error => {
          stateOfRequest.code = 3
          stateOfRequest.data = error.message
          this.$bus.$emit('updateUsers', stateOfRequest)
        })
    },
  },
}
</script>

<style>
</style>
MyList组件处理并展示信息:
<template>
  <div>
    <!-- 展示欢迎界面 -->
    <h1 v-show="stateCode === 0">welcome!</h1>
    <!-- 展示加载信息 -->
    <h1 v-show="stateCode === 1">Loading</h1>
    <!-- 展示用户列表 -->
    <div v-show="users.length">
      <div v-for="user in users" :key="user.login">
        <a :href="user.html_url" target="_blank">
          <img :src="user.avatar_url" style=" 100px">
        </a>
        <p>{{user.login}}</p>
      </div>
    </div>
    <!-- 展示错误信息 -->
    <h1 v-show="stateCode === 3">错误信息:{{errorMsg}}</h1>
  </div>
</template>

<script>
export default {
  name: 'MyList',
  components: {
  },
  data() {
    return {
      stateCode: 0,
      users: [],
      errorMsg: '',
    }
  },
  methods: {
    handleUpdateUsers(stateOfRequest) {
      this.stateCode = stateOfRequest.code
      if (stateOfRequest.code === 3) {
        this.errorMsg = stateOfRequest.data
      } else {
        this.users = stateOfRequest.data
      }
    },
  },
  mounted() {
    this.$bus.$on('updateUsers', this.handleUpdateUsers);
  },
  beforeDestroy() {
    this.$bus.$off('updateUsers')
  },
}
</script>

<style>
</style>
