最近在学习spring框架.其中spring cloud在微服务方面很火,所以在学习过程中,也做一些记录.
注:这一个系列的开发环境版本为 java1.8, spring boot2.x, spring cloud Greenwich.SR2, IDE为 Intelli IDEA
spring cloud的简介
关于spring cloud是什么,做什么的问题这里就不再详细说明了.需要的可以看
这篇文章[http://www.ityouknow.com/springcloud/2017/05/01/simple-springcloud.html] (博客园markdown不支持超链接).
接下来我们就来实践spring cloud的几个核心组件.
注册中心Eureka
Eureka是Netflix开源的一款提供服务注册和发现的产品.它是spring cloud最核心的组件之一.
接下来我们看看具体的构建步骤:
构建步骤
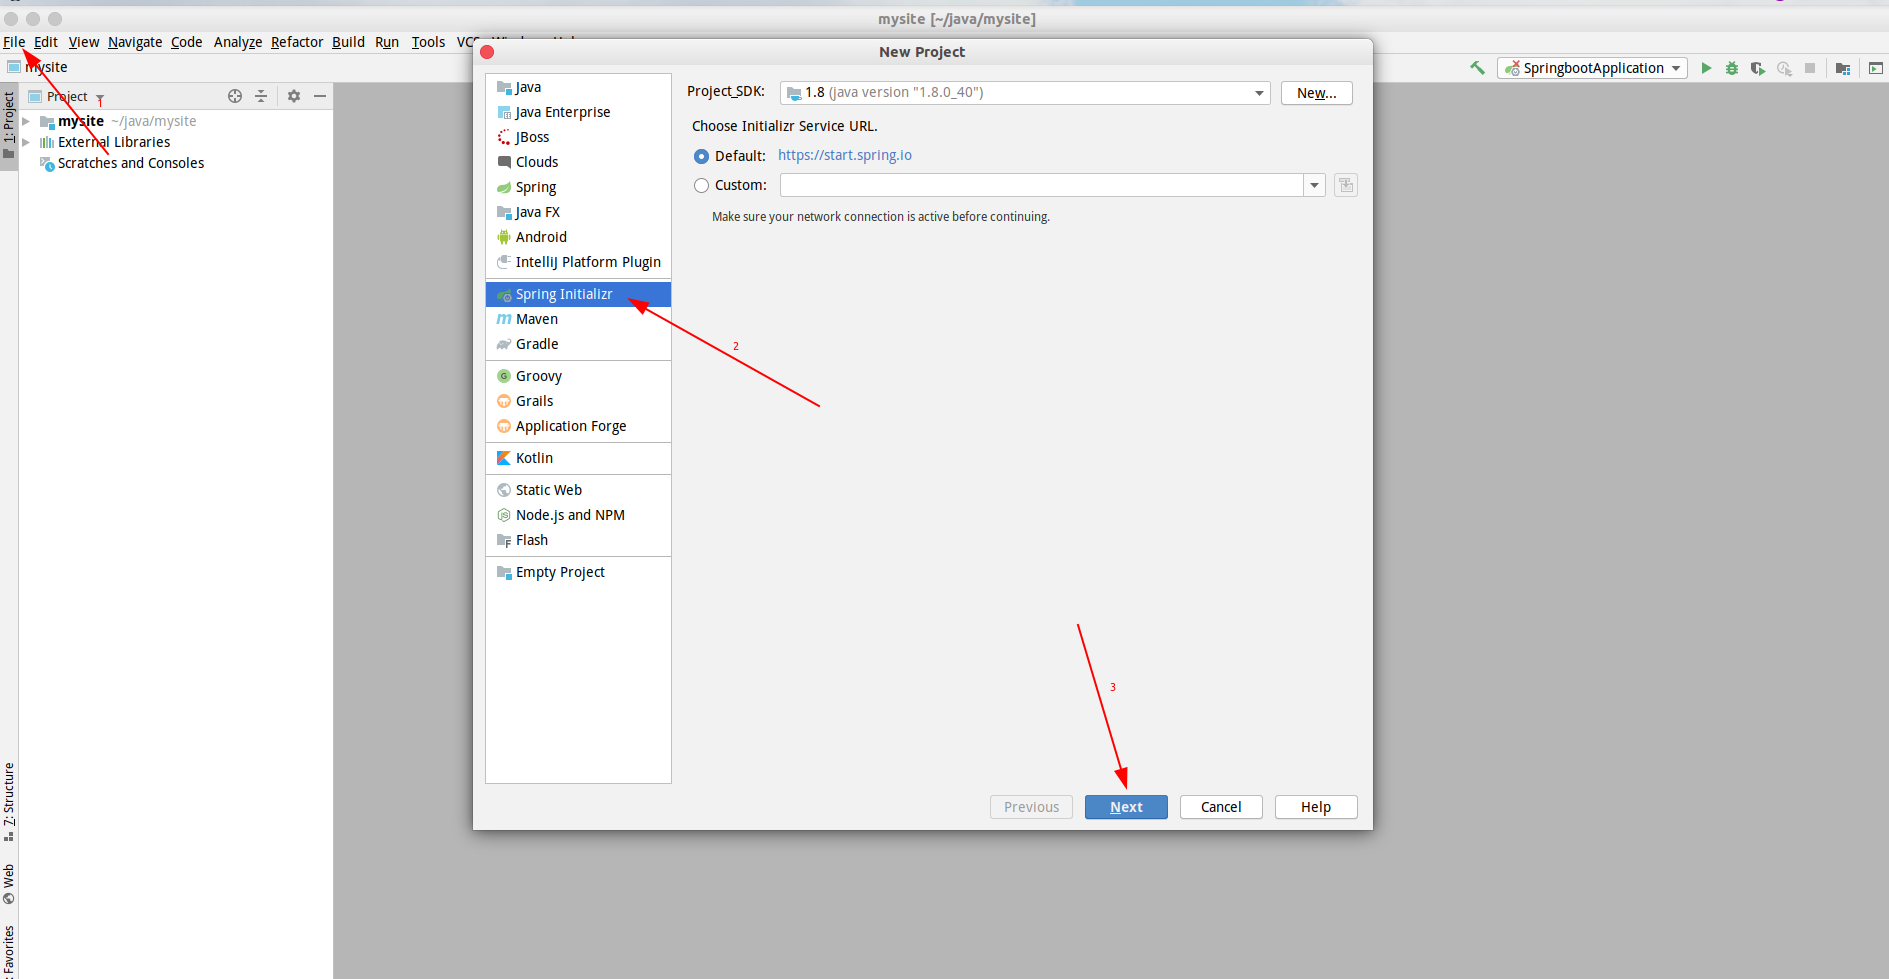
1.创建spring cloud项目
选择菜单 File>New>Project, 选择 Spring Initializr,然后 next.
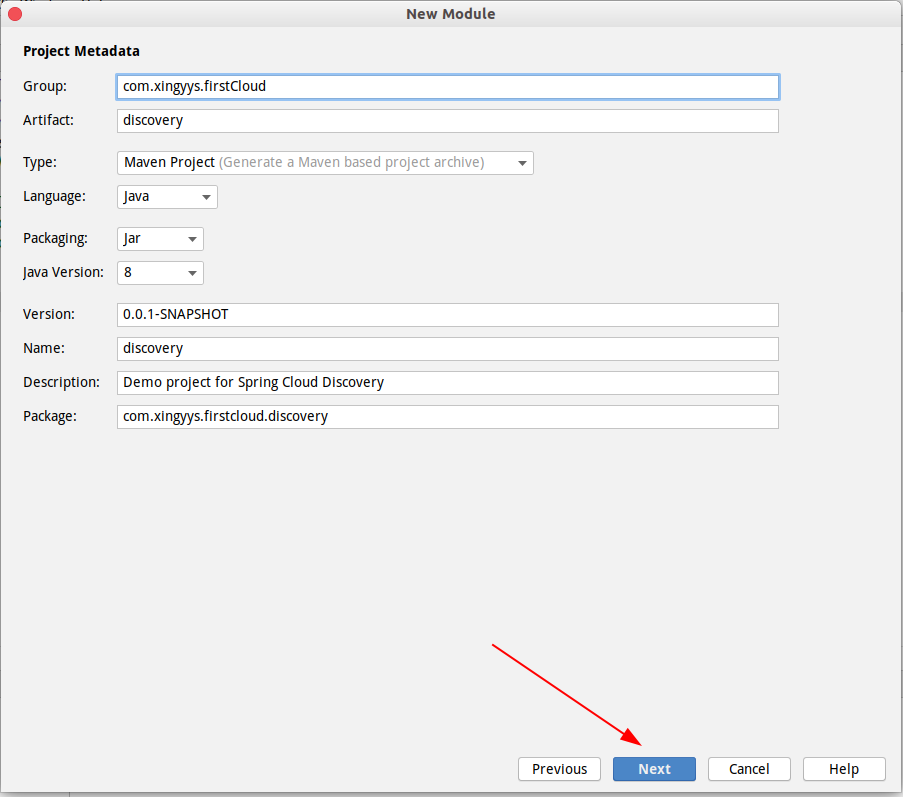
2.输入项目名称
Group 为组织名, Artifact 为项目名, 输出完毕后 next.
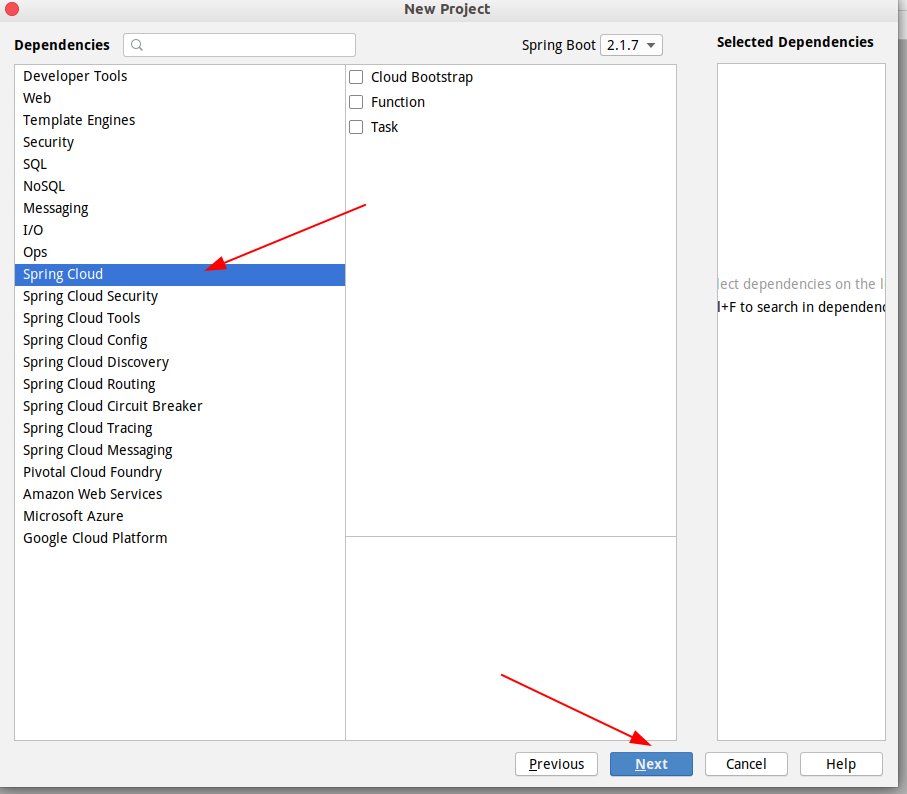
3.选择依赖
接下来选择依赖,直接Spring Cloud, 然后 next.
4.选择项目路径
选好路径,直接 next.
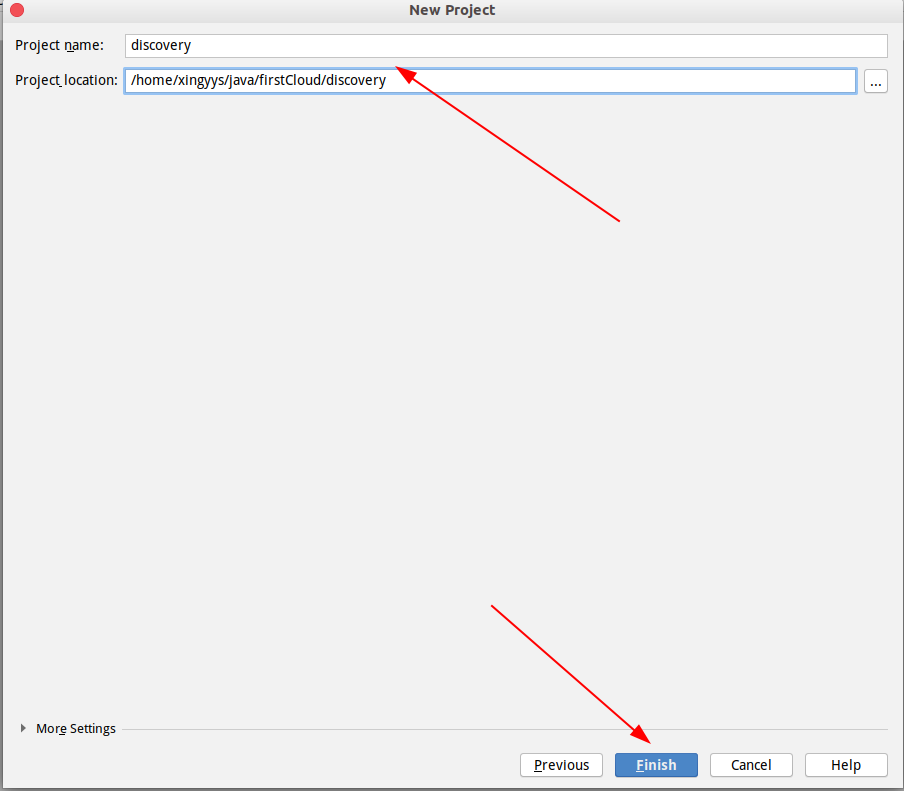
5.完成创建
到这里,一个标准的spring cloud项目就出来了
6.补充代码
接下来就是补充代码了.
实例代码
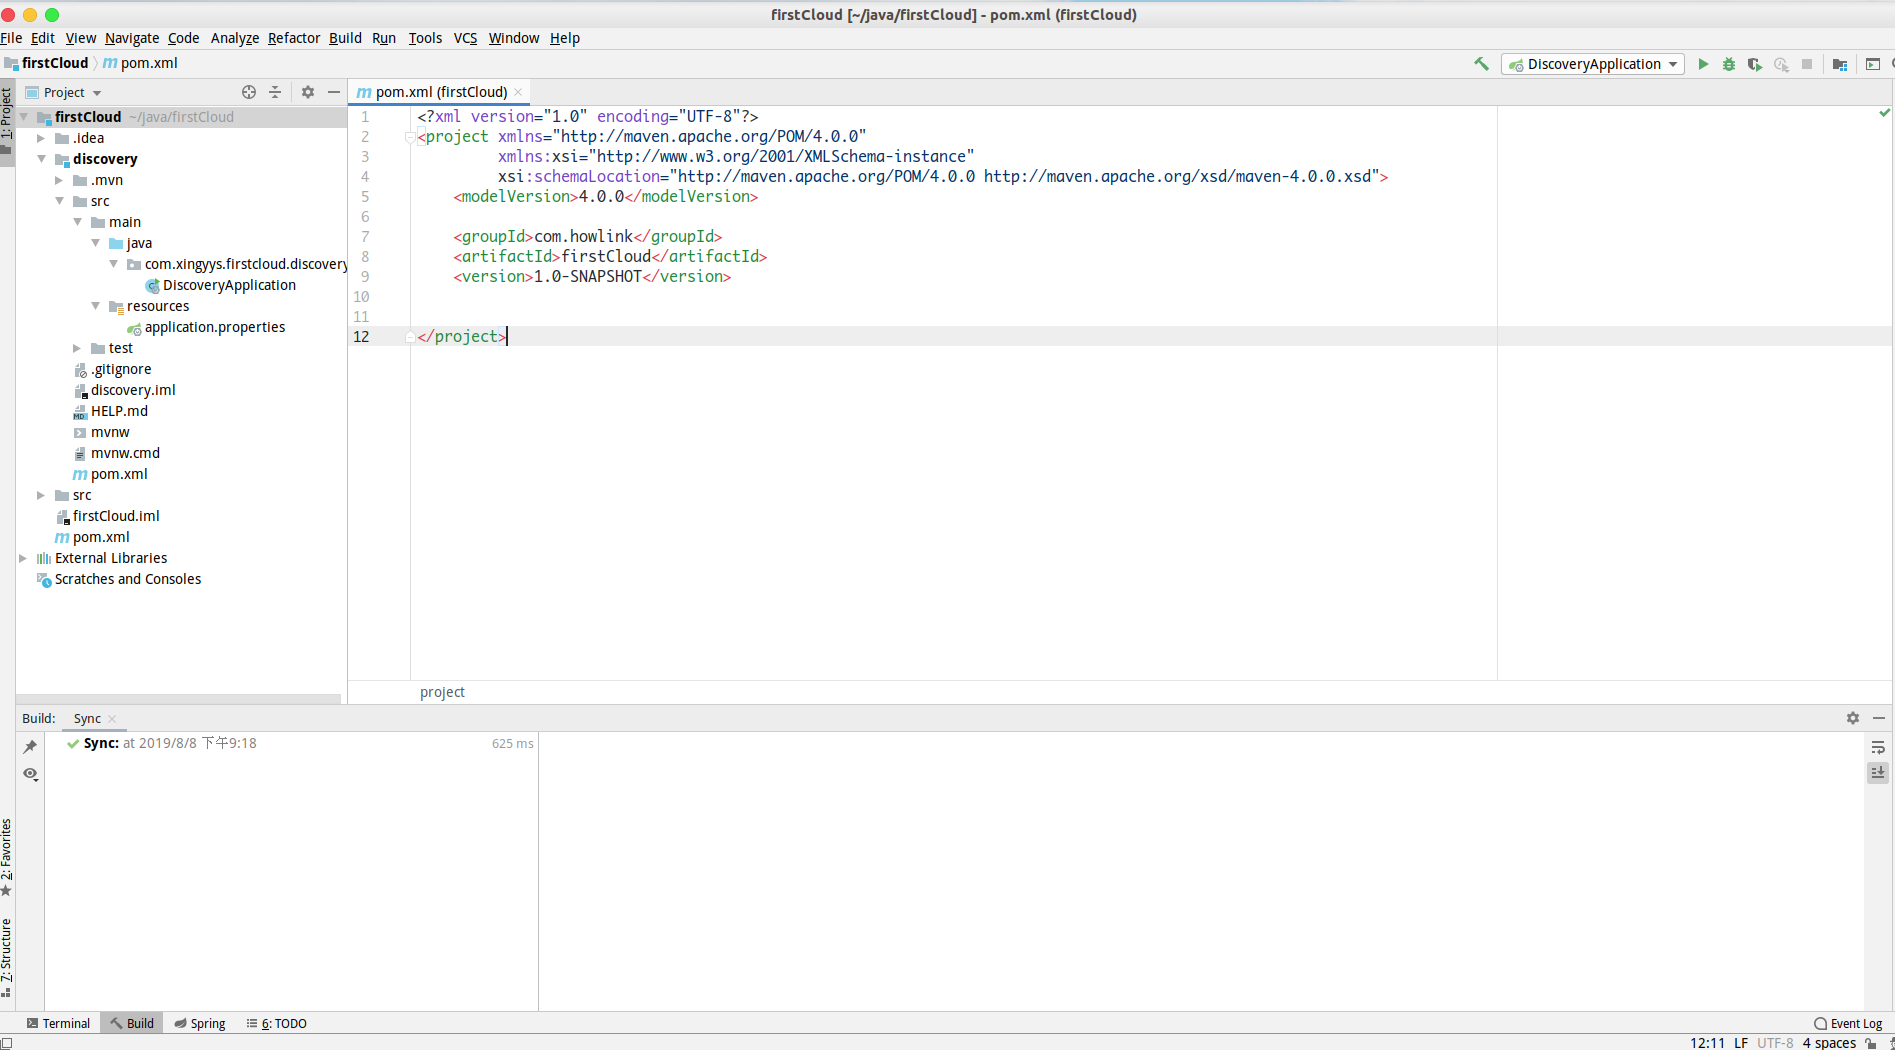
1.首先的依赖关系: pom.xml
<?xml version="1.0" encoding="UTF-8"?>
<project xmlns="http://maven.apache.org/POM/4.0.0" xmlns:xsi="http://www.w3.org/2001/XMLSchema-instance"
         xsi:schemaLocation="http://maven.apache.org/POM/4.0.0 http://maven.apache.org/xsd/maven-4.0.0.xsd">
    <modelVersion>4.0.0</modelVersion>
    <parent>
        <groupId>org.springframework.boot</groupId>
        <artifactId>spring-boot-starter-parent</artifactId>
        <version>2.1.6.RELEASE</version>
        <relativePath/> <!-- lookup parent from repository -->
    </parent>
    <groupId>com.xingyys.firstCloud</groupId>
    <artifactId>discovery</artifactId>
    <version>0.0.1-SNAPSHOT</version>
    <name>discovery</name>
    <description>Demo project for Spring Cloud Discovery</description>

    <properties>
        <java.version>1.8</java.version>
        <spring-cloud.version>Greenwich.SR2</spring-cloud.version>
    </properties>

    <dependencies>
        <dependency>
            <groupId>org.springframework.cloud</groupId>
            <artifactId>spring-cloud-starter-netflix-eureka-server</artifactId>
        </dependency>

        <dependency>
            <groupId>org.springframework.boot</groupId>
            <artifactId>spring-boot-starter-test</artifactId>
            <scope>test</scope>
        </dependency>
    </dependencies>


    <dependencyManagement>
        <dependencies>
            <dependency>
                <groupId>org.springframework.cloud</groupId>
                <artifactId>spring-cloud-dependencies</artifactId>
                <version>${spring-cloud.version}</version>
                <type>pom</type>
                <scope>import</scope>
            </dependency>
        </dependencies>
    </dependencyManagement>


    <build>
        <plugins>
            <plugin>
                <groupId>org.springframework.boot</groupId>
                <artifactId>spring-boot-maven-plugin</artifactId>
            </plugin>
        </plugins>
    </build>

</project>
要注意的是spring boot2.x版本和1.x版本在依赖上有一些不同,所以特别注意 properties中的<spring-cloud.version>Greenwich.SR2</spring-cloud.version>
2.启动代码中添加@EnableEurekaServer注解
@SpringBootApplication
@EnableEurekaServer
public class DiscoveryApplication {

    public static void main(String[] args) {
        SpringApplication.run(DiscoveryApplication.class, args);
    }

}
3.配置文件 application.properties
spring.application.name=spring-cloud-eureka

server.port=8000
eureka.client.register-with-eureka=false
eureka.client.fetch-registry=false

eureka.client.serviceUrl.defaultZone=http://localhost:${server.port}/eureka/
- eureka.client.register-with-eureka :表示是否将自己注册到Eureka Server,默认为true。
- eureka.client.fetch-registry :表示是否从Eureka Server获取注册信息,默认为true。
- eureka.client.serviceUrl.defaultZone :设置与Eureka Server交互的地址,查询服务和注册服务都需要依赖这个地址。默认是http://localhost:8761/eureka ;多个地址可使用 , 分隔。
4.编译打包
进入到discovery目录下执行命令:
# 忽略测试
mvn clean package -Dmaven.test.skip=true
编译成功后会在 target目录下生成 discovery.xx.jar包
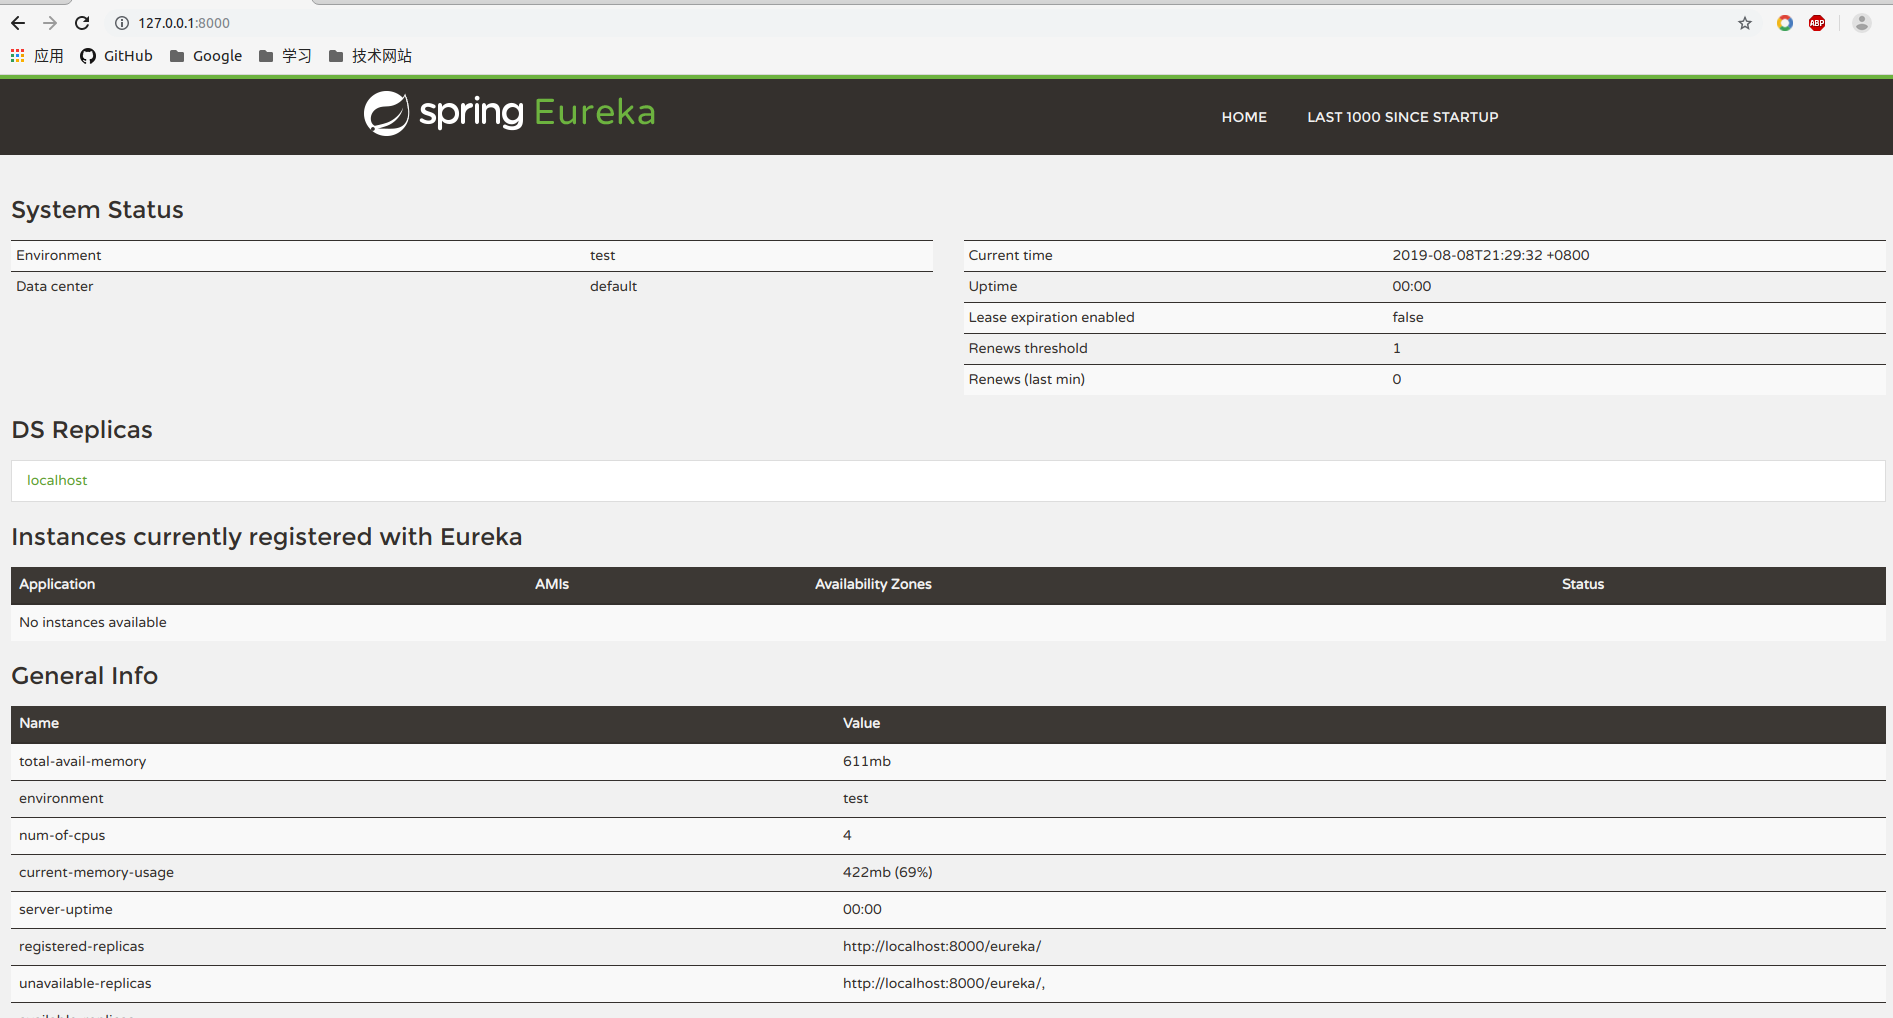
5.运行discovery
java -jar target/discovery-0.0.1-SNAPSHOT.jar
都成功的话,浏览器访问 http://localhost:8000:
注册中心的高可用
既然注册中心这么重要,那么单机运行怎么能保证服务的可靠性呢.所以我们就需要对注册中心做集群.
Eureka通过互相注册的方式来实现高可用的部署,所以我们只需要将Eureke Server配置其他可用的serviceUrl就能实现高可用部署.
接下来我们就来看看怎么实现吧:
双活配置
1.创建application-node1.properties,作为node1服务中心的配置,并将serviceUrl指向node2`, :
spring.application.name=discovery-node1
server.port=8001
eureka.client.register-with-eureka=true
eureka.client.fetch-registry=true
eureka.instance.hostname=node1

eureka.client.serviceUrl.defaultZone=http://node2:8002/eureka/
2.创建application-node2.properties,作为node2服务中心的配置,并将serviceUrl指向node1:
spring.application.name=discovery-node2
server.port=8002
eureka.client.register-with-eureka=true
eureka.client.fetch-registry=true
eureka.instance.hostname=node2

eureka.client.serviceUrl.defaultZone=http://node1:8001/eureka/
3.修改hosts
127.0.0.1 node1
127.0.0.1 node2
4.修改代码,添加@EnableEurekaClient注解:
@SpringBootApplication
@EnableEurekaServer
@EnableEurekaClient
public class DiscoveryApplication {

    public static void main(String[] args) {
        SpringApplication.run(DiscoveryApplication.class, args);
    }

}
5.打包启动
依次执行下面命令
#打包
mvn clean package -Dmaven.test.skip=true
# 分别以node1和node2 配置信息启动eureka
# --spring.profiles.active 指定启动不同的配置文件
java -jar target/discovery-0.0.1-SNAPSHOT.jar --spring.profiles.active=node1
java -jar target/discovery-0.0.1-SNAPSHOT.jar --spring.profiles.active=node2
成功后访问浏览器就会变成这样:

更多集群
如果是三个及以上的节点又要怎么配合呢,其实也是同样的原理.以三个节点为例,每个节点注册为其他节点的client就可以了.
因为spring cloud也支持yaml格式的配置文件,所以三个节点的配置文件可以写在一个yaml文件中:
---
spring:
  application:
    name: discovery
  profiles: nodes1
server:
  port: 8000
eureka:
  instance:
    hostname: node1
  client:
    serviceUrl:
      defaultZone: http://node2:8001/eureka/,http://node3:8002/eureka/
---
spring:
  application:
    name: discovery
  profiles: nodes2
server:
  port: 8001
eureka:
  instance:
    hostname: node2
  client:
    serviceUrl:
      defaultZone: http://node1:8000/eureka/,http://node3:8002/eureka/
---
spring:
  application:
    name: discovery
  profiles: nodes3
server:
  port: 8002
eureka:
  instance:
    hostname: node3
  client:
    serviceUrl:
      defaultZone: http://node1:8000/eureka/,http://node2:8001/eureka/
分别启动:
java -jar target/discovery-0.0.1-SNAPSHOT.jar --spring.profiles.active=nodes1
java -jar target/discovery-0.0.1-SNAPSHOT.jar --spring.profiles.active=nodes2
java -jar target/discovery-0.0.1-SNAPSHOT.jar --spring.profiles.active=nodes3
浏览器访问:
