1、Person接口
1 package com.xiaostudy.service;
2
3 public interface Person {
4
5     public void print();
6 }
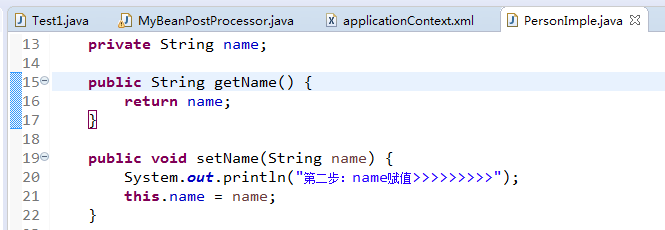
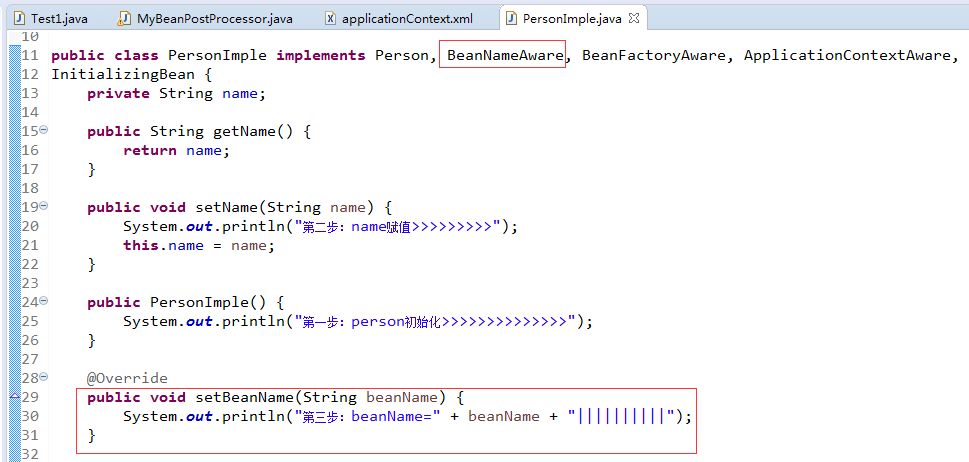
2、Person的实现类PersonImple.java
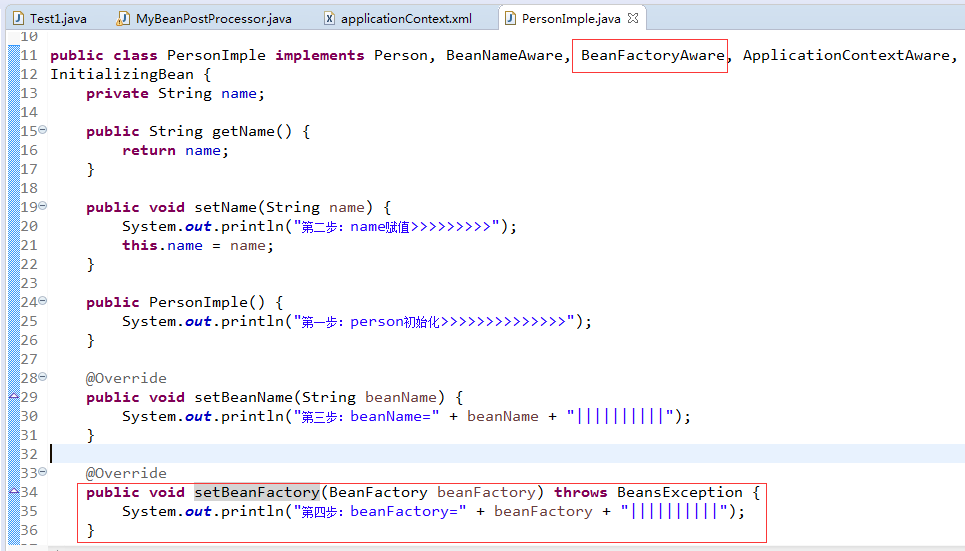
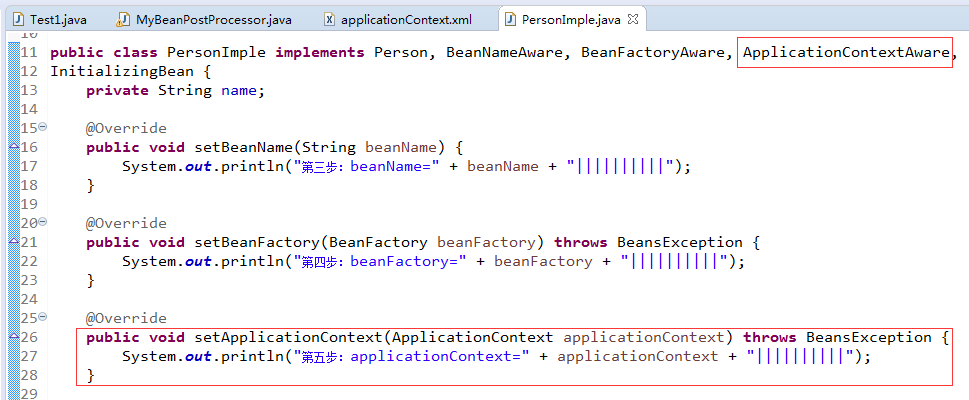
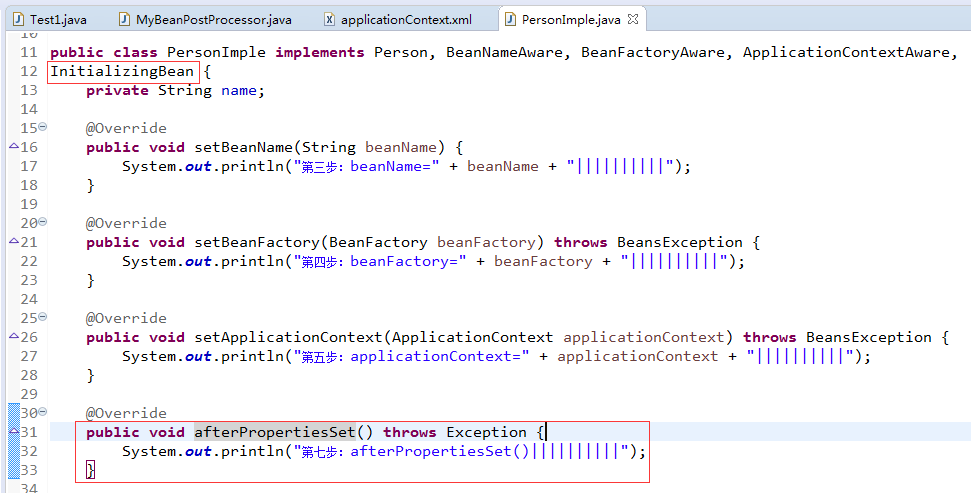
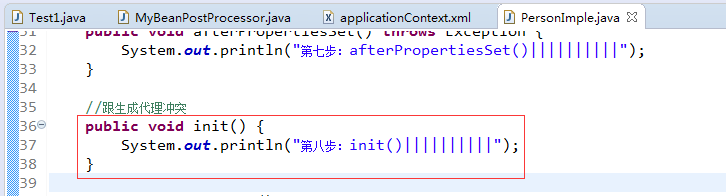
 1 package com.xiaostudy.service;
 2
 3 import org.springframework.beans.BeansException;
 4 import org.springframework.beans.factory.BeanFactory;
 5 import org.springframework.beans.factory.BeanFactoryAware;
 6 import org.springframework.beans.factory.BeanNameAware;
 7 import org.springframework.beans.factory.InitializingBean;
 8 import org.springframework.context.ApplicationContext;
 9 import org.springframework.context.ApplicationContextAware;
10
11 public class PersonImple implements Person, BeanNameAware, BeanFactoryAware, ApplicationContextAware,
12 InitializingBean {
13     private String name;
14
15     public PersonImple() {
16         System.out.println("第一步:person初始化>>>>>>>>>>>>>>");
17     }
18
19     public void setName(String name) {
20         System.out.println("第二步:name赋值>>>>>>>>>");
21         this.name = name;
22     }
23
24     public String getName() {
25         return name;
26     }
27
28     @Override
29     public void setBeanName(String beanName) {
30         System.out.println("第三步:beanName=" + beanName + "||||||||||");
31     }
32
33     @Override
34     public void setBeanFactory(BeanFactory beanFactory) throws BeansException {
35         System.out.println("第四步:beanFactory=" + beanFactory + "||||||||||");
36     }
37
38     @Override
39     public void setApplicationContext(ApplicationContext applicationContext) throws BeansException {
40         System.out.println("第五步:applicationContext=" + applicationContext + "||||||||||");
41     }
42
43     @Override
44     public void afterPropertiesSet() throws Exception {
45         System.out.println("第七步:afterPropertiesSet()||||||||||");
46     }
47
48     //跟生成代理冲突
49     public void init() {
50         System.out.println("第八步:init()||||||||||");
51     }
52
53     //这是实现Person接口的方法实现
54     public void print() {
55         System.out.println("第十步:PersonImple.print()>>>>>>>>>>>>>>");
56     }
57
58     public void destroy() {
59         System.out.println("第十一步:destroy()");
60     }
61
62 }
3、实现BeanPostProcessor接口的MyBeanPostProcessor类
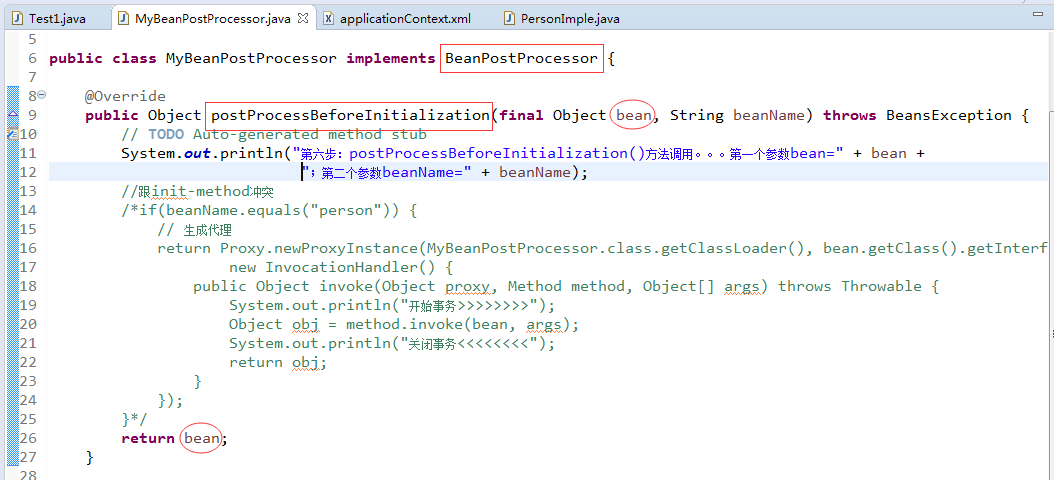
 1 package com.xiaostudy.service;
 2
 3 import org.springframework.beans.BeansException;
 4 import org.springframework.beans.factory.config.BeanPostProcessor;
 5
 6 public class MyBeanPostProcessor implements BeanPostProcessor {
 7
 8     @Override
 9     public Object postProcessBeforeInitialization(final Object bean, String beanName) throws BeansException {
10         // TODO Auto-generated method stub
11         System.out.println("第六步:postProcessBeforeInitialization()方法调用。。。第一个参数bean=" + bean +
12                             ";第二个参数beanName=" + beanName);
13         //跟init-method冲突
14         /*if(beanName.equals("person")) {
15             // 生成代理
16             return Proxy.newProxyInstance(MyBeanPostProcessor.class.getClassLoader(), bean.getClass().getInterfaces(),
17                     new InvocationHandler() {
18                 public Object invoke(Object proxy, Method method, Object[] args) throws Throwable {
19                     System.out.println("开始事务>>>>>>>>");
20                     Object obj = method.invoke(bean, args);
21                     System.out.println("关闭事务<<<<<<<<");
22                     return obj;
23                 }
24             });
25         }*/
26         return bean;
27     }
28
29     @Override
30     public Object postProcessAfterInitialization(Object bean, String beanName) throws BeansException {
31         // TODO Auto-generated method stub
32         System.out.println("第九步:postProcessAfterInitialization()方法调用。。。第一个参数arg0=" + bean +
33                             ";第二个参数arg1=" + beanName);
34         return bean;
35     }
36
37 }
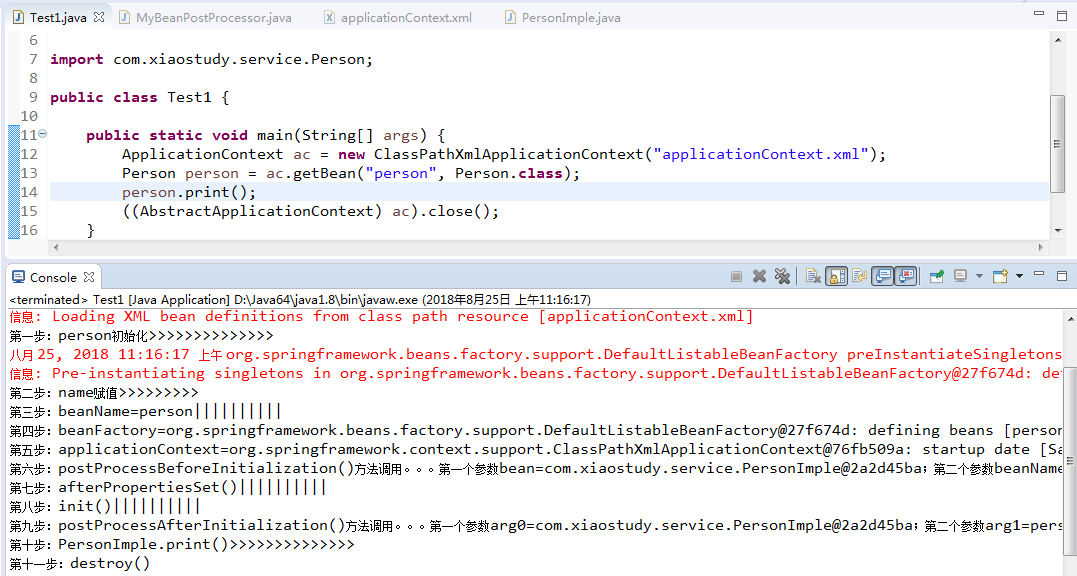
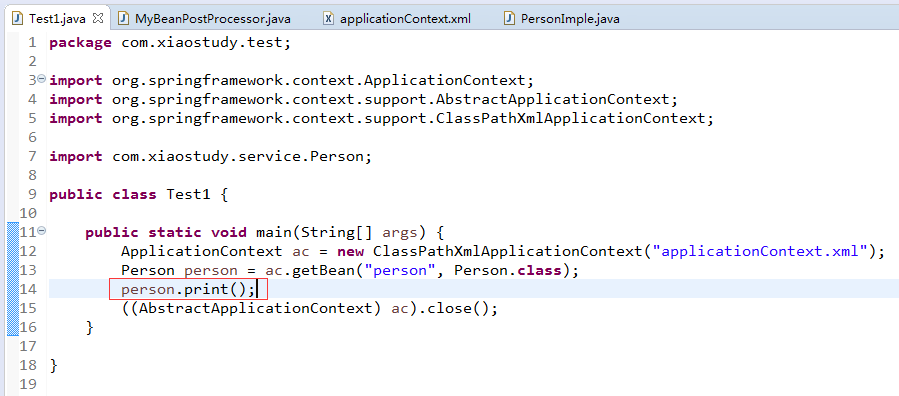
4、测试类Test1.java
 1 package com.xiaostudy.test;
 2
 3 import org.springframework.context.ApplicationContext;
 4 import org.springframework.context.support.AbstractApplicationContext;
 5 import org.springframework.context.support.ClassPathXmlApplicationContext;
 6
 7 import com.xiaostudy.service.Person;
 8
 9 public class Test1 {
10
11     public static void main(String[] args) {
12         ApplicationContext ac = new ClassPathXmlApplicationContext("applicationContext.xml");
13         Person person = ac.getBean("person", Person.class);
14         person.print();
15         ((AbstractApplicationContext) ac).close();
16     }
17
18 }
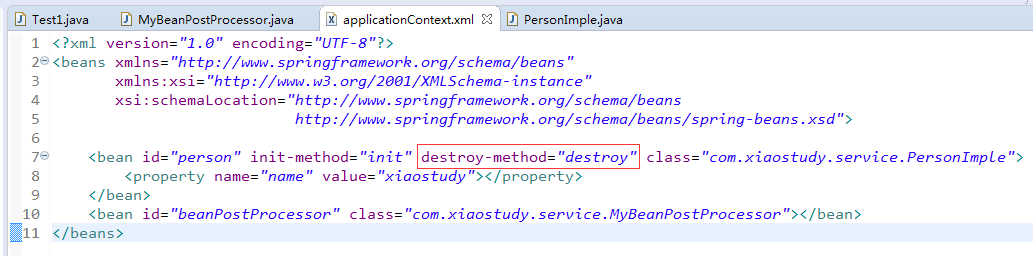
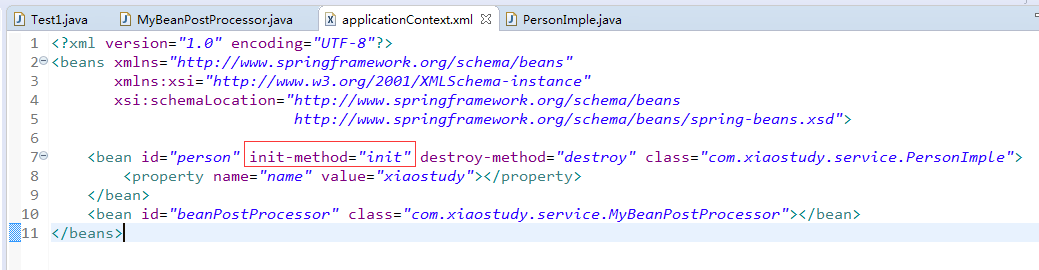
5、spring的配置文件applicationContext.xml
 1 <?xml version="1.0" encoding="UTF-8"?>
 2 <beans xmlns="http://www.springframework.org/schema/beans"
 3        xmlns:xsi="http://www.w3.org/2001/XMLSchema-instance"
 4        xsi:schemaLocation="http://www.springframework.org/schema/beans
 5                               http://www.springframework.org/schema/beans/spring-beans.xsd">
 6
 7     <bean id="person" init-method="init" destroy-method="destroy" class="com.xiaostudy.service.PersonImple">
 8         <property name="name" value="xiaostudy"></property>
 9     </bean>
10     <bean id="beanPostProcessor" class="com.xiaostudy.service.MyBeanPostProcessor"></bean>
11 </beans>
具体步骤大概讲解
1、初始化对象

2、如果有属性,那么会注入赋值
3、如果实现了BeanNameAware接口,那么会执行他的setBeanName()方法
4、如果实现了BeanFactoryAware接口,那么会执行他的setBeanFactory()方法
5、如果实现了ApplicationContextAware接口,那么会执行他的setApplicationContext()方法
6、如果实现了BeanPostProcessor接口,那么会执行他的postProcessBeforeInitialization()方法,这个要在spring配置文件中配置bean

7、如果实现了InitializingBean接口,那么会执行他的afterPropertiesSet()方法
8、在spring配置文件中,bean的位置声明init-method,才可以用自定义初始化方法
9、如果在第六步中实现了BeanPostProcessor接口,那么,到现在的第九步执行postProcessAfterInitialization()方法

10、这一步开始就可以使用Bean了
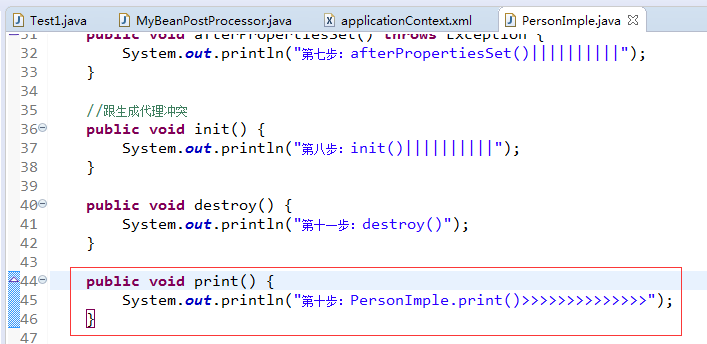
11、在spring配置文件中,bean的位置声明destroy-method,才可以用自定义销毁方法