环境:
- 操作系统: CentOS7.0
- MySQL版本:mysql-5.7.23-1.el7.x86_64
准备:
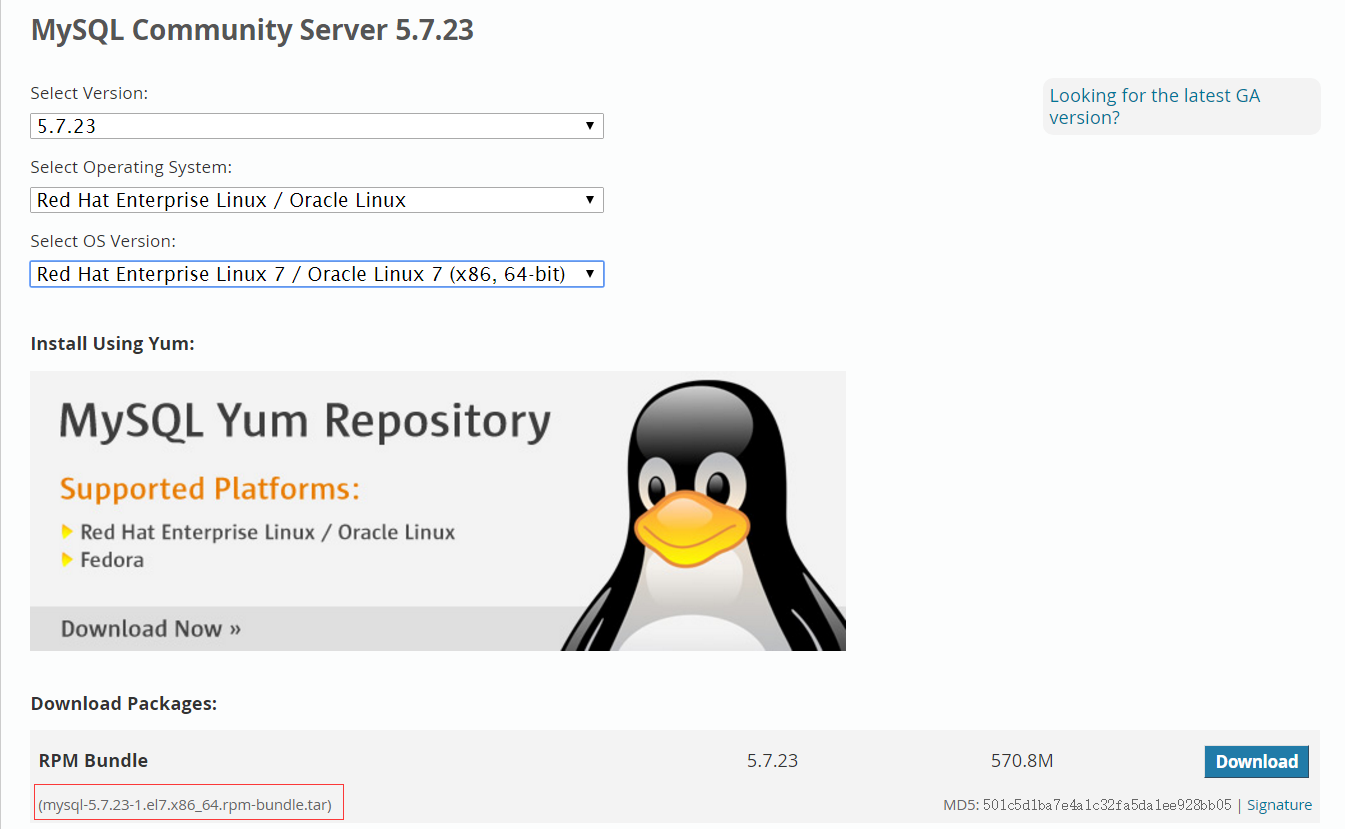
下载rpm包: https://dev.mysql.com/downloads/mysql/5.7.html#downloads
安装步骤
<1>检查卸载mariadb-lib
#检查
[root@imok ~]# rpm -qa|grep mariadb
mariadb-libs-5.5.35-3.el7.x86_64
#卸载
[root@imok ~]# rpm -e mariadb-libs-5.5.35-3.el7.x86_64 --nodeps
<2>上传mysql安装包并解压
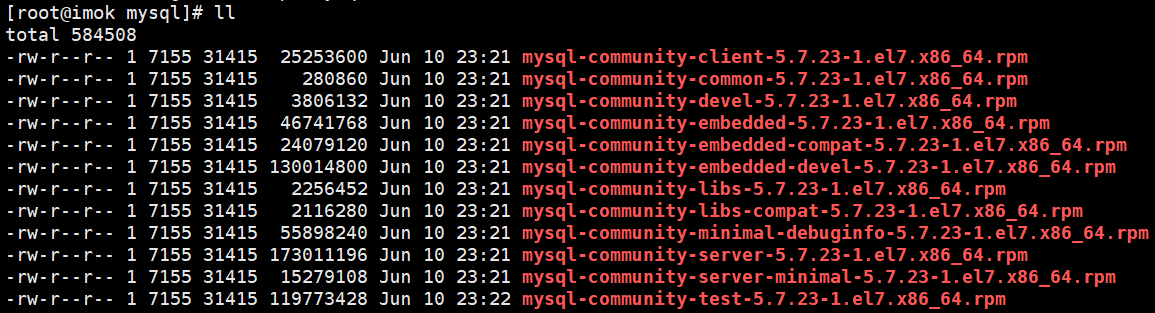
[root@imok tar.gz]# tar -xvf mysql-5.7.23-1.el7.x86_64.rpm-bundle.tar -C /opt/mysql/
<3>安装相关依赖
安装mysql-server需要以下安装包
- mysql-community-common-5.7.23-1.el7.x86_64.rpm
- mysql-community-libs-5.7.23-1.el7.x86_64.rpm
- mysql-community-client-5.7.23-1.el7.x86_64.rpm
- mysql-community-server-5.7.23-1.el7.x86_64.rpm
安装以上四个需要安装 libaio依赖 和 net-tools
安装libbaio
[root@imok mysql]# yum -y install libaio
安装net-tools
[root@imok mysql]# yum install net-tools
未安装net-tools报错提示:
warning: mysql-community-common-5.7.23-1.el7.x86_64.rpm: Header V3 DSA/SHA1 Signature, key ID 5072e1f5: NOKEY
error: Failed dependencies:
net-tools is needed by mysql-community-server-5.7.23-1.el7.x86_64
<4>安装mysql-server
[root@imok mysql]# rpm -ivh mysql-community-common-5.7.23-1.el7.x86_64.rpm mysql-community-libs-5.7.23-1.el7.x86_64.rpm mysql-community-client-5.7.23-1.el7.x86_64.rpm mysql-community-server-5.7.23-1.el7.x86_64.rpm
warning: mysql-community-common-5.7.23-1.el7.x86_64.rpm: Header V3 DSA/SHA1 Signature, key ID 5072e1f5: NOKEY
Preparing... ################################# [100%]
Updating / installing...
1:mysql-community-common-5.7.23-1.e################################# [ 25%]
2:mysql-community-libs-5.7.23-1.el7################################# [ 50%]
3:mysql-community-client-5.7.23-1.e################################# [ 75%]
4:mysql-community-server-5.7.23-1.e################################# [100%]
<5>数据库初始化
[root@imok mysql]# mysqld --initialize --user=mysql
为了保证数据库目录为与文件的所有者为 mysql 登陆用户,如果你是以 root 身份运行 mysql 服务,需要执行下面的命令初始化
mysqld --initialize --user=mysql
如果是以 mysql 身份运行,则可以去掉 --user 选项。
另外 --initialize 选项默认以“安全”模式来初始化,则会为 root 用户生成一个密码并将该密码标记为过期,登陆后你需要设置一个新的密码,而使用 --initialize-insecure 命令则不使用安全模式,则不会为 root 用户生成一个密码。
使用的 --initialize 初始化的,会生成一个 root 账户密码,密码在log文件里,红色区域的就是自动生成的密码
[root@imok mysql]# cat /var/log/mysqld.log
2018-08-02T11:44:44.783409Z 0 [Warning] TIMESTAMP with implicit DEFAULT value is deprecated. Please use --explicit_defaults_for_timestamp server option (see documentation for more details).
2018-08-02T11:44:45.120708Z 0 [Warning] InnoDB: New log files created, LSN=45790
2018-08-02T11:44:45.170790Z 0 [Warning] InnoDB: Creating foreign key constraint system tables.
2018-08-02T11:44:45.241814Z 0 [Warning] No existing UUID has been found, so we assume that this is the first time that this server has been started. Generating a new UUID: 73aed9c6-9649-11e8-ae68-080027cf8d60.
2018-08-02T11:44:45.243701Z 0 [Warning] Gtid table is not ready to be used. Table 'mysql.gtid_executed' cannot be opened.
2018-08-02T11:44:45.244381Z 1 [Note] A temporary password is generated for root@localhost: I,mwy,zgD5U1
<6>启动mysql服务
[root@imok mysql]# systemctl start mysqld.service
<7>登录测试
[root@imok mysql]# mysql -uroot -p
Enter password:
Welcome to the MySQL monitor.  Commands end with ; or g.
Your MySQL connection id is 2
Server version: 5.7.23

Copyright (c) 2000, 2018, Oracle and/or its affiliates. All rights reserved.

Oracle is a registered trademark of Oracle Corporation and/or its
affiliates. Other names may be trademarks of their respective
owners.

Type 'help;' or 'h' for help. Type 'c' to clear the current input statement.
mysql> show databases;
ERROR 1820 (HY000): You must reset your password using ALTER USER statement before executing this statement.
提示需要修改密码。
<8>修改密码
mysql> ALTER USER 'root'@'localhost' IDENTIFIED BY 'new_password';
Query OK, 0 rows affected (0.00 sec)
再次检查
mysql> show databases;
+--------------------+
| Database           |
+--------------------+
| information_schema |
| mysql              |
| performance_schema |
| sys                |
+--------------------+
4 rows in set (0.00 sec)

mysql> GRANT ALL PRIVILEGES ON *.* TO 'root'@'%' IDENTIFIED BY '!QAZ2wsx' WITH GRANT OPTION;
Query OK, 0 rows affected, 1 warning (0.01 sec)
说明安装成功!
远程访问失败!!
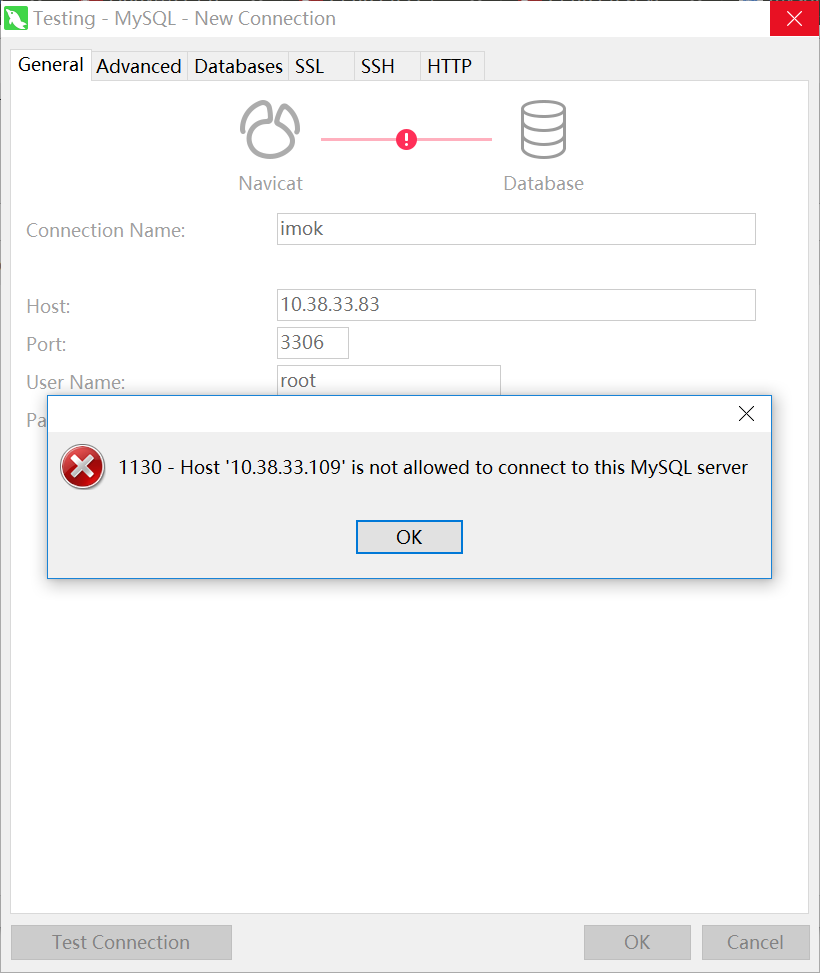
解决方案:
(1)查看mysql远程访问策略是否关闭了,关闭则需要开启3306(默认)端口访问。参考 https://blog.csdn.net/qq_29944285/article/details/79369060
(2)如果开启了访问策略还是不能访问,则需要确认远程访问用户是否有权限。具体参考:https://www.cnblogs.com/beanmoon/p/3173924.html
参考:
https://blog.csdn.net/qq_29944285/article/details/79369060
https://www.cnblogs.com/beanmoon/p/3173924.html