本文旨在实践把mysql已有的数据同步到elasticsearch中,使用的版本是6.4.3,对于其它6.x版本理应是一样的处理方式。
本文目录:
本文3.2节所用到的jdbc连接mysql数据库相关的配置文件、jar包打包下载地址:点我去下载
用到的mysql-jdbc版本是:mysql-connector-java-8.0.13
mysql-server数据库版本是5.7
1.初始化Elasticsearch 6.4.3
1.1 下载Elasticsearch 6.4.3
这里使用最新的6.4.3版本,只是做一个实践,稳定性还不清楚,不建议在生产环境直接使用最新版。
下载地址:https://www.elastic.co/downloads/elasticsearch
1.2 配置Elasticsearch 6.4.3
这里用单机搭建三个节点模拟集群(生产环境还是一机一节点,不要省,数据安全最重要):
解压elasticsearch-6.4.3.zip,并额外拷贝两份,三个目录分别命名为elasticsearch-6.4.3-node1、elasticsearch-6.4.3-node2、elasticsearch-6.4.3-node3模拟三个节点。然后分别修改解压目录里面config/elasticsearch.yml配置如下:
node1配置:
# ---------------------------------- Cluster -----------------------------------
#
# Use a descriptive name for your cluster:
#
cluster.name: es
#
# ------------------------------------ Node ------------------------------------
#
# Use a descriptive name for the node:
#
node.name: node-1
#

# ---------------------------------- Network -----------------------------------
#
# Set the bind address to a specific IP (IPv4 or IPv6):
#
network.host: 192.168.1.222
#
# Set a custom port for HTTP:
#
http.port: 9210
transport.tcp.port: 9310
#
# For more information, consult the network module documentation.
#
# --------------------------------- Discovery ----------------------------------
#
# Pass an initial list of hosts to perform discovery when new node is started:
# The default list of hosts is ["127.0.0.1", "[::1]"]
#
discovery.zen.ping.unicast.hosts: ["192.168.1.222:9310", "192.168.1.222:9311", "192.168.1.222:9312"]
#
# Prevent the "split brain" by configuring the majority of nodes (total number of master-eligible nodes / 2 + 1):

discovery.zen.minimum_master_nodes: 2

# ---------------------------------- Various -----------------------------------
#
# Require explicit names when deleting indices:
#
action.destructive_requires_name: true
node2配置跟上面差不多,不一样的是node节点名、http端口以及transport.tcp的端口
node2配置:
# ---------------------------------- Cluster -----------------------------------
#
# Use a descriptive name for your cluster:
#
cluster.name: es
#
# ------------------------------------ Node ------------------------------------
#
# Use a descriptive name for the node:
#
node.name: node-2

# ---------------------------------- Network -----------------------------------
#
# Set the bind address to a specific IP (IPv4 or IPv6):
#
network.host: 192.168.1.222
#
# Set a custom port for HTTP:
#
http.port: 9211
transport.tcp.port: 9311
#
# For more information, consult the network module documentation.
#
# --------------------------------- Discovery ----------------------------------
#
# Pass an initial list of hosts to perform discovery when new node is started:
# The default list of hosts is ["127.0.0.1", "[::1]"]
#
discovery.zen.ping.unicast.hosts: ["192.168.1.222:9310", "192.168.1.222:9311", "192.168.1.222:9312"]
#
# Prevent the "split brain" by configuring the majority of nodes (total number of master-eligible nodes / 2 + 1):

discovery.zen.minimum_master_nodes: 2

# ---------------------------------- Various -----------------------------------
#
# Require explicit names when deleting indices:
#
action.destructive_requires_name: true
node3配置:
# ---------------------------------- Cluster -----------------------------------
#
# Use a descriptive name for your cluster:
#
cluster.name: es
#
# ------------------------------------ Node ------------------------------------
#
# Use a descriptive name for the node:
#
node.name: node-3

# ---------------------------------- Network -----------------------------------
#
# Set the bind address to a specific IP (IPv4 or IPv6):
#
network.host: 192.168.1.222
#
# Set a custom port for HTTP:
#
http.port: 9212
transport.tcp.port: 9312
#
# For more information, consult the network module documentation.
#
# --------------------------------- Discovery ----------------------------------
#
# Pass an initial list of hosts to perform discovery when new node is started:
# The default list of hosts is ["127.0.0.1", "[::1]"]
#
discovery.zen.ping.unicast.hosts: ["192.168.1.222:9310", "192.168.1.222:9311", "192.168.1.222:9312"]
#
# Prevent the "split brain" by configuring the majority of nodes (total number of master-eligible nodes / 2 + 1):

discovery.zen.minimum_master_nodes: 2

# ---------------------------------- Various -----------------------------------
#
# Require explicit names when deleting indices:
#
action.destructive_requires_name: true
然后分别进入bin目录执行elasticsearch.bat启动相应的节点服务。
2.初始化kibana-6.4.3
2.1. 下载
kibana 6.4.3版本下载地址:https://www.elastic.co/downloads/kibana
下载zip版后解压
2.2. 配置
修改解压目录的config文件夹里面的kibana.yml配置文件,配置elasticsearch的url地址(其它的配置项根据需要自行修改):
# Kibana is served by a back end server. This setting specifies the port to use.
server.port: 5601

# 配置elasticsearch的地址
elasticsearch.url: "http://192.168.1.222:9210"
2.3. 启动
进入bin目录,执行kibana.bat 批处理文件启动kibana,
我们在左侧的Dev Tools开发工具输入查询集群状态的命令:GET /_cluster/state
可以看到集群的三个节点都正常运行中。

3.初始化logstash 6.4.3
3.1 下载logstash 6.4.3
logstash 6.4.3下载地址:https://www.elastic.co/downloads/logstash
解压下载后的zip文件
3.2 配置logstash
- 1.解压logstash-6.4.3
- 2.修改logstash-6.4.3目录下的Gemfile文件,将source由默认的
"https://rubygems.org"改为:"https://gems.ruby-china.com"- 3.进入logstash-6.4.3的bin目录,执行
logstash-plugin install logstash-input-jdbc
出现如下信息表示安装成功。
- 4.在
bin目录新建mysql文件夹,把mysql-connector-java-8.0.13.jar放到此文件夹- 5.在
mysql文件夹新建文件:jdbc.sql,输入以下内容并保存:select * from news
要注意:这里的内容就是logstash依赖执行的sql命令,所以这里的表名要跟你实际的数据库表名一致,否则会失败- 6.修改
logstash文件夹下config\logstash.conf文件,*(如果不存在,创建一个文件,文件编码为UTF-8)*改成如下配置(jdbc的url需要带时区信息,否则同步会出错,无法读取数据):
注意:以下配置内容,数据库连接相关的内容如数据库名字、用户名密码等需要修改为你当前环境相应的内容
input {
    stdin {
    }
    jdbc {
      # mysql jdbc connection 连接地址
      jdbc_connection_string => "jdbc:mysql://192.168.1.212:3306/my_db?serverTimezone=Asia/Shanghai&useSSL=true&useUnicode=true&characterEncoding=UTF-8"
      # 登录数据库的用户名、密码
      jdbc_user => "root"
      jdbc_password => "123456"
      # jdbc 驱动包路径(我们在步骤4处理的内容)
      jdbc_driver_library => "mysql\mysql-connector-java-8.0.13.jar"
      # 连接驱动类名
      jdbc_driver_class => "com.mysql.cj.jdbc.Driver"
      jdbc_paging_enabled => "true"
      jdbc_page_size => "50000"
      statement_filepath => "mysql\jdbc.sql"
      # 以下表示定时执行任务,使用cron表达式,本文只全量同步一次,所以不配置定时器,如果要实现增量更新,需要配合定时器以及上次查询的最后一个值,具体要根据你的业务来定。
      #schedule => "* * * * *"
      type => "jdbc"
    }
}
filter {
    json {
        source => "message"
        remove_field => ["message"]
    }
}
output {
    elasticsearch {
        hosts => ["192.168.1.212:9210"]
        index => "mynews"
        document_id => "%{id}"
    }
    stdout {
        codec => json_lines
    }
}
- 7.进入bin目录,执行如下命令
logstash.bat -f ../config/logstash.conf
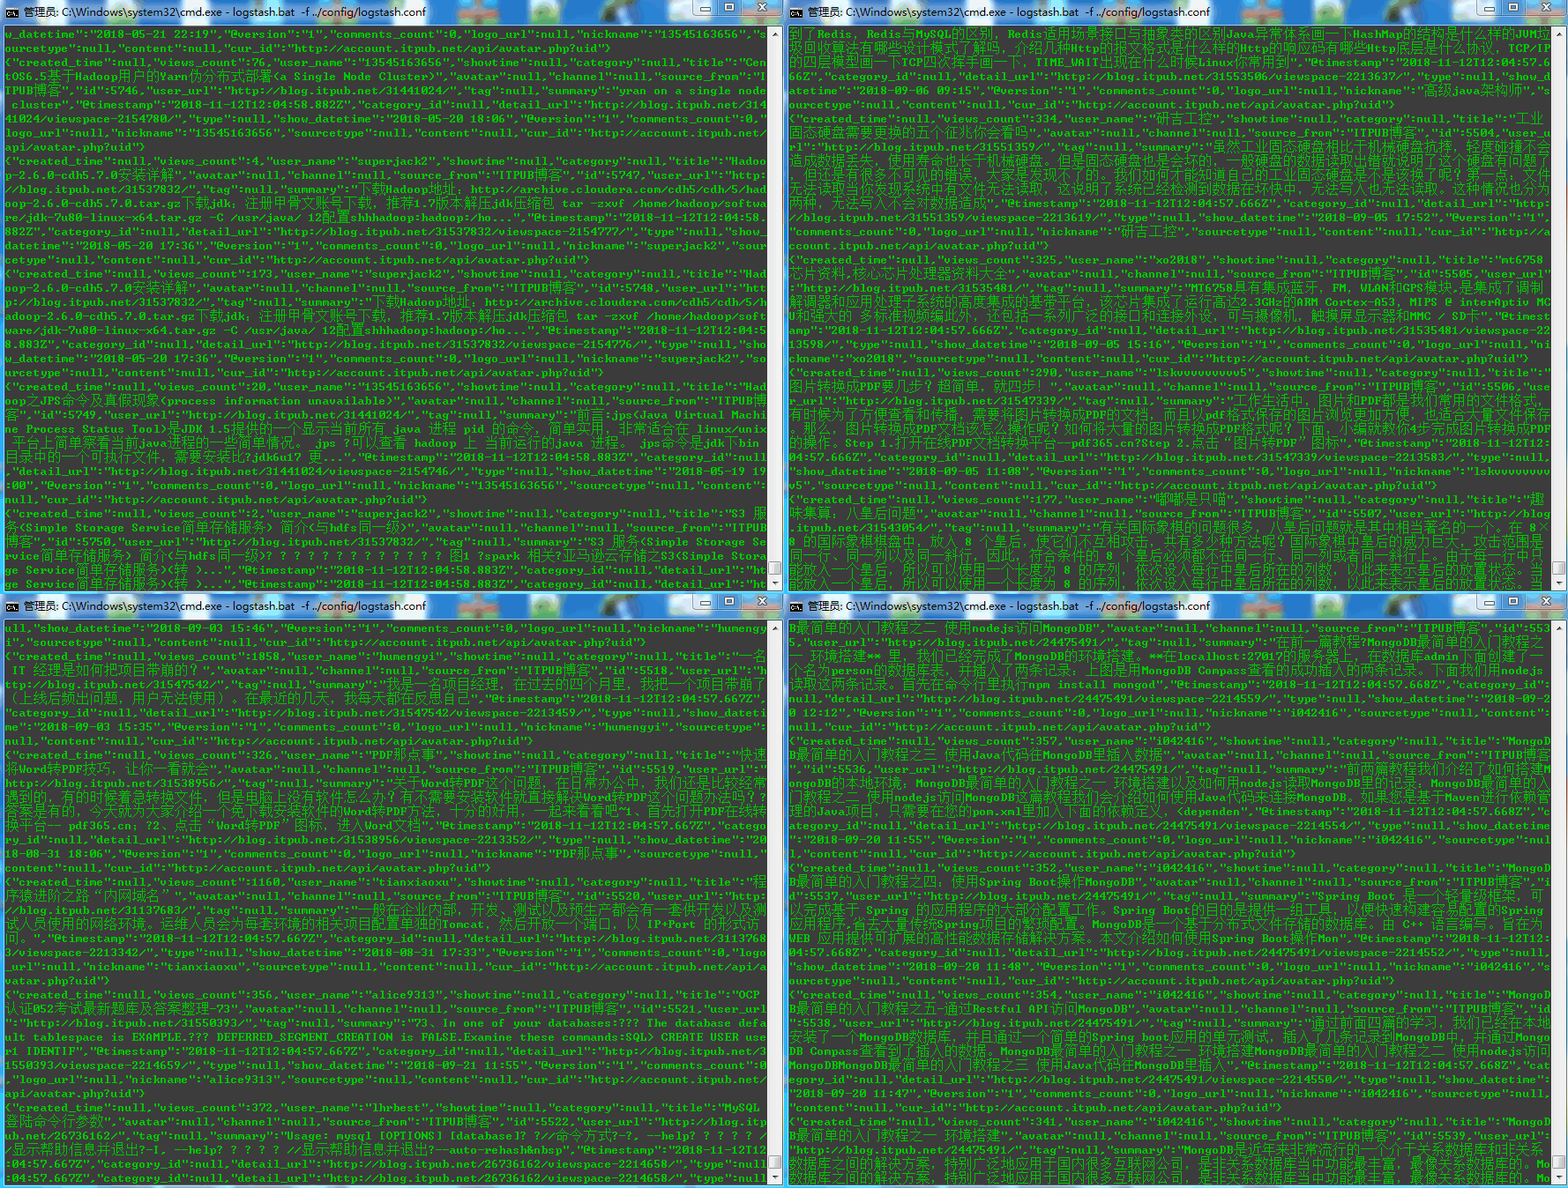
出现如下界面表示成功在同步数据了:
通过kibana查看下数据:OK,同步过来39W+ 记录数据了。


