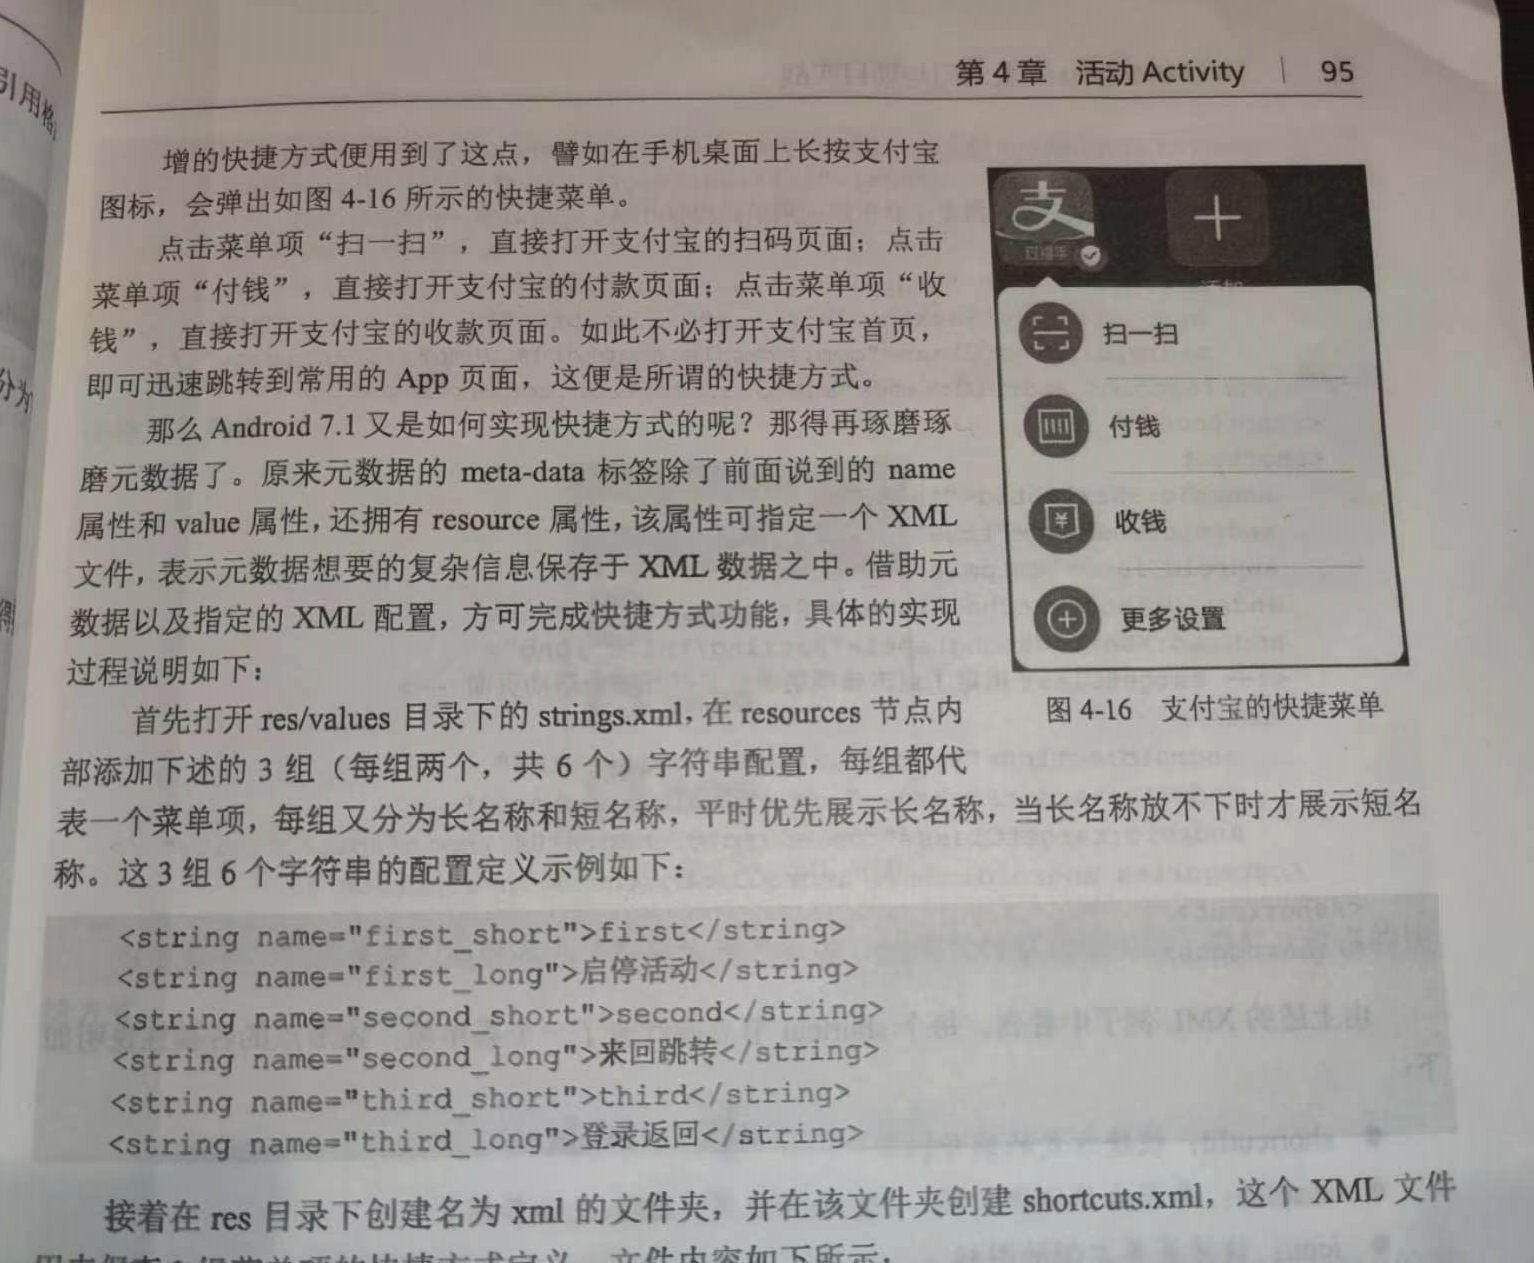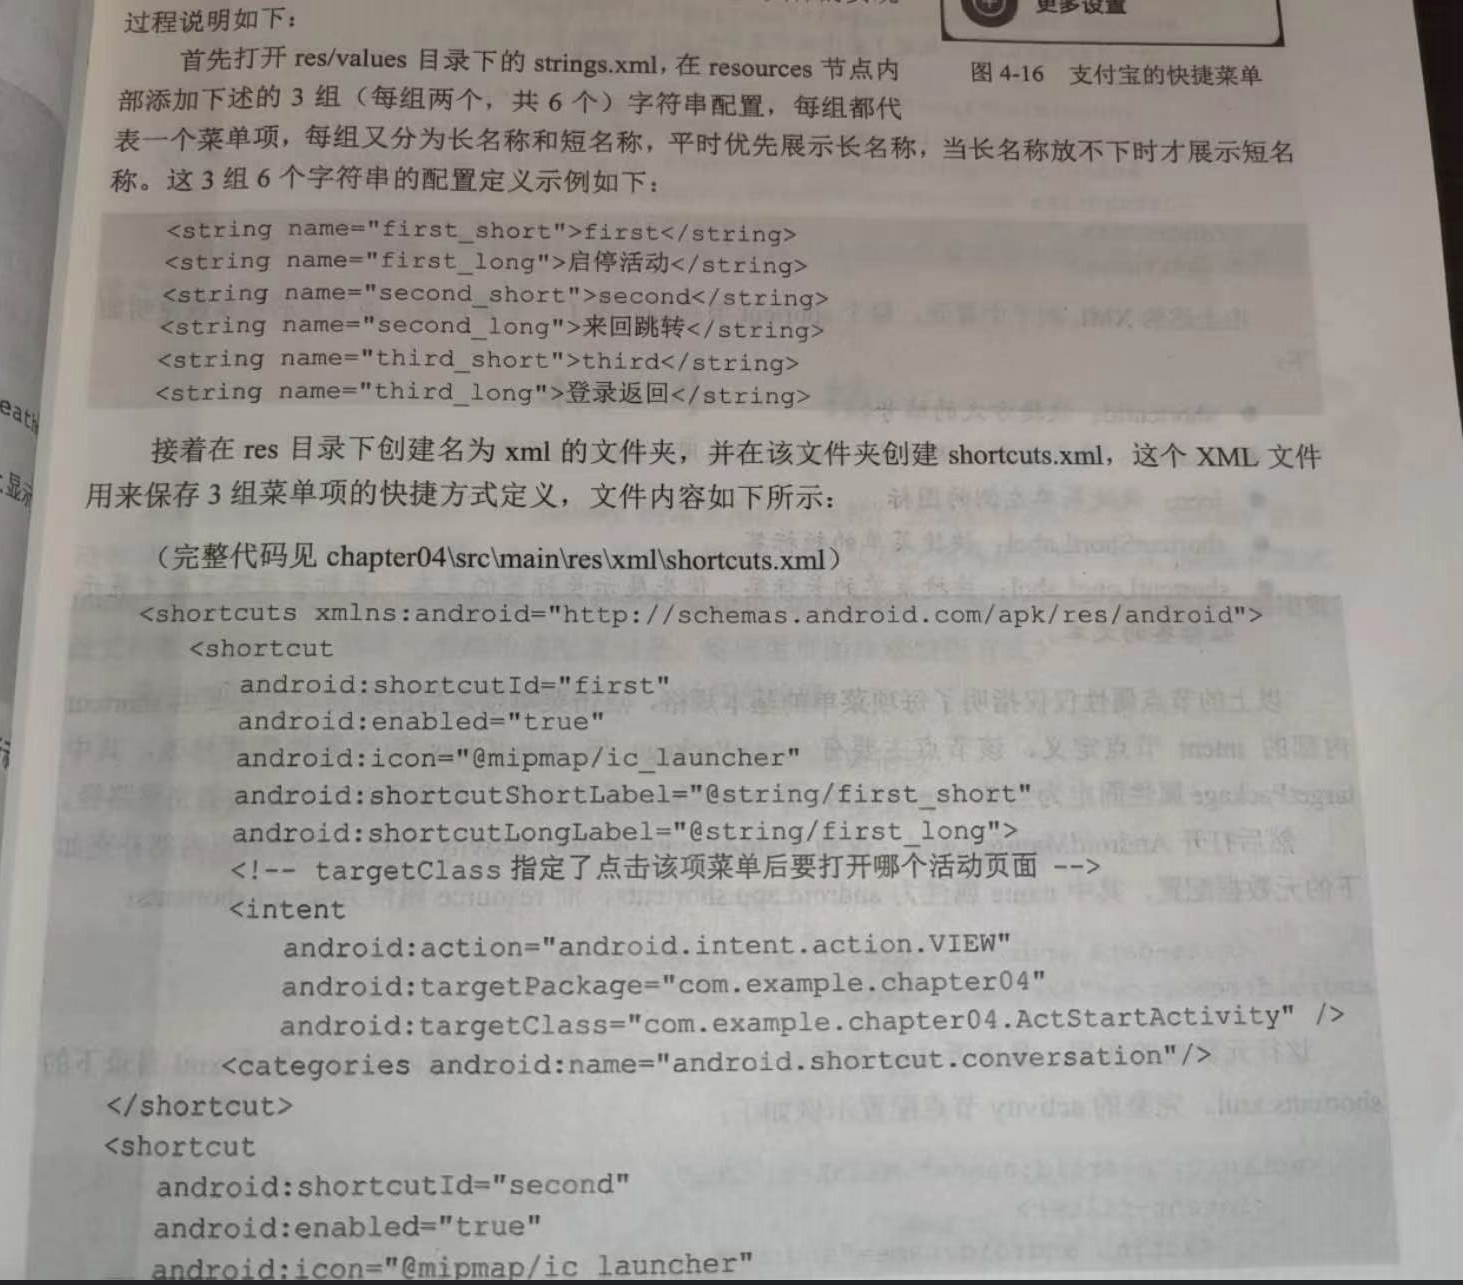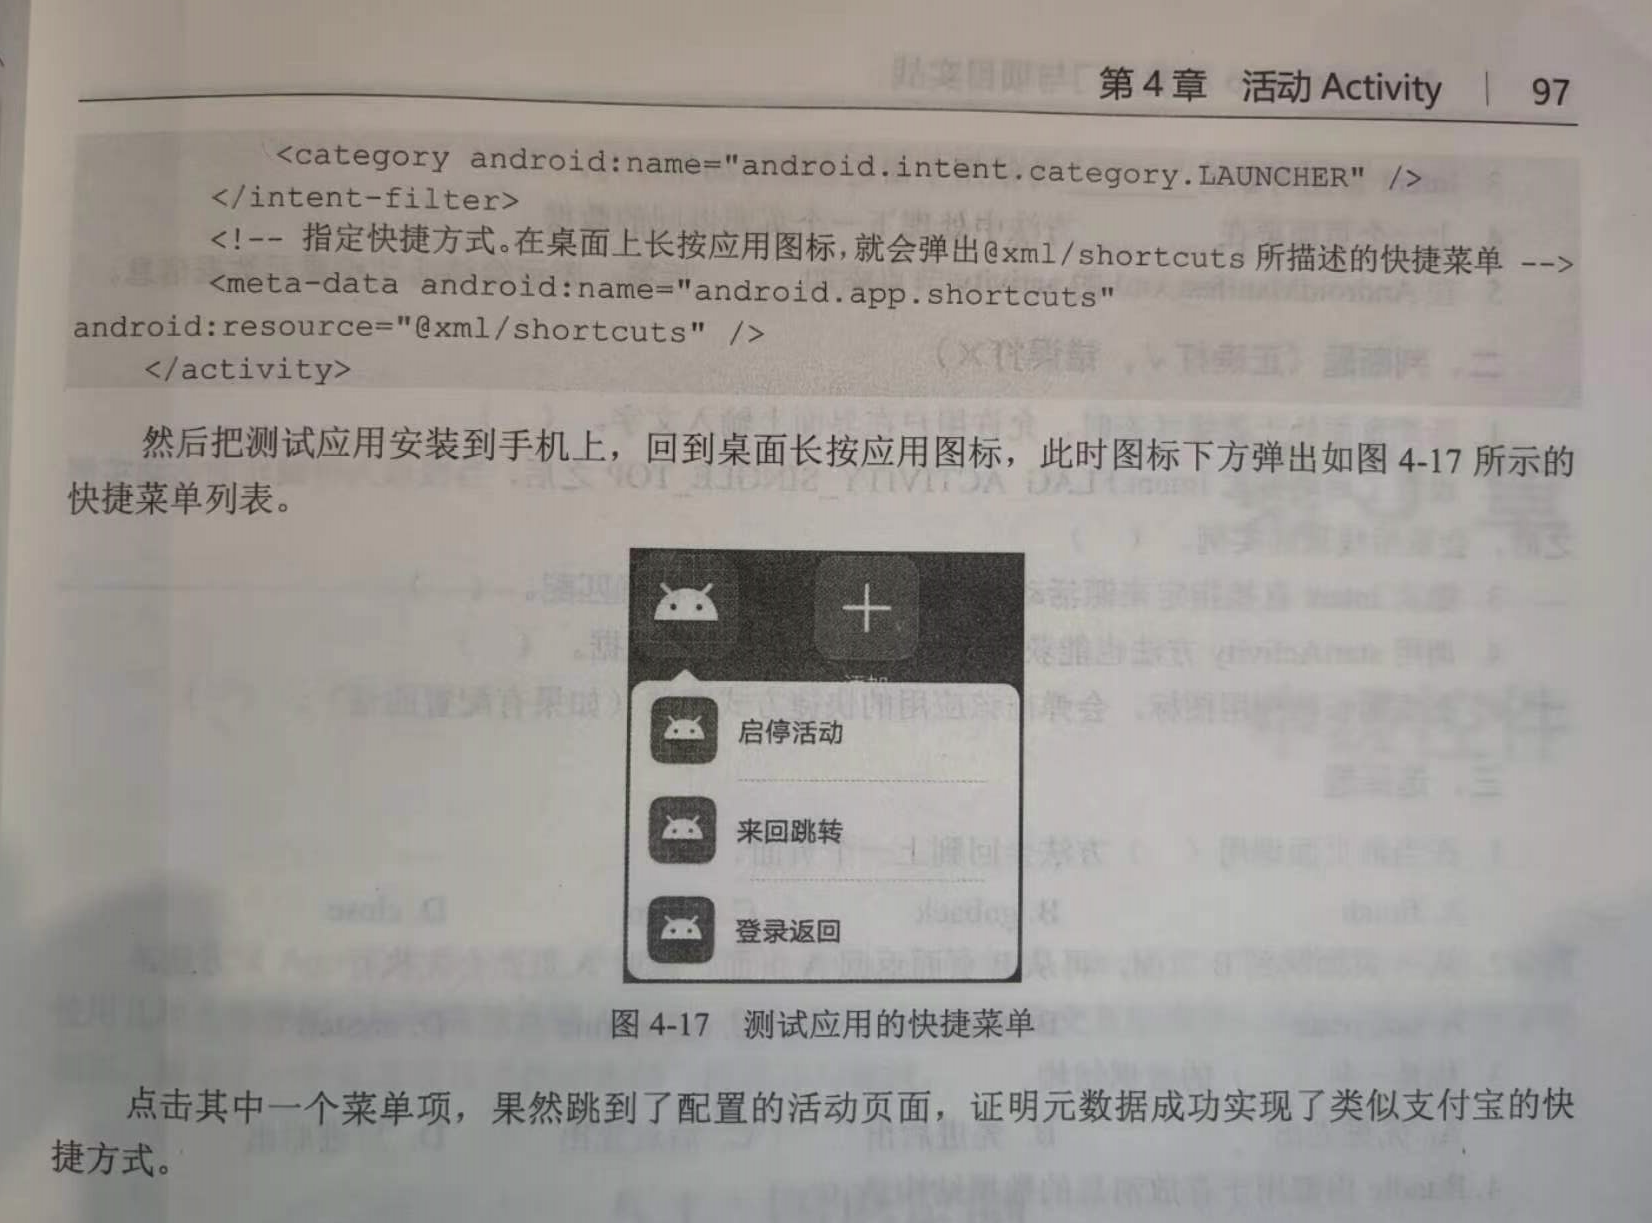
元数据的meta-data标签除了前面说到的name属性和value属性,还拥有resource属性,该属性可指定一个XML文件,表示元数据想要的复杂信息保存于XML数据之中。
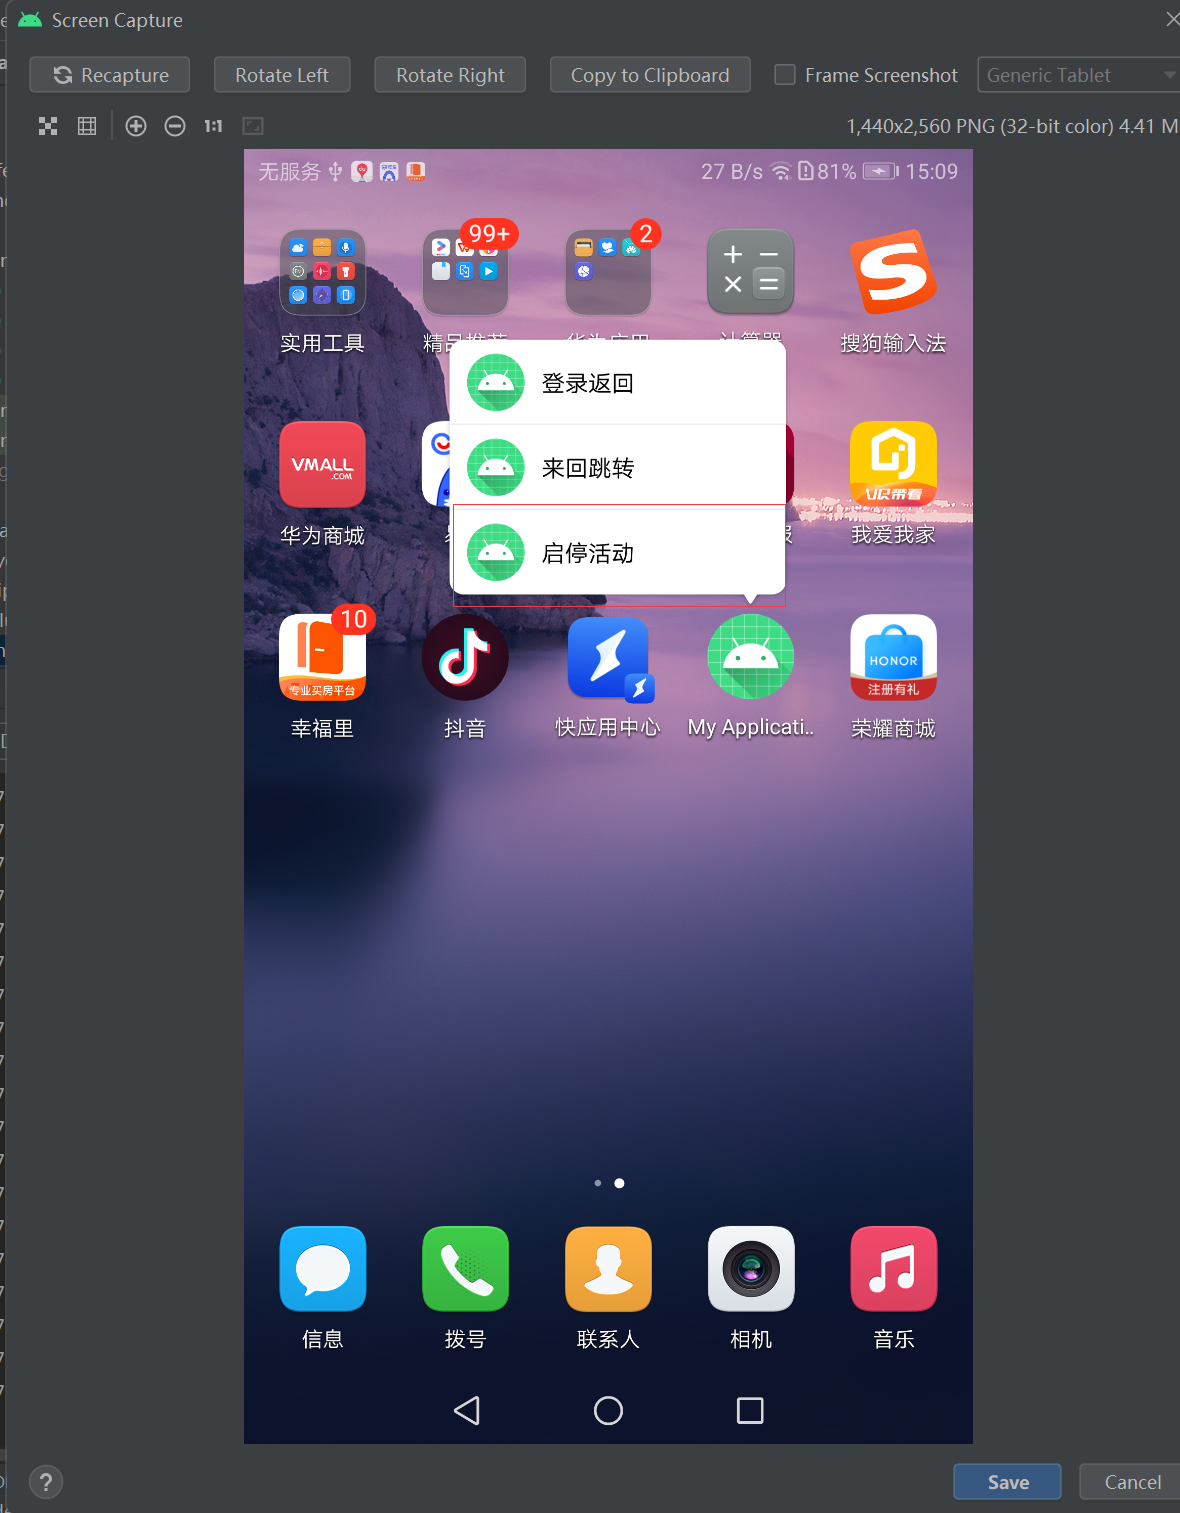
利用元数据配置快捷菜单的步骤如下所示:
(1)在res/values/strings.xml添加各个菜单项名称的字符串配置
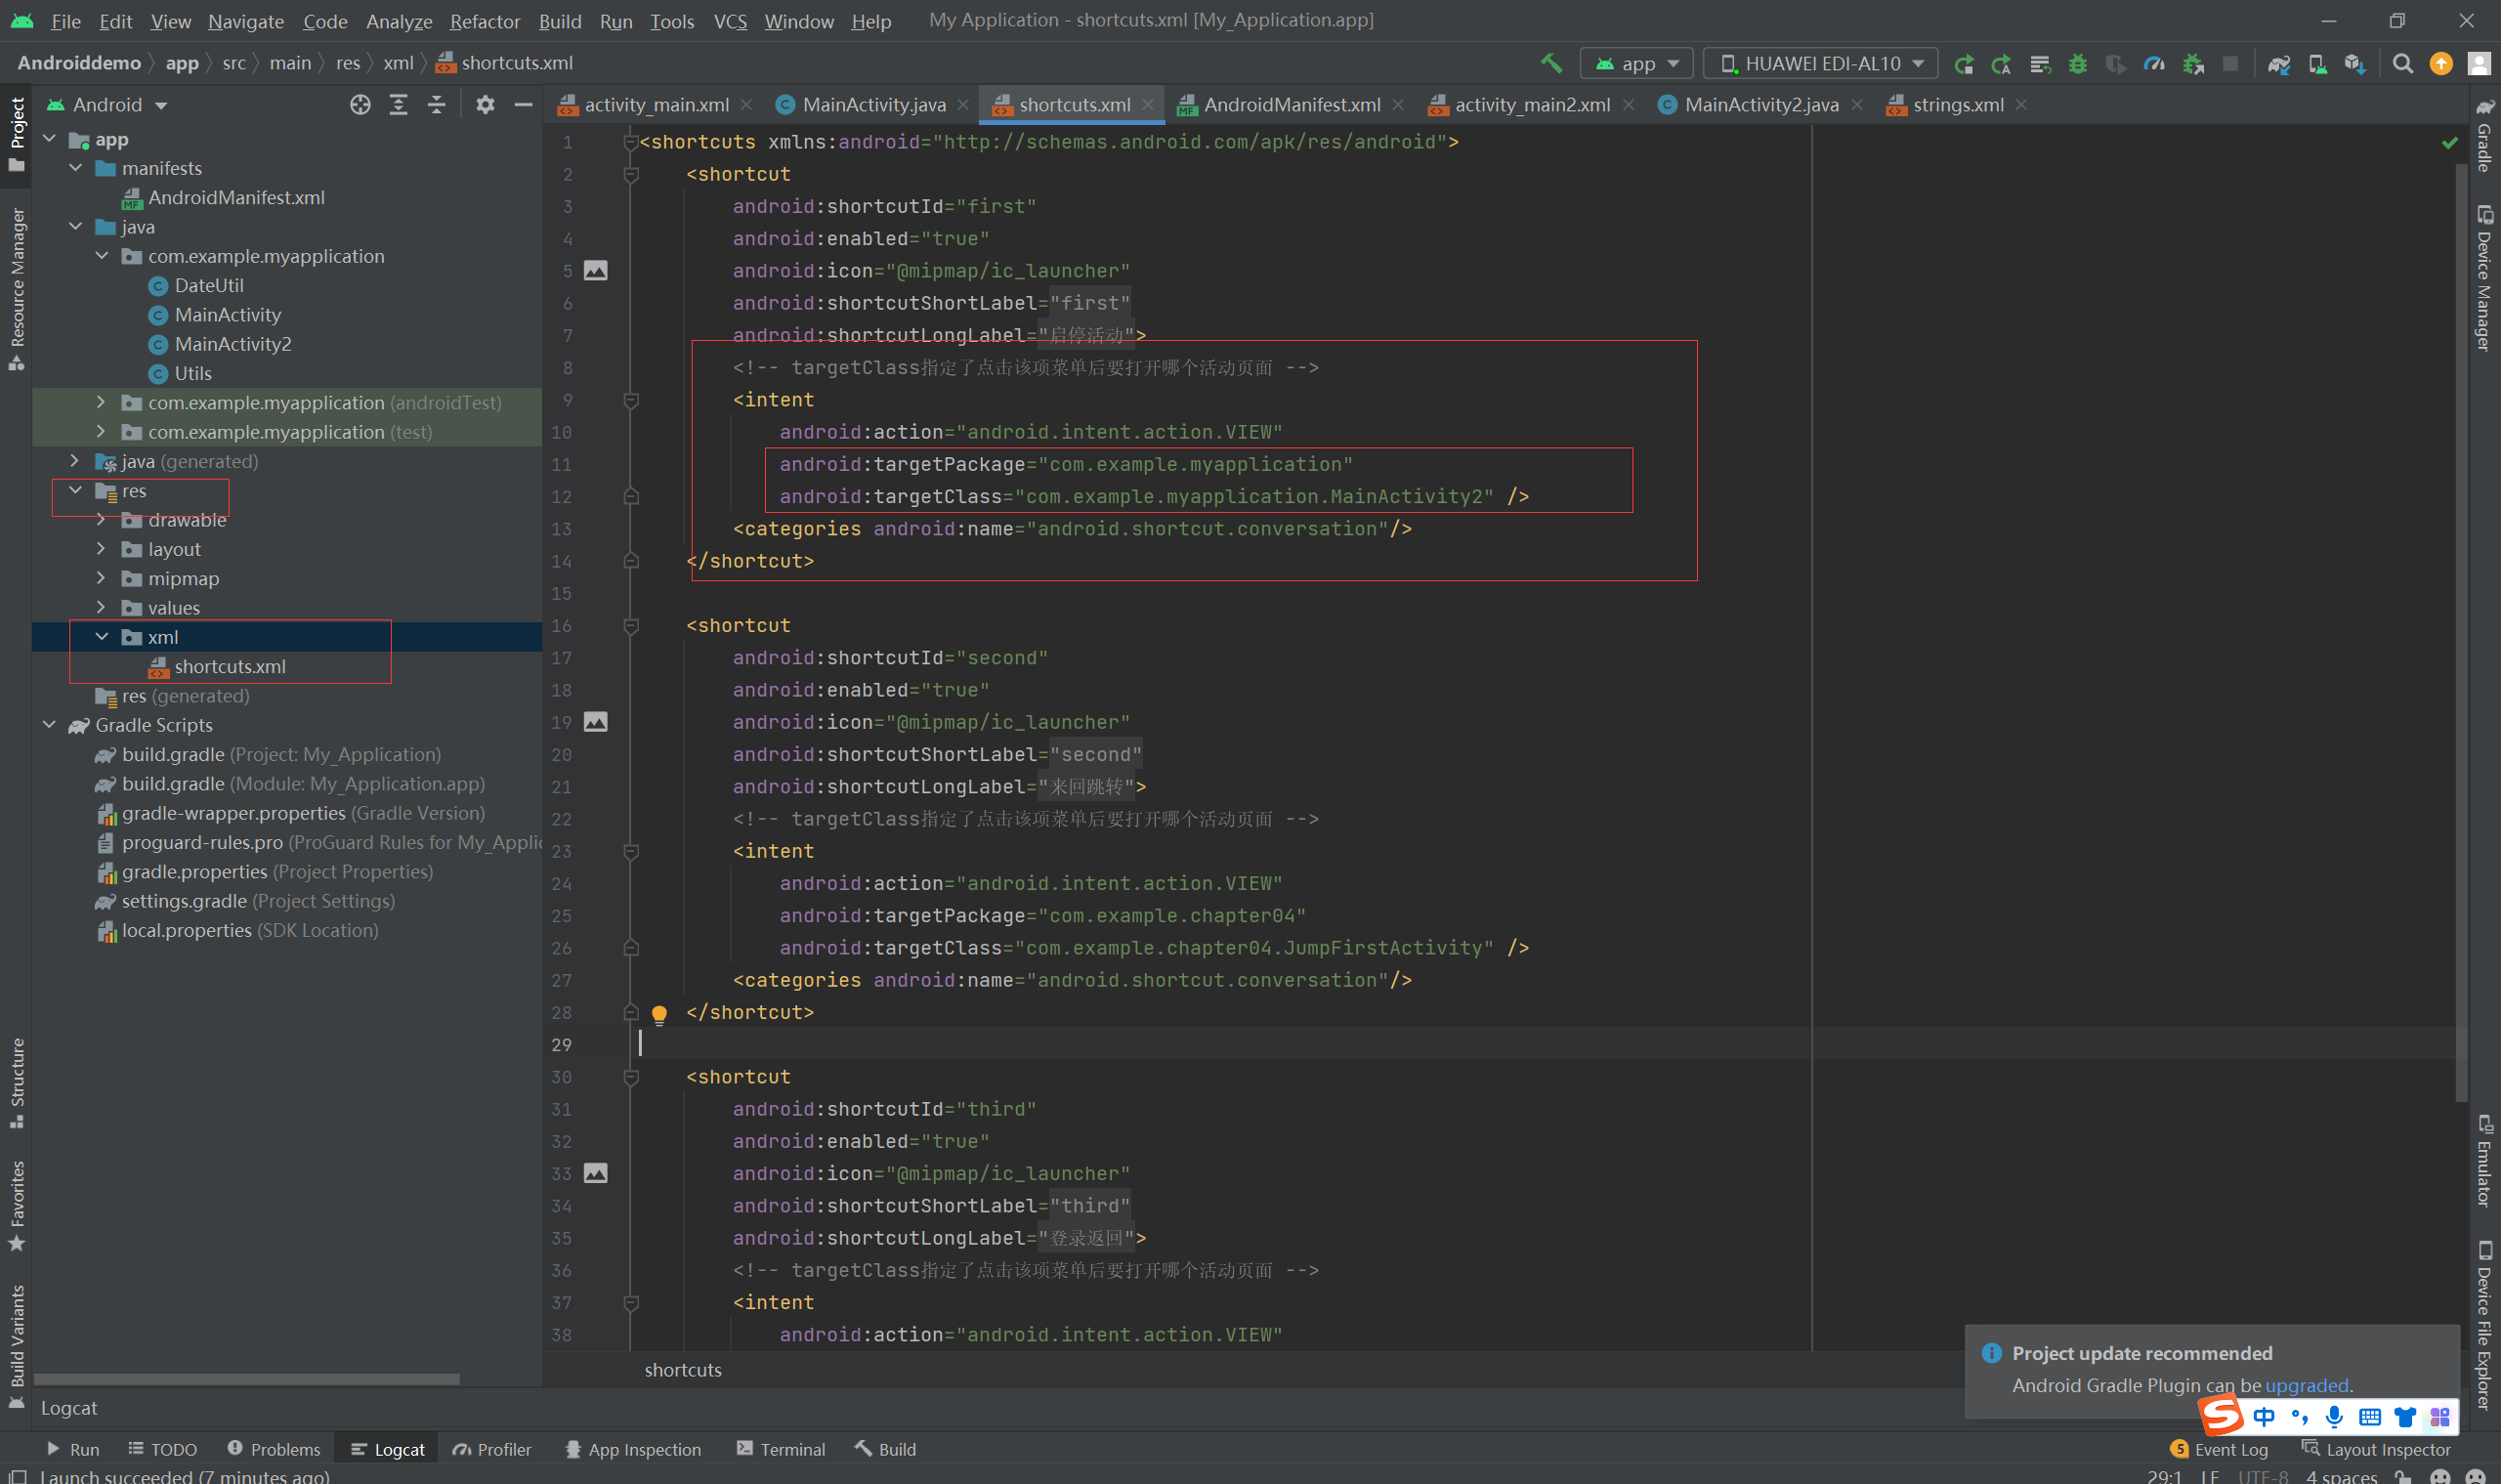
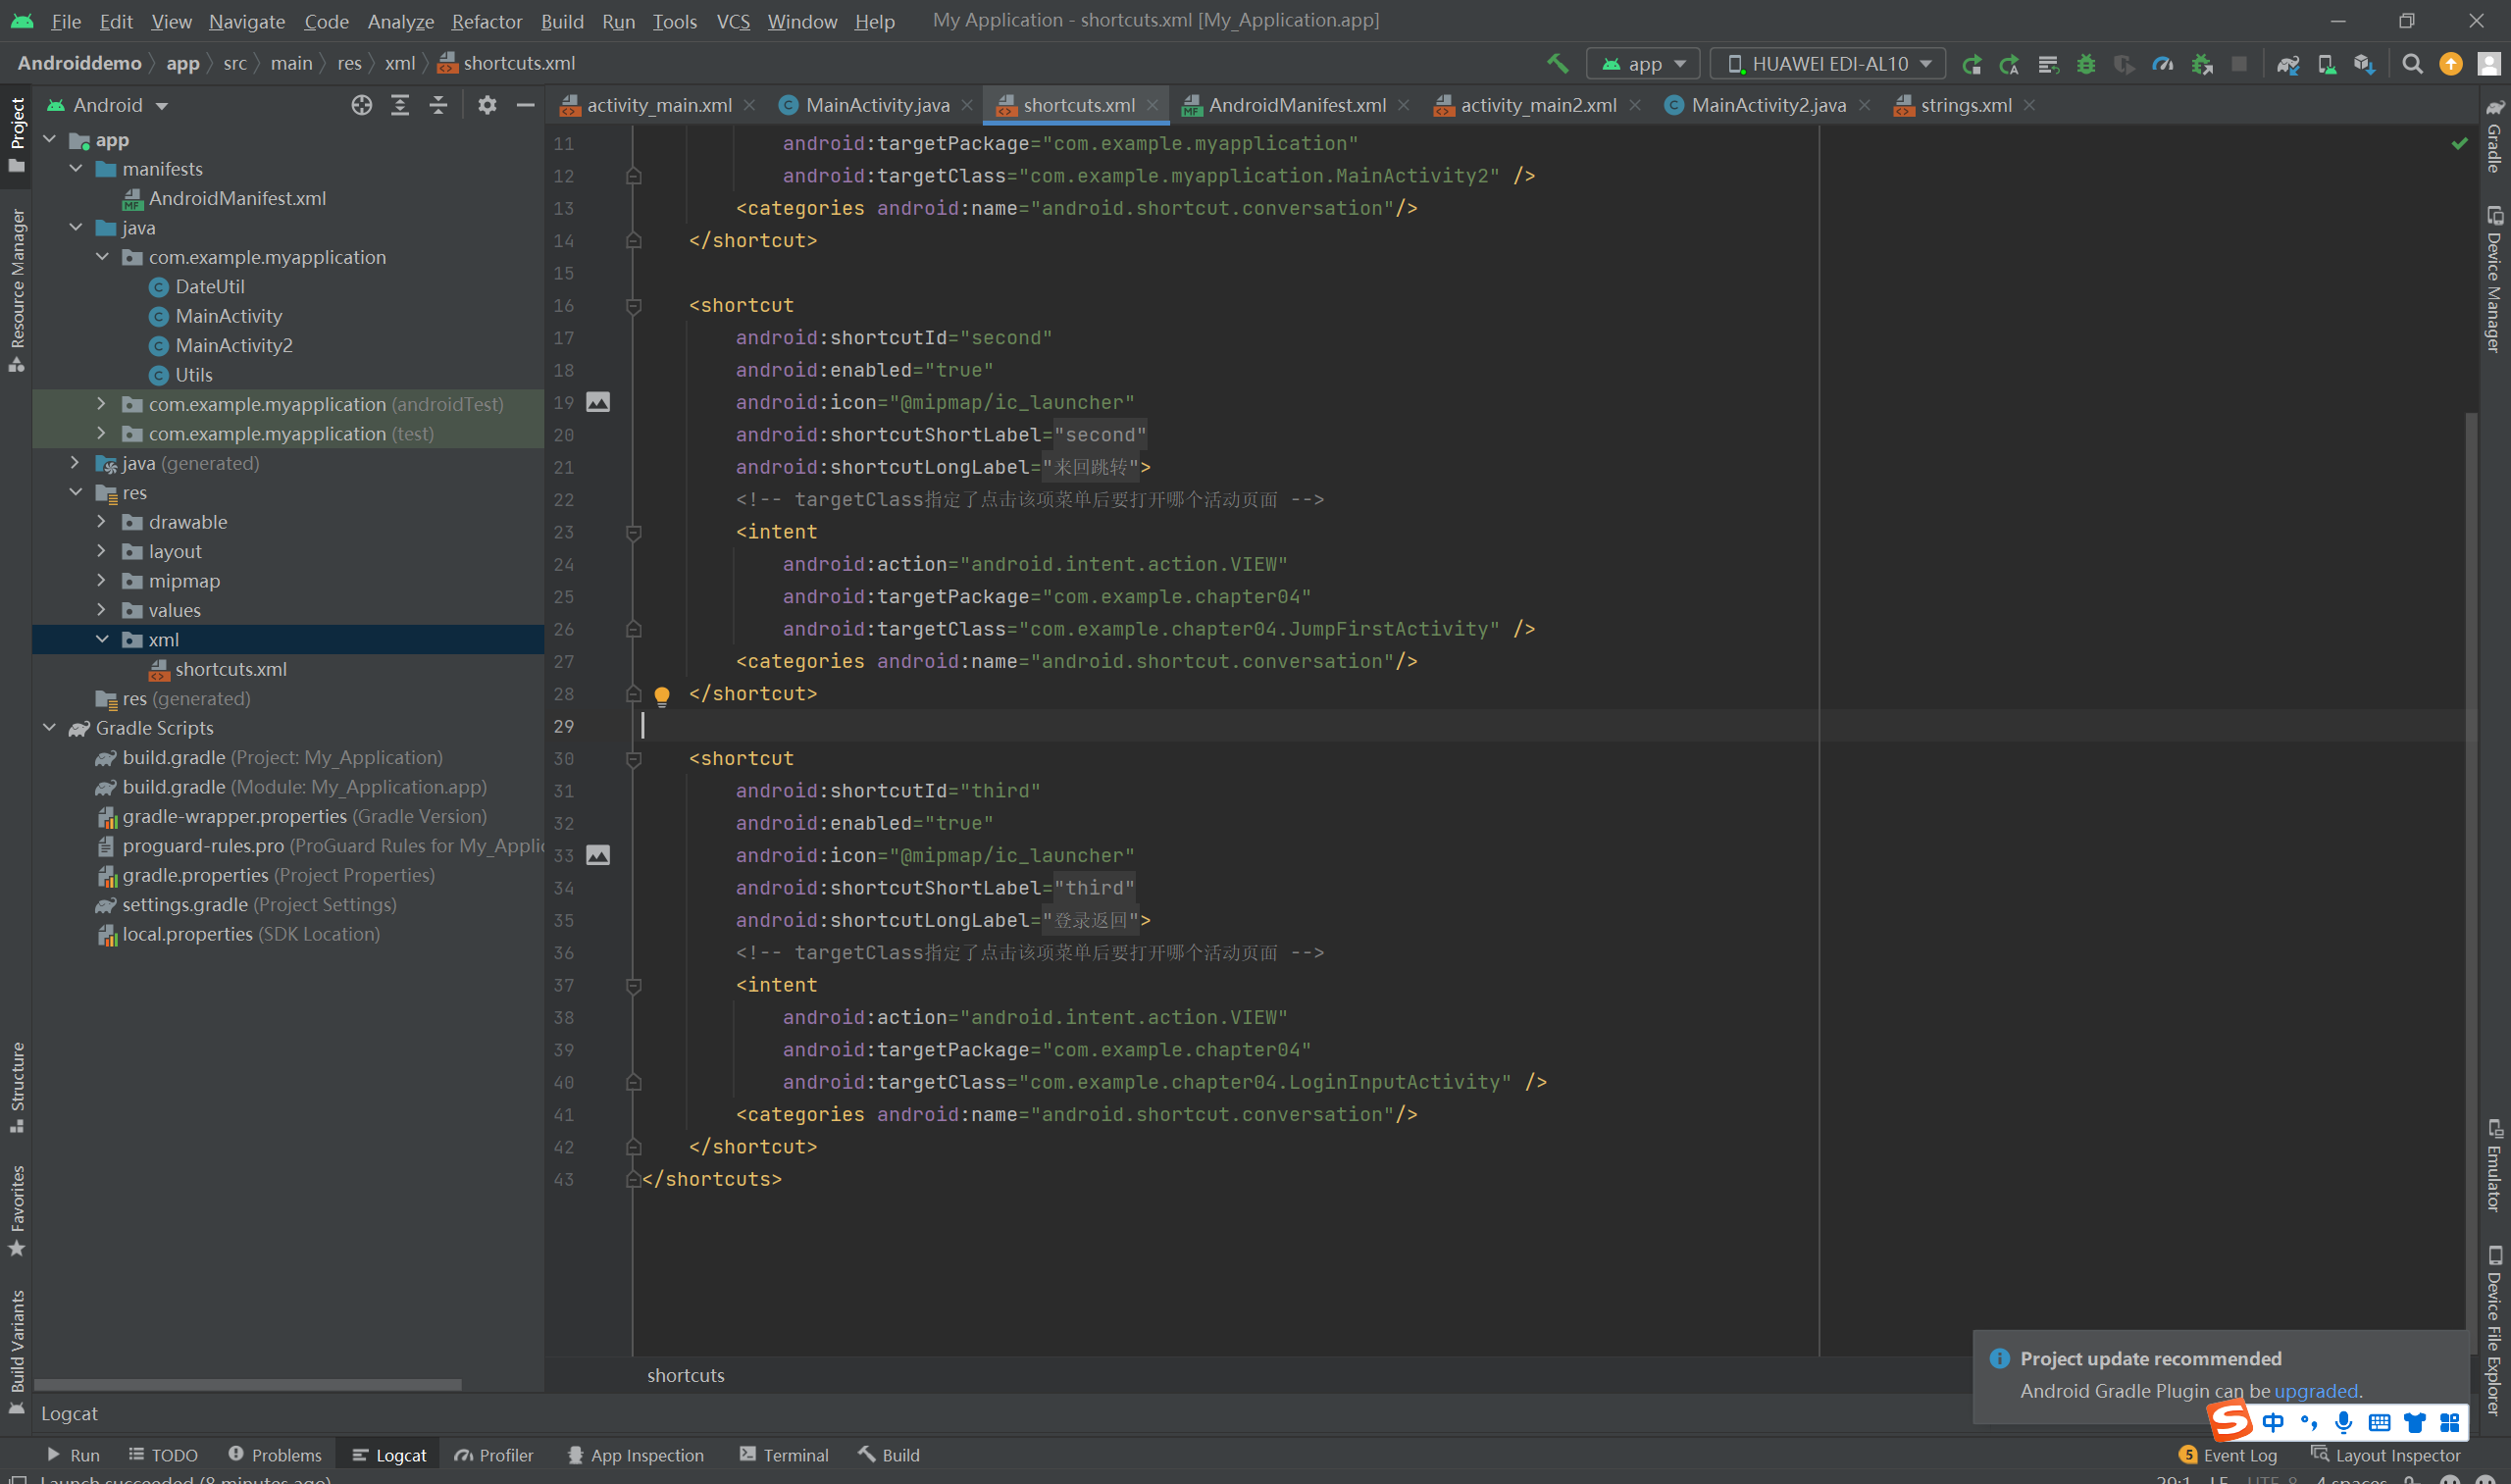
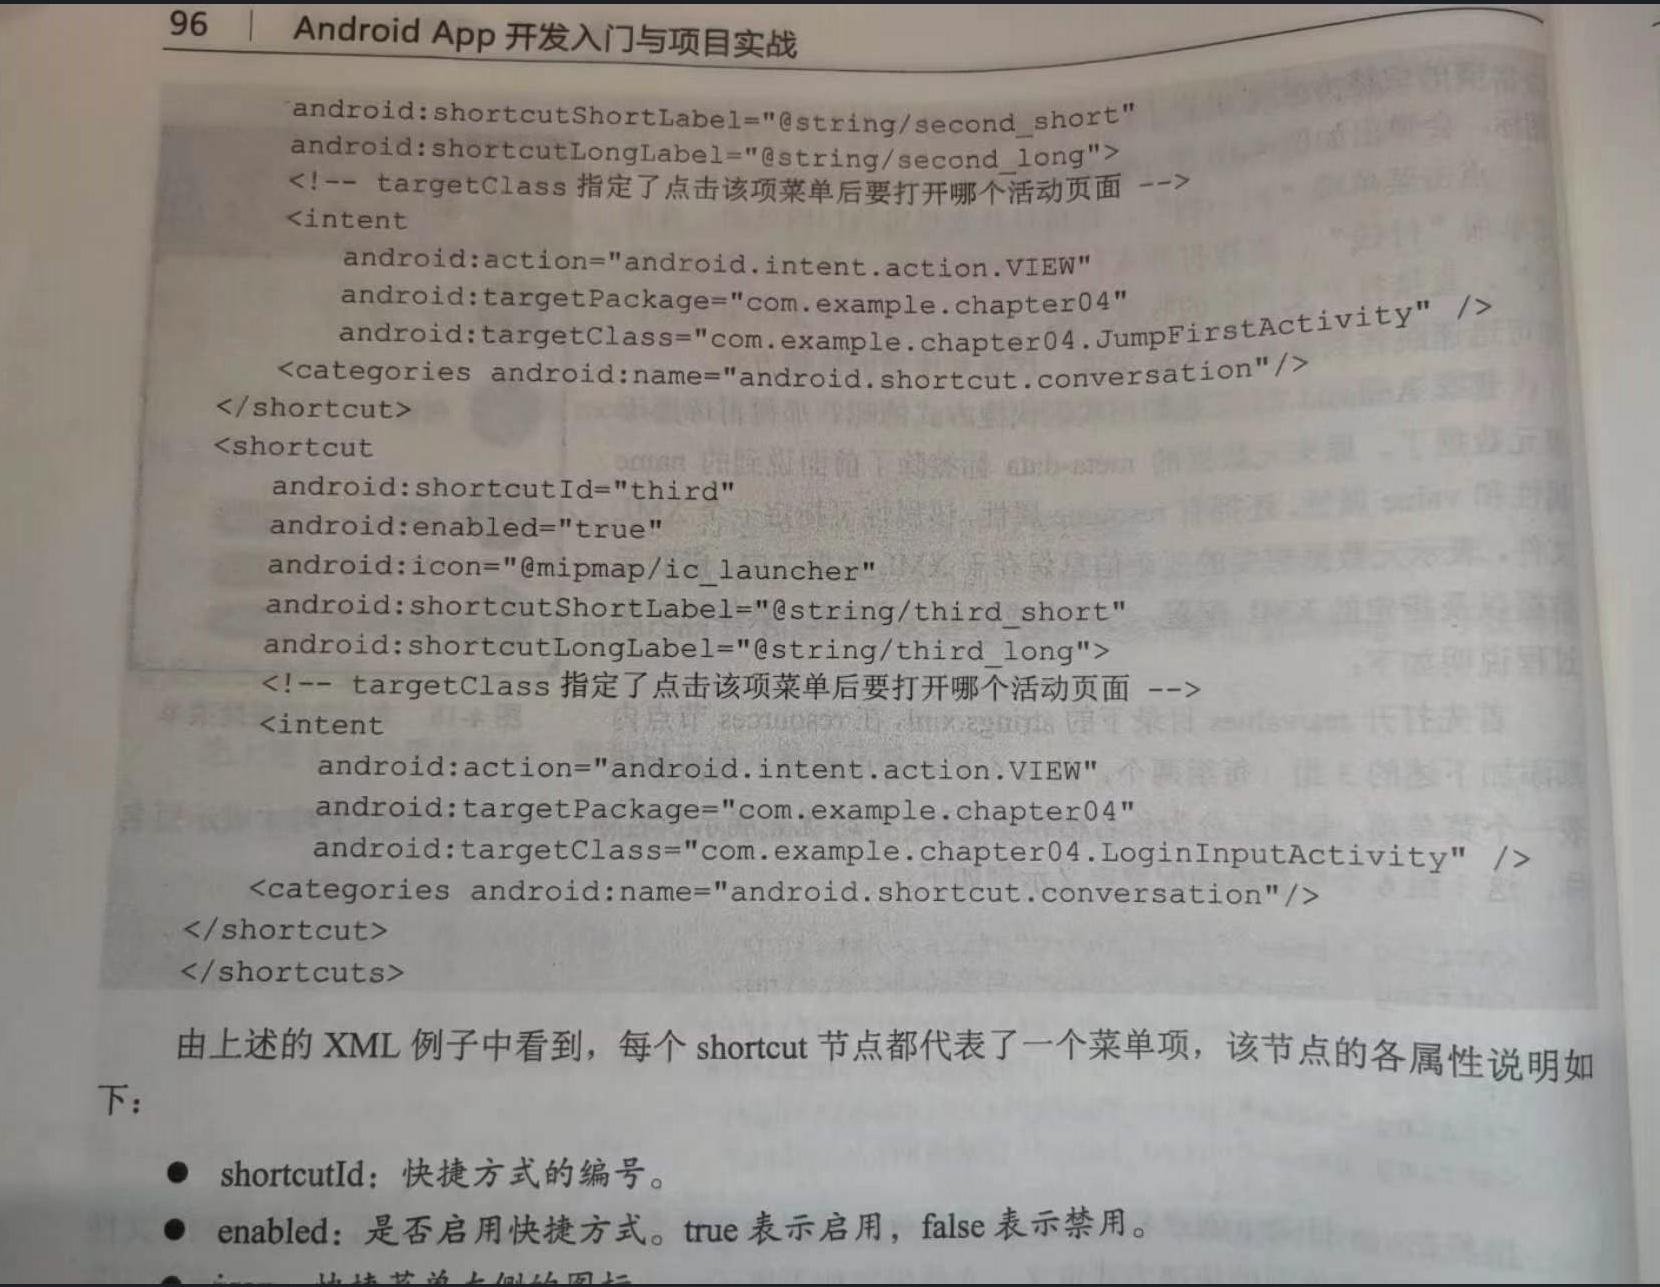
(2)创建res/xml/shortcuts.xml,在该文件中填入各组菜单项的快捷方式定义(每个菜单对应哪个活动页面)。
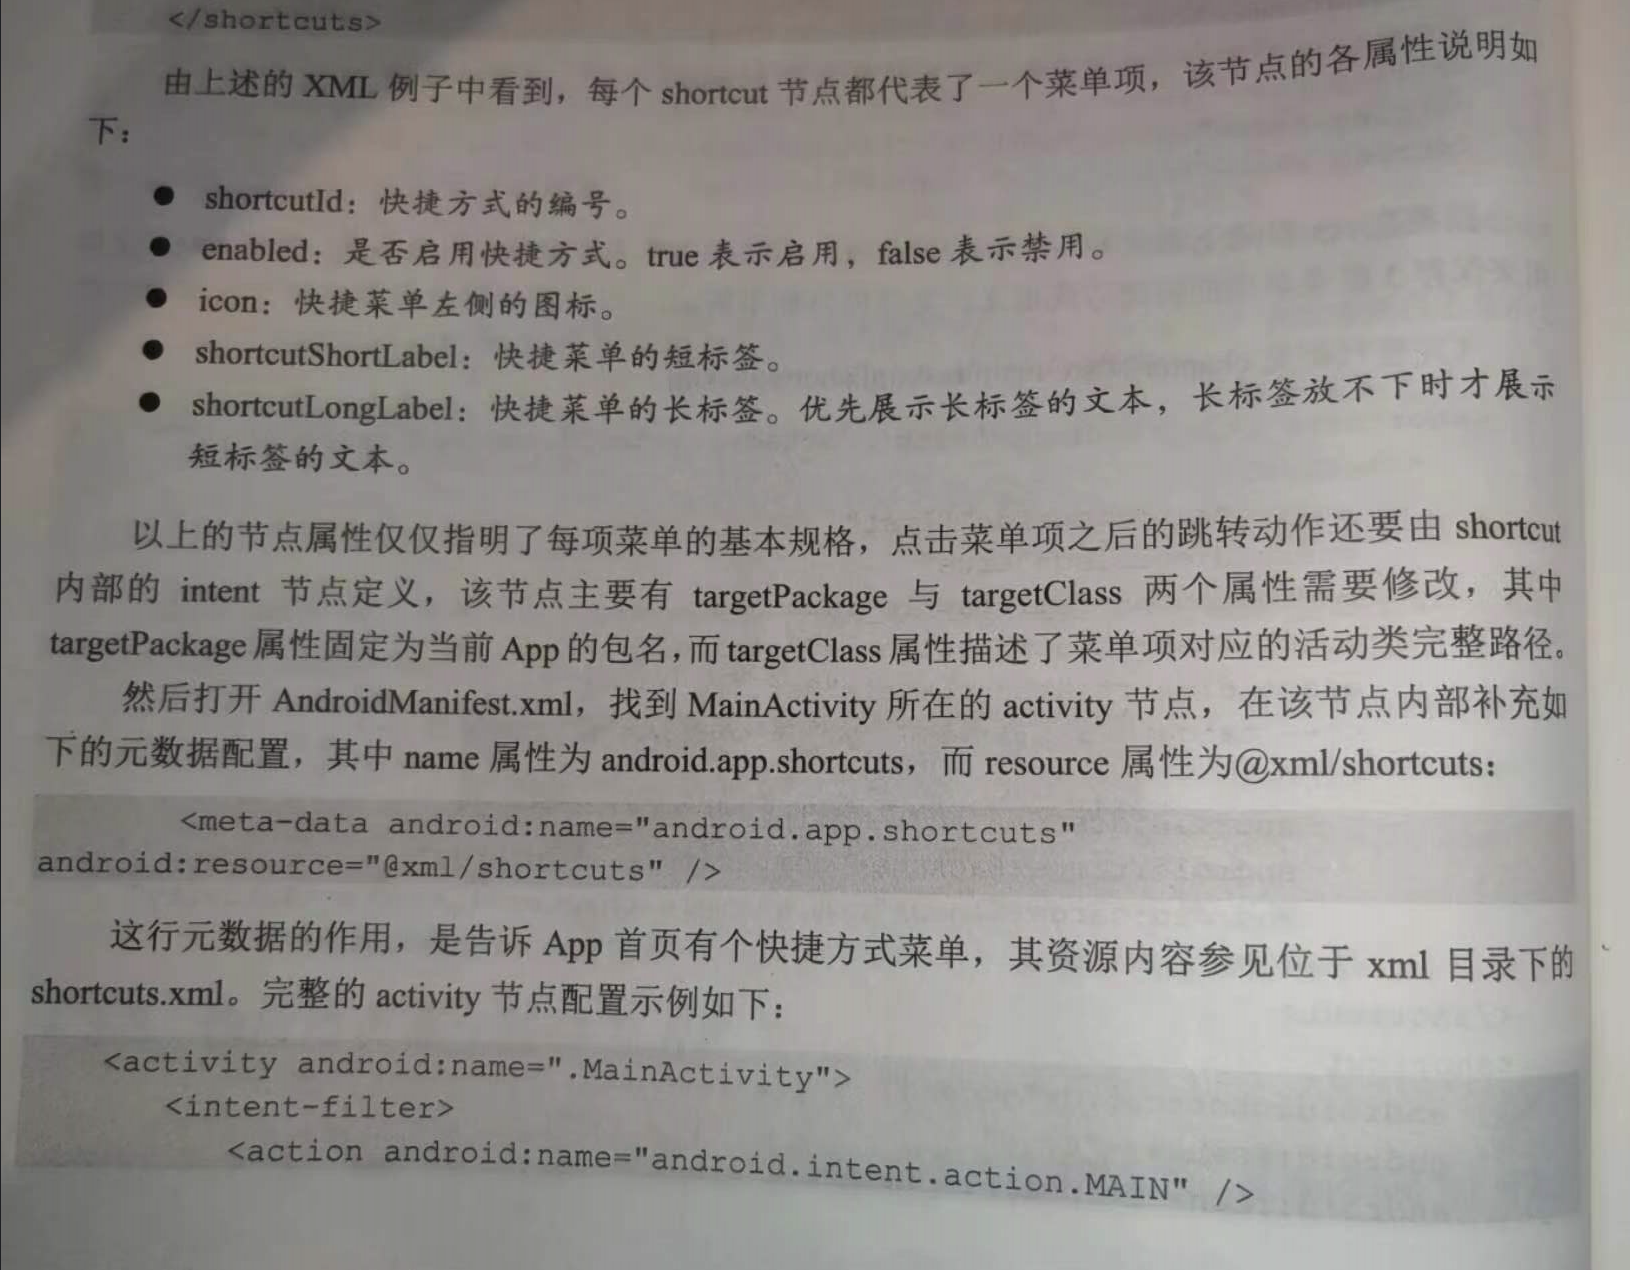
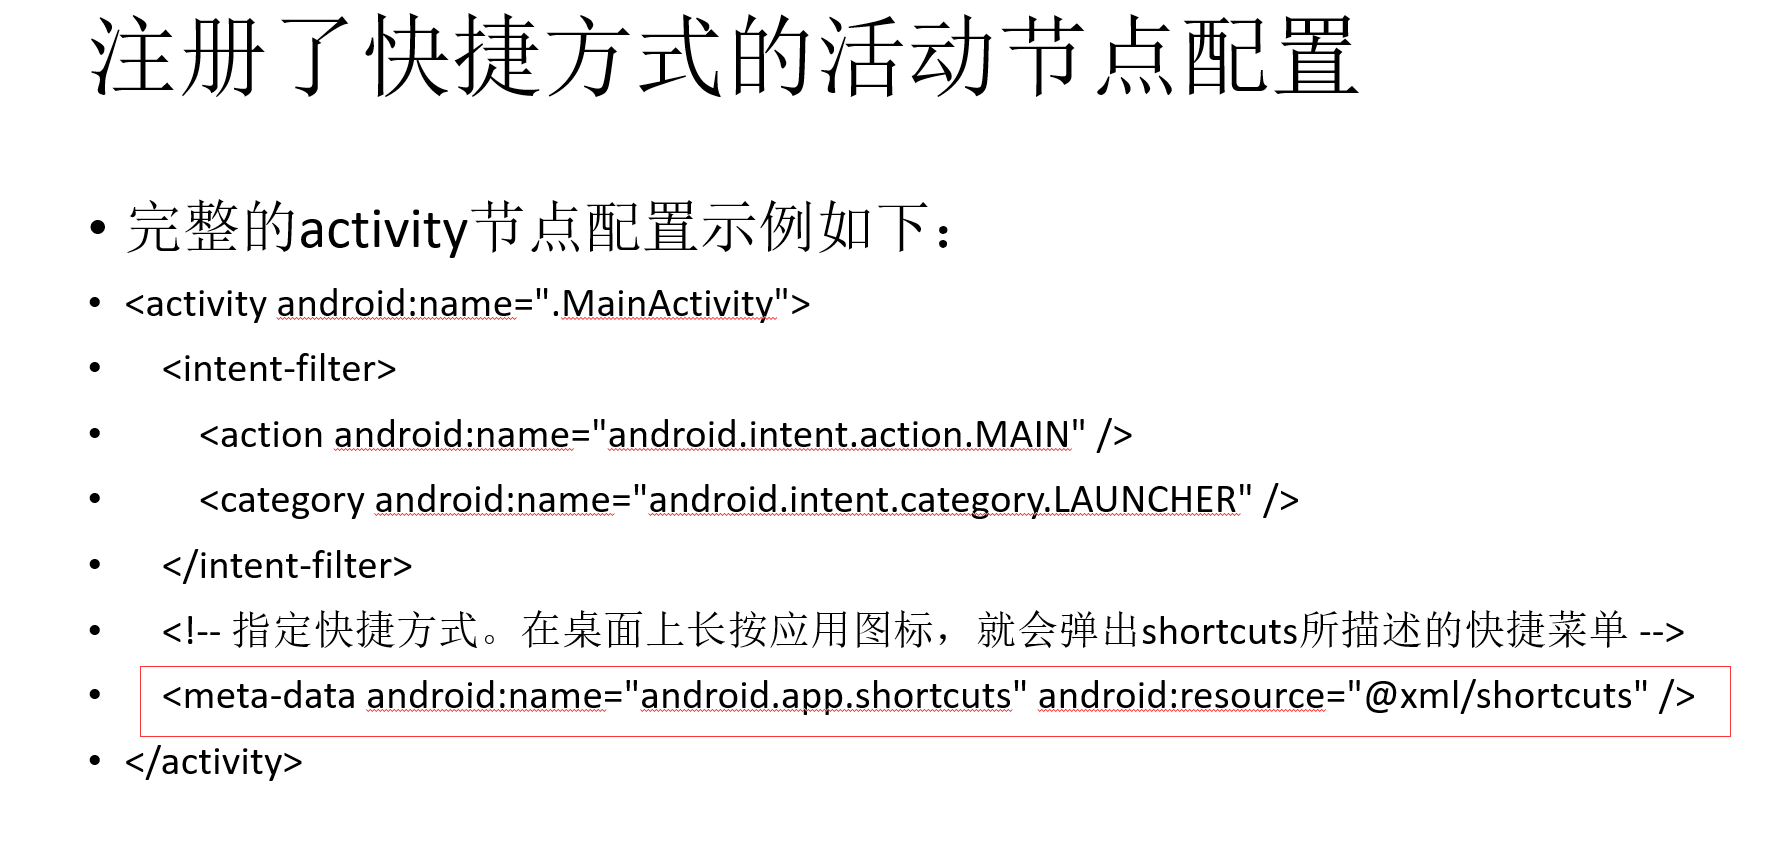
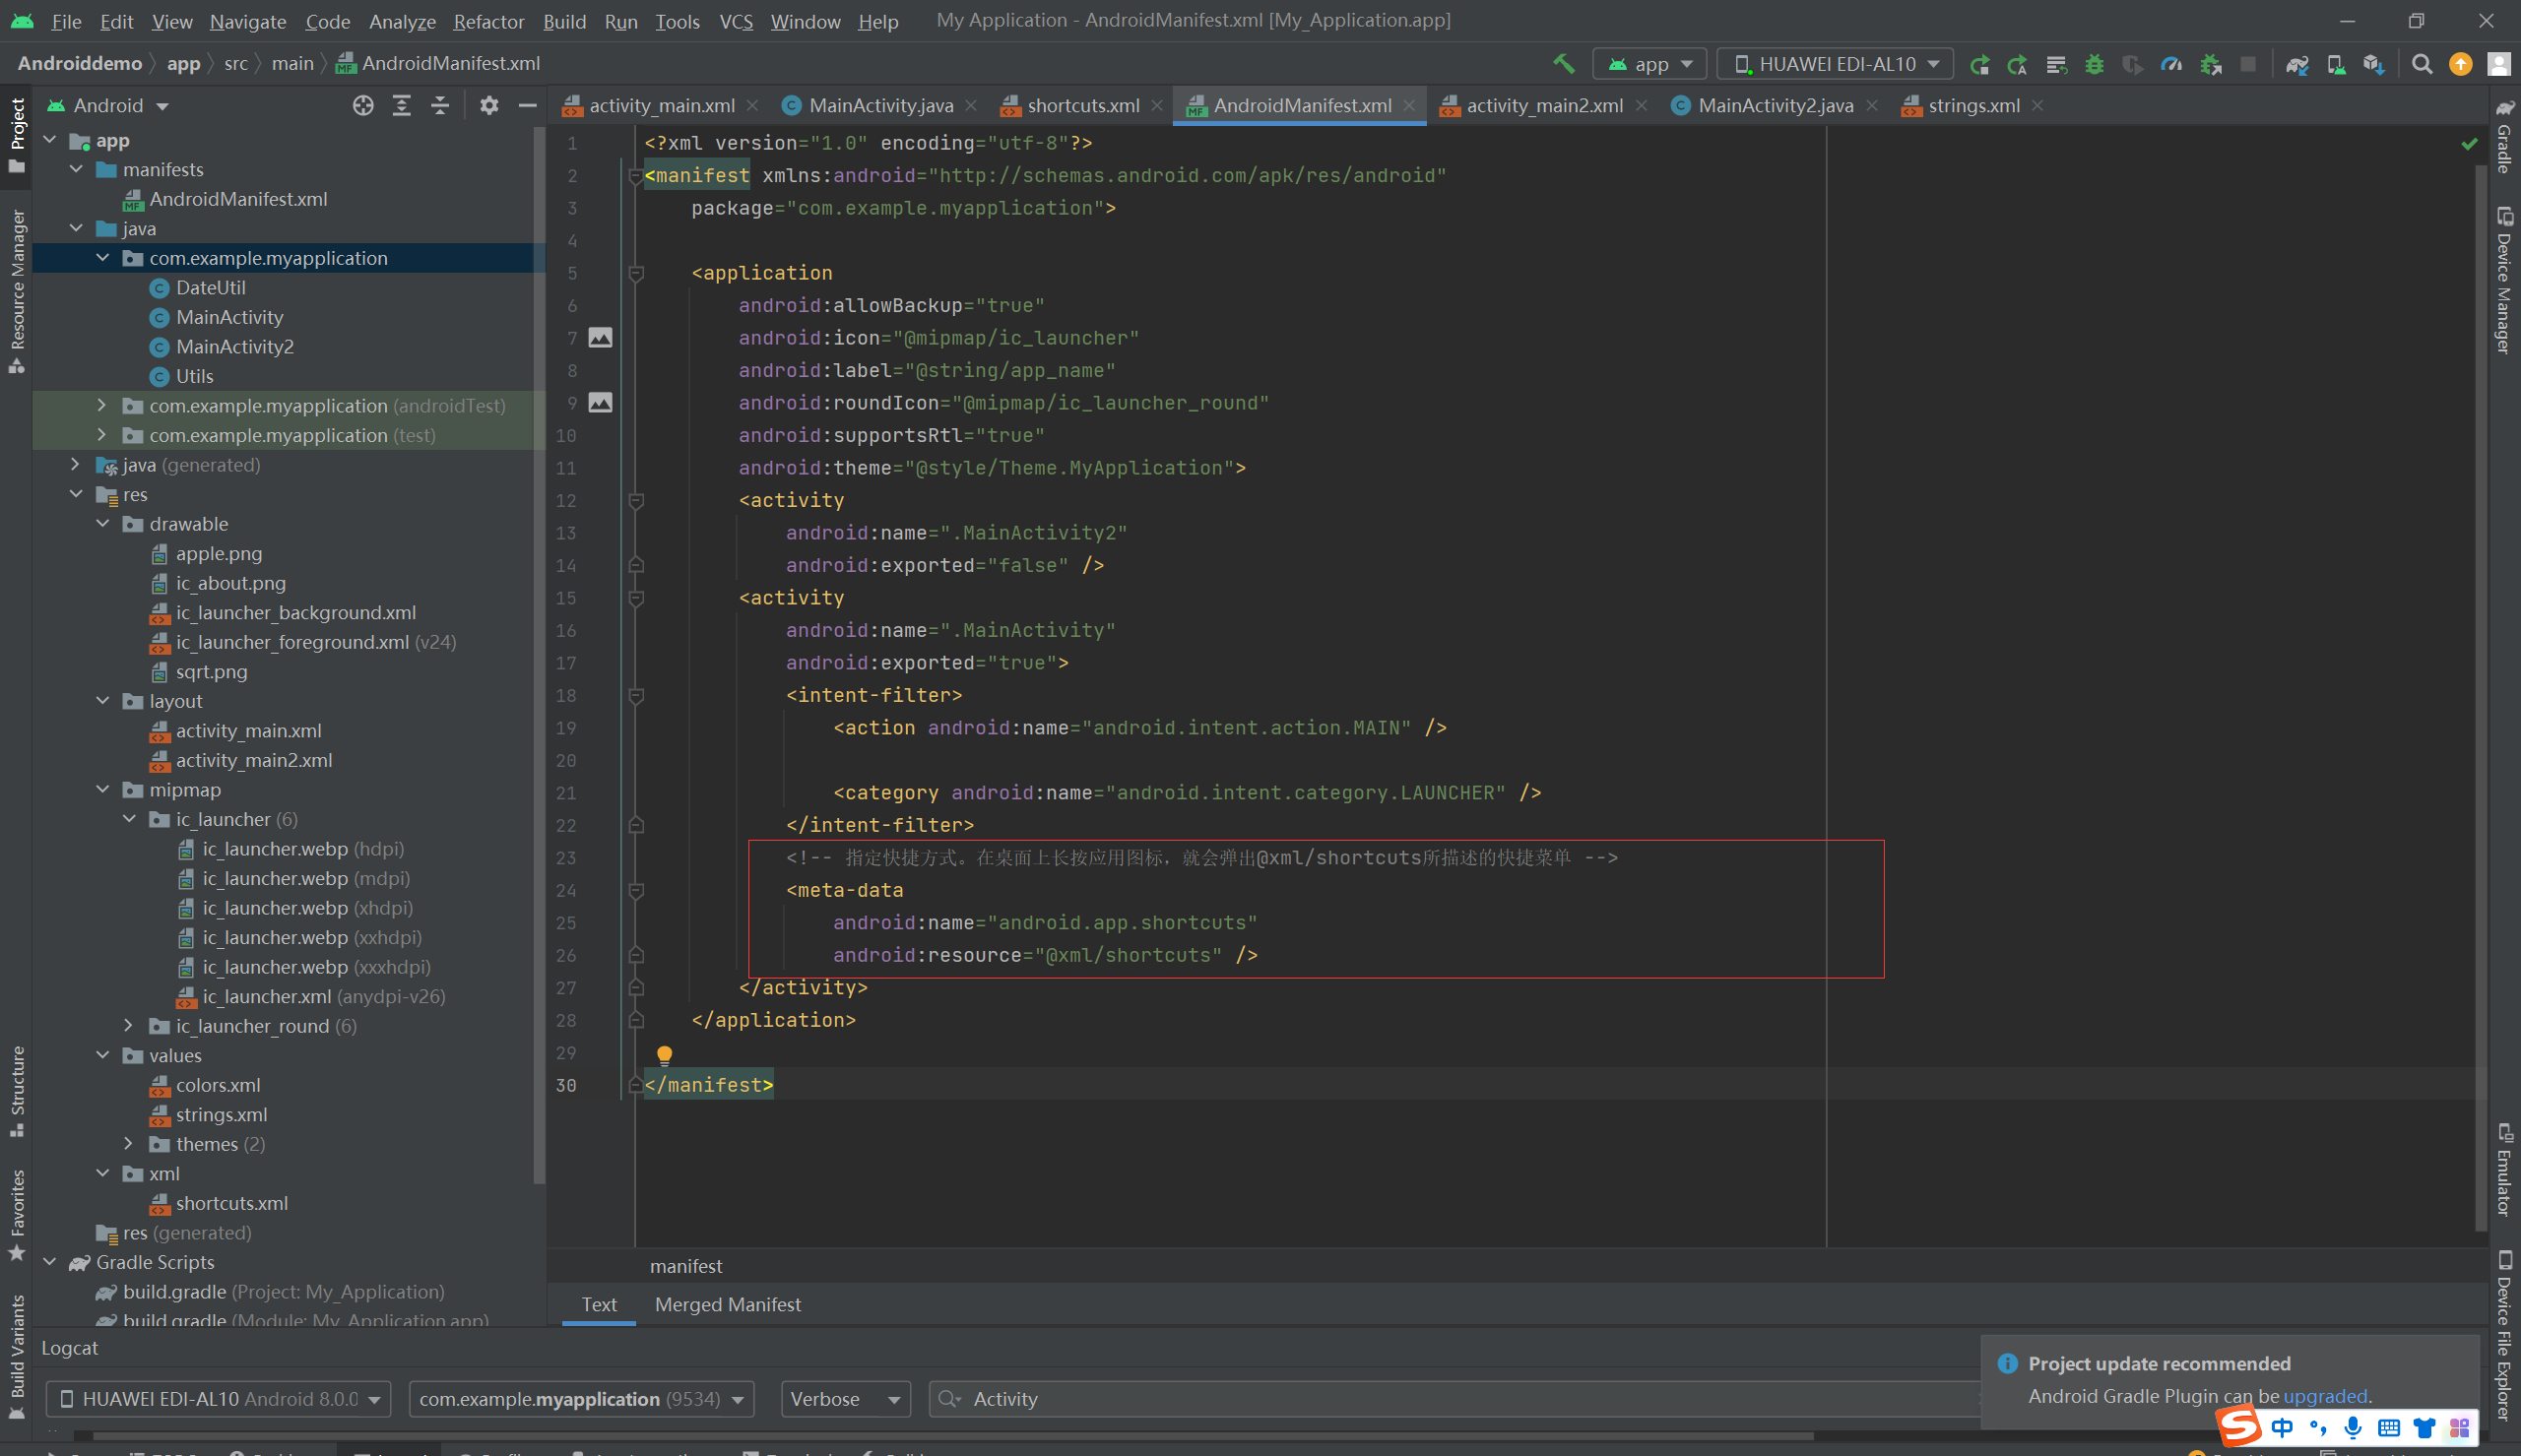
(3)给activity节点注册元数据的快捷菜单配置,举例如下:<meta-data android:name="android.app.shortcuts" android:resource="@xml/shortcuts" />
=================================================================================================
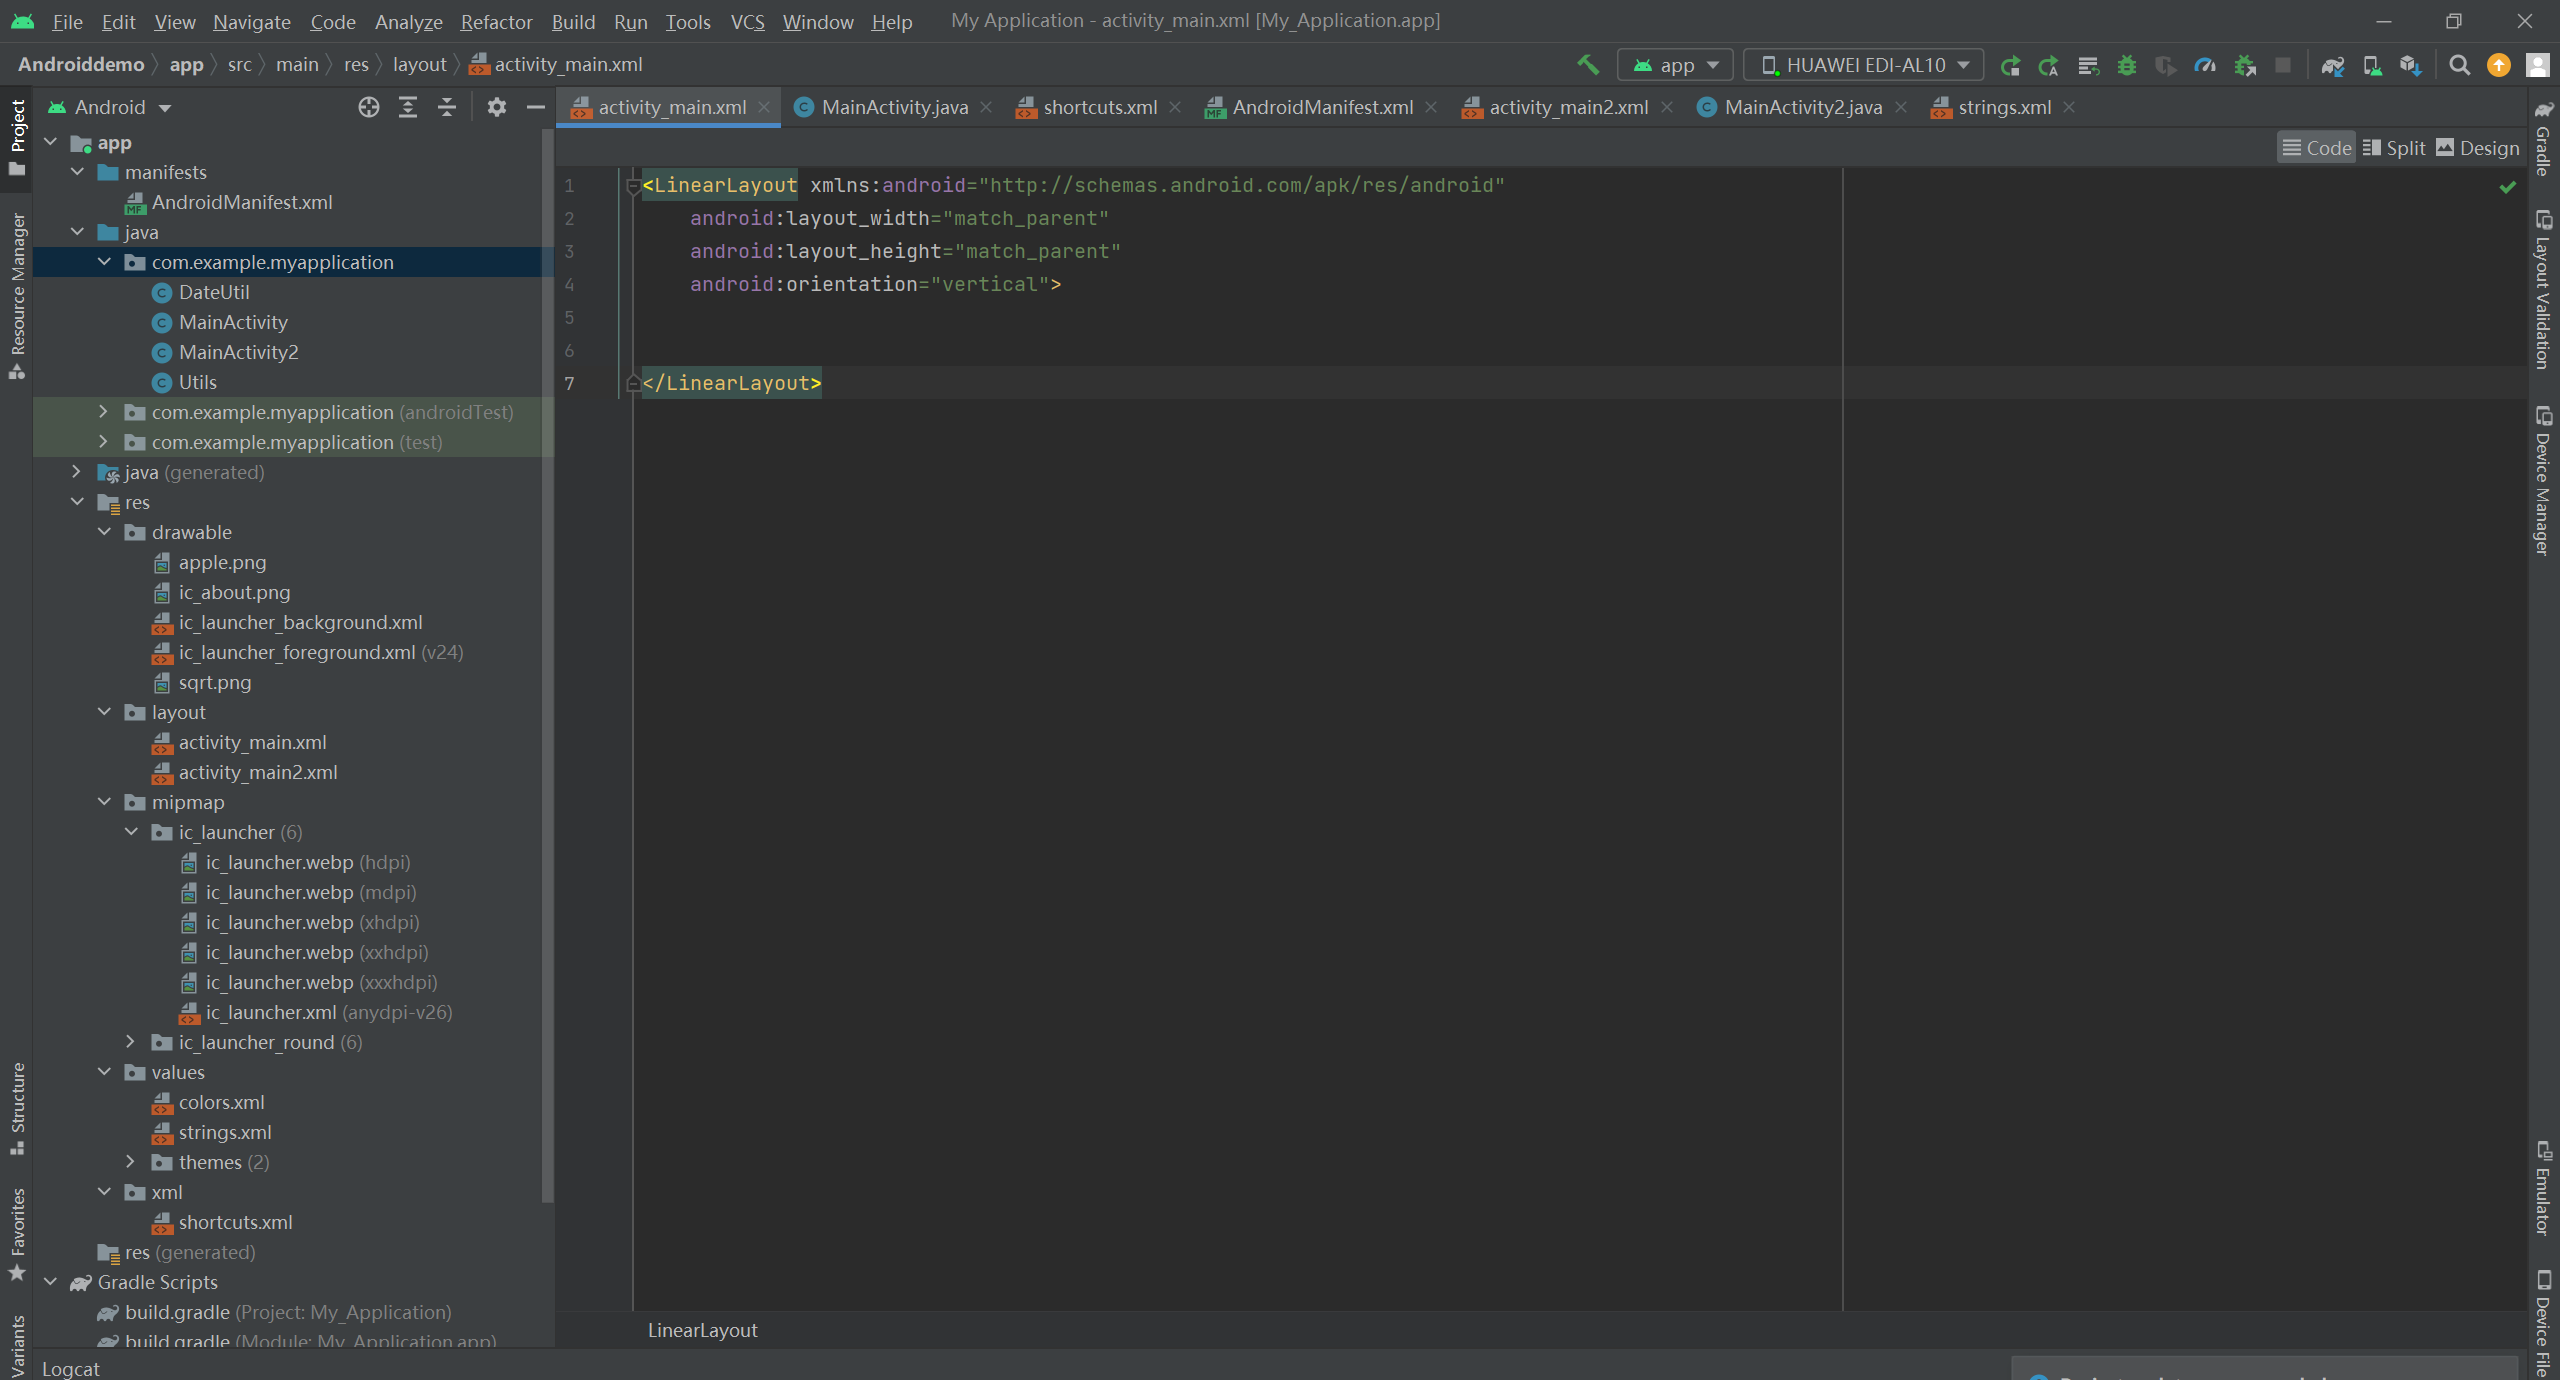
<LinearLayout xmlns:android="http://schemas.android.com/apk/res/android"
    android:layout_width="match_parent"
    android:layout_height="match_parent"
    android:orientation="vertical">


</LinearLayout>
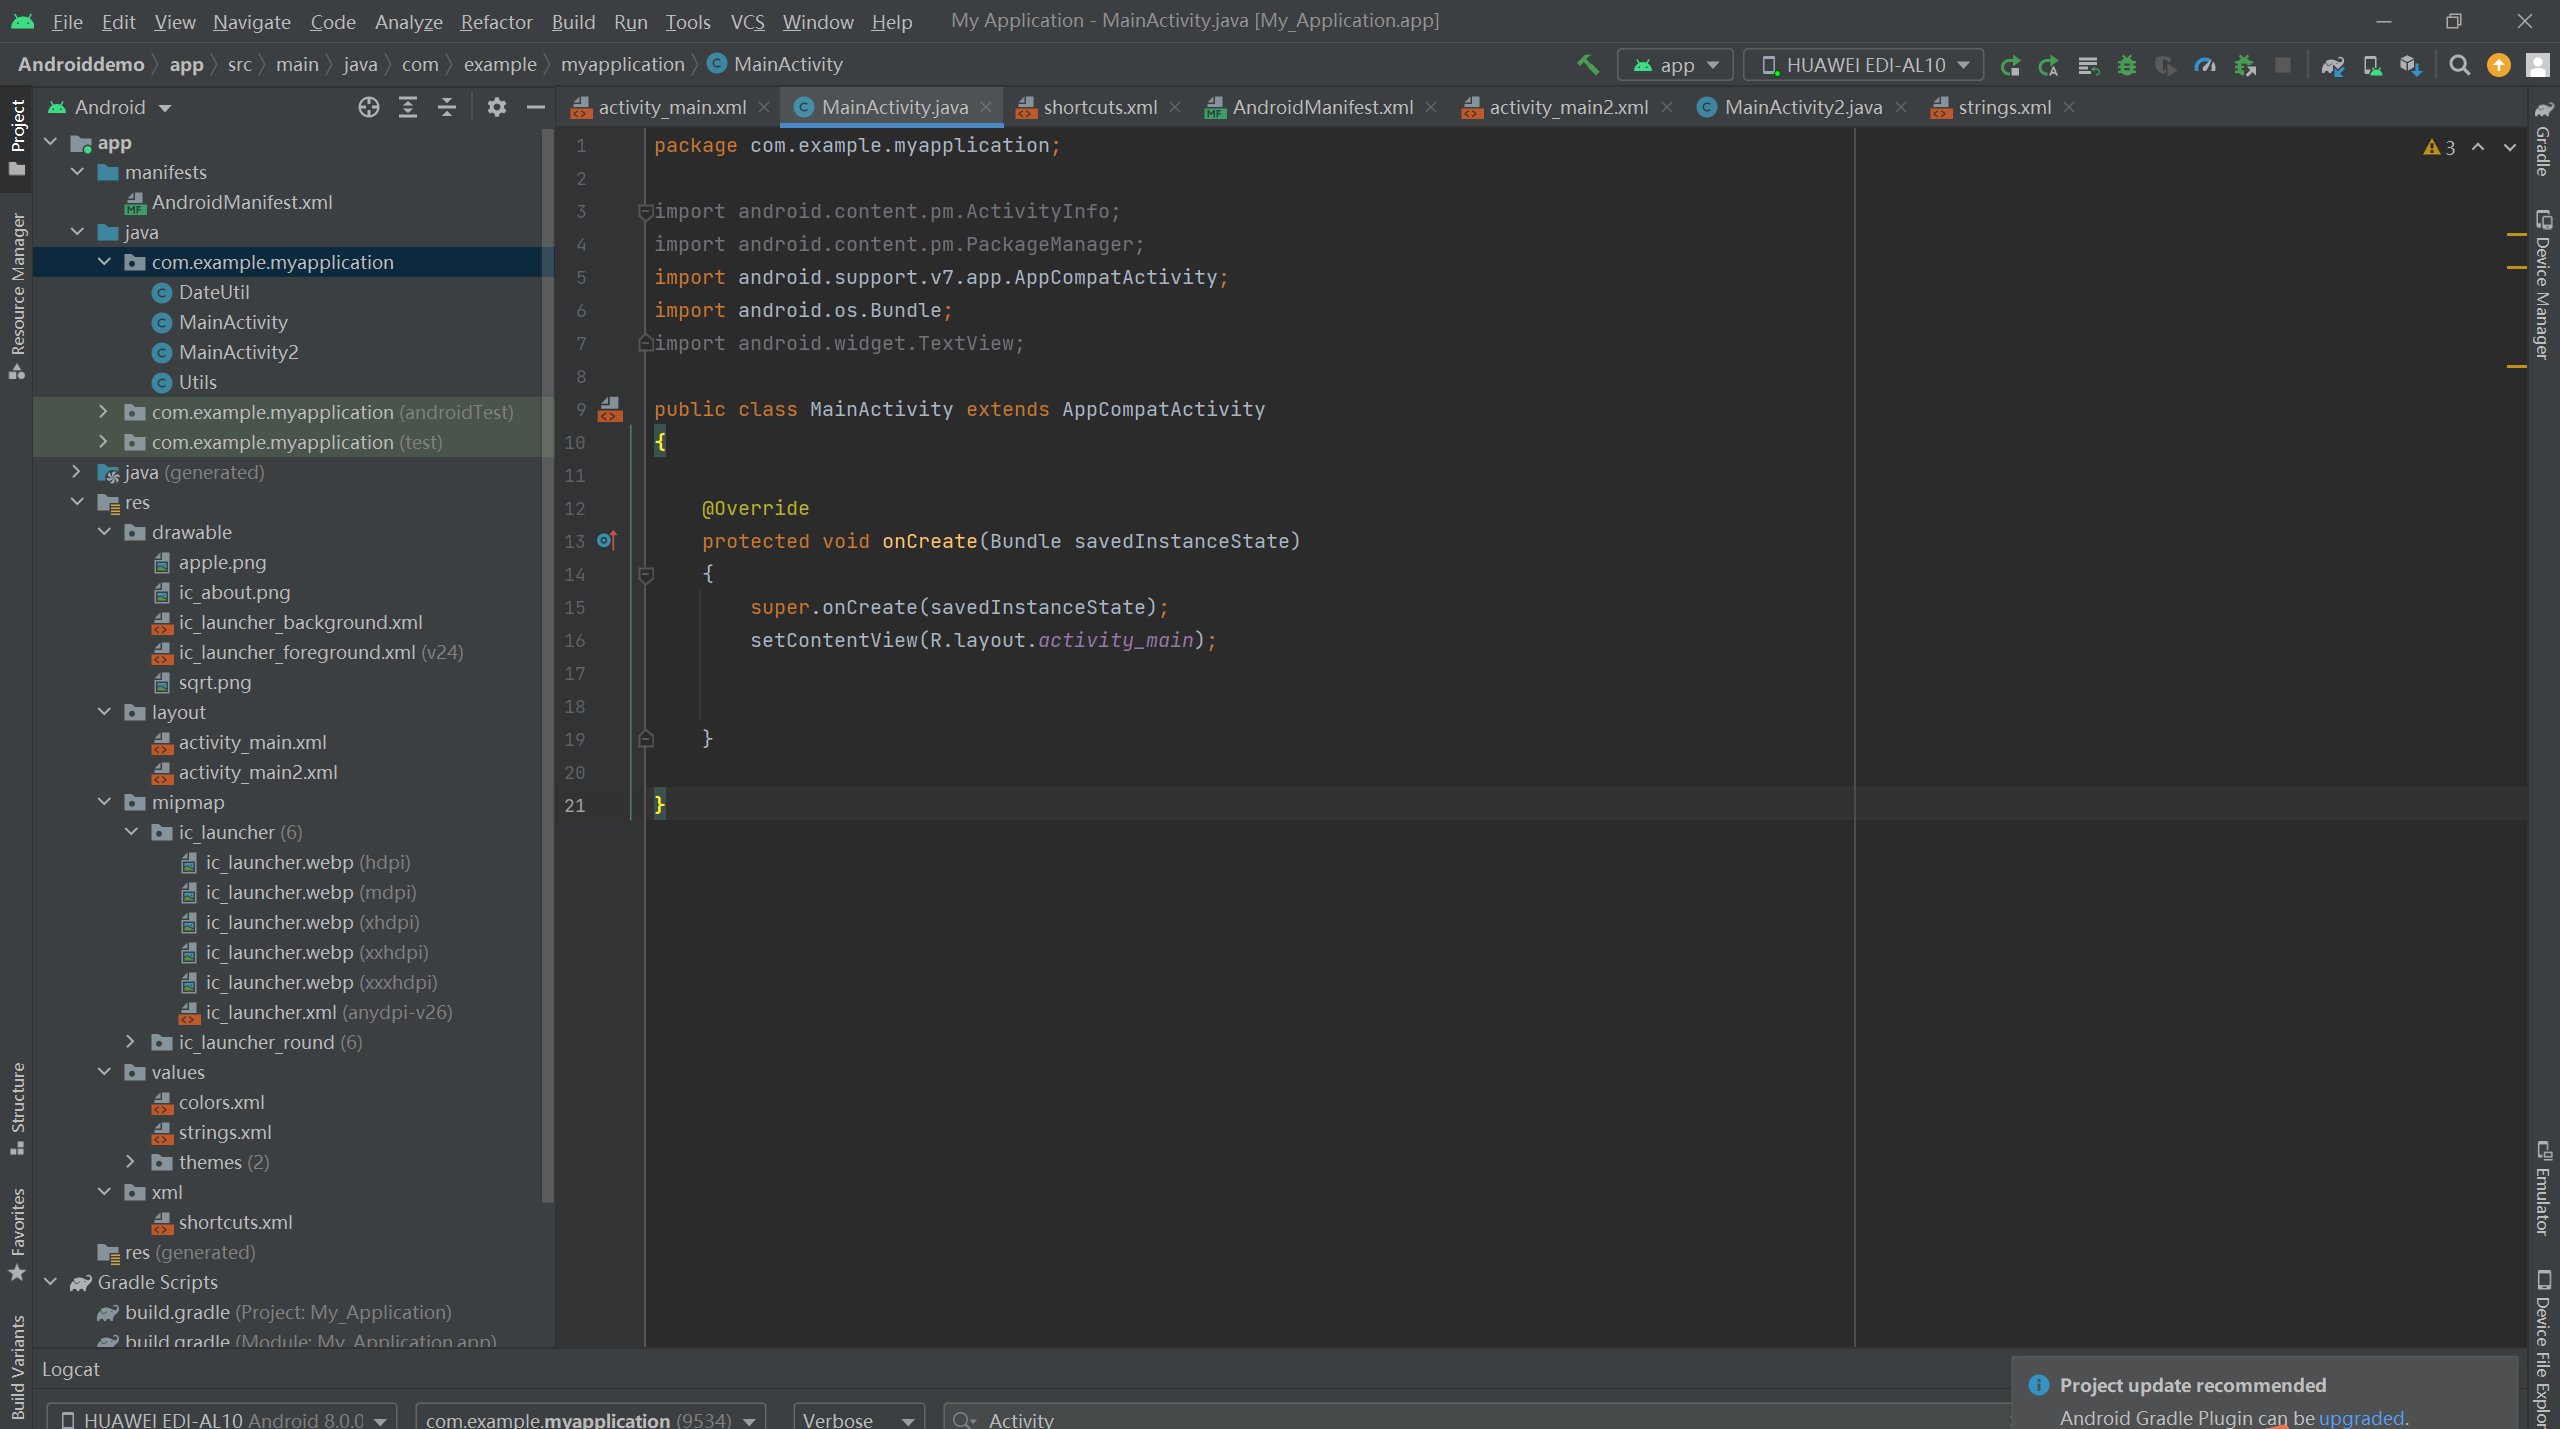
package com.example.myapplication;

import android.content.pm.ActivityInfo;
import android.content.pm.PackageManager;
import android.support.v7.app.AppCompatActivity;
import android.os.Bundle;
import android.widget.TextView;

public class MainActivity extends AppCompatActivity
{

    @Override
    protected void onCreate(Bundle savedInstanceState)
    {
        super.onCreate(savedInstanceState);
        setContentView(R.layout.activity_main);


    }

}
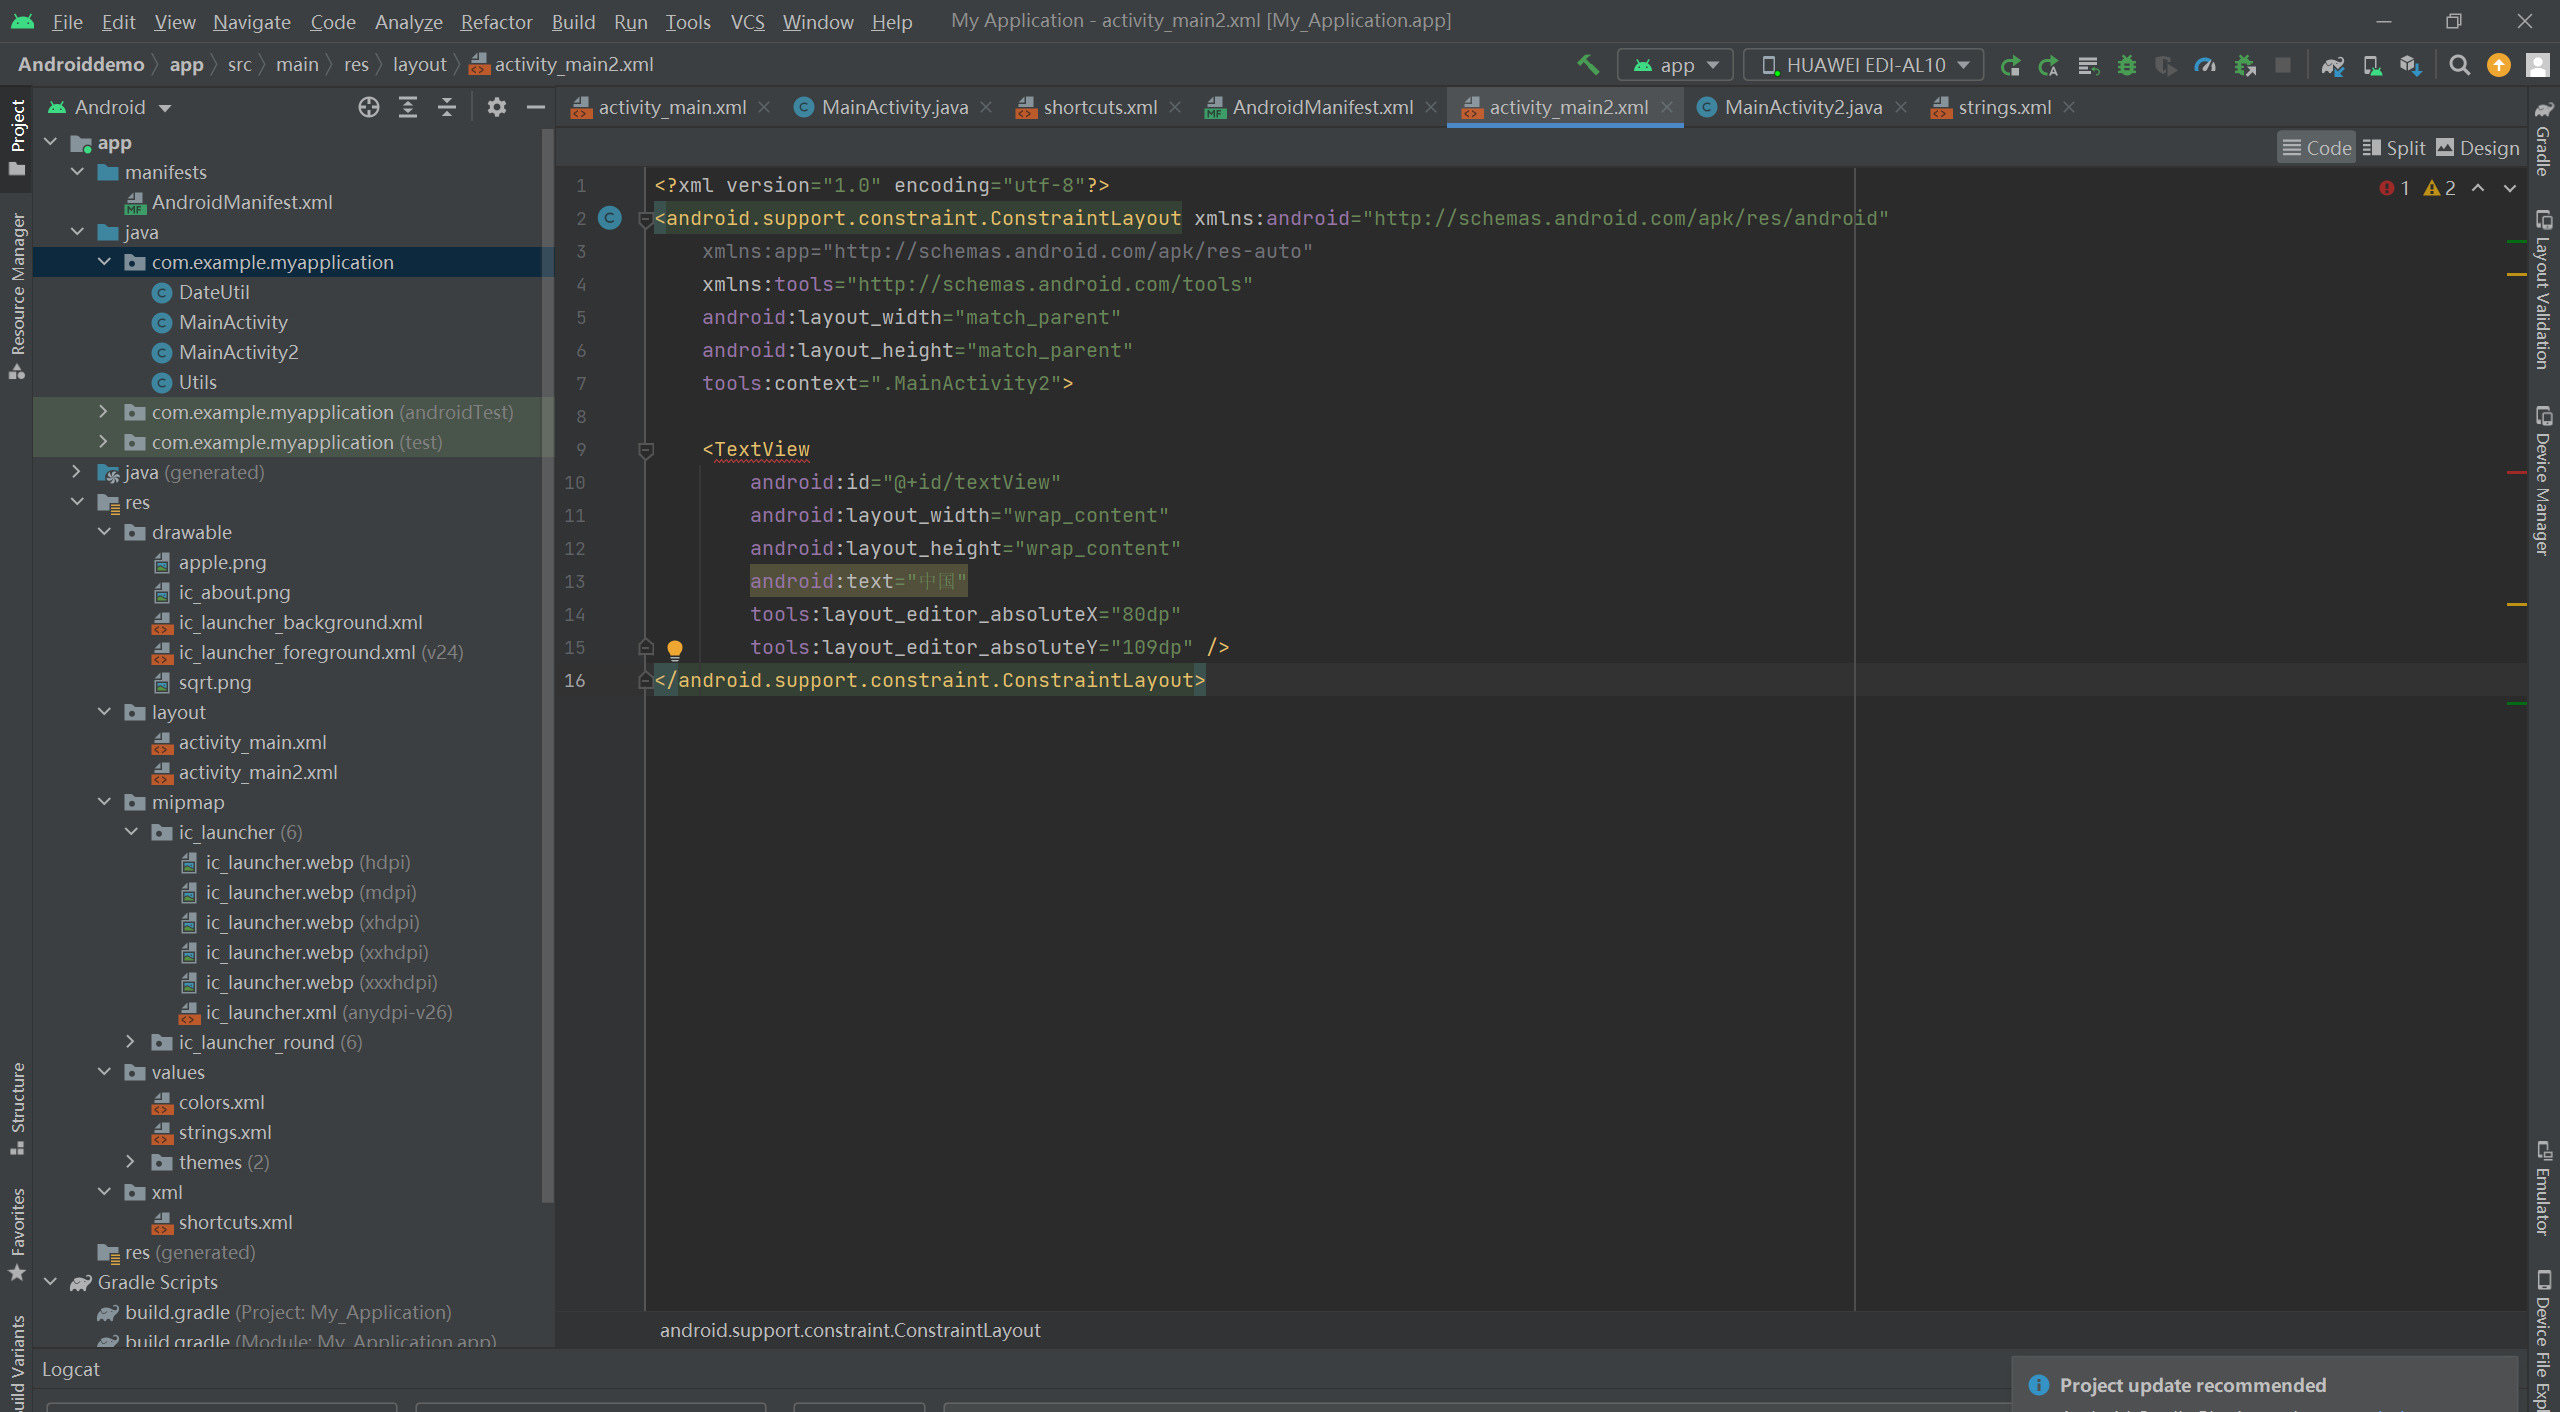
<?xml version="1.0" encoding="utf-8"?>
<android.support.constraint.ConstraintLayout xmlns:android="http://schemas.android.com/apk/res/android"
    xmlns:app="http://schemas.android.com/apk/res-auto"
    xmlns:tools="http://schemas.android.com/tools"
    android:layout_width="match_parent"
    android:layout_height="match_parent"
    tools:context=".MainActivity2">

    <TextView
        android:id="@+id/textView"
        android:layout_width="wrap_content"
        android:layout_height="wrap_content"
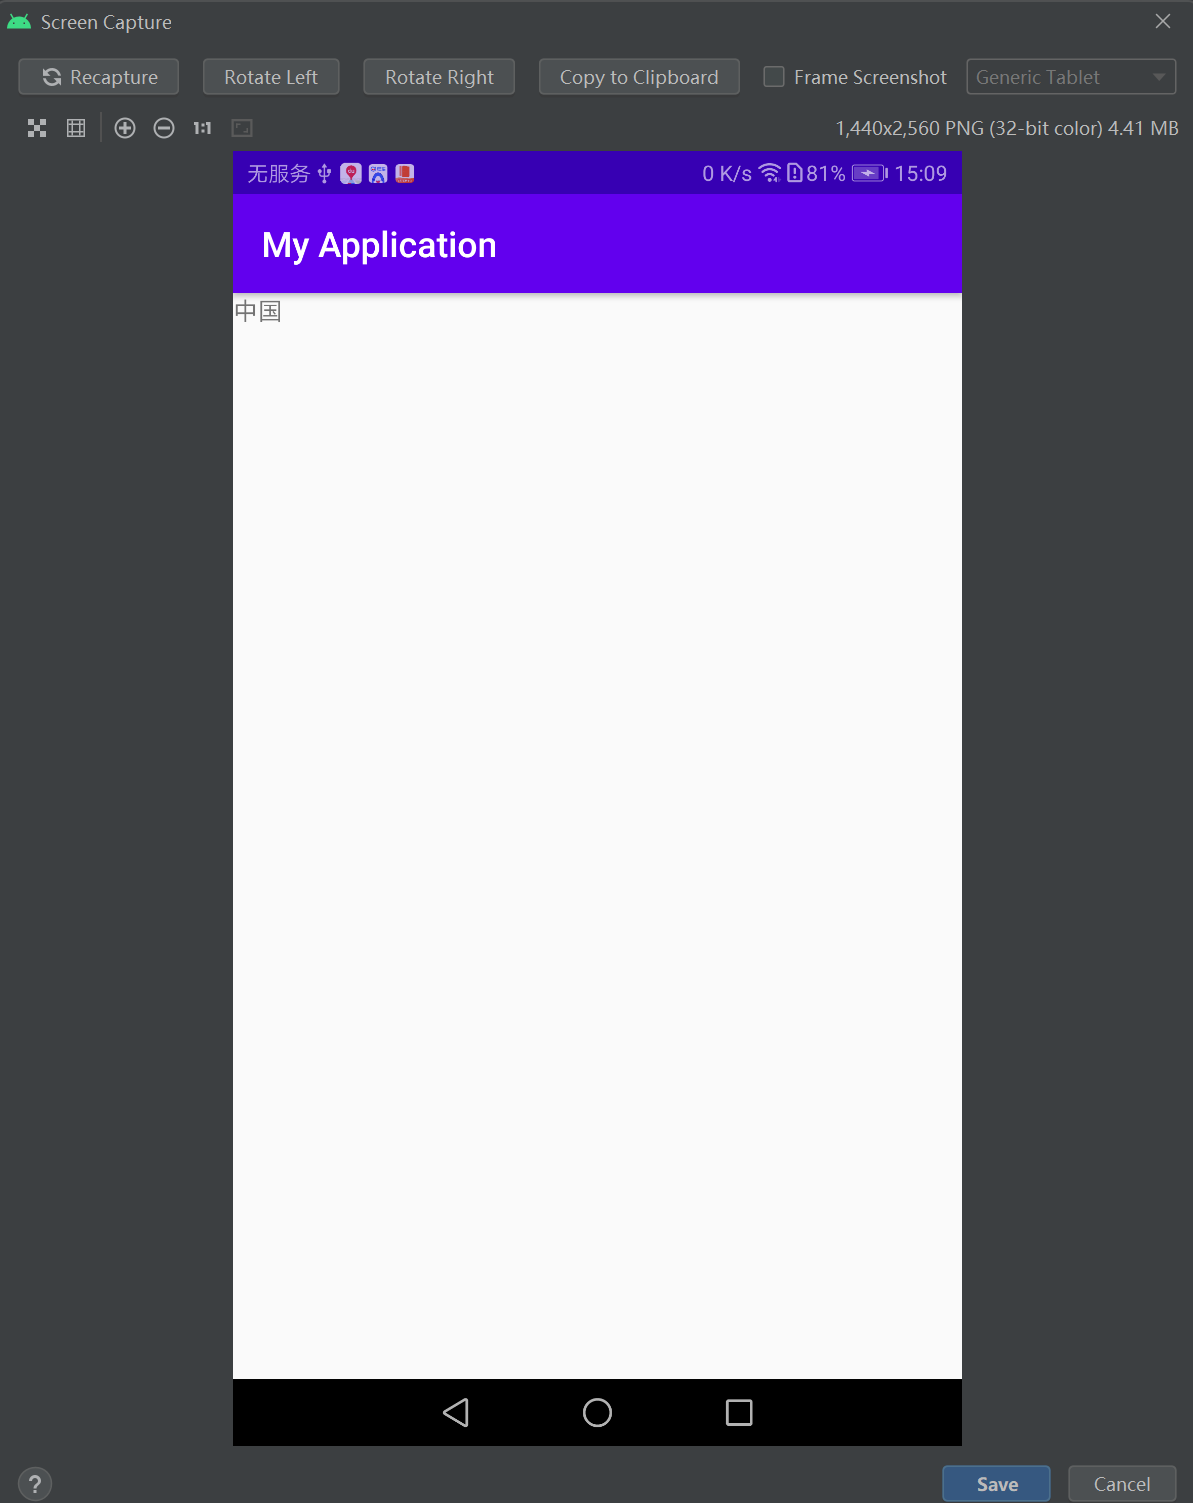
        android:text="中国"
        tools:layout_editor_absoluteX="80dp"
        tools:layout_editor_absoluteY="109dp" />
</android.support.constraint.ConstraintLayout>
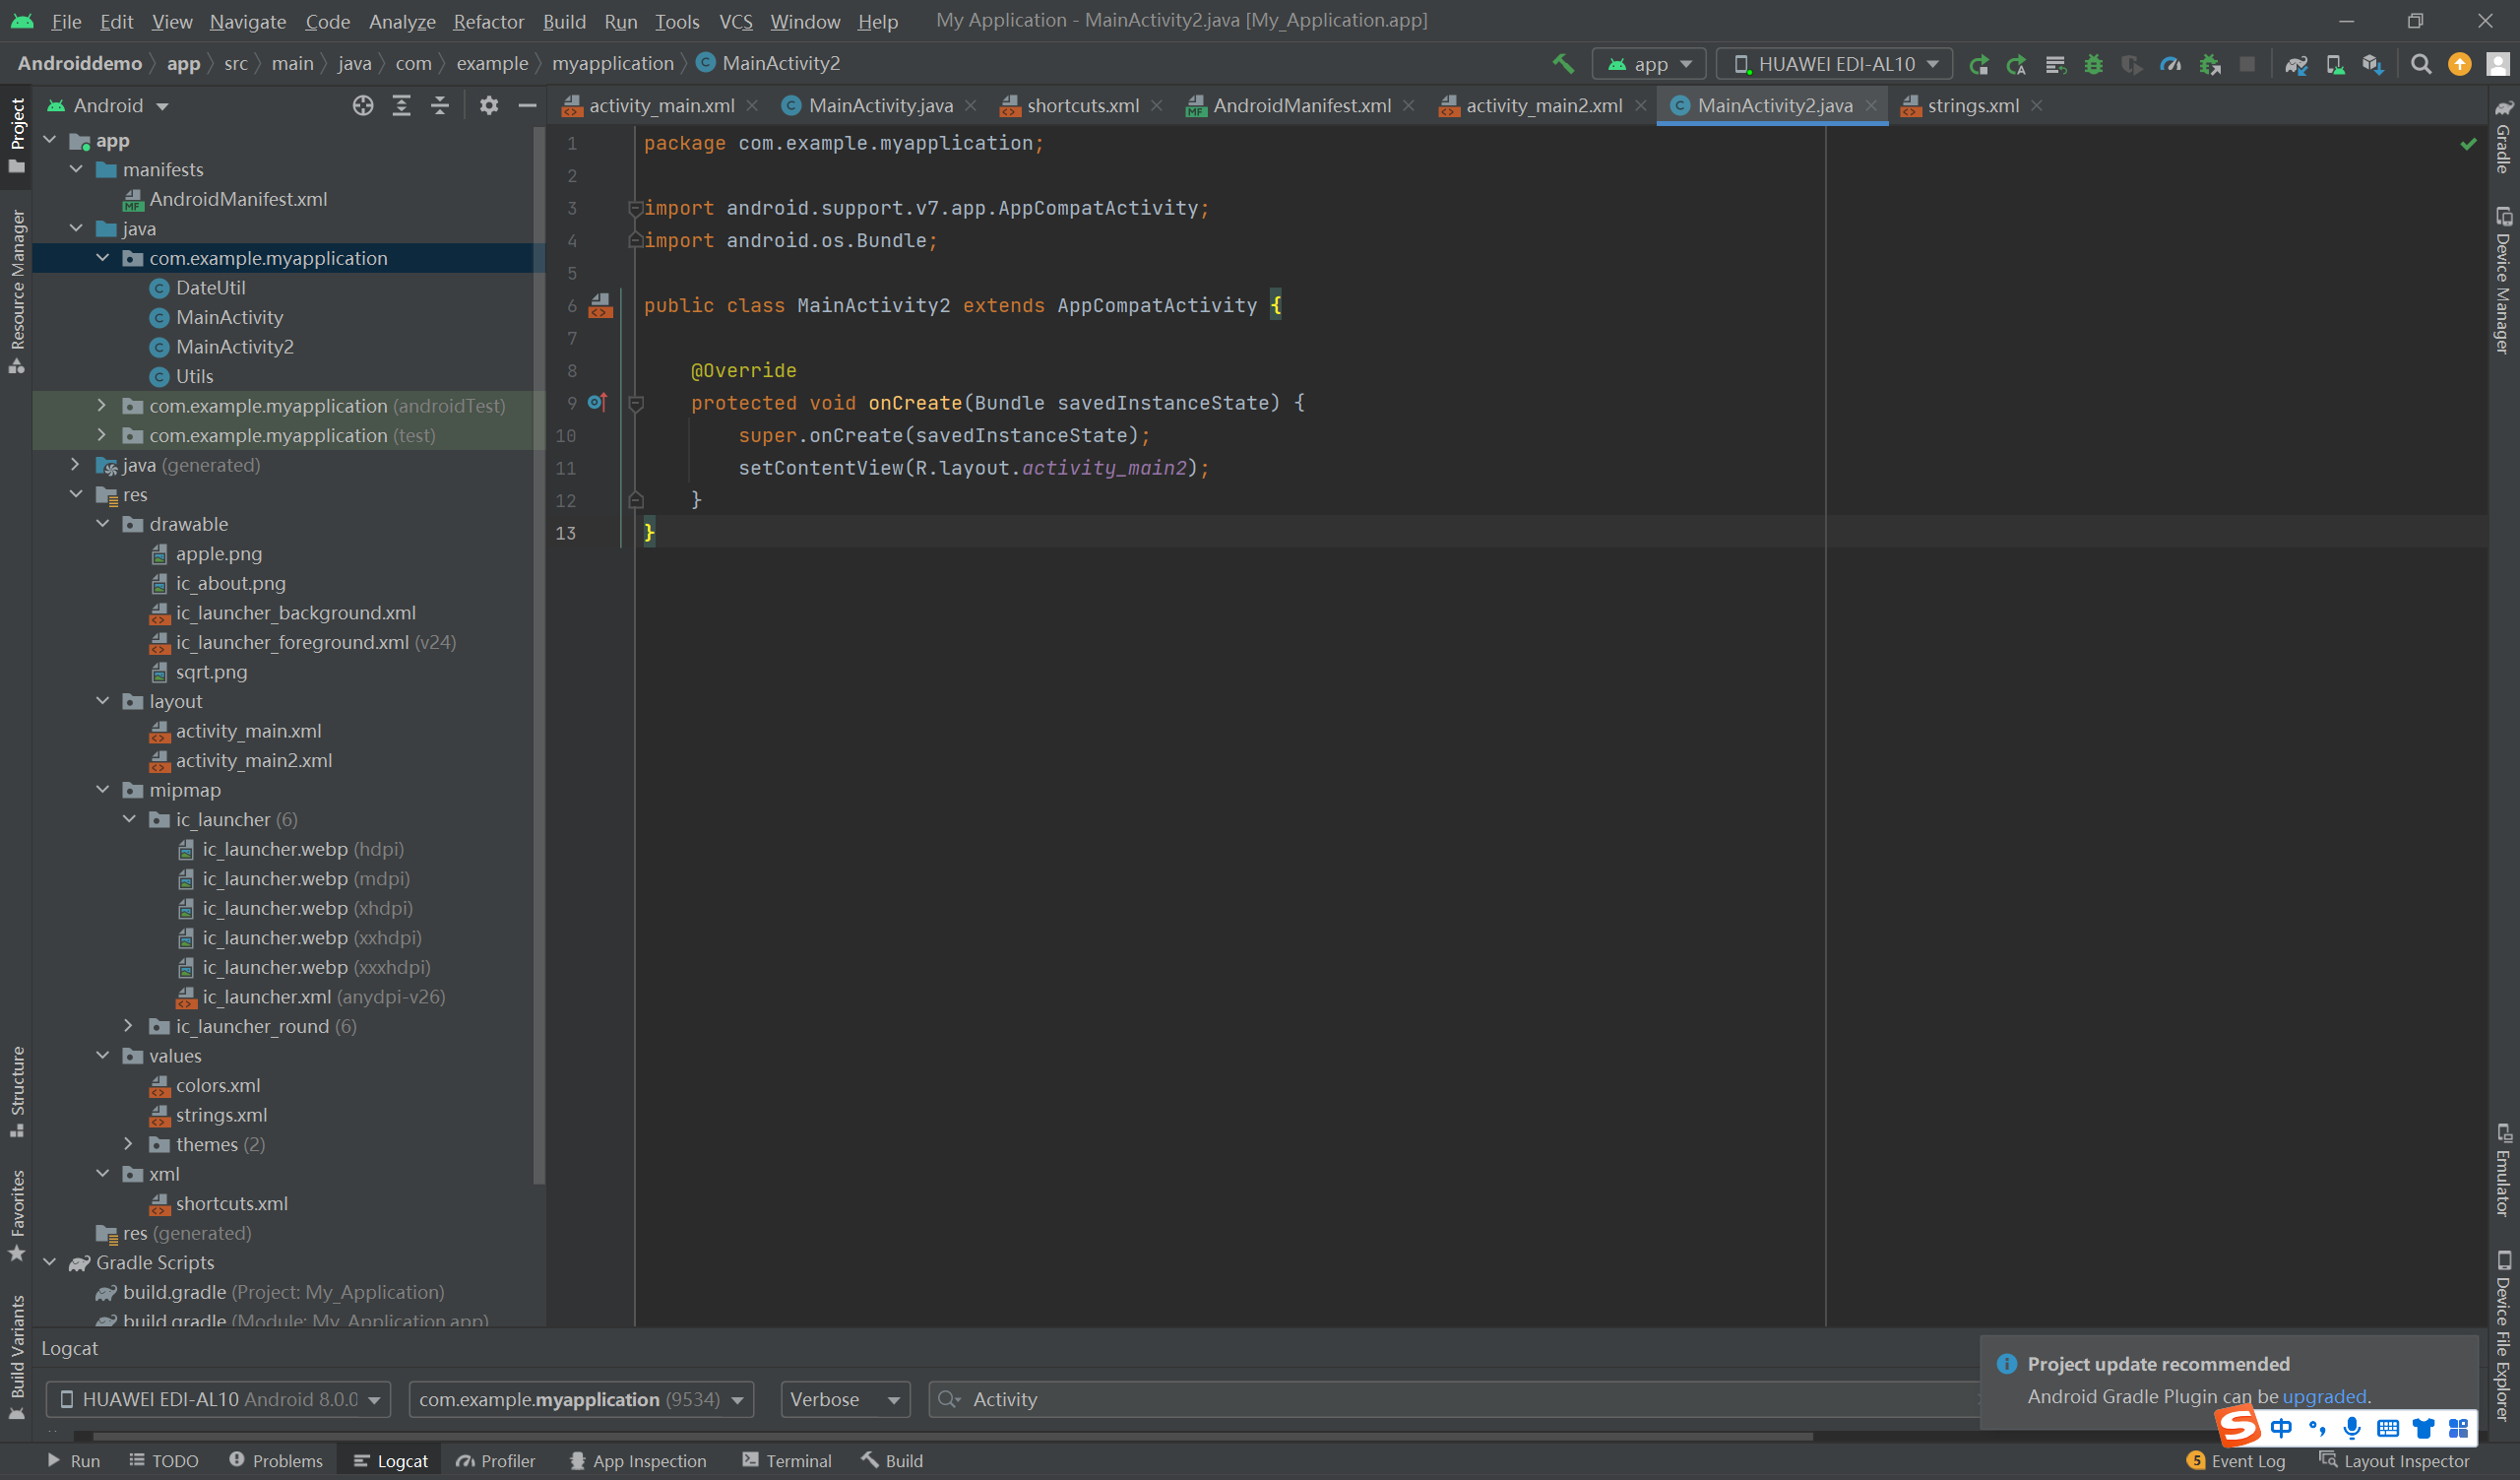
package com.example.myapplication;

import android.support.v7.app.AppCompatActivity;
import android.os.Bundle;

public class MainActivity2 extends AppCompatActivity {

    @Override
    protected void onCreate(Bundle savedInstanceState) {
        super.onCreate(savedInstanceState);
        setContentView(R.layout.activity_main2);
    }
}
<?xml version="1.0" encoding="utf-8"?>
<manifest xmlns:android="http://schemas.android.com/apk/res/android"
    package="com.example.myapplication">

    <application
        android:allowBackup="true"
        android:icon="@mipmap/ic_launcher"
        android:label="@string/app_name"
        android:roundIcon="@mipmap/ic_launcher_round"
        android:supportsRtl="true"
        android:theme="@style/Theme.MyApplication">
        <activity
            android:name=".MainActivity2"
            android:exported="false" />
        <activity
            android:name=".MainActivity"
            android:exported="true">
            <intent-filter>
                <action android:name="android.intent.action.MAIN" />

                <category android:name="android.intent.category.LAUNCHER" />
            </intent-filter>
            <!-- 指定快捷方式。在桌面上长按应用图标,就会弹出@xml/shortcuts所描述的快捷菜单 -->
            <meta-data
                android:name="android.app.shortcuts"
                android:resource="@xml/shortcuts" />
        </activity>
    </application>

</manifest>
<shortcuts xmlns:android="http://schemas.android.com/apk/res/android">
    <shortcut
        android:shortcutId="first"
        android:enabled="true"
        android:icon="@mipmap/ic_launcher"
        android:shortcutShortLabel="@string/first_short"
        android:shortcutLongLabel="@string/first_long">
        <!-- targetClass指定了点击该项菜单后要打开哪个活动页面 -->
        <intent
            android:action="android.intent.action.VIEW"
            android:targetPackage="com.example.myapplication"
            android:targetClass="com.example.myapplication.MainActivity2" />
        <categories android:name="android.shortcut.conversation"/>
    </shortcut>

    <shortcut
        android:shortcutId="second"
        android:enabled="true"
        android:icon="@mipmap/ic_launcher"
        android:shortcutShortLabel="@string/second_short"
        android:shortcutLongLabel="@string/second_long">
        <!-- targetClass指定了点击该项菜单后要打开哪个活动页面 -->
        <intent
            android:action="android.intent.action.VIEW"
            android:targetPackage="com.example.chapter04"
            android:targetClass="com.example.chapter04.JumpFirstActivity" />
        <categories android:name="android.shortcut.conversation"/>
    </shortcut>

    <shortcut
        android:shortcutId="third"
        android:enabled="true"
        android:icon="@mipmap/ic_launcher"
        android:shortcutShortLabel="@string/third_short"
        android:shortcutLongLabel="@string/third_long">
        <!-- targetClass指定了点击该项菜单后要打开哪个活动页面 -->
        <intent
            android:action="android.intent.action.VIEW"
            android:targetPackage="com.example.chapter04"
            android:targetClass="com.example.chapter04.LoginInputActivity" />
        <categories android:name="android.shortcut.conversation"/>
    </shortcut>
</shortcuts>
