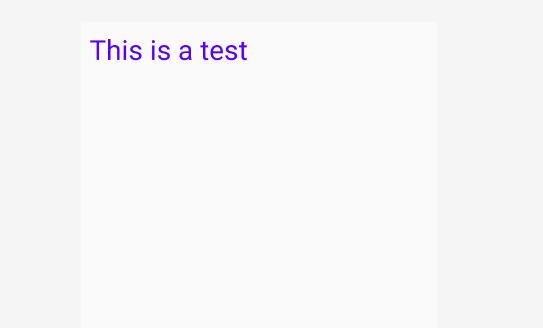
首先,完成一个布局文件,名字就叫做activity_text_view.xml
<?xml version="1.0" encoding="utf-8"?>
<LinearLayout xmlns:android="http://schemas.android.com/apk/res/android"
    android:layout_width="match_parent"
    android:layout_height="match_parent"
    android:orientation="vertical"
    >

    <TextView
        android:id="@+id/ttv1"
        android:layout_width="match_parent"
        android:layout_height="wrap_content"
        android:text="This is a test"
        android:textColor="#5500FF"
        android:textSize="32sp"
        android:padding="10dp"
        />

</LinearLayout>

下面来新建一个TestTextViewActivity.java文件
package com.example.test;

import android.graphics.Paint;
import android.os.Bundle;
import android.widget.TextView;

import androidx.appcompat.app.AppCompatActivity;

public class TestTextViewActivity extends AppCompatActivity {

    private TextView mtv1;
    @Override
    protected void onCreate(Bundle savedInstanceState) {
        super.onCreate(savedInstanceState);
        setContentView(R.layout.activity_text_view);
        mtv1 = findViewById(R.id.ttv1);
        mtv1.getPaint().setFlags(Paint.STRIKE_THRU_TEXT_FLAG); // set strike through style in the text
        mtv1.getPaint().setAntiAlias(true); // get rid of the zigzag effect
    }
}
在MainActivity.java文件里加入以下代码:
package com.example.test;

import android.content.Intent;
import android.os.Bundle;
import android.view.View;
import android.widget.Button;

import androidx.appcompat.app.AppCompatActivity;


public class MainActivity extends AppCompatActivity {

    private Button mBtnTextView;  // define a text view button
    @Override
    protected void onCreate(Bundle savedInstanceState) {
        super.onCreate(savedInstanceState);
        setContentView(R.layout.activity_main);
        mBtnTextView = findViewById(R.id.btnTextView1);  // get the button, it is in activity_main.xml
        mBtnTextView.setOnClickListener(new View.OnClickListener() {
            public void onClick(View view) {
                Intent intent = new Intent(MainActivity.this, TestTextViewActivity.class);
                startActivity(intent);
            }
        });
    };

}
activity_main.xml
<?xml version="1.0" encoding="utf-8"?>
<LinearLayout xmlns:android="http://schemas.android.com/apk/res/android"
    android:layout_width="match_parent"
    android:layout_height="match_parent"
    android:orientation="vertical"
    >

    <Button
        android:id="@+id/btnTextView1"
        android:layout_width="match_parent"
        android:layout_height="wrap_content"
        android:text="TestTextView"
        />

</LinearLayout>
注意:在AndroidMainifest.xml里面加入activity
<activity android:name=".TestTextViewActivity"/>
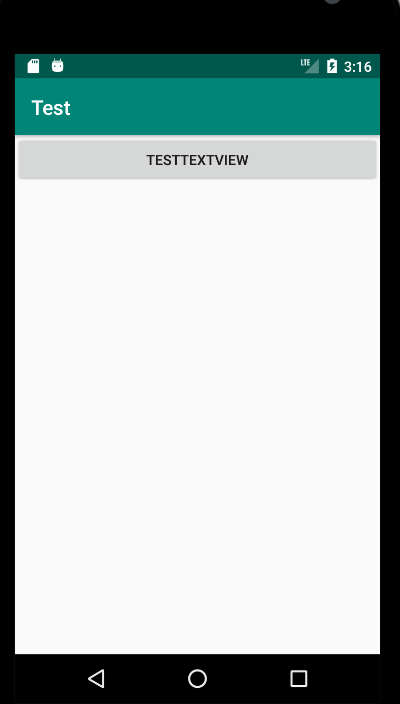
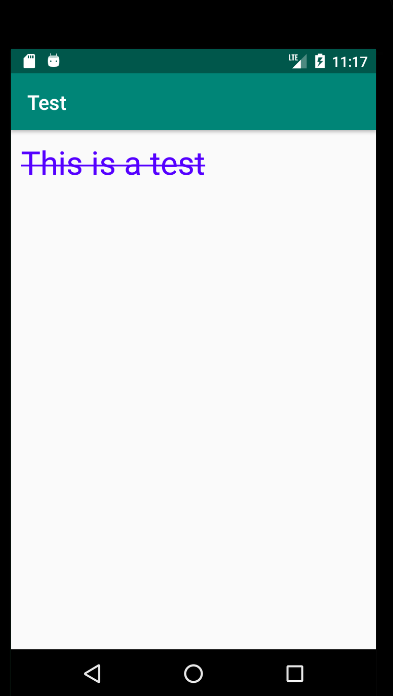
效果图如下:

