Spring Cloud Config统一的配置中心同注册中心Eureka一样,也分服务端和客户端。服务端用来保存配置信息,客户端用来读取。它的优势是基于Git仓库,支持多环境、多分支配置、动态刷新。我们把服务网关Zuul(参见Greenwich.SR2版本的Spring Cloud Zuul实例)看成Config的客户端,它的路由配置(zuul.routes开头配置项)我们从Git上配置,如此一来我们直接修改本地Git上的路由配置再push到远程仓库后,调用/bus/refresh即可生效,达到动态路由的目的。同理,其他微服务组件也可以作为Config客户端读取业务配置。
至于如何实现配置信息支持动态更新,那就需要另外一个组件的出手了:Spring Cloud BUS,消息总线。原理是Git上配置更新后,通过调用/bus/refresh接口,基于消息中间件推送给所有Config客户端。这里的消息中间件用Kafka。Config服务端也支持集群,为了让Config客户端调用Config服务端集群方便,我们集成Eureka来发现Config服务端。
先看Config服务端,三板斧:
1、pom:
<?xml version="1.0" encoding="UTF-8"?>
<project xmlns="http://maven.apache.org/POM/4.0.0" xmlns:xsi="http://www.w3.org/2001/XMLSchema-instance"
    xsi:schemaLocation="http://maven.apache.org/POM/4.0.0 https://maven.apache.org/xsd/maven-4.0.0.xsd">
    <modelVersion>4.0.0</modelVersion>

    <groupId>com.example</groupId>
    <artifactId>configuration-service</artifactId>
    <version>0.0.1-SNAPSHOT</version>
    <packaging>jar</packaging>

    <parent>
        <groupId>org.springframework.boot</groupId>
        <artifactId>spring-boot-starter-parent</artifactId>
        <version>2.1.6.RELEASE</version>
        <relativePath /> <!-- lookup parent from repository -->
    </parent>

    <properties>
        <project.build.sourceEncoding>UTF-8</project.build.sourceEncoding>
        <java.version>1.8</java.version>
    </properties>

    <dependencies>
        <dependency>
            <groupId>org.springframework.cloud</groupId>
            <artifactId>spring-cloud-config-server</artifactId>
        </dependency>

        <dependency>
            <groupId>org.springframework.boot</groupId>
            <artifactId>spring-boot-starter-test</artifactId>
            <scope>test</scope>
        </dependency>

        <dependency>
            <groupId>org.springframework.cloud</groupId>
            <artifactId>spring-cloud-starter-netflix-eureka-client</artifactId>
        </dependency>
        <dependency>
            <groupId>org.springframework.cloud</groupId>
            <artifactId>spring-cloud-starter-bus-kafka</artifactId>
        </dependency>
        <dependency>
            <groupId>org.springframework.cloud</groupId>
            <artifactId>spring-cloud-starter-stream-kafka</artifactId>
        </dependency>
        <dependency>
            <groupId>org.springframework.cloud</groupId>
            <artifactId>spring-cloud-bus</artifactId>
        </dependency>
        <dependency>
            <groupId>org.springframework.boot</groupId>
            <artifactId>spring-boot-starter-actuator</artifactId>
        </dependency>
    </dependencies>

    <dependencyManagement>
        <dependencies>
            <dependency>
                <groupId>org.springframework.cloud</groupId>
                <artifactId>spring-cloud-dependencies</artifactId>
                <version>Greenwich.SR2</version>
                <type>pom</type>
                <scope>import</scope>
            </dependency>
        </dependencies>
    </dependencyManagement>

    <build>
        <plugins>
            <plugin>
                <groupId>org.springframework.boot</groupId>
                <artifactId>spring-boot-maven-plugin</artifactId>
            </plugin>
        </plugins>
    </build>

</project>
2、application:
#本机端口
server.port=8766

#本机服务名
spring.application.name=config-server

#注册中心地址
eureka.client.service-url.defaultZone=http://localhost:8888/eureka/

#Git仓库地址
spring.cloud.config.server.git.uri=https://github.com/wuxun1997/spring-cloud-demo

#Git仓库路径下搜索路径
spring.cloud.config.server.git.search-paths=config

#支持动态刷新
spring.cloud.bus.refresh.enabled=true
management.endpoints.web.exposure.include=bus-refresh

#配置BUS使用的消息中间件Kafka
spring.kafka.bootstrap-servers=127.0.0.1:9092
3、主类通过@EnableConfigServer启动配置中心:
package hello;

import org.springframework.boot.SpringApplication;
import org.springframework.boot.autoconfigure.SpringBootApplication;
import org.springframework.cloud.client.discovery.EnableDiscoveryClient;
import org.springframework.cloud.config.server.EnableConfigServer;

@EnableConfigServer
@EnableDiscoveryClient
@SpringBootApplication
public class ConfigServiceApplication {

    public static void main(String[] args) {
        SpringApplication.run(ConfigServiceApplication.class, args);
    }
}
启动Config服务端前需要启动本地Kafka,否则它会一直提示连接失败。如果连不上你的git仓库,在application.properties中加上用户名、密码配置:
#Git仓库用户、密码
spring.cloud.config.server.git.username=你的Git仓库用户名XXX
spring.cloud.config.server.git.password=你的Git仓库密码XXX
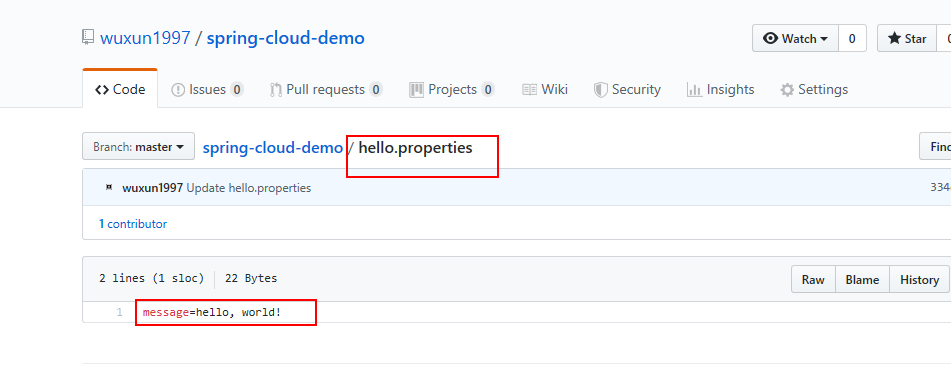
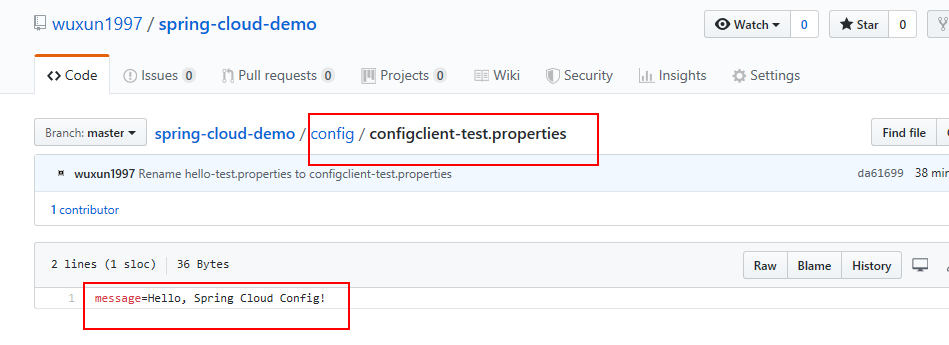
现在我们在git仓库创建两个配置文件:
hello.properties:
config/configclient-test.properties:
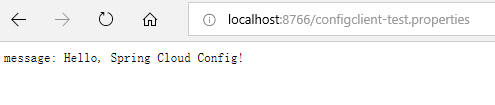
我们可以直接对Config服务端请求:

接着我们新建项目来看看Config客户端。再来三板斧:
1、pom:
<?xml version="1.0" encoding="UTF-8"?>
<project xmlns="http://maven.apache.org/POM/4.0.0" xmlns:xsi="http://www.w3.org/2001/XMLSchema-instance"
    xsi:schemaLocation="http://maven.apache.org/POM/4.0.0 https://maven.apache.org/xsd/maven-4.0.0.xsd">
    <modelVersion>4.0.0</modelVersion>

    <groupId>com.example</groupId>
    <artifactId>configuration-client</artifactId>
    <version>0.0.1-SNAPSHOT</version>
    <packaging>jar</packaging>

    <parent>
        <groupId>org.springframework.boot</groupId>
        <artifactId>spring-boot-starter-parent</artifactId>
        <version>2.1.6.RELEASE</version>
        <relativePath/> <!-- lookup parent from repository -->
    </parent>

    <properties>
        <project.build.sourceEncoding>UTF-8</project.build.sourceEncoding>
        <java.version>1.8</java.version>
    </properties>

    <dependencies>
        <dependency>
            <groupId>org.springframework.cloud</groupId>
            <artifactId>spring-cloud-starter-config</artifactId>
        </dependency>
        <dependency>
            <groupId>org.springframework.boot</groupId>
            <artifactId>spring-boot-starter-web</artifactId>
        </dependency>
        <dependency>
            <groupId>org.springframework.boot</groupId>
            <artifactId>spring-boot-starter-test</artifactId>
            <scope>test</scope>
        </dependency>

        <dependency>
            <groupId>org.springframework.cloud</groupId>
            <artifactId>spring-cloud-starter-netflix-eureka-client</artifactId>
        </dependency>
        <dependency>
            <groupId>org.springframework.cloud</groupId>
            <artifactId>spring-cloud-starter-bus-kafka</artifactId>
        </dependency>
        <dependency>
            <groupId>org.springframework.cloud</groupId>
            <artifactId>spring-cloud-starter-stream-kafka</artifactId>
        </dependency>
        <dependency>
            <groupId>org.springframework.cloud</groupId>
            <artifactId>spring-cloud-bus</artifactId>
        </dependency>
    </dependencies>

    <dependencyManagement>
        <dependencies>
            <dependency>
                <groupId>org.springframework.cloud</groupId>
                <artifactId>spring-cloud-dependencies</artifactId>
                <version>Greenwich.SR2</version>
                <type>pom</type>
                <scope>import</scope>
            </dependency>
        </dependencies>
    </dependencyManagement>

    <build>
        <plugins>
            <plugin>
                <groupId>org.springframework.boot</groupId>
                <artifactId>spring-boot-maven-plugin</artifactId>
            </plugin>
        </plugins>
    </build>

</project>
2、bootstrap:
#本机端口
server.port=8778

#本机服务名
spring.application.name=configClient

#注册中心地址
eureka.client.service-url.defaultZone=http://localhost:8888/eureka/

#支持注册中心访问Config服务端
spring.cloud.config.discovery.enabled=true

#Config服务端服务名
spring.cloud.config.discovery.service-id=config-server

#git仓库配置文件分支(默认即为master)
spring.cloud.config.label=master

#git仓库配置文件环境信息
spring.cloud.config.profile=test
3、主类通过@RefreshScope支持动态获取Config最新配置:
package hello;

import org.springframework.beans.factory.annotation.Value;
import org.springframework.boot.SpringApplication;
import org.springframework.boot.autoconfigure.SpringBootApplication;
import org.springframework.cloud.client.discovery.EnableDiscoveryClient;
import org.springframework.cloud.context.config.annotation.RefreshScope;
import org.springframework.web.bind.annotation.RequestMapping;
import org.springframework.web.bind.annotation.RestController;

@EnableDiscoveryClient
@SpringBootApplication
public class ConfigClientApplication {

    public static void main(String[] args) {
        SpringApplication.run(ConfigClientApplication.class, args);
    }
}

@RefreshScope
@RestController
class MessageRestController {

    @Value("${message:Hello default}")
    private String message;

    @RequestMapping("/message")
    String getMessage() {
        return this.message;
    }
}
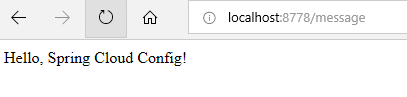
现在我们先通过Config客户端获取到Git仓库的master分支下config目录下的configClient(默认拿Config客户端的服务名作为properties文件名)-test(环境)的配置项:

接下来我们动态刷新,直接去Git仓库上编辑message的值好了:

提交后我们直接看Config服务端,也自动更新了:
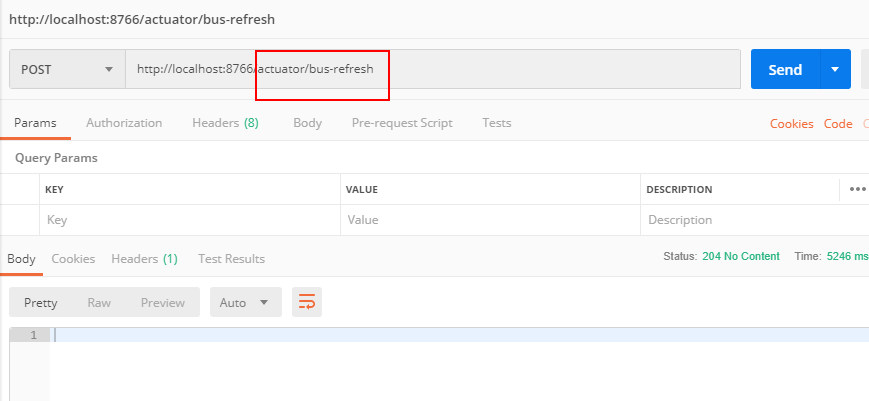
但是这是客户端并未更新,需要我们调用/bus-refresh接口去刷新一下服务端:
这会儿再调用客户端就能获取最新配置了: