如果项目模块多,模块间逻辑复杂,我们发现多个人同时维护一个代码仓库需要十分小心,一不小心,造成冲突,解决起来很烦,相信很多人都遇到手工删除合并的冲突的文件的经历。
如果利用组件化思想,每个人维护自己的模块对应的代码库,将会大大降低冲突的风险,而且组件化能够很好的给工程解耦。
组件化的第一步就是创建自己的仓库,公司的话需要搭建并维护私有库。
1、查看本地索引库
我们用cocoaPods 的时候,默认使用的是cocoaPods自带的索引库
终端中使用命令
$ pod repo
查看有哪些索引库,这里的master 是cocoaPods 自己的索引库,JWSpecs是我自建的,下一步我们看一下如果和创建索引库
wjwdeMacBook-Pro:repos wjw$ pod repo

JWSpecs
- Type: git (master)
- URL:  https://gitee.com/wjwdive/JWSpecs.git
- Path: /Users/wjw/.cocoapods/repos/JWSpecs

master
- Type: git (master)
- URL:  https://github.com/CocoaPods/Specs.git
- Path: /Users/wjw/.cocoapods/repos/master

2 repos
也可以 $ cd ~/.cocoaPods/specs
$list 看看有哪些库
2、创建远程索引库
我们选择国内的码云,当然你也可以使用github 或 coding
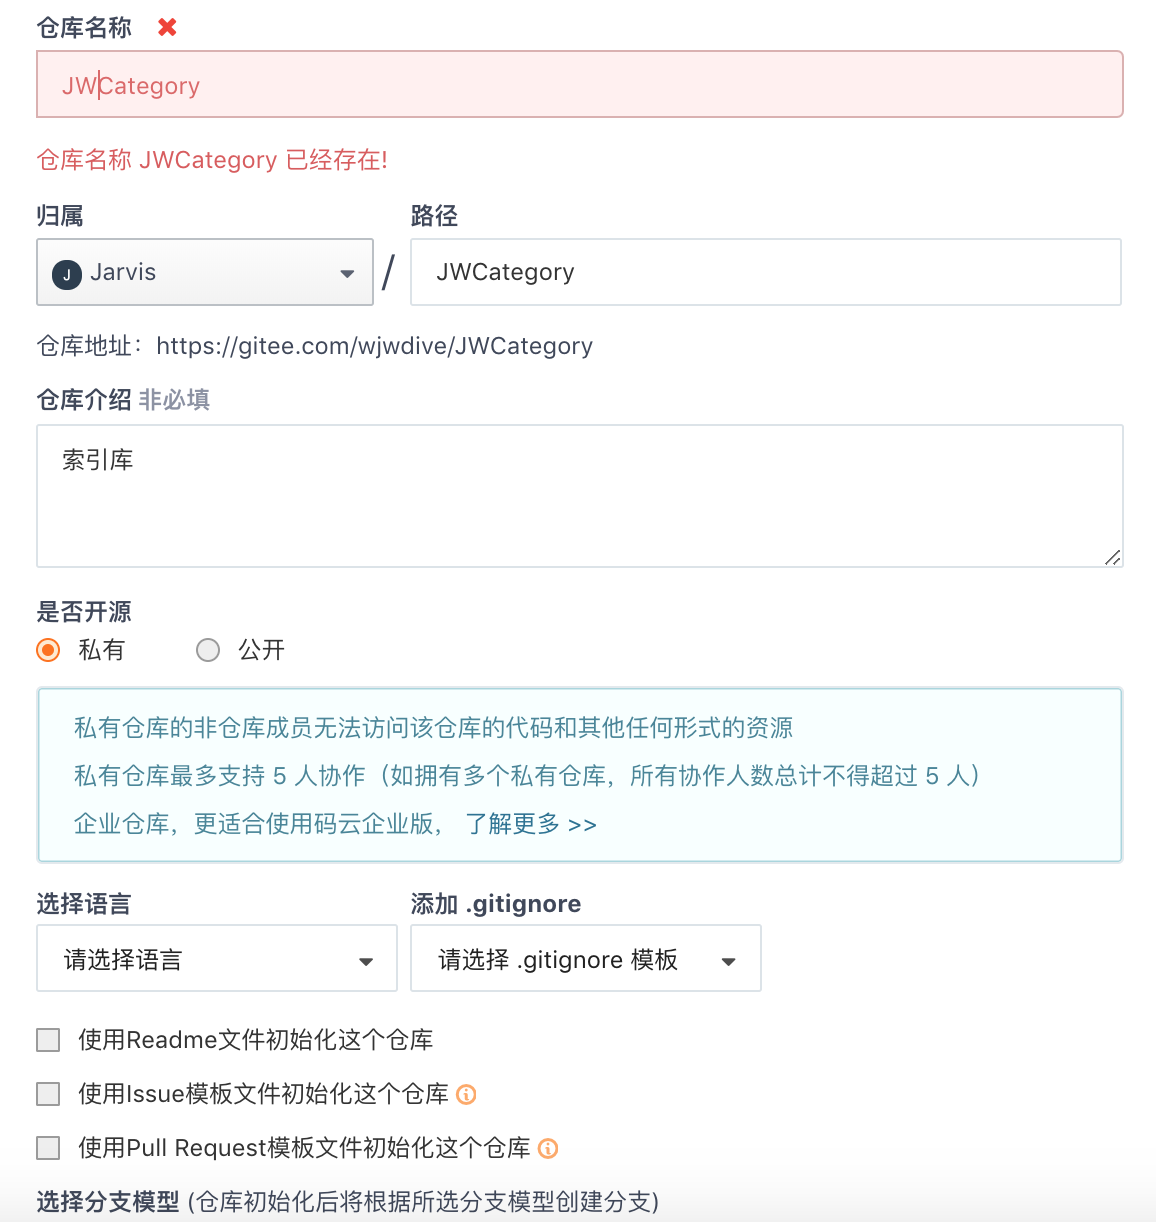
1、输入仓库名称
2、简单的描述一下仓库用途
3、根据需要选择共有还是私有
4、选择初始化一个 REMDME
5、根据需要,选择语言和开原协议
6、创建成功之后,复制出仓库地址

3、创建本地索引库
终端命令查看本地索引库,同第一步
1、创建本地索引库,
$pod repo add <本地索引库名字> <远程索引库地址>, 索引库名字最好和刚才在码云上创建的一致,远程索引库地址就是上一步 的第6小步拷贝的仓库地址
2、创建成功之后,用第一步的方法查看验证是否创建成功
4、创建远程代码库
远程代码库就是将来用来管理某一个组件的代码仓库。要注意区分和索引库的区别
我们用和创建索引库基本想通的步骤创建一个代码库
1、输入仓库名称
2、简单的描述一下仓库用途
3、根据需要选择共有还是私有
4、不用选择初始化一个README,因为一会通过命令方式生成代码模板时会生成README文件和忽略文件,这里不再勾选了
5、根据需要,选择语言和开原协议
6、创建成功之后,复制出仓库地址
5、本地代码库
这里就是对应的要开发的某个组价的本地代码库
1、选择一个合适的目录,进入终端,通过以下命令创建组件模板库,组件名建议和远程仓库一致
$pod lib create <组件名>
wjwdeMacBook-Pro:iOSCom wjw$ pod lib create JWCategory
Cloning `https://github.com/CocoaPods/pod-template.git` into `JWCategory`.
Configuring JWCategory template.

------------------------------

To get you started we need to ask a few questions, this should only take a minute.

If this is your first time we recommend running through with the guide:
 - https://guides.cocoapods.org/making/using-pod-lib-create.html
 ( hold cmd and double click links to open in a browser. )


What platform do you want to use?? [ iOS / macOS ]
 > iOS

What language do you want to use?? [ Swift / ObjC ]
 > ObjC

Would you like to include a demo application with your library? [ Yes / No ]
 > Yes

Which testing frameworks will you use? [ Specta / Kiwi / None ]
 >None

Would you like to do view based testing? [ Yes / No ]
 > No

What is your class prefix?
 > JW

Running pod install on your new library.

Analyzing dependencies
Fetching podspec for `JWCategory` from `../`
Downloading dependencies
Installing JWCategory (0.1.0)
Generating Pods project
Integrating client project

[!] Please close any current Xcode sessions and use `JWCategory.xcworkspace` for this project from now on.
Sending stats
Pod installation complete! There is 1 dependency from the Podfile and 1 total pod installed.

 Ace! you're ready to go!
 We will start you off by opening your project in Xcode
  open 'JWCategory/Example/JWCategory.xcworkspace'

To learn more about the template see `https://github.com/CocoaPods/pod-template.git`.
To learn more about creating a new pod, see `http://guides.cocoapods.org/making/making-a-cocoapod`.
按照提示
选择使用平台
选语言 swift/OC
选择是否生成一个demo
选择测试框架 Specta/Kiwi/None
选择是否做基于View的测试
确定一个文件前缀
2、成功之后 会自动打工程,我们编译一下,成功之后
我们用finder打开工程目录,进入 JWCategory -> Classes ->
把自己的组件代码拷贝一份过来,并删除 ReplaceMe.m
3、cd 到 Example目录下, pod install 一下,把刚才拖入到 classes 里的文件pod进来。因为podfile里面默认会导入classes里的文件。
use_frameworks!

platform :ios, '8.0'

target 'JWCategory_Example' do
  pod 'JWCategory', :path => '../'

  target 'JWCategory_Tests' do
    inherit! :search_paths


  end
end
4、编译一下组件,看是否报错
没有错的话,在工程的
Podspec Metadata目录下 修改 JWCategory.podspec 文件里面几个重要的配置项
#概述
  s.summary          = 'JWCategory, some category'
#详细描述
 s.description      = <<-DESC
some category for use, you can use view.jw_x as view.frame.origin.x
                       DESC
#主页 组件的远程仓库对应的URL
  s.homepage         = 'https://gitee.com/wjwdive/JWCategory'
#源 就是组件的远程仓库地址
  s.source           = { :git => 'https://gitee.com/wjwdive/JWCategory.git', :tag => s.version.to_s }

# 根据需要 添加依赖
  # s.dependency 'AFNetworking', '~> 2.3'
5、编译运行一下,通过后,证明没有问题,就可以提交代码,并 打tag
$git add .
$git commit -m 'init com'
$git remote add origin <远程代码块地址>
$git push origin master 或者 git push -u origin master(第一次提交用)
$git tag <版本号> / git tag -a 版本号 -m "version 版本号" 这里的版本号必须和 podspec文件里的一致
$git tag 验证版本号是否提交成功
$git push --tags
6 、通过pod spec lint --allow-warnings 命令验证podspec索引文件(pod lib lint 是检索本地文件,pod spec lint 是本地和远程库提示检索)
wjwdeMacBook-Pro:JWCategory wjw$ pod spec lint --allow-warnings

 -> JWCategory (0.1.0)
    - NOTE  | xcodebuild:  note: Using new build system
    - NOTE  | [iOS] xcodebuild:  note: Planning build
    - NOTE  | [iOS] xcodebuild:  note: Constructing build description
    - NOTE  | [iOS] xcodebuild:  warning: Skipping code signing because the target does not have an Info.plist file. (in target 'App')

Analyzed 1 podspec.

JWCategory.podspec passed validation.
7、验证通过之后,pod repo push <本地索引库> <索引文件名> --allow-warnings 提交索引文件到远程索引库
Pushing the `JWSpecs' repo

  $ /usr/bin/git -C /Users/wjw/.cocoapods/repos/JWSpecs -C
  /Users/wjw/.cocoapods/repos/JWSpecs push origin master
  remote: Powered By Gitee.com
  To https://gitee.com/wjwdive/JWSpecs.git
     806c622..9b0dc93  master -> master
6、如何使用
新建一个工程
在Podfile 文件里做引用,然后pod install即可,不要忘记把 自己的索引库 添加到source 配置项里
source 'https://gitee.com/wjwdive/JWSpecs.git'
source 'git@github.com:CocoaPods/Specs.git'

platform :ios, '8.0'

target:'ComponentsProject' do

pod 'AFNetworking', '~> 3.1.0'
pod 'Masonry', '~>1.1.0'
pod 'MBProgressHUD', '1.1.0'
pod 'YYCache', '~> 1.0.4'
pod 'YYModel', '~> 1.0.4'
pod 'IQKeyboardManager'
pod 'BaiduMapKit', '~> 4.2.0'
pod 'BMKLocationKit'
pod 'MMDrawerController', '~> 0.6.0'
pod 'MLeaksFinder'
pod 'SDWebImage', '~> 4.3.3'
pod 'FBRetainCycleDetector', '~> 0.1.4'
pod 'FMDB', '~> 2.7.2'
pod 'MJRefresh', '~> 3.1.15.3'
pod 'FHHFPSIndicator'
pod 'CocoaLumberjack', '~> 3.4.2'
pod 'SAMKeychain', '~> 1.5.3'
pod 'WeexSDK', '0.20.1'
pod 'JWCategory', '0.1.0'
end
7、遇到的错误
xcrun unable to find simctl, Xcode 的命令行配置问题,配置一下就可以Xcode-> ,+command -> location ->command line tools 选中一下即可。
xcrun unable to find simctl