从Spring3.1开始,计划任务在Spring中实现变得异常的简单。首先通过配置类注解@EnableScheduling来开启对计划任务的支持,然后再要执行的计划任务的方法上注释@Scheduled,声明这是一个计划任务。
Spring通过@Scheduled支持多种类型的计划任务,包含cron、fixDelay、fixRate等。
写个栗子来看看:
1)定时任务执行类:
 1 package com.wj.test;
 2
 3 import org.springframework.scheduling.annotation.Scheduled;
 4 import org.springframework.stereotype.Service;
 5
 6 import java.text.SimpleDateFormat;
 7 import java.util.Date;
 8
 9 /**
10  * Created by wj on 2017/9/6.
11  */
12 @Service
13 public class ScheduledTaskService {
14     private static final SimpleDateFormat dateFormat = new SimpleDateFormat("HH:mm:ss");
15
16     //每个2s执行一次任务
17     @Scheduled(fixedRate = 2000)
18     public void run(){
19         System.out.println(dateFormat.format(new Date()) + " | " + "每隔2s执行一次任务");
20     }
21
22 //    每天15点29分执行该任务
23     @Scheduled(cron = "0 29 15 ? * *")
24     public void run1()
25     {
26         System.out.println(dateFormat.format(new Date()) + " | " + "每天在指定时间执行任务");
27     }
28 }
代码解释:
(1)通过@Scheduled声明该方法是计划任务,使用fixedRate属性每隔固定时间执行。
(2)使用cron属性可按照指定时间执行任务;cron是UNIX和Linux系统下的定时任务。
2)配置类:
 1 package com.wj.test;
 2
 3 import org.springframework.context.annotation.ComponentScan;
 4 import org.springframework.context.annotation.Configuration;
 5 import org.springframework.scheduling.annotation.EnableScheduling;
 6
 7 /**
 8  * Created by wj on 2017/9/6.
 9  */
10 @Configuration
11 @ComponentScan("com.wj.test")
12 @EnableScheduling
13 public class TaskSchedulerConfig {
14
15 }
通过@EnableScheduling注解开启对计划任务的支持。
3)运行:
 1 package com.wj.test;
 2
 3 import org.springframework.context.annotation.AnnotationConfigApplicationContext;
 4
 5 /**
 6  * Created by wj on 2017/9/6.
 7  */
 8 public class TestMain {
 9     public static void main(String[] args){
10         AnnotationConfigApplicationContext context = new AnnotationConfigApplicationContext(TaskSchedulerConfig.class);
11     }
12 }
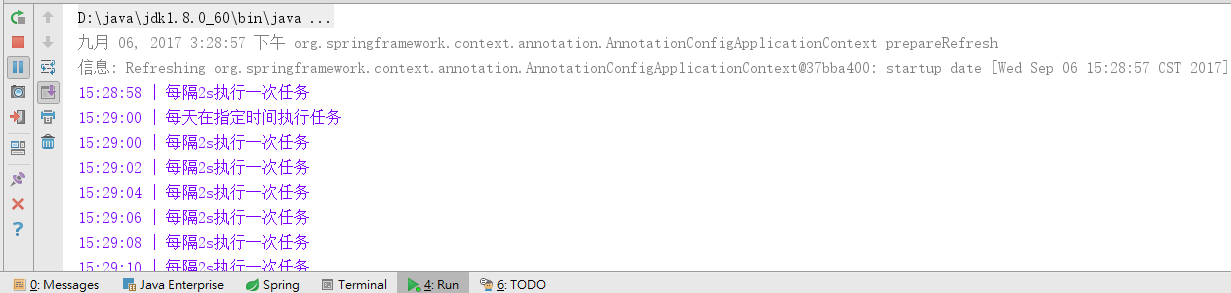
结果如下图所示:
若在spring boot中使用@Scheduled定时任务,那么不需要写配置类,只需要在启动类application类中加入注解@EnableScheduling即可。