今天公司要做一个小项目,好久没碰项目了(刷题好累。。。),听说spring boot很火,决定试一试。暂时就从mysql里面读数据好了,使用hiberante。
1.获取jar包。
从http://start.spring.io/获取,当然对于使用eclipse(离不开。。。)的同学,有STS插件支持,关于插件用法自行百度,很简单。关键的是选择要支持的特性。这里是读数据,我记得只选择了web,jpa和mysql三个标签。
2.导入工程。
新建实体类:
- package com.example.demo;
- import javax.persistence.Entity;
- import javax.persistence.GeneratedValue;
- import javax.persistence.Id;
- @Entity
- public class Person {
- @Id
- @GeneratedValue
- private Long id;
- private String name;
- private String address;
- public String getName() {
- return name;
- }
- public void setName(String name) {
- this.name = name;
- }
- public String getAddress() {
- return address;
- }
- public void setAddress(String address) {
- this.address = address;
- }
- }
Dao类:
- package com.example.demo;
- import java.util.List;
- import org.springframework.data.jpa.repository.JpaRepository;
- public interface Dao extends JpaRepository<Person, Long>{
- List<Person> findByName(String name);
- }
controller
- package com.example.demo;
- import org.springframework.beans.factory.annotation.Autowired;
- import org.springframework.boot.SpringApplication;
- import org.springframework.boot.autoconfigure.SpringBootApplication;
- import org.springframework.web.bind.annotation.RequestMapping;
- import org.springframework.web.bind.annotation.RestController;
- @RestController
- @SpringBootApplication
- public class Demo2Application {
- @Autowired
- Dao dao;
- @RequestMapping("/get")
- public Person getP(String name){
- Person person = dao.findByName(name).get(0);
- return person;
- }
- @RequestMapping("/")
- public String index(){
- return "Hello Spring Boot";
- }
- public static void main(String[] args) {
- SpringApplication.run(Demo2Application.class, args);
- }
- }
只添加一个查数据的url。
最后是配置文件:
- spring.datasource.driver-class-name=com.mysql.jdbc.Driver
- spring.datasource.url=jdbc:mysql://localhost:3306/test?characterEncoding=UTF-8
- spring.datasource.username=root
- spring.datasource.password=
- spring.jpa.hibernate.ddl-auto=update;
- spring.jpa.show-sql=true
- spring.jackson.serialization.indent-output=true
访问之前,现在数据库中建表,插数据。
然后启动,浏览器访问。
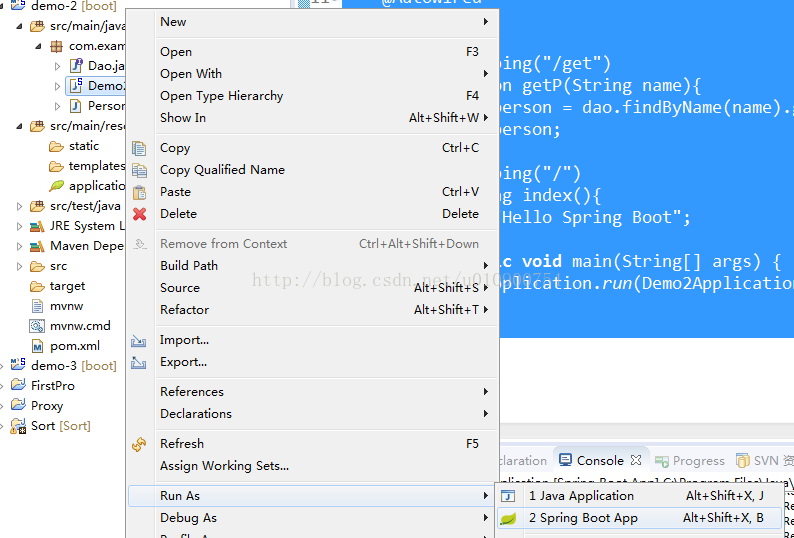
浏览器:
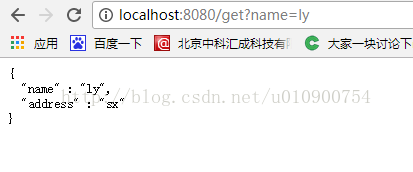
说明访问成功。
整体感觉就是,这个框架帮程序员实现了太多功能,原本光一个hibernate就需要N多配置,但是在springboot中完全没有感知hibernate的存在。有时间需要研究下源码,看看他是怎么做到的。
这个简单的demo就到此结束了。