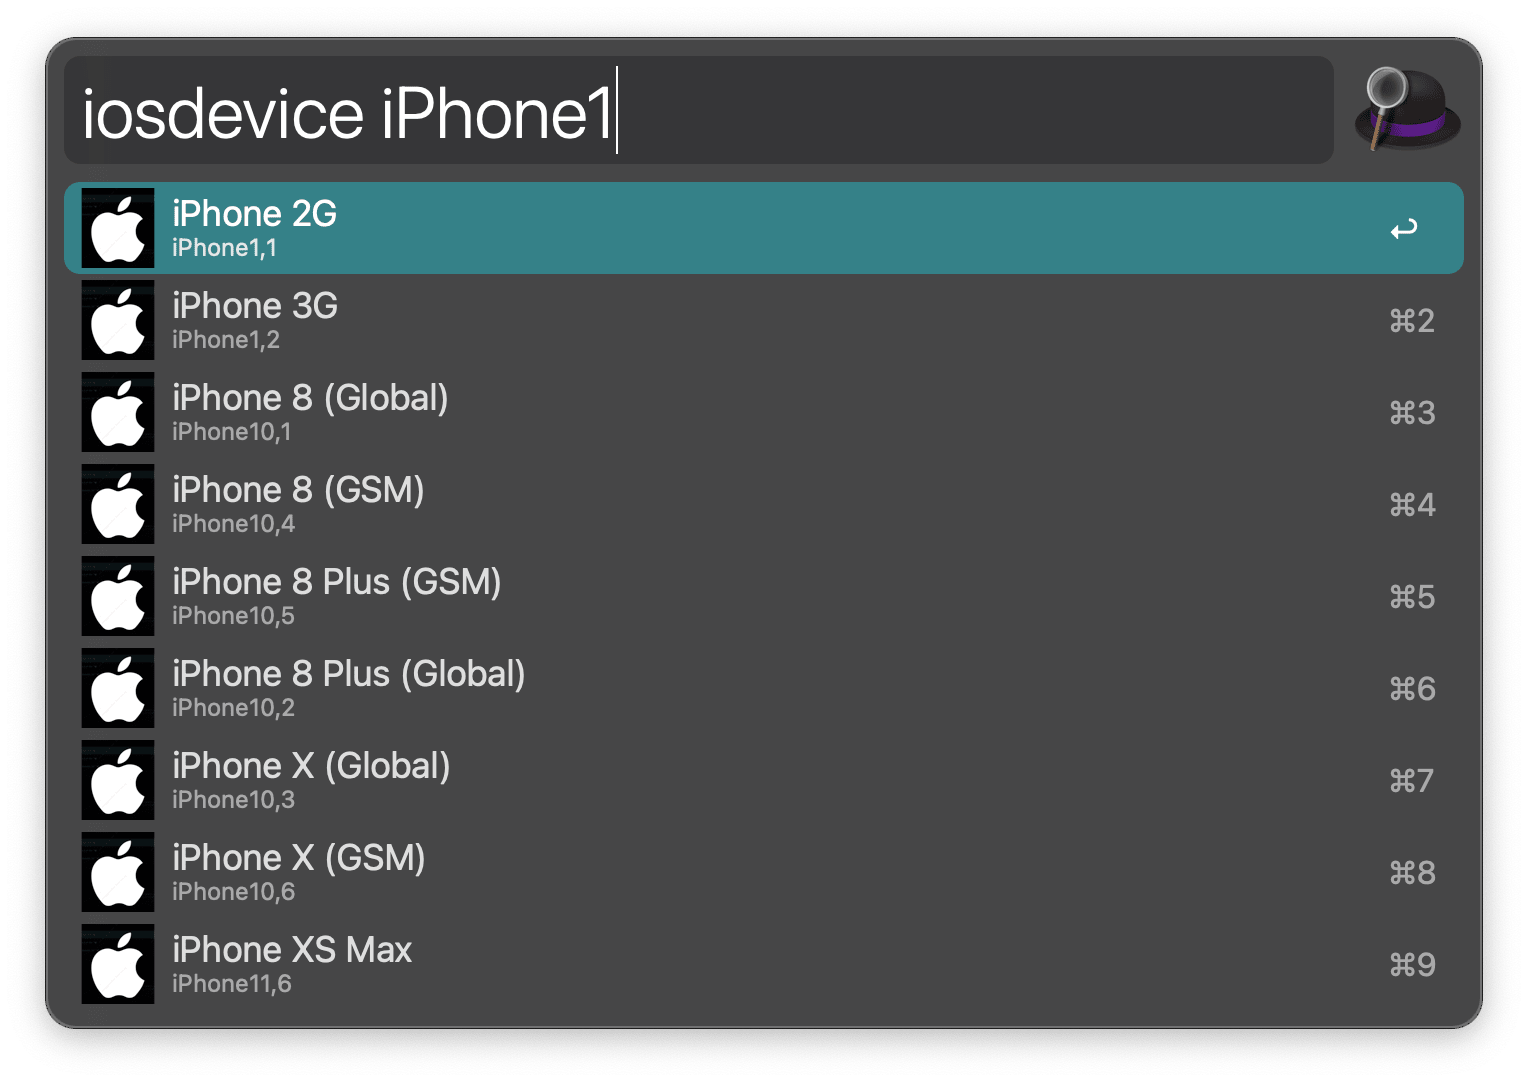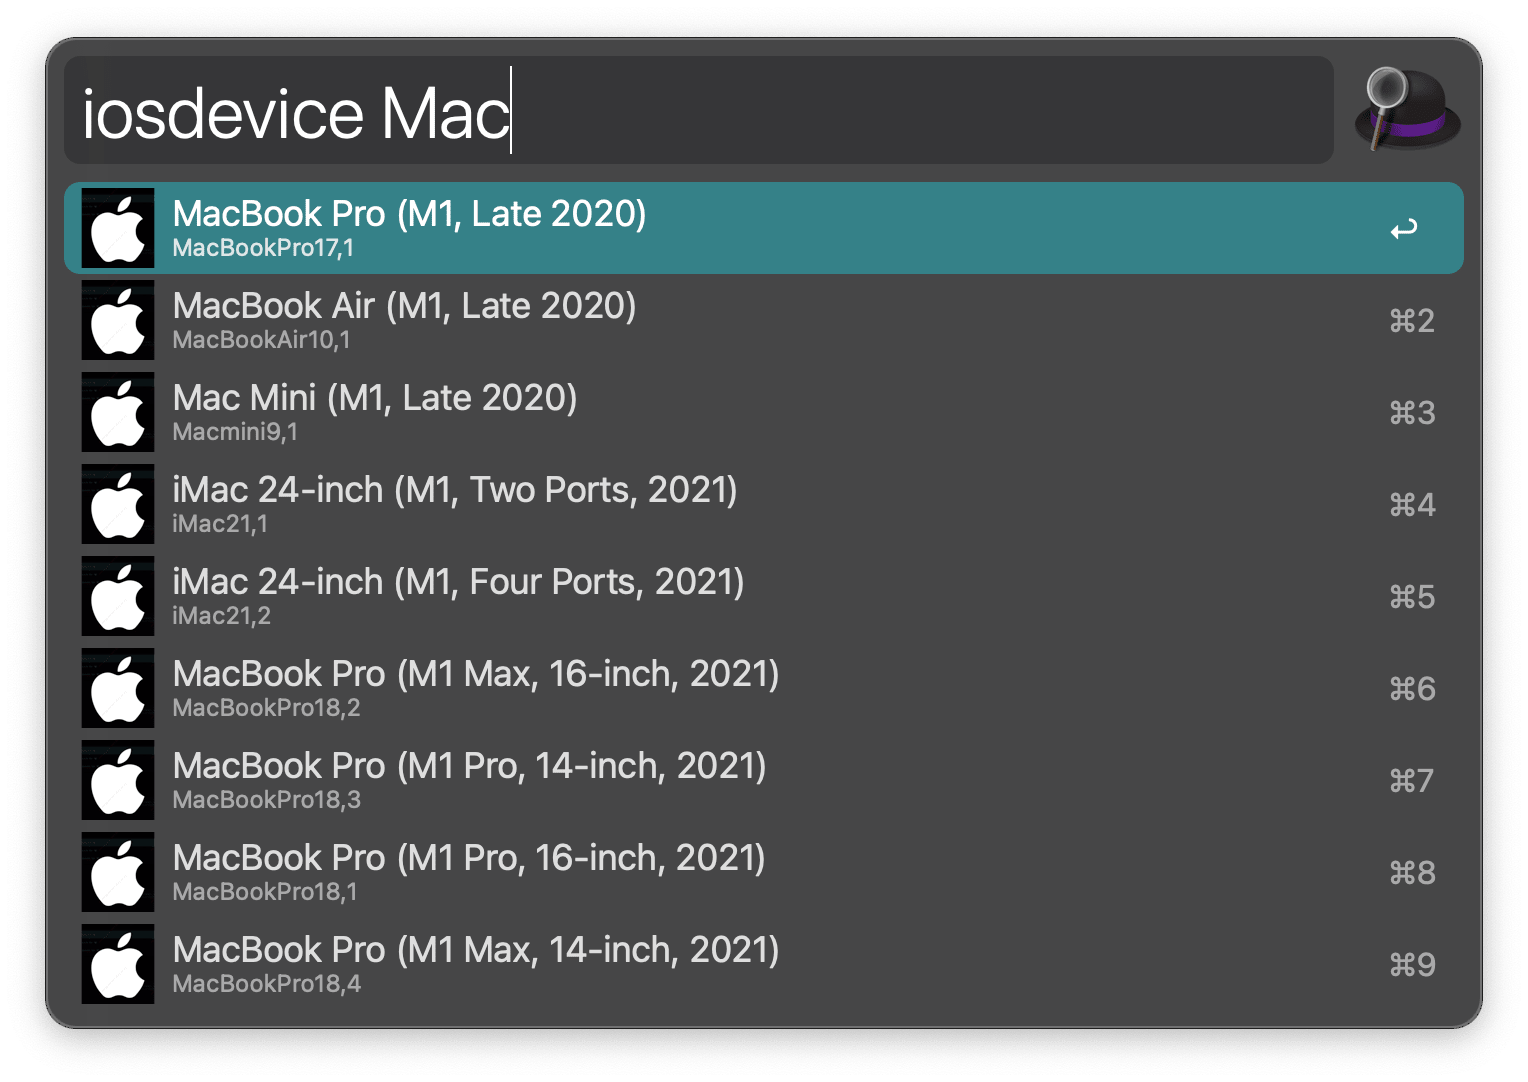

2022年 4月22日 星期五 19时42分53秒 更新 https://github.com/WangGuibin/Alfred-iOSDeviceName 写了个Alfred插件方便查找
我的使用场景是这样的,原先是写了翻译代码在SDK内部的,仅仅只是为了优化管理后台看埋点信息定位问题而已,直到业务部门提需求过来说要优化SDK包的大小,于是从LinkMap分析,
再到可执行文件的优化,编译选项设置各种尝试之后,无奈只能删减不是很必要的代码了,因为类似iPhone11,8 这样的字符串就足够定位到机型了,但是人脑要记住这一系列玩意儿还是比较费劲的,实在记不住,就想着能不能造个轮子,查问题的时候直接翻译出来 这样就省事儿多了~
当然,如果后端配置json数据去匹配是最好不过的了
苹果在获取设备名称这一点上做的确实不够人性化,比如我的设备是iPhone XR,根据#import <sys/utsname.h>框架获取的字段是iPhone11,8,这一般人看不出什么门道,实际上它代表的是手机固件的版本
struct utsname systemInfo;
    uname(&systemInfo);
    // 获取设备标识Identifier即类似于"iPhone11,8"这种字符串
    NSString *platform = [NSString stringWithCString:systemInfo.machine encoding:NSUTF8StringEncoding];
网上很多维护通过Identifier去翻译设备名称的胶水代码,新出的机型很多文章或者代码都不及时更新的,毕竟维护成本在那里,确实没啥特别好的办法,但是有没有什么一劳永逸的办法呢,好像目前并没有~
但是所幸找到以下两个网站比较全面且可以作为参考的:
https://www.theiphonewiki.com/wiki/Models
https://ipsw.me
以及API接口 https://api.ipsw.me/v4/devices
等苹果发布新品之后,一般这些网站会同步更新,只要对着更新对应的匹配规则即可
通过上面<sys/utsname.h>可以拿到类似iPhone11,8这种Identifier字段可以遍历匹配https://api.ipsw.me/v4/devices 这个接口返回的数据,请求一次缓存起来使用即可,有新品发布时再搞更新策略啥的
//类似于这样通过identifier匹配对应的name字段即可
[
    {
        "name": "iPhone 2G",
        "identifier": "iPhone1,1",
        "boards": [
            {
                "boardconfig": "m68ap",
                "platform": "s5l8900x",
                "cpid": 35072,
                "bdid": 0
            }
        ],
        "boardconfig": "m68ap",
        "platform": "s5l8900x",
        "cpid": 35072,
        "bdid": 0
    },
    {
        "name": "iPhone 3G",
        "identifier": "iPhone1,2",
        "boards": [
            {
                "boardconfig": "n82ap",
                "platform": "s5l8900x",
                "cpid": 35072,
                "bdid": 4
            }
        ],
        "boardconfig": "n82ap",
        "platform": "s5l8900x",
        "cpid": 35072,
        "bdid": 4
    }
]
<!-- run -->
<style>
.bg{
           display: flex;
            flex-direction: row;
            justify-content: flex-start;
}
  .btn{
           box-shadow: 2px 2px 3px #999;
            margin: 20px;
            background: linear-gradient(90deg, #00ff11 ,#ff0000);
            color: white;
            font-size: 15px;
            border-radius: 20px;
             150px;
            height: 40px;
            line-height: 40px;
            text-align: center;
  }
</style>
<div class="bg">
<button class="btn" id="get-data-btn"> 获取最新数据 </button>
<button class="btn" id="download-btn"  onclick="downloadJSON()"> 下载JSON数据 </button>
<div id="tips" style="color:red;"> 正在请求数据中...  </div>
</div>

<div id="show-json">
 </div>
<script>
function openDownloadDialog(url, saveName)
{
	if(typeof url == 'object' && url instanceof Blob)
	{
		url = URL.createObjectURL(url); // 创建blob地址
	}
	var aLink = document.createElement('a');
	aLink.href = url;
	aLink.download = saveName || ''; // HTML5新增的属性,指定保存文件名,可以不要后缀,注意,file:///模式下不会生效
	var event;
	if(window.MouseEvent) event = new MouseEvent('click');
	else
	{
		event = document.createEvent('MouseEvents');
		event.initMouseEvent('click', true, false, window, 0, 0, 0, 0, 0, false, false, false, false, 0, null);
	}
	aLink.dispatchEvent(event);
}
function downloadJSON() {
         var json = document.getElementById('my-json').innerText;
          var blob = new Blob([json], {
                type: 'text/json,charset=UTF-8'
            });
           openDownloadDialog(blob, 'iOSDevices.json');
}
            var downloadBtn = document.getElementById('download-btn');
            var tipsLabel = document.getElementById('tips');
            tipsLabel.style.display = 'none';
            downloadBtn.style.display = 'none';

 window.onload = function() {
            var getDataBtn = document.getElementById('get-data-btn');
           getDataBtn.onclick = function () {
                 tipsLabel.style.display = 'block';
                 var linkUrl = "https://api.ipsw.me/v4/devices"
            var xmlhttp = new XMLHttpRequest();
            var type = "GET";
            xmlhttp.open(type, linkUrl, true);
            xmlhttp.send();
            xmlhttp.onreadystatechange = function() {
                if (xmlhttp.status == 200 && xmlhttp.readyState == 4) {
                   tipsLabel.style.display = 'none';
                   downloadBtn.style.display = 'block';
                    var result = JSON.parse(xmlhttp.response); //获取到的json数据
                     var div = document.getElementById('show-json')
                    div.innerHTML = `  <div class="copyItem" style="position: relative;">
                    <div class="codeType">json</div>
                    <div class="clipboard-button" id="copy_btn_4"  data-clipboard-target="#post_copy_target_4"  title="复制">
                    </div><pre class="language-json" id="post_copy_target_4" highlighted="true">
                    <code  class="language-json" id="my-json" style="font-family: 'mono-font' !important;">${JSON.stringify(result,null,4)}</code></pre></div> `;
                }
            }
       }
    }
</script>