Django部署方式有很多种,之前写过一篇部署在Apache上的博文:https://www.cnblogs.com/shenh/p/7552722.html 。下文介绍的是通过Nginx来部署。
Nginx是一个高性能的HTTP和反向代理服务,运用非常广泛。Django应用可以通过Nginx+uwsgi的方式进行部署。Nginx放置在服务器的最前端来接收所有web请求,统一管理,首先分离出静态请求,自己做处理。然后,Nginx将非静态请求通过uwsgi转发给Django,由Django处理。
一、安装Nginx
安装Nginx命令
apt-get install Nginx
Nginx的默认端口为80,很容易被其他服务占用,因此需要修改成其他端口。打开文件 vi /etc/nginx/nginx.conf ,如果能找到监听的端口,直接修改 。找不到的也没关系 ,找到如下配置 ,说明是引用了其他目录的文件
...
    include /etc/nginx/conf.d/*.conf;
    include /etc/nginx/sites-enabled/*;
}
...
打开 /etc/nginx/sites-enabled/ ,找到并编辑 default ,将80修改成8088

# Default server configuration
#
server {
    listen 8088 default_server;
    listen [::]:8088 default_server;

    # SSL configuration
    #
    # listen 443 ssl default_server;
    # listen [::]:443 ssl default_server;
    #
    # Note: You should disable gzip for SSL traffic.
    # See: https://bugs.debian.org/773332
    #
    # Read up on ssl_ciphers to ensure a secure configuration.
    # See: https://bugs.debian.org/765782
    #
    # Self signed certs generated by the ssl-cert package
    # Don't use them in a production server!
    #
    # include snippets/snakeoil.conf;
Nginx启动命令
service nginx start

service nginx restart

service nginx stop
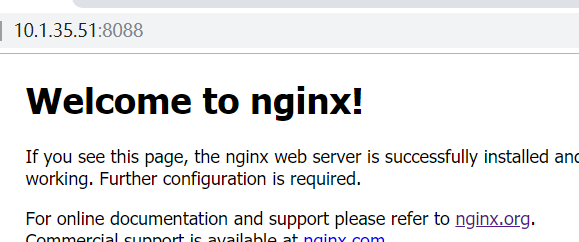
测试下,访问 http://10.1.35.51:8088/
二、配置uwsgi
1.安装
pip 安装 uwsgi 命令:
pip install uwsgi
2.配置 uwsgi 和 Django 的连接
Django 项目路径位于 /home/project/web/ ,在 Django 项目根目录(manage.py 同级目录)新建文件 uwsgi.ini (也支持 xml 文件格式)。在文件中添加如下内容:
# uwsgi.ini file
[uwsgi]

# Django-related settings
socket = :8000

# the base directory (full path)
chdir = /home/project/web

# Django s wsgi file
module = web.wsgi

# process-related settings
master = true

# maximum number of worker processes
processes = 5

#maximum number of worker threads
threads = 5
# try to remove all of the generated file/sockets
vacuum = true
3. 配置 uwsgi 和 Nginx 的连接
修改Nginx配置文件:vi /etc/nginx/sites-available/default ,增加一段配置。然后重启Nginx
server {
    listen         8099;
    server_name    127.0.0.1
    charset UTF-8;
    access_log      /var/log/nginx/web_access.log;
    error_log       /var/log/nginx/web_error.log;

    client_max_body_size 75M;

    location / {
        include uwsgi_params;                   # 通过uwsgi转发请求
        uwsgi_pass 127.0.0.1:8000;              # 和上文配置的socket端口保持一致
        uwsgi_read_timeout 15;                  # 设置请求超时时间
    }
    location /static {                          # 访问静态资源
        expires 30d;
        autoindex on;
        add_header Cache-Control private;
        alias /var/web/;
     }
 }
4.配置 Django 静态资源
在setting里增加配置,静态资源 路径 和 Nginx 里的访问路径一致
STATIC_ROOT = os.path.join(BASE_DIR,'/var/web')
执行命令
Python manage.py collectstatic
5.最后启动项目
cd /home/project/web
uwsgi --ini uwsgi.ini
运行成功:
(env35) root@ubuntu:/home/project/ShiHangTool# uwsgi --ini ShiHangTool_uwsgi.ini
[uWSGI] getting INI configuration from ShiHangTool_uwsgi.ini
*** Starting uWSGI 2.0.17.1 (64bit) on [Tue Dec 11 17:42:10 2018] ***
compiled with version: 5.4.0 20160609 on 10 December 2018 08:38:05
os: Linux-4.4.0-139-generic #165-Ubuntu SMP Wed Oct 24 10:58:50 UTC 2018
nodename: ubuntu
machine: x86_64
clock source: unix
detected number of CPU cores: 2
current working directory: /home/project/ShiHangTool
detected binary path: /root/.virtualenvs/env35/bin/uwsgi
!!! no internal routing support, rebuild with pcre support !!!
uWSGI running as root, you can use --uid/--gid/--chroot options
*** WARNING: you are running uWSGI as root !!! (use the --uid flag) ***
chdir() to /home/project/ShiHangTool
your processes number limit is 7764
your memory page size is 4096 bytes
detected max file descriptor number: 1024
lock engine: pthread robust mutexes
thunder lock: disabled (you can enable it with --thunder-lock)
uwsgi socket 0 bound to TCP address :8000 fd 3
uWSGI running as root, you can use --uid/--gid/--chroot options
*** WARNING: you are running uWSGI as root !!! (use the --uid flag) ***
Python version: 3.5.2 (default, Nov 12 2018, 13:43:14)  [GCC 5.4.0 20160609]
Python main interpreter initialized at 0x1504fe0
uWSGI running as root, you can use --uid/--gid/--chroot options
*** WARNING: you are running uWSGI as root !!! (use the --uid flag) ***
python threads support enabled
your server socket listen backlog is limited to 100 connections
your mercy for graceful operations on workers is 60 seconds
mapped 687984 bytes (671 KB) for 25 cores
*** Operational MODE: preforking+threaded ***
WSGI app 0 (mountpoint='') ready in 0 seconds on interpreter 0x1504fe0 pid: 5194 (default app)
uWSGI running as root, you can use --uid/--gid/--chroot options
*** WARNING: you are running uWSGI as root !!! (use the --uid flag) ***
*** uWSGI is running in multiple interpreter mode ***
spawned uWSGI master process (pid: 5194)
spawned uWSGI worker 1 (pid: 5196, cores: 5)
spawned uWSGI worker 2 (pid: 5197, cores: 5)
spawned uWSGI worker 3 (pid: 5202, cores: 5)
spawned uWSGI worker 4 (pid: 5207, cores: 5)
spawned uWSGI worker 5 (pid: 5208, cores: 5)
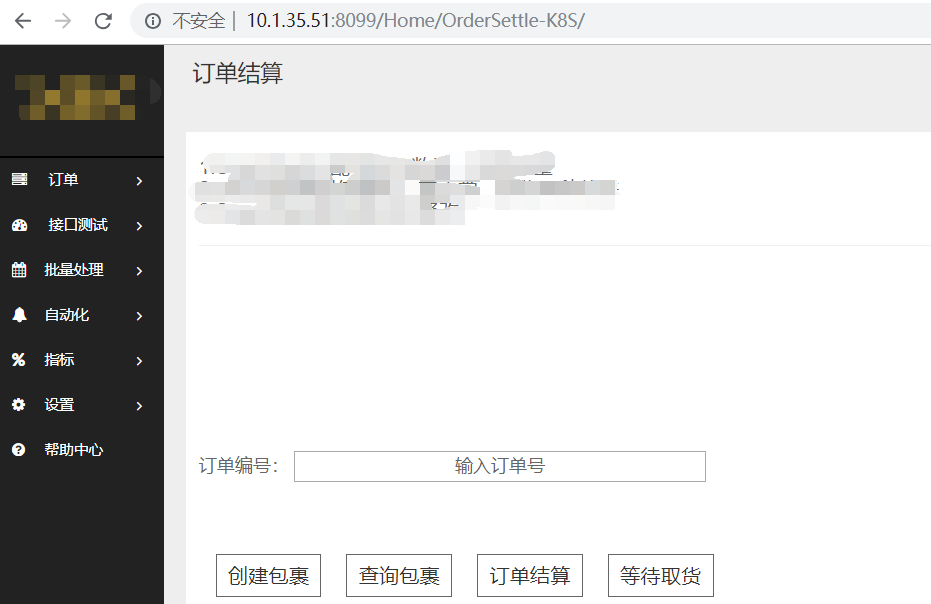
访问 http://10.1.35.51:8099/Home/OrderSettle-K8S/