一、介绍
参照官网部署:https://docs.openstack.org/glance/queens/install/
继续上一博客进行部署:http://www.cnblogs.com/weijie0717/p/8556939.html
二、部署 Glance
1、配置数据库 (任意controller 节点操作)
# mysql -uroot -p
mysql> CREATE DATABASE glance;
mysql> GRANT ALL PRIVILEGES ON glance.* TO 'glance'@'localhost' IDENTIFIED BY 'GLANCE_DBPASS';
mysql> GRANT ALL PRIVILEGES ON glance.* TO 'glance'@'%' IDENTIFIED BY 'GLANCE_DBPASS';
2、配置glance 用户和 API 信息 (任意controller 节点操作)
a、获取管理员认证权限
# source admin-openrc
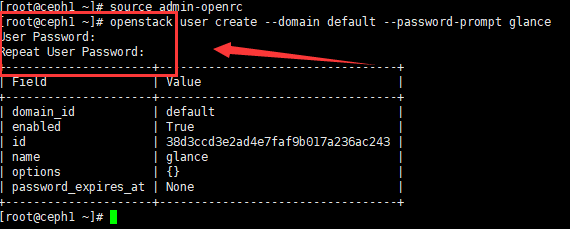
b、创建用户
# openstack user create --domain default --password-prompt glance (新用户需要配置密码)
c、分配 Glance到 指定project 和 role
# openstack role add --project service --user glance admin
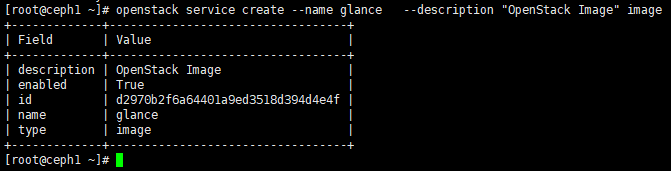
d、创建 openstack Glance 服务
# openstack service create --name glance --description "OpenStack Image" image
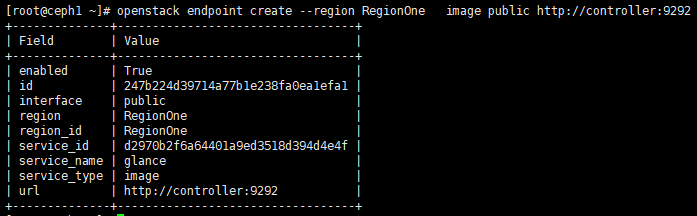
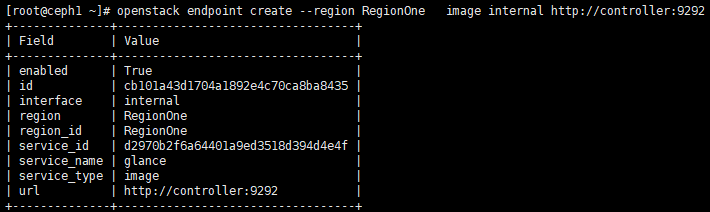
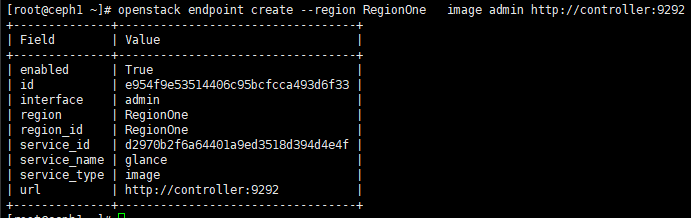
e、创建 GLance API (admin,public,internal)
# openstack endpoint create --region RegionOne image public http://controller:9292 #(controller为 Glance-haproxy-vip)
# openstack endpoint create --region RegionOne image internal http://controller:9292 #(controller为 Glance-haproxy-vip)
# openstack endpoint create --region RegionOne image admin http://controller:9292 #(controller为 Glance-haproxy-vip)
3、 Glance 包安装 (所有controller-node)
# yum install -y openstack-glance
4、编辑配置文件 (所有controller-node)
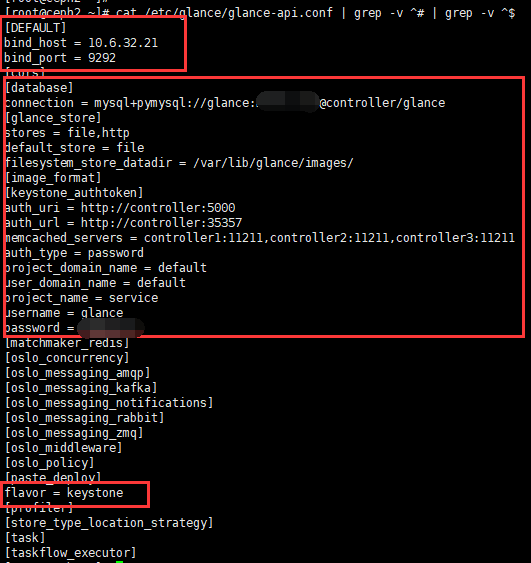
a、编辑 /etc/glance/glance-api.conf 文件 # 标红区域为需要特别关注的地方
# vim /etc/glance/glance-api.conf
[DEFAULT]      # 集群中此配置文件唯一不一样的区域,为避免后期 HAproxy 端口冲突
bind_host = 网卡IP
bind_port = 9292

[database]
# ...
connection = mysql+pymysql://glance:GLANCE_PASS@controller/glance

 [keystone_authtoken]
# ...
auth_uri = http://controller:5000
auth_url = http://controller:35357
memcached_servers = controller1:11211,controller2:11211,controller3:11211
auth_type = password
project_domain_name = default
user_domain_name = default
project_name = service
username = glance
password = GLANCE_PASS

 [paste_deploy]
# ...
flavor = keystone

[glance_store]    # 以下为Glance 本地存储配置
# ...
stores = file,http
default_store = file
filesystem_store_datadir = /var/lib/glance/images/
如下图:
b、编辑 /etc/glance/glance-registry.conf 文件 # 标红区域为需要特别关注的地方
# vim /etc/glance/glance-registry.conf
[DEFAULT]    # 整个集群文件中唯一不同的区域
# ...
bind_host = 网卡ip
bind_port = 9191

 [database]
 connection = mysql+pymysql://glance:GLANCE_PASS@controller/glance

 [keystone_authtoken]
# ...
auth_uri = http://controller:5000
auth_url = http://controller:35357
memcached_servers = controller1:11211,controller2:11211,controller3:11211
auth_type = password
project_domain_name = default
user_domain_name = default
project_name = service
username = glance
password = GLANCE_PASS

[paste_deploy]
# ...
flavor = keystone
5、初始化 Glance 数据库 (任意controller 节点操作)
# su -s /bin/sh -c "glance-manage db_sync" glance
# (忽略此处输出所有信息)
6、启动服务并设置开机自启动 (all-controller-node)
# systemctl enable openstack-glance-api.service openstack-glance-registry.service
# systemctl start openstack-glance-api.service openstack-glance-registry.service
# 查看端口,如下:服务启动正常

7、配置 Glance-Haproxy
博客:http://www.cnblogs.com/weijie0717/p/8530102.html
注:必须保证 单controller -node 认证 Glance 和 Keystone 时访问的是同一个节点,否则为认证失败。
三、测试 (任意 controller-node)
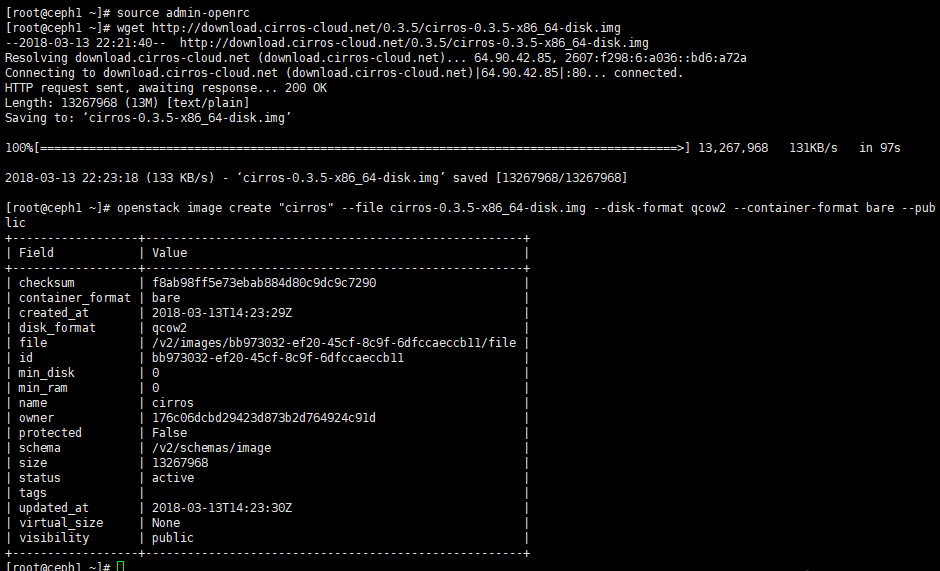
1、下载镜像
# cd /root
# wget http://download.cirros-cloud.net/0.3.5/cirros-0.3.5-x86_64-disk.img
2、上传镜像到Image server
# openstack image create "cirros" --file cirros-0.3.5-x86_64-disk.img --disk-format qcow2 --container-format bare --public
3、查看
1、查看镜像上传情况
# openstack image list
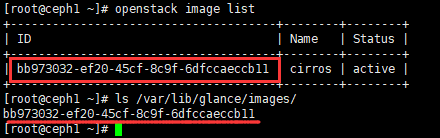
上传成功
2、查看openstack集群 当前支持服务
# openstack service list
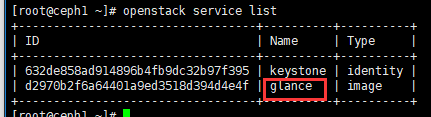
到此处,openstack集群 Glance-server 使用本地存储 部署成功。
续: openstack集群 Glance-server 使用Ceph 存储。
1、删除之前上传的本地镜像。(任意 controller-node)
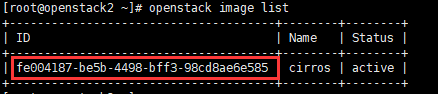
a、查看镜像ID
# openstack image list
b、删除镜像
# openstack image delete image-ID

2、拷贝ceph集群配置文件到所有controller 节点 /etc/ceph/ceph.conf (ceph 集群 任意节点)
# scp /etc/ceph/ceph.conf root@controller1:/etc/ceph/ceph.conf
# scp /etc/ceph/ceph.conf root@controller2:/etc/ceph/ceph.conf
# scp /etc/ceph/ceph.conf root@controller3:/etc/ceph/ceph.conf
3、创建 Glance 所需要的ceph 存储池:images (任意ceph-mon 节点 )
# ceph osd pool create images 64 64
4、生成和导出证书到 controller节点 (任意ceph-mon 节点 )
a、生成key
# ceph auth get-or-create client.glance mon 'allow r' osd 'allow class-read object_prefix rbd_children, allow rwx pool=images'
b、查看
# ceph auth list

c、导出 key,并拷贝至所有controller 节点 /etc/ceph/文件中
# ceph auth get-or-create client.glance | tee /etc/ceph/ceph.client.glance.keyring
# scp /etc/ceph/ceph.client.glance.keyring root@controller-all:/etc/ceph/ceph.client.glance.keyring
d、修改ceph.conf 和 key 文件 权限 (所有controller节点操作)
# chown glance:glance /etc/ceph/ceph.client.glance.keyring
# chown glance:glance /etc/ceph/ceph.conf

5、安装 rbd 驱动包 (all-controller-node)
# yum install python-rbd -y
6、修改 glance-api 配置文件 (all-controller-node)
a、备份配置,便于恢复
# cp /etc/glance/glance-api.conf /etc/glance/glance-api.conf.bak
b、修改配置文件
# vim /etc/glance/glance-api.conf
[DEFAULT]
show_image_direct_url = True     #启动镜像的写时复制功能

[glance_store]
stores = rbd
default_store = rbd
#filesystem_store_datadir = /var/lib/glance/images/   #注释此行,本地存储配置行
rbd_store_chunk_size = 8
rbd_store_pool = images
rbd_store_user = glance
rbd_store_ceph_conf = /etc/ceph/ceph.conf
7、重启服务 (all-controller-node)
# systemctl restart openstack-glance-api.service openstack-glance-registry.service
8、上传镜像进行测试。(任意 controller-node)
a、获取认证权限
# source admin-openrc
b、下载镜像
# wget http://download.cirros-cloud.net/0.3.5/cirros-0.3.5-x86_64-disk.img
c、上传镜像
# openstack image create "cirros" --file cirros-0.3.5-x86_64-disk.img --disk-format qcow2 --container-format bare --public
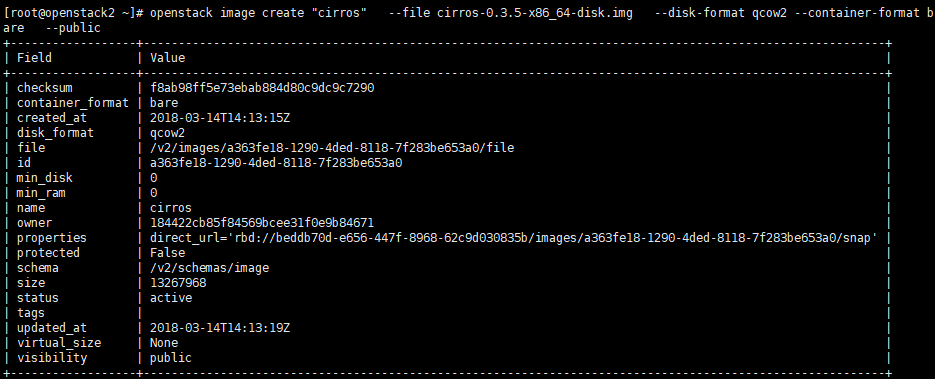
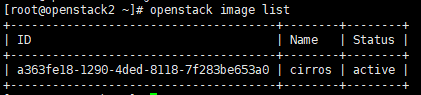
d、查看镜像上传情况
#openstack image list
9、ceph 查看镜像上传情况和处理告警
a、镜像已上传至ceph,ceph会有告警

b、告警信息查看
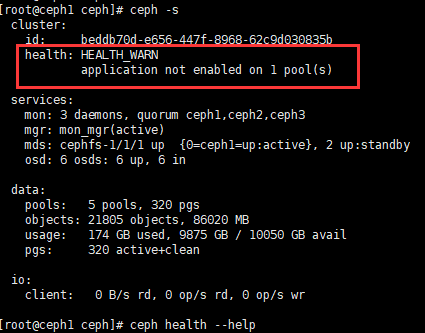

c、按照提示处理告警
# ceph osd pool application enable images rbd
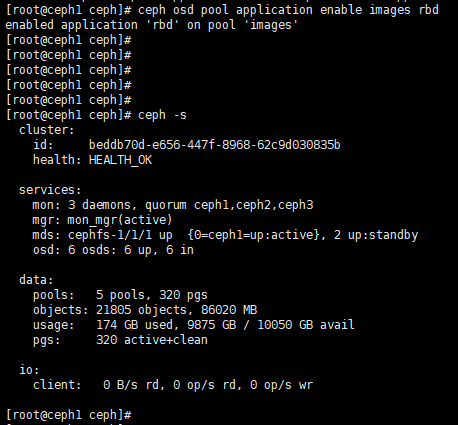
Openstack Glance server 到此处部署完毕。