登录头像处理:
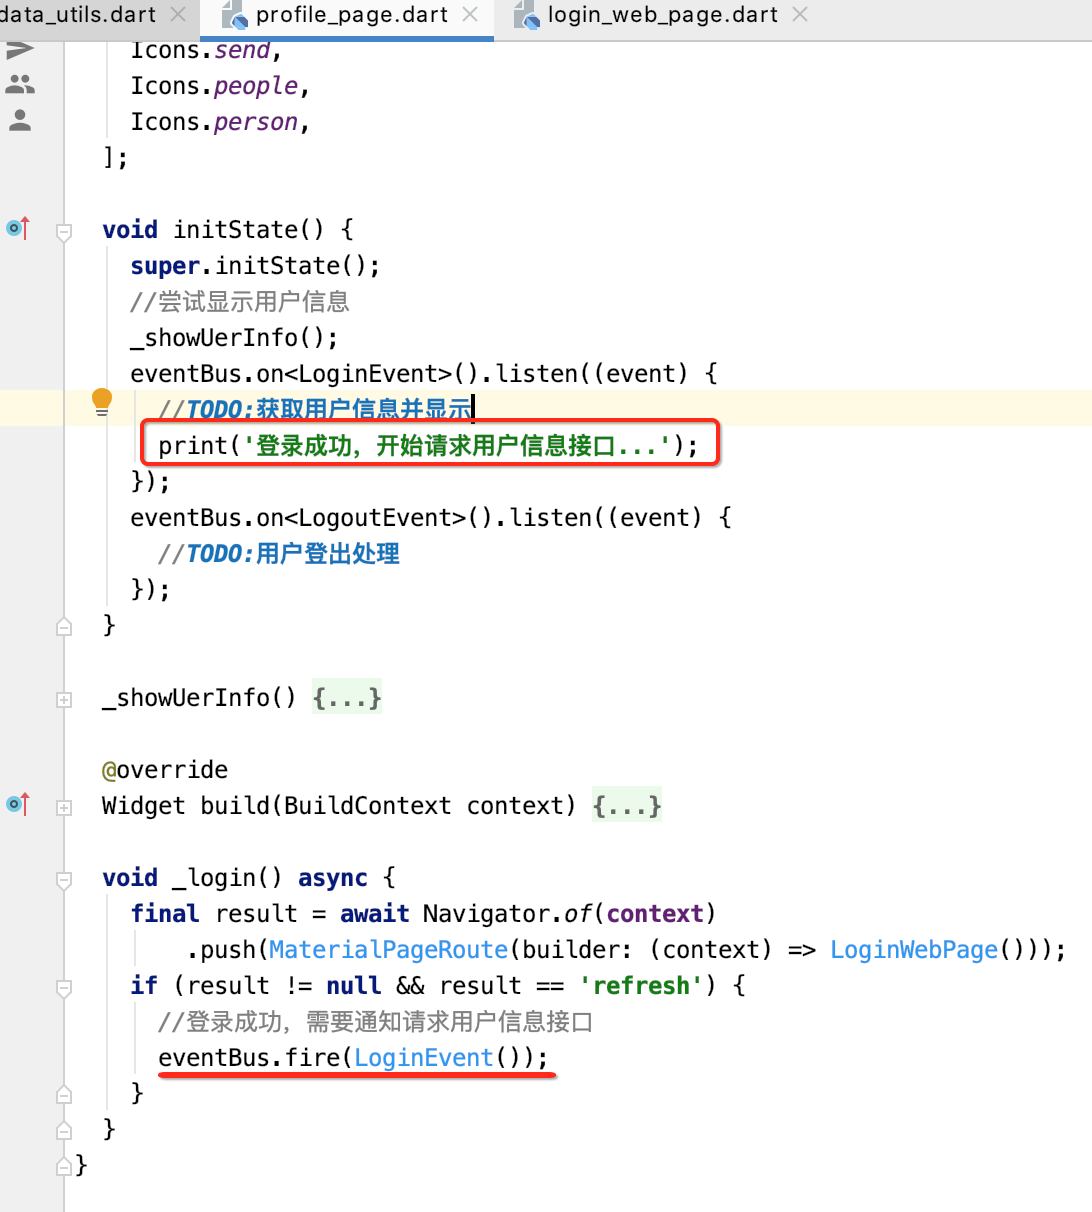
接着上一次https://www.cnblogs.com/webor2006/p/13028104.html的功能继续往下撸,在上一次中已经处理了登录的接口回调了,如下:
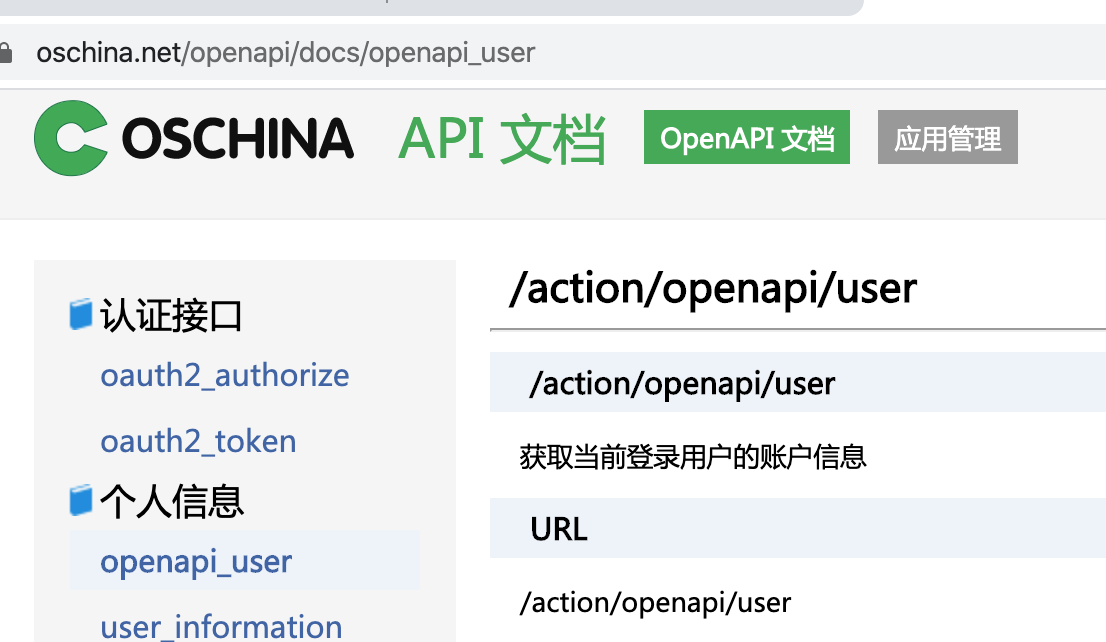
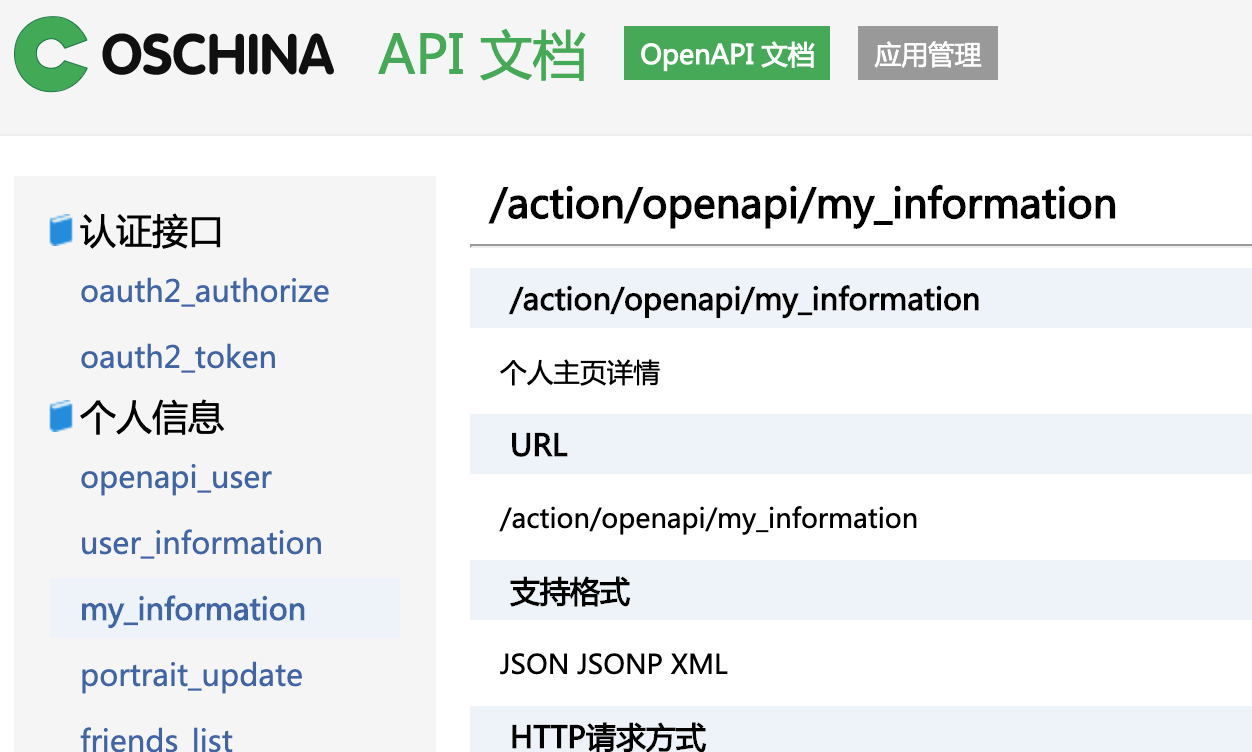
接下来则需要请求用户信息接口了,瞅一下官网:

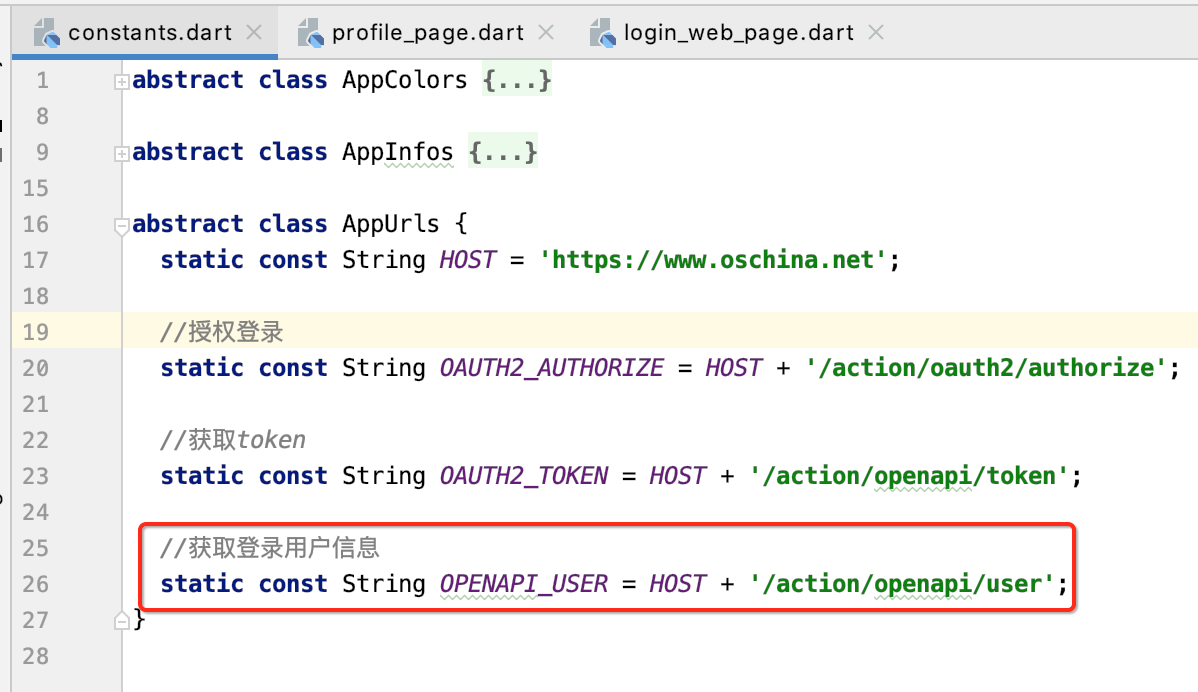
先来定义一下URL:
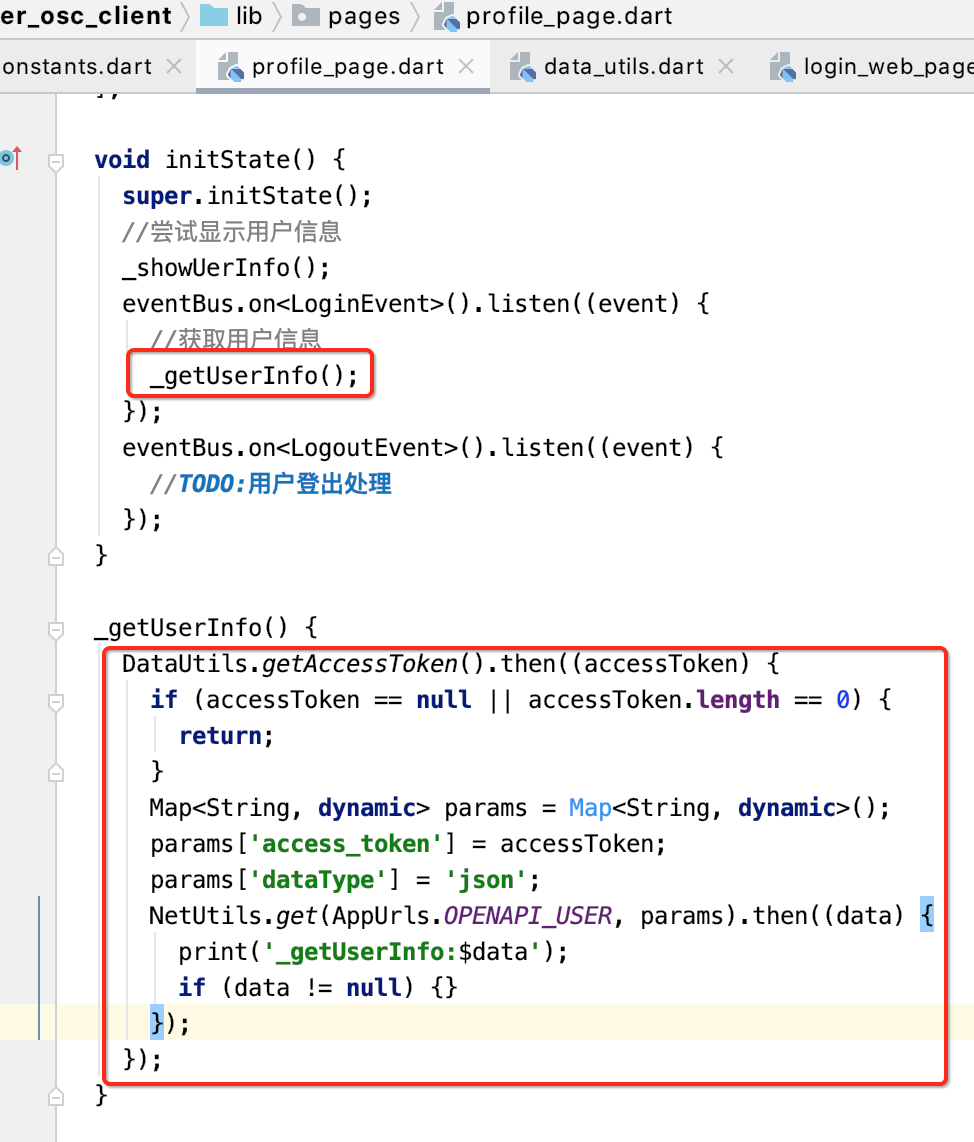
接下来调用一下:
下面请求看一下能否成功?

没问题,接下来则来处理结果,并显示头像和用户名:


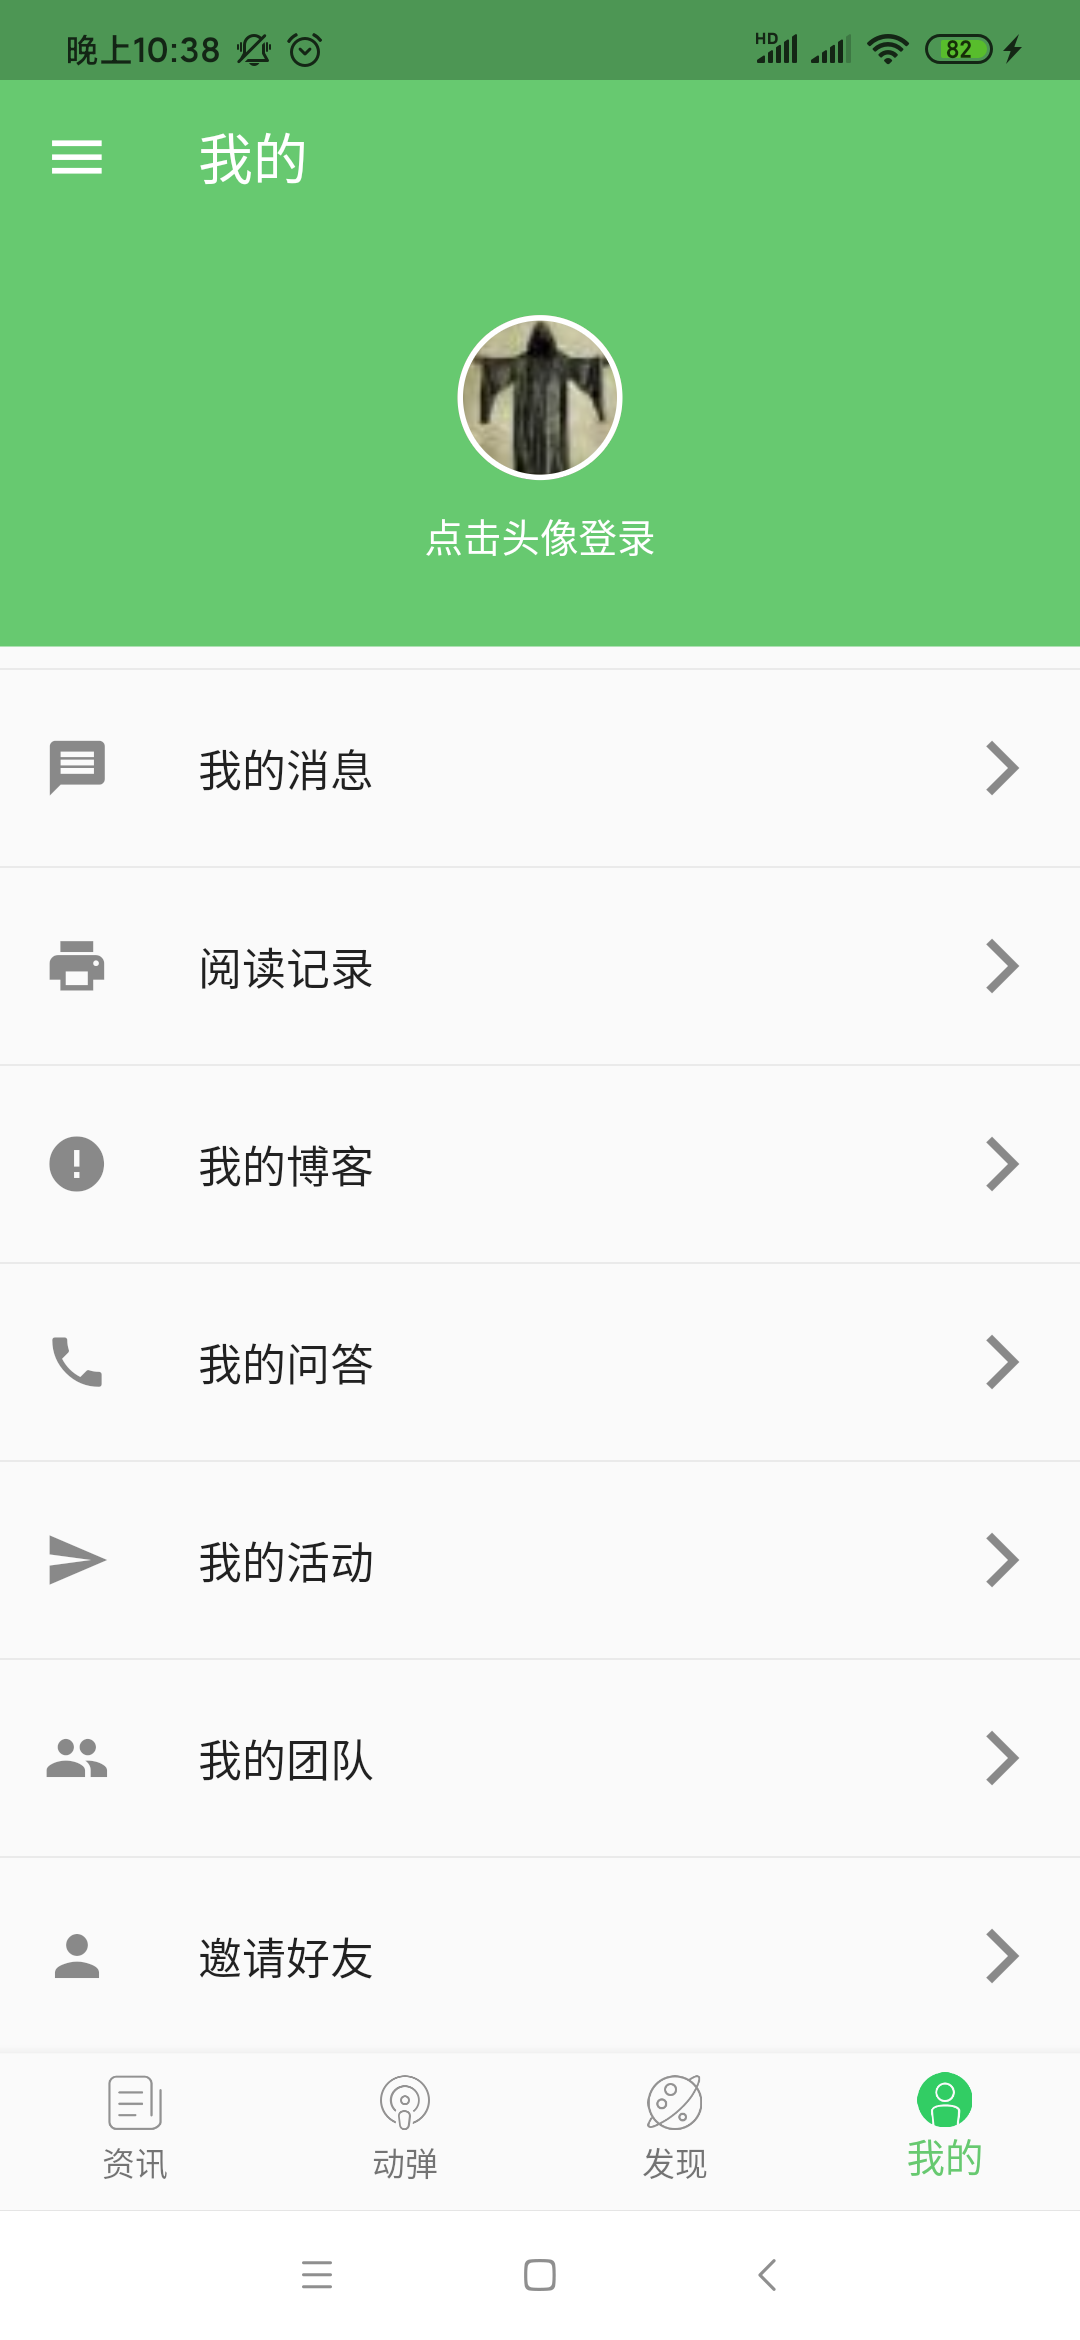
好,接下来则来做一下界面刷新,一个是用户头像,另一个是用户名称,这块逻辑就比较简单了,加判断如下:
@override
  Widget build(BuildContext context) {
    return ListView.separated(
        itemBuilder: (context, index) {
          if (index == 0) {
            //用户头像
            return Container(
              color: Color(AppColors.APP_THEME),
              height: 150.0,
              child: Center(
                child: Column(
                  mainAxisAlignment: MainAxisAlignment.center,
                  children: <Widget>[
                    GestureDetector(
                      child: userAvatar != null
                          ? Container(//网络加载图像
                               60.0,
                              height: 60.0,
                              decoration: BoxDecoration(
                                  shape: BoxShape.circle,
                                  border: Border.all(
                                    color: Colors.white,
                                     2.0,
                                  ),
                                  image: DecorationImage(
                                    image: NetworkImage(userAvatar),
                                    fit: BoxFit.cover,
                                  )),
                            )
                          : Container(//默认加载图像
                               60.0,
                              height: 60.0,
                              decoration: BoxDecoration(
                                  shape: BoxShape.circle,
                                  border: Border.all(
                                    color: Colors.white,
                                     2.0,
                                  ),
                                  image: DecorationImage(
                                    image: AssetImage(
                                        'assets/images/ic_avatar_default.png'),
                                    fit: BoxFit.cover,
                                  )),
                            ),
                      onTap: () {
                        _login();
                      },
                    ),
                    SizedBox(
                      //加间距
                      height: 10.0,
                    ),
                    Text(
                      '点击头像登录',
                      style: TextStyle(color: Colors.white),
                    )
                  ],
                ),
              ),
            );
          }
          index -= 1;
          return ListTile(
            leading: Icon(menuIcons[index]), //左图标
            title: Text(menuTitles[index]), //中间标题
            trailing: Icon(Icons.arrow_forward_ios),
          );
        },
        separatorBuilder: (context, index) {
          return Divider();
        }, //分隔线
        itemCount: menuTitles.length + 1);
  }
此时运行看一下:
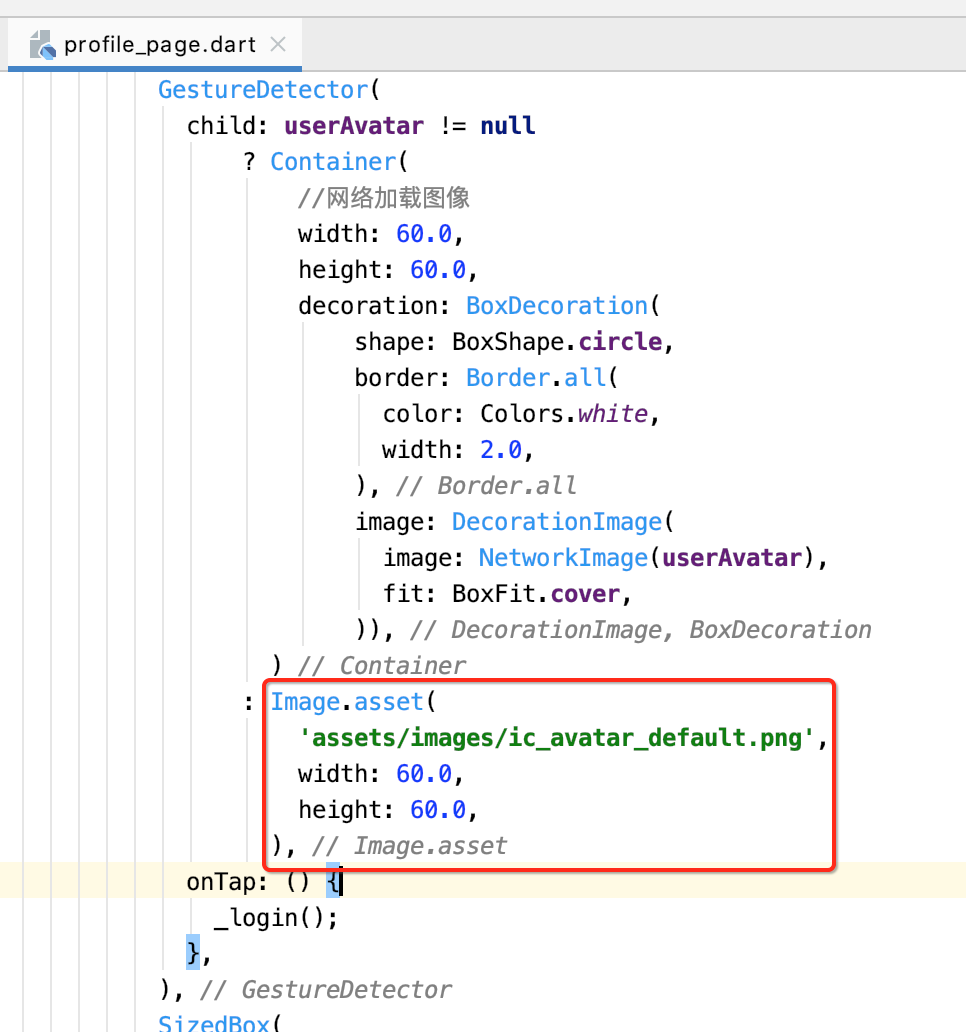
不过这里有一个代码有问题,就是关于默认头像这块,什么问题呢?先来看一下默认的头像长啥样?

本身就是带白边框的,但是我们代码中又画蛇添足了一下:

所以咱们可以简化一下,直接用AssetImage来显示既可:
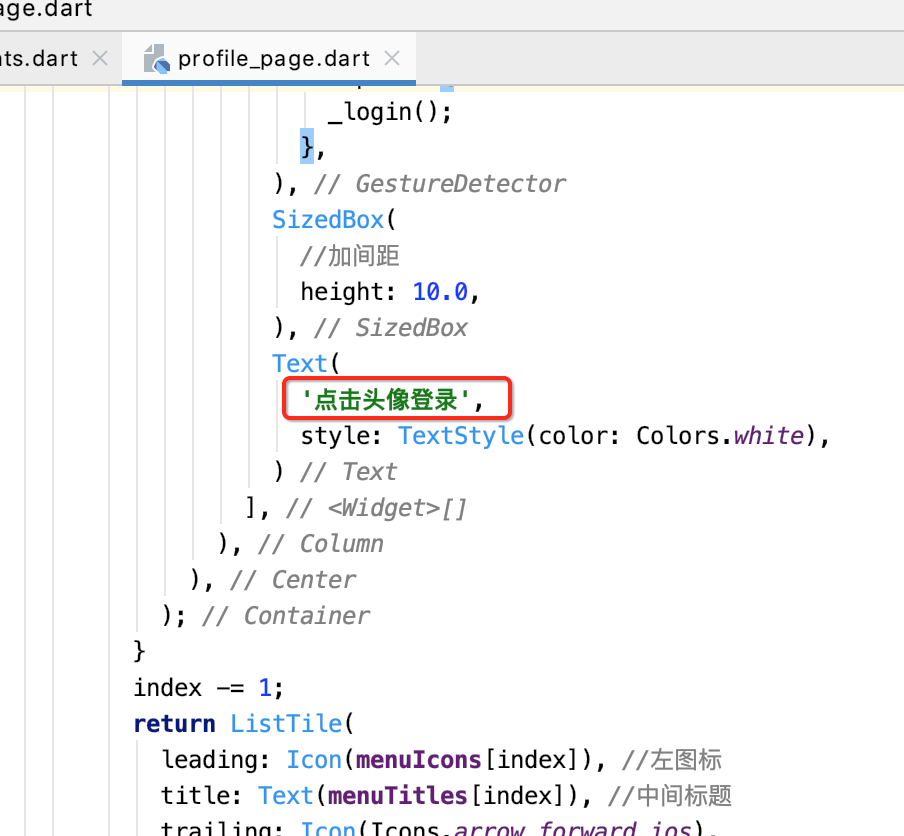
好,接下来再来处理用户名,比较简单,改一句代码既可:
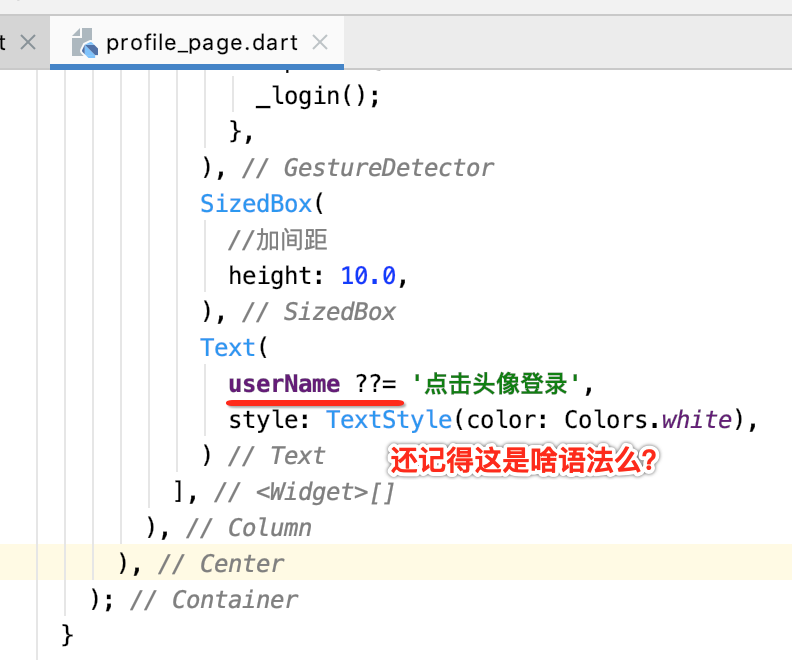
复习一下:https://www.cnblogs.com/webor2006/p/11975291.html,

运行:
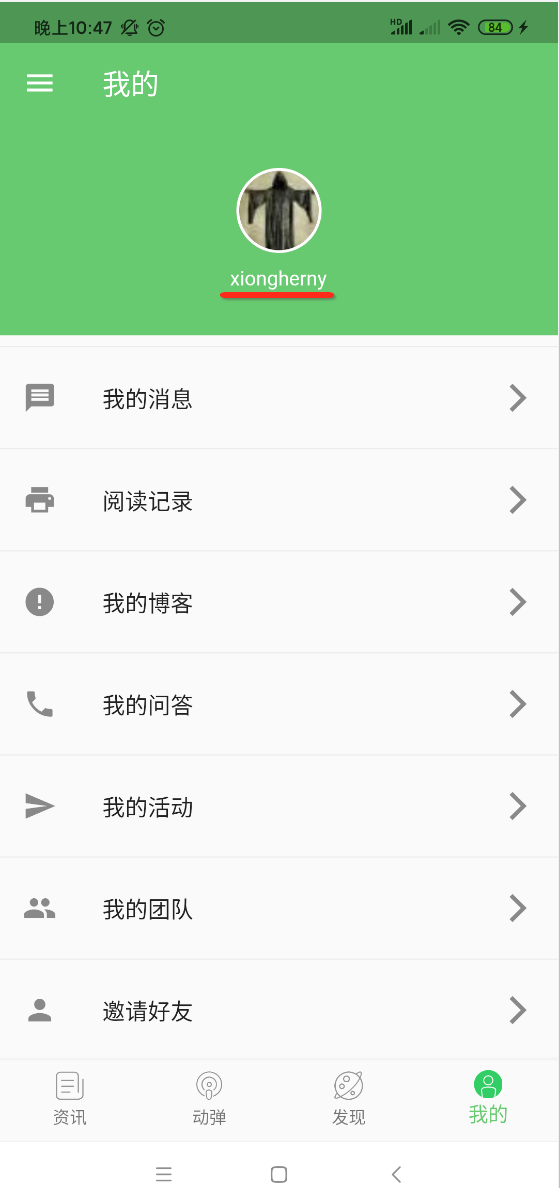
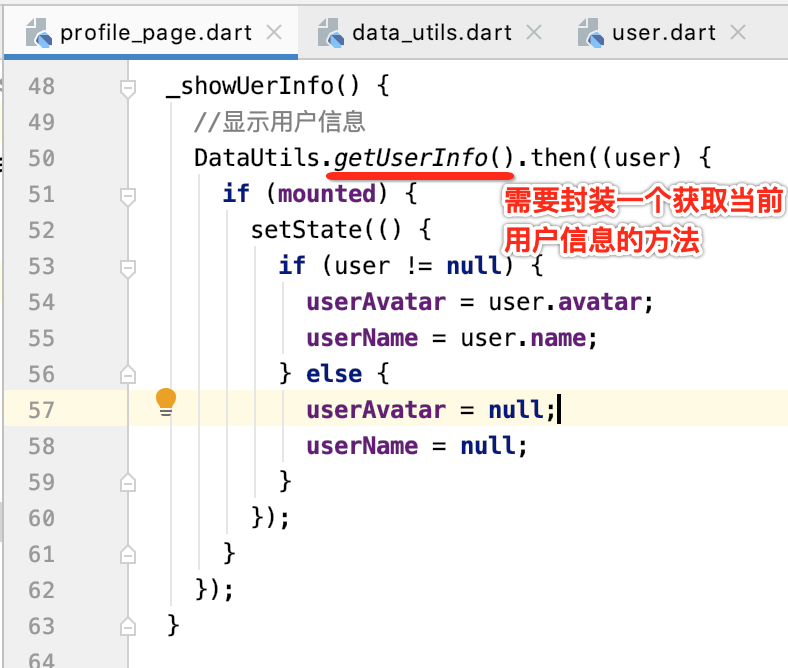
接下来再来完善一下代码,进这个界面时则需要主动查一下是否已经有当前用户的信息了,有则需要显示到界面上,如下:

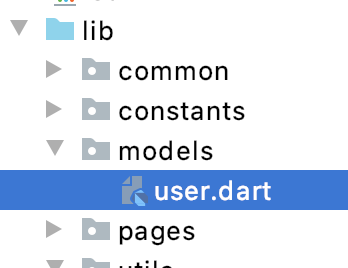
// 用户基本信息
class User {
  String gender;
  String name;
  String location;
  int id;
  String avatar;
  String email;
  String url;

  User(
      {this.gender,
      this.name,
      this.location,
      this.id,
      this.avatar,
      this.email,
      this.url});
}
接下来看一下整体的效果:
登出处理:
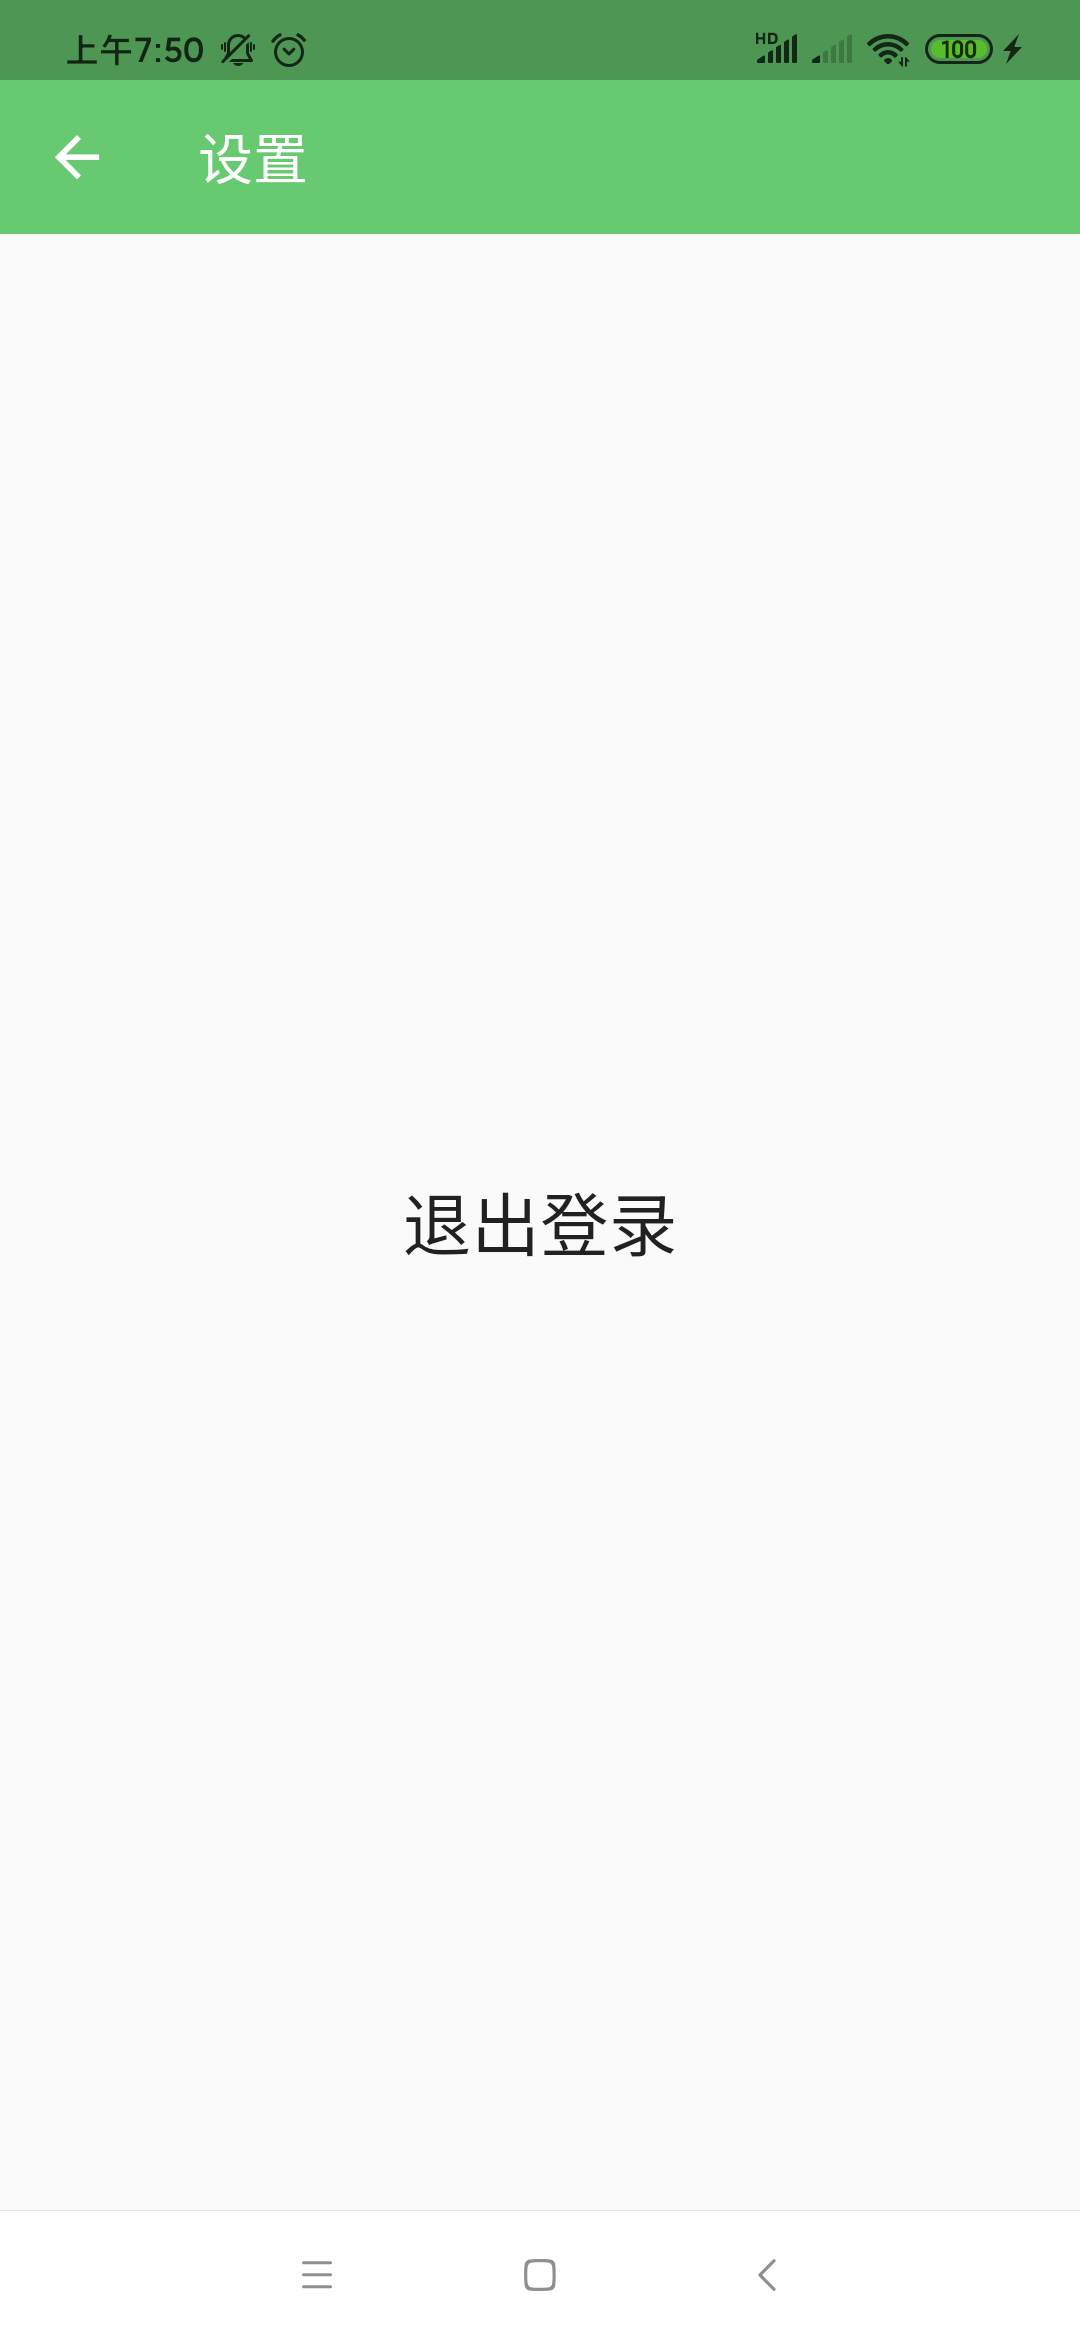
接下来再做登出处理,简单弄一个页面既可,如下:
import 'package:flutter/material.dart';
import 'package:flutter_osc_client/common/event_bus.dart';
import 'package:flutter_osc_client/constants/constants.dart' show AppColors;
import 'package:flutter_osc_client/utils/data_utils.dart';

class SettingsPage extends StatefulWidget {
  @override
  _SettingsPageState createState() => _SettingsPageState();
}

class _SettingsPageState extends State<SettingsPage> {
  @override
  Widget build(BuildContext context) {
    return Scaffold(
      appBar: AppBar(
        elevation: 0.0,
        title: Text(
          '设置',
          style: TextStyle(color: Color(AppColors.APPBAR)),
        ),
        iconTheme: IconThemeData(color: Color(AppColors.APPBAR)),
      ),
      body: Center(
        child: FlatButton(
            onPressed: () {
              //退出登录
              DataUtils.clearLoginInfo().then((_) {
                eventBus.fire(LogoutEvent());//发出退出消息
                Navigator.of(context).pop();
              });
            },
            child: Text(
              '退出登录',
              style: TextStyle(fontSize: 25.0),
            )),
      ),
    );
  }
}
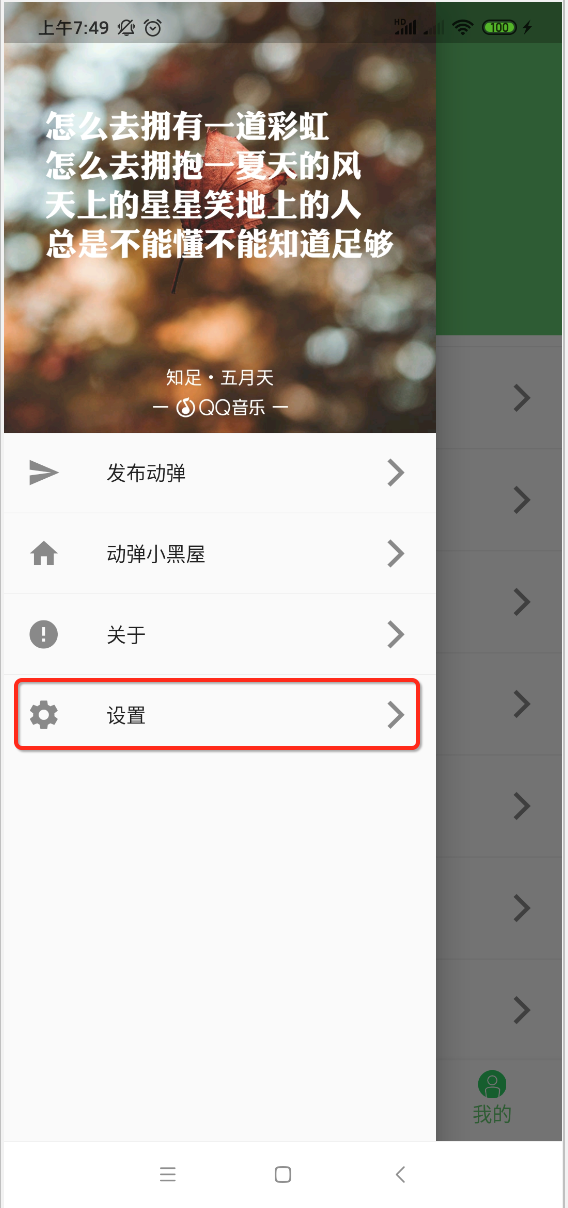
其实也就是这个点设置跳转的页面做的退出登录处理:
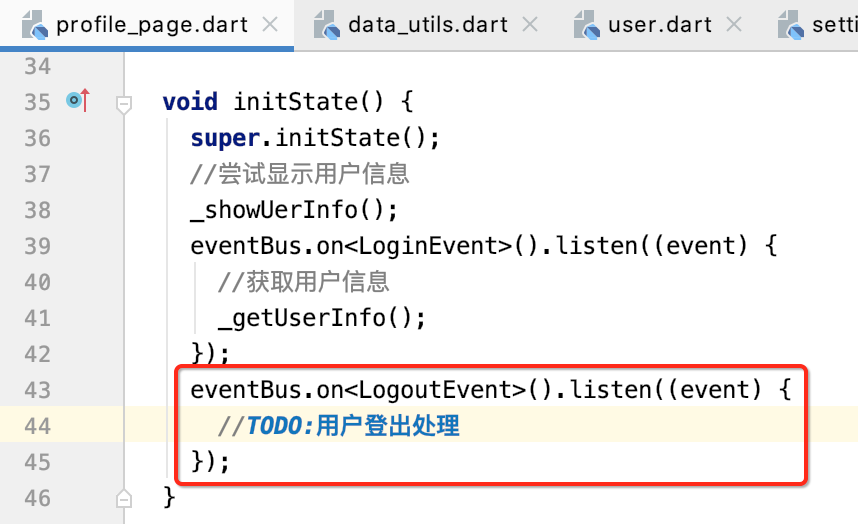
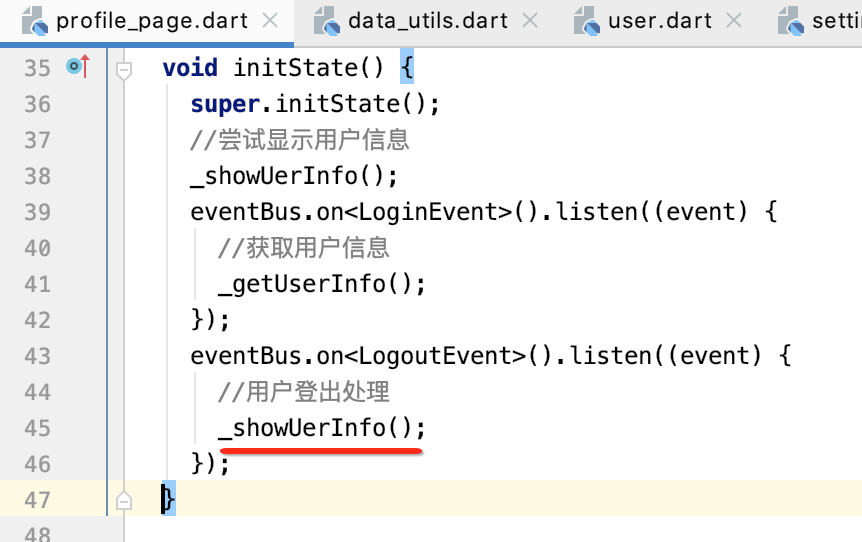
此时再来处理一下登出的消息,很简单,直接再刷新一下界面既可:
此时运行瞅一下效果:

我的详情:
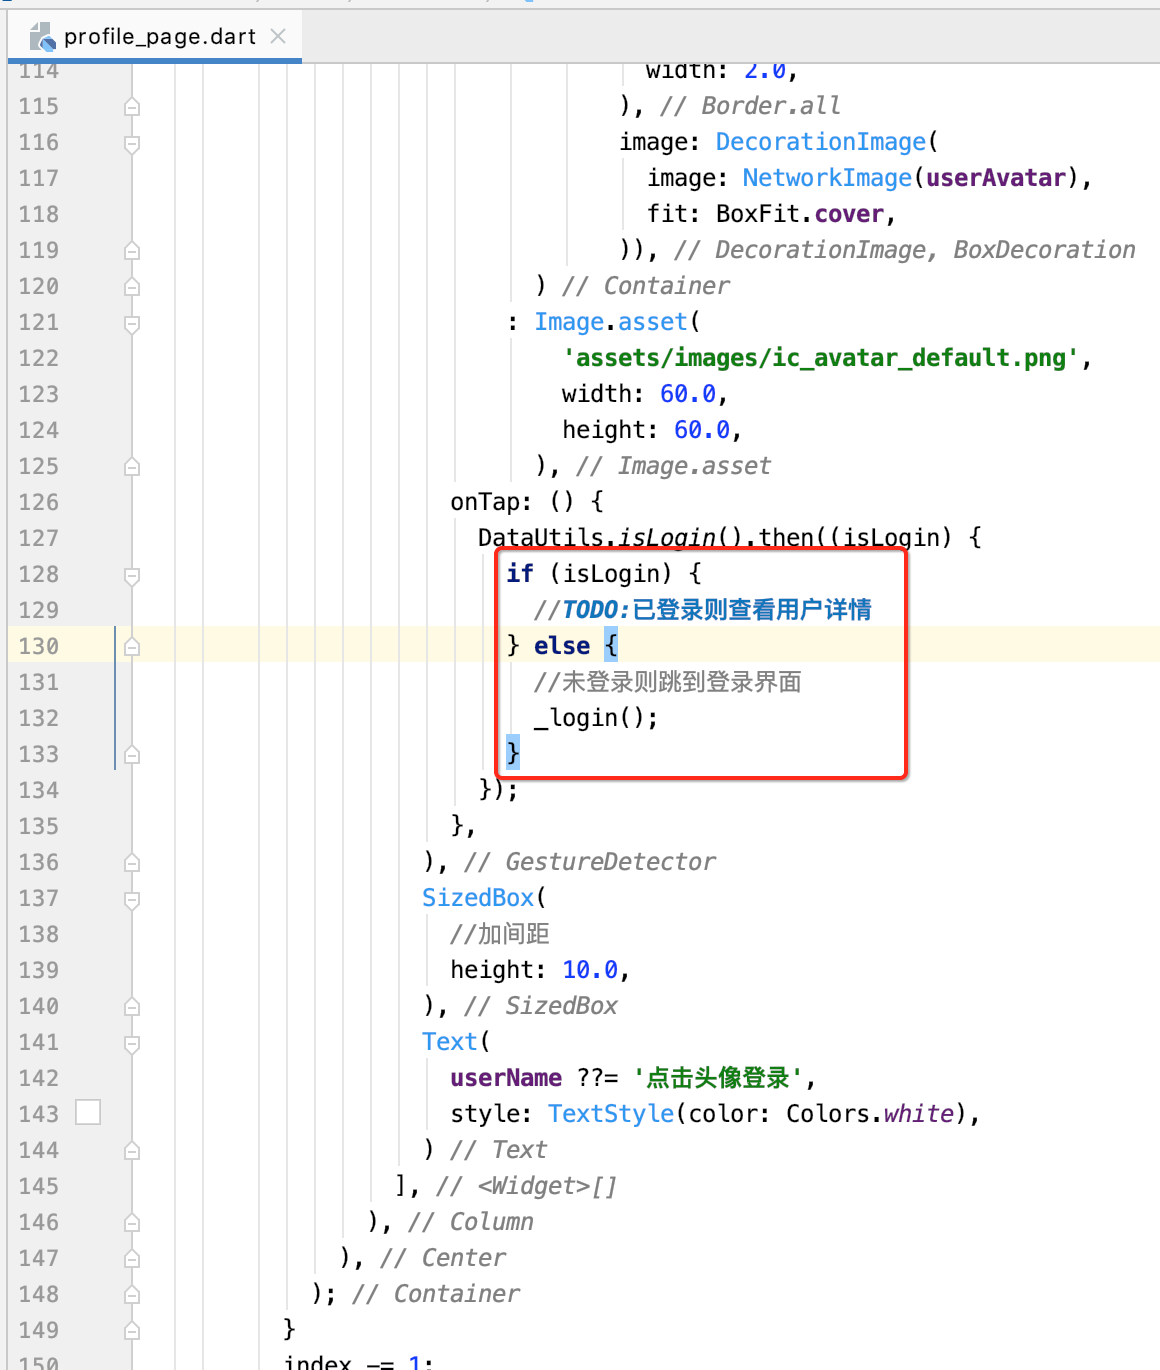
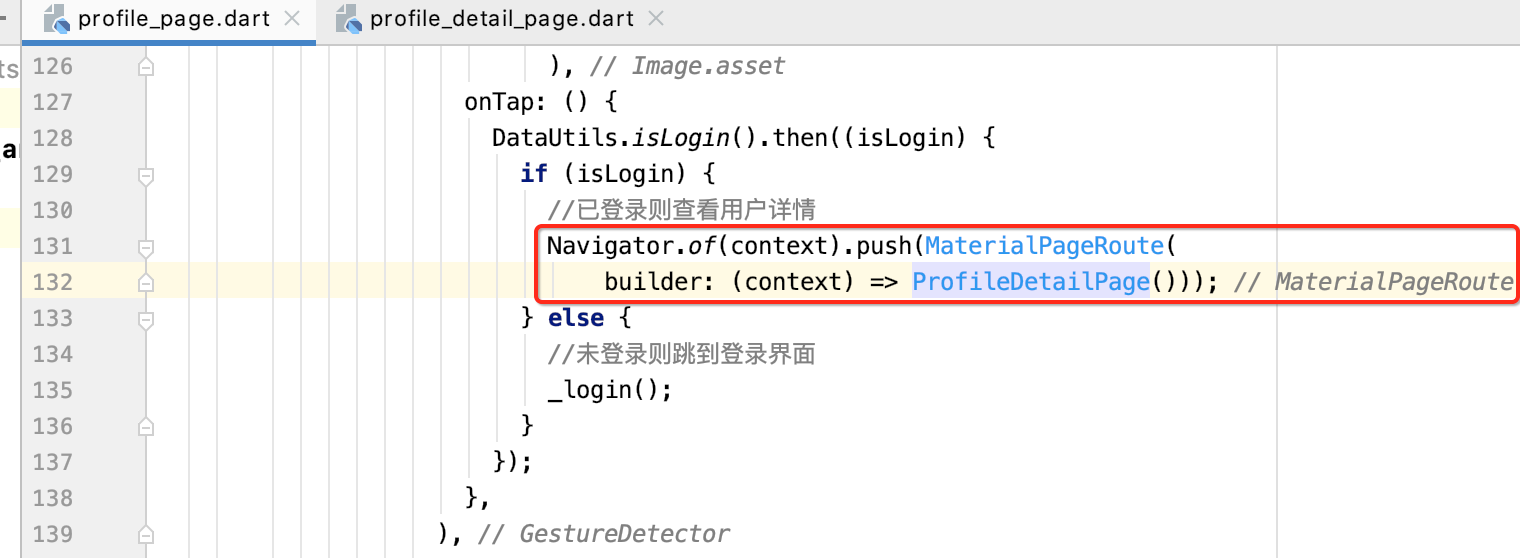
接下来则来处理点击头像来查看用户的详细信息,这里点击肯定得要判断登录状态了,如下:
接下来则新建用户详情页面:

import 'package:flutter/material.dart';
import 'package:flutter_osc_client/constants/constants.dart';

class ProfileDetailPage extends StatefulWidget {
  @override
  _ProfileDetailPageState createState() => _ProfileDetailPageState();
}

class _ProfileDetailPageState extends State<ProfileDetailPage> {
  @override
  Widget build(BuildContext context) {
    return Scaffold(
      appBar: AppBar(
        title: Text(
          '用户详情',
          style: TextStyle(color: Color(AppColors.APPBAR)),
        ),
        iconTheme: IconThemeData(color: Color(AppColors.APPBAR)),
      ),
      body: Column(),
    );
  }
}
然后链上这个页面:
运行看一下:

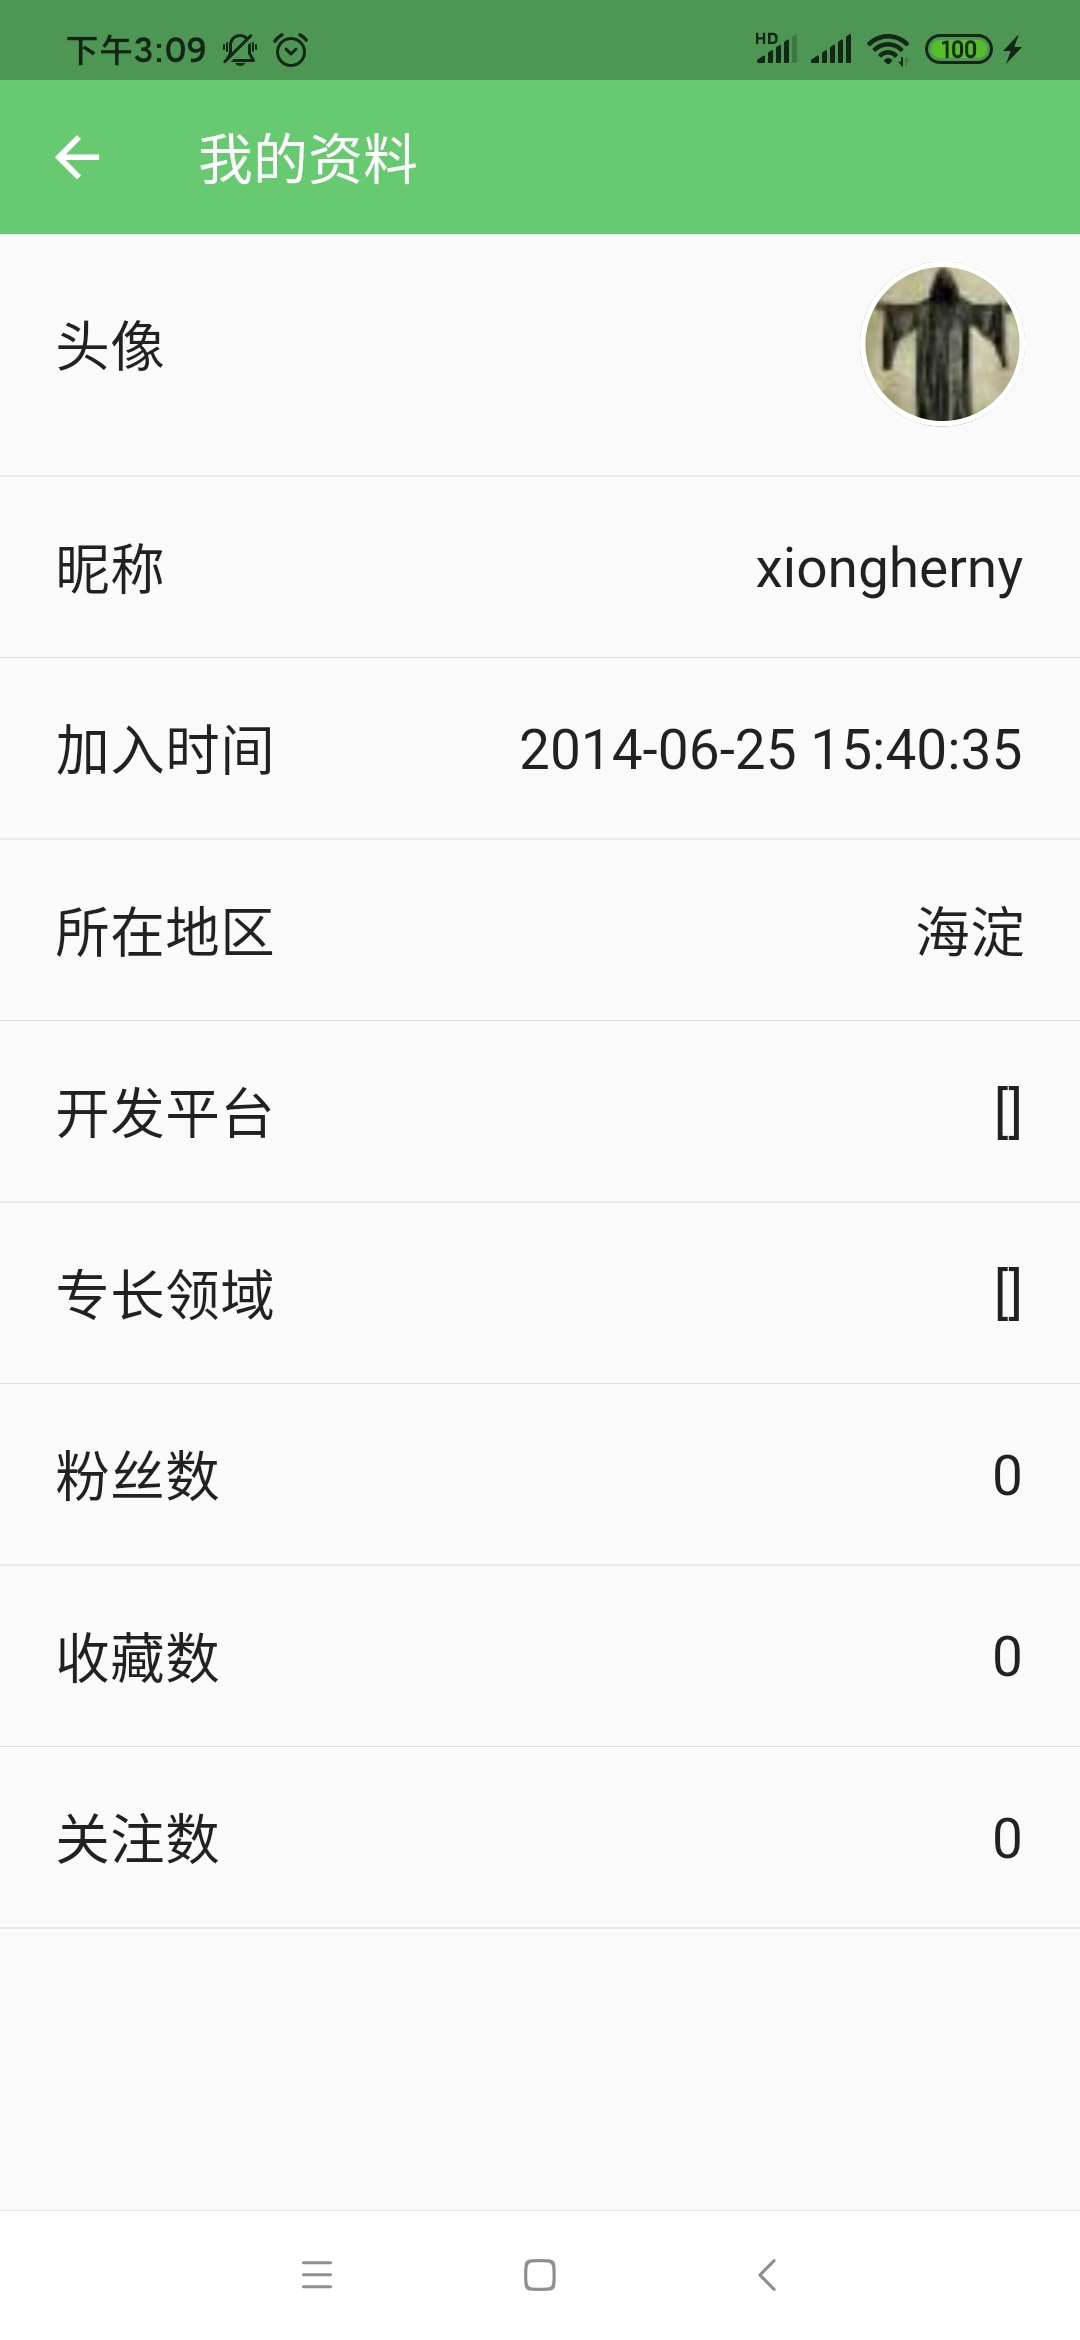
接下来则来集中实现一下用户详情页面,先来看一下它长啥样:
下面则来一行行构建布局,首先构建个头像,这里会用到一个新的Widget:
import 'package:flutter/material.dart';
import 'package:flutter_osc_client/constants/constants.dart';

class ProfileDetailPage extends StatefulWidget {
  @override
  _ProfileDetailPageState createState() => _ProfileDetailPageState();
}

class _ProfileDetailPageState extends State<ProfileDetailPage> {
  @override
  Widget build(BuildContext context) {
    return Scaffold(
      appBar: AppBar(
        title: Text(
          '用户详情',
          style: TextStyle(color: Color(AppColors.APPBAR)),
        ),
        iconTheme: IconThemeData(color: Color(AppColors.APPBAR)),
      ),
      body: Column(
        children: <Widget>[
          InkWell(
            onTap: () {
              //TODO
            },
            child: Container(
              margin: const EdgeInsets.only(left: 20.0),
              padding:
                  const EdgeInsets.only(top: 10.0, bottom: 10.0, right: 20.0),
              child: Row(
                crossAxisAlignment: CrossAxisAlignment.center,
                mainAxisAlignment: MainAxisAlignment.spaceBetween,
                children: <Widget>[
                  Text(
                    '头像',
                    style: TextStyle(fontSize: 20.0),
                  ),
                  Container(
                     60.0,
                    height: 60.0,
                    decoration: BoxDecoration(
                      shape: BoxShape.circle,
                      border: Border.all(
                        color: Colors.white,
                         2.0,
                      ),
                      image: DecorationImage(
                        image: NetworkImage(""),
                        fit: BoxFit.cover,
                      ),
                    ),
                  )
                ],
              ),
            ),
          ),
        ],
      ),
    );
  }
}
其中用户头像这里空着是因为得要请求一个新的接口,这里先来预览一下效果:
其中可以看到是典型的material风格的点击效果,其中就是使用了这个新的Widget:

接下来则来显示一下头像,刚才也提到了需要再请求一个接口,如下:
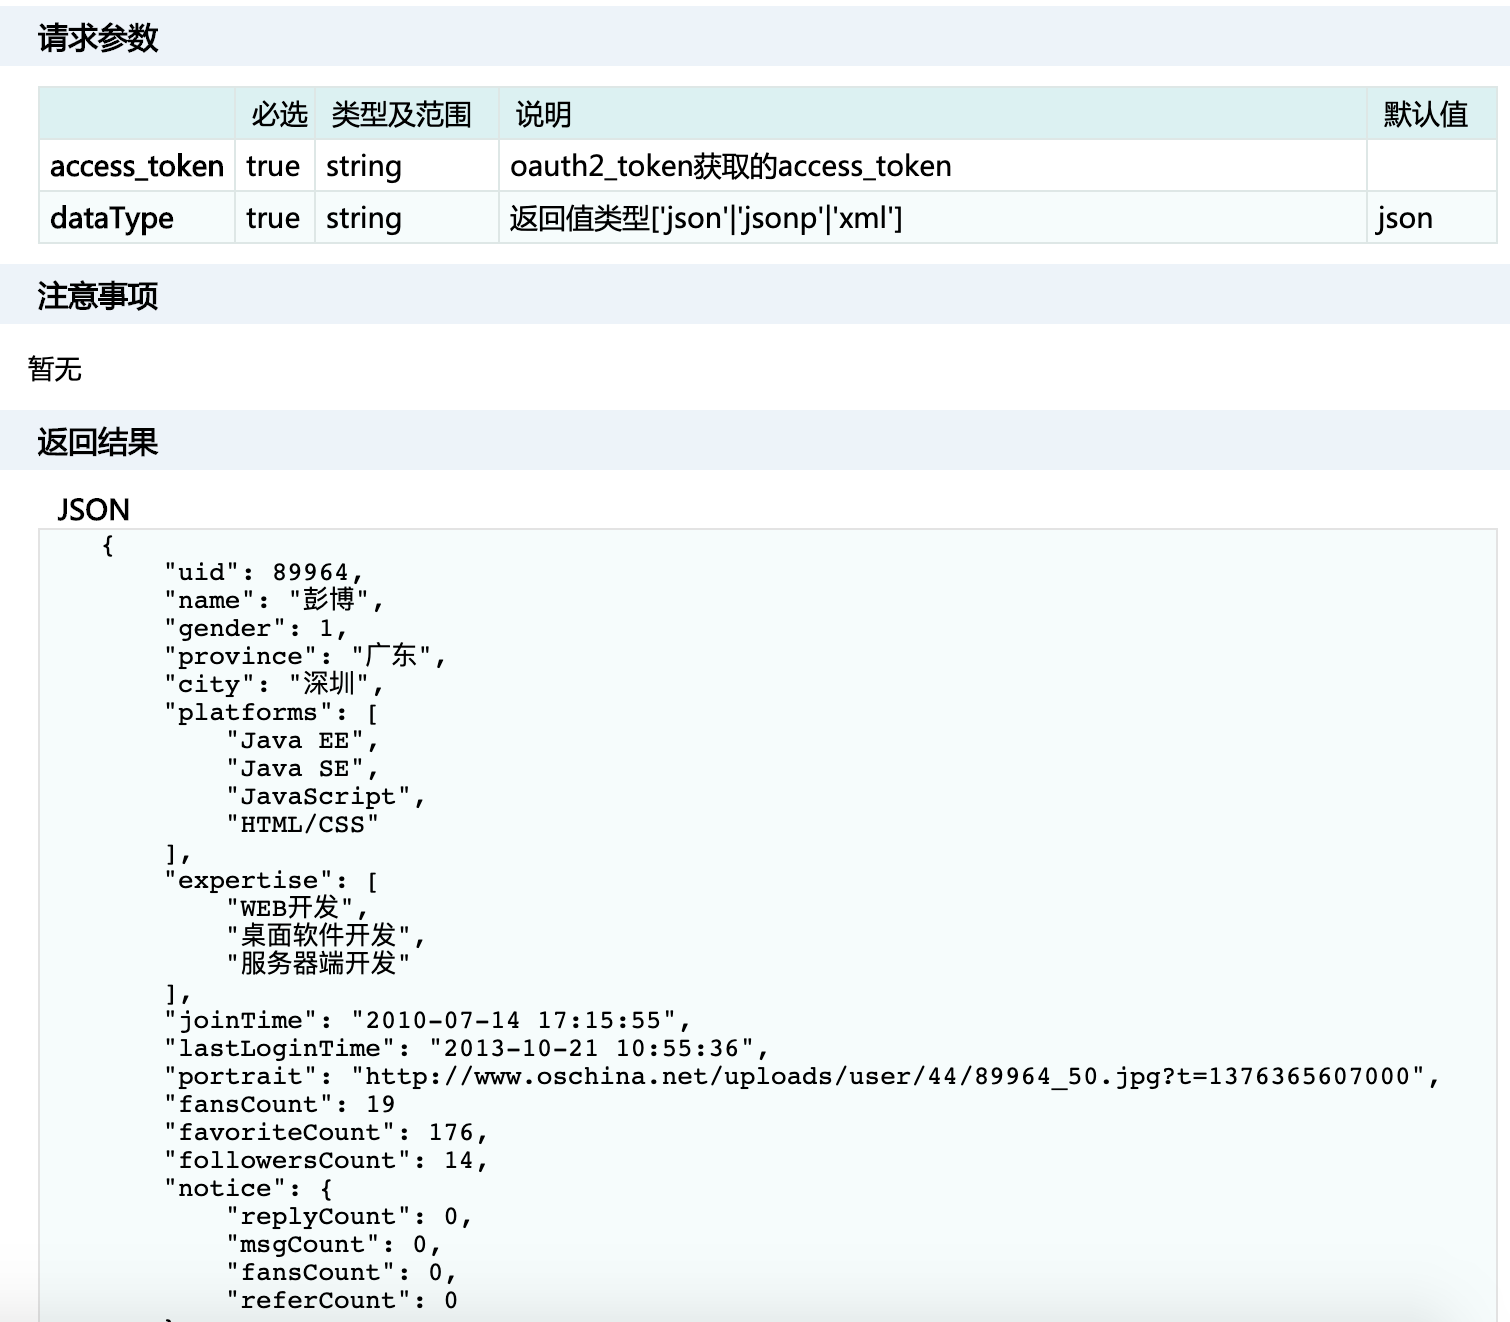
下面来请求一下,先来准备一下API:

然后新建一个实体,用来接收服务器所下发的信息:

// 用户详细信息
class UserInfo {
  int uid;
  String name;
  int gender;
  String province;
  String city;
  List<dynamic> platforms;
  List<dynamic> expertise;
  String joinTime;
  String lastLoginTime;
  String portrait;
  int fansCount;
  int favoriteCount;
  int followersCount;
  Map<String, dynamic> notice;

  UserInfo(
      {this.uid,
      this.name,
      this.gender,
      this.province,
      this.city,
      this.platforms,
      this.expertise,
      this.joinTime,
      this.lastLoginTime,
      this.portrait,
      this.fansCount,
      this.favoriteCount,
      this.followersCount,
      this.notice});
}
接下来则开始请求处理:
import 'dart:convert';
import 'dart:io';

import 'package:flutter/cupertino.dart';
import 'package:flutter/material.dart';
import 'package:flutter_osc_client/constants/constants.dart';
import 'package:flutter_osc_client/models/user_info.dart';
import 'package:flutter_osc_client/utils/data_utils.dart';
import 'package:flutter_osc_client/utils/net_utils.dart';

class ProfileDetailPage extends StatefulWidget {
  @override
  _ProfileDetailPageState createState() => _ProfileDetailPageState();
}

class _ProfileDetailPageState extends State<ProfileDetailPage> {
  UserInfo _userInfo;

  _getDetailInfo() {
    DataUtils.getAccessToken().then((accessToken) {
      //拼装请求
      Map<String, dynamic> params = Map<String, dynamic>();
      params['dataType'] = 'json';
      params['access_token'] = accessToken;
      NetUtils.get(AppUrls.MY_INFORMATION, params).then((data) {
        print('MY_INFORMATION: $data');
        if (data != null && data.isNotEmpty) {
          Map<String, dynamic> map = json.decode(data);
          UserInfo userInfo = UserInfo();
          userInfo.uid = map['uid'];
          userInfo.name = map['name'];
          userInfo.gender = map['gender'];
          userInfo.province = map['province'];
          userInfo.city = map['city'];
          userInfo.platforms = map['platforms'];
          userInfo.expertise = map['expertise'];
          userInfo.joinTime = map['joinTime'];
          userInfo.lastLoginTime = map['lastLoginTime'];
          userInfo.portrait = map['portrait'];
          userInfo.fansCount = map['fansCount'];
          userInfo.favoriteCount = map['favoriteCount'];
          userInfo.followersCount = map['followersCount'];
          userInfo.notice = map['notice'];
          setState(() {
            _userInfo = userInfo;
          });
        }
      });
    });
  }

  @override
  void initState() {
    super.initState();
    _getDetailInfo();
  }

  @override
  Widget build(BuildContext context) {
    return Scaffold(
      appBar: AppBar(
        title: Text(
          '用户详情',
          style: TextStyle(color: Color(AppColors.APPBAR)),
        ),
        iconTheme: IconThemeData(color: Color(AppColors.APPBAR)),
      ),
      body: _userInfo == null
          ? Center(
              child: CupertinoActivityIndicator(),
            )
          : Column(
              children: <Widget>[
                InkWell(
                  onTap: () {
                    //TODO
                  },
                  child: Container(
                    margin: const EdgeInsets.only(left: 20.0),
                    padding: const EdgeInsets.only(
                        top: 10.0, bottom: 10.0, right: 20.0),
                    child: Row(
                      crossAxisAlignment: CrossAxisAlignment.center,
                      mainAxisAlignment: MainAxisAlignment.spaceBetween,
                      children: <Widget>[
                        Text(
                          '头像',
                          style: TextStyle(fontSize: 20.0),
                        ),
                        Container(
                           60.0,
                          height: 60.0,
                          decoration: BoxDecoration(
                            shape: BoxShape.circle,
                            border: Border.all(
                              color: Colors.white,
                               2.0,
                            ),
                            image: DecorationImage(
                              image: NetworkImage(_userInfo.portrait),
                              fit: BoxFit.cover,
                            ),
                          ),
                        )
                      ],
                    ),
                  ),
                ),
              ],
            ),
    );
  }
}
再运行:
ok,至于其它信息条目的显示基本写法差不多,就把代码贴出来了,不一一细说了,比较多,但都比较容易理解:
@override Widget build(BuildContext context) { return Scaffold( appBar: AppBar( title: Text( '用户详情', style: TextStyle(color: Color(AppColors.APPBAR)), ), iconTheme: IconThemeData(color: Color(AppColors.APPBAR)), ), body: _userInfo == null ? Center( child: CupertinoActivityIndicator(), ) : Column( children: <Widget>[ InkWell( onTap: () { //TODO }, child: Container( margin: const EdgeInsets.only(left: 20.0), padding: const EdgeInsets.only( top: 10.0, bottom: 10.0, right: 20.0), child: Row( crossAxisAlignment: CrossAxisAlignment.center, mainAxisAlignment: MainAxisAlignment.spaceBetween, children: <Widget>[ Text( '头像', style: TextStyle(fontSize: 20.0), ), Container( 60.0, height: 60.0, decoration: BoxDecoration( shape: BoxShape.circle, border: Border.all( color: Colors.white, 2.0, ), image: DecorationImage( image: NetworkImage(_userInfo.portrait), fit: BoxFit.cover, ), ), ) ], ), ), ), Divider(), InkWell( onTap: () { //TODO }, child: Container( margin: const EdgeInsets.only(left: 20.0), padding: const EdgeInsets.only( top: 10.0, bottom: 10.0, right: 20.0), child: Row( crossAxisAlignment: CrossAxisAlignment.center, mainAxisAlignment: MainAxisAlignment.spaceBetween, children: <Widget>[ Text( '昵称', style: TextStyle(fontSize: 20.0), ), Text( _userInfo.name, style: TextStyle(fontSize: 20.0), ), ], ), ), ), Divider(), Container( margin: const EdgeInsets.only(left: 20.0), padding: const EdgeInsets.only( top: 10.0, bottom: 10.0, right: 20.0), child: Row( crossAxisAlignment: CrossAxisAlignment.center, mainAxisAlignment: MainAxisAlignment.spaceBetween, children: <Widget>[ Text( '加入时间', style: TextStyle(fontSize: 20.0), ), Text( _userInfo.joinTime, // _userInfo.joinTime.split(' ')[0], style: TextStyle(fontSize: 20.0), ), ], ), ), Divider(), InkWell( onTap: () { //TODO }, child: Container( margin: const EdgeInsets.only(left: 20.0), padding: const EdgeInsets.only( top: 10.0, bottom: 10.0, right: 20.0), child: Row( crossAxisAlignment: CrossAxisAlignment.center, mainAxisAlignment: MainAxisAlignment.spaceBetween, children: <Widget>[ Text( '所在地区', style: TextStyle(fontSize: 20.0), ), Text( _userInfo.city, style: TextStyle(fontSize: 20.0), ), ], ), ), ), Divider(), InkWell( onTap: () { //TODO }, child: Container( margin: const EdgeInsets.only(left: 20.0), padding: const EdgeInsets.only( top: 10.0, bottom: 10.0, right: 20.0), child: Row( crossAxisAlignment: CrossAxisAlignment.center, mainAxisAlignment: MainAxisAlignment.spaceBetween, children: <Widget>[ Padding( padding: const EdgeInsets.only(right: 20.0), child: Text( '开发平台', style: TextStyle(fontSize: 20.0), ), ), Expanded( child: Text( // 'Android,C/C++,J2ME/K-Java,Python,.NET/C#', _userInfo.platforms.toString(), style: TextStyle(fontSize: 20.0), textAlign: TextAlign.right, ), ), ], ), ), ), Divider(), InkWell( onTap: () { //TODO }, child: Container( margin: const EdgeInsets.only(left: 20.0), padding: const EdgeInsets.only( top: 10.0, bottom: 10.0, right: 20.0), child: Row( crossAxisAlignment: CrossAxisAlignment.center, mainAxisAlignment: MainAxisAlignment.spaceBetween, children: <Widget>[ Padding( padding: const EdgeInsets.only(right: 20.0), child: Text( '专长领域', style: TextStyle(fontSize: 20.0), ), ), Expanded( child: Text( // '手机软件开发,服务器开发,软件开发管理', _userInfo.expertise.toString(), style: TextStyle(fontSize: 20.0), textAlign: TextAlign.right, ), ), ], ), ), ), Divider(), Container( margin: const EdgeInsets.only(left: 20.0), padding: const EdgeInsets.only( top: 10.0, bottom: 10.0, right: 20.0), child: Row( crossAxisAlignment: CrossAxisAlignment.center, mainAxisAlignment: MainAxisAlignment.spaceBetween, children: <Widget>[ Text( '粉丝数', style: TextStyle(fontSize: 20.0), ), Text( _userInfo.fansCount.toString(), style: TextStyle(fontSize: 20.0), overflow: TextOverflow.ellipsis, ), ], ), ), Divider(), Container( margin: const EdgeInsets.only(left: 20.0), padding: const EdgeInsets.only( top: 10.0, bottom: 10.0, right: 20.0), child: Row( crossAxisAlignment: CrossAxisAlignment.center, mainAxisAlignment: MainAxisAlignment.spaceBetween, children: <Widget>[ Text( '收藏数', style: TextStyle(fontSize: 20.0), ), Text( _userInfo.favoriteCount.toString(), style: TextStyle(fontSize: 20.0), overflow: TextOverflow.ellipsis, ), ], ), ), Divider(), Container( margin: const EdgeInsets.only(left: 20.0), padding: const EdgeInsets.only( top: 10.0, bottom: 10.0, right: 20.0), child: Row( crossAxisAlignment: CrossAxisAlignment.center, mainAxisAlignment: MainAxisAlignment.spaceBetween, children: <Widget>[ Text( '关注数', style: TextStyle(fontSize: 20.0), ), Text( _userInfo.followersCount.toString(), style: TextStyle(fontSize: 20.0), overflow: TextOverflow.ellipsis, ), ], ), ), Divider(), ], ), ); }
关于上面的代码细节不用过多纠结,都是熟能生巧的事,练得多了自然而然也就亲切了,写得少当然感觉很懵,重点是理解,当实际自己来实现时只要有思路再到时查阅一下既可,反正我也记不住。
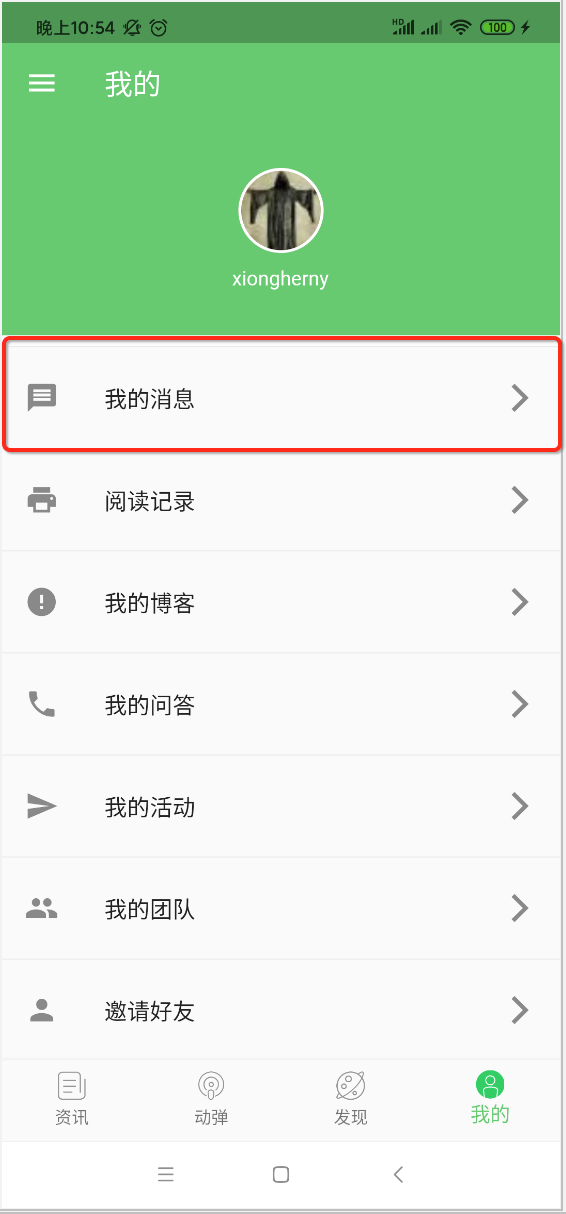
我的消息:
接下来则来处理这块的点击事件,不过这里仅以它为例来实现一下:
点击时需要判断是否登录:

然后新建一个页面:
import 'package:flutter/material.dart';
import 'package:flutter_osc_client/constants/constants.dart';

class MyMessagePage extends StatefulWidget {
  @override
  _MyMessagePageState createState() => _MyMessagePageState();
}

class _MyMessagePageState extends State<MyMessagePage> {
  @override
  Widget build(BuildContext context) {
    return Scaffold(
      appBar: AppBar(
        elevation: 0.0,
        title: Text(
          '消息中心',
          style: TextStyle(
            color: Color(AppColors.APPBAR),
          ),
        ),
        iconTheme: IconThemeData(
          color: Color(AppColors.APPBAR),
        ),
      ),
    );
  }
}
运行看一下:

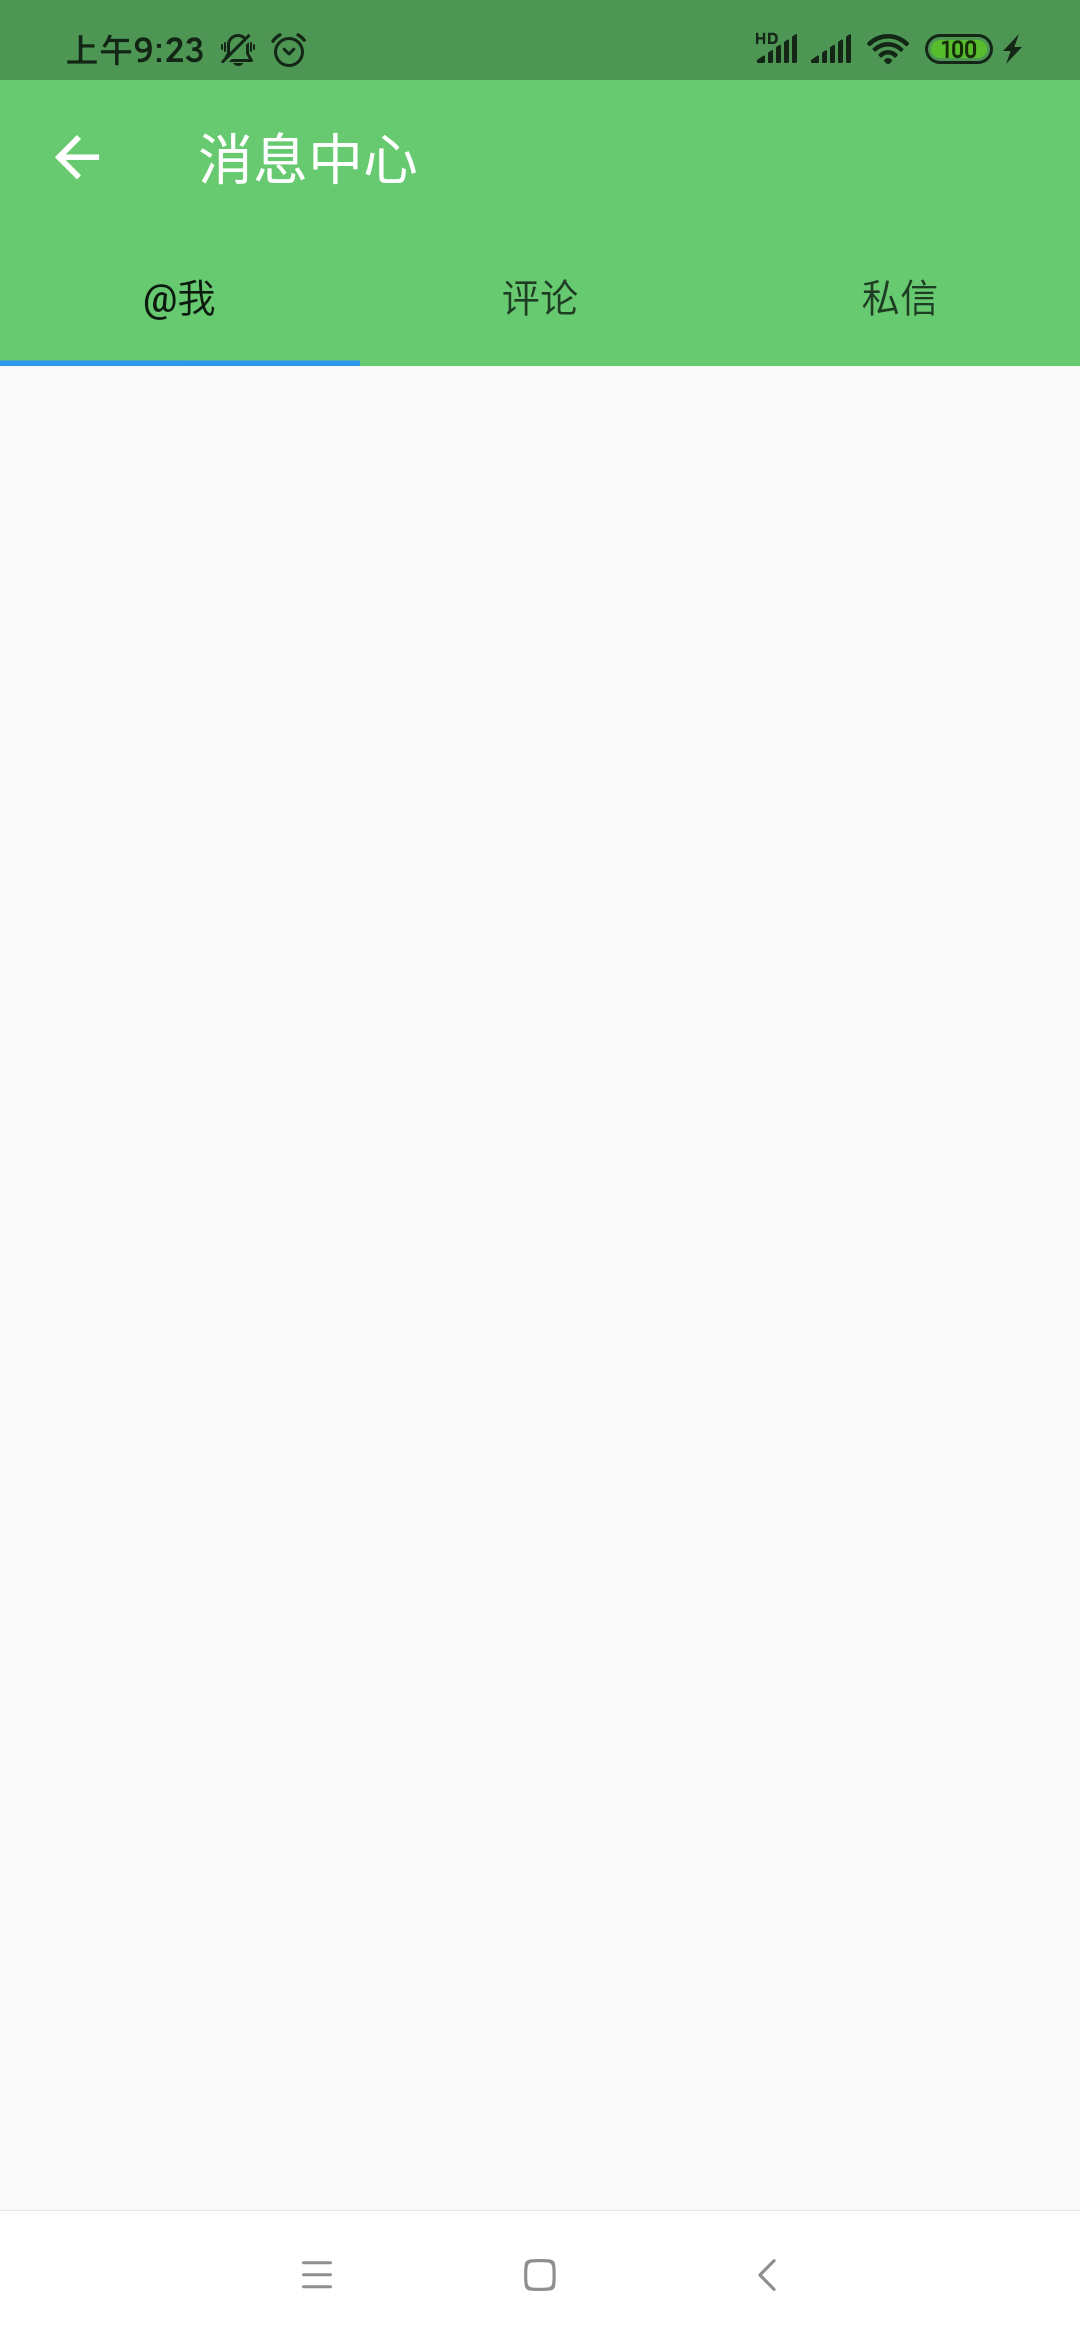
接下来则来构建消息中心页面,它长啥样呢?先看看:
关于这种Tab样式界面的写法可以参考https://www.cnblogs.com/webor2006/p/12578218.html,下面来构建一下:
import 'package:flutter/material.dart';
import 'package:flutter_osc_client/constants/constants.dart';

class MyMessagePage extends StatefulWidget {
  @override
  _MyMessagePageState createState() => _MyMessagePageState();
}

class _MyMessagePageState extends State<MyMessagePage> {
  List<String> _tabTitles = ['@我', '评论', '私信'];

  @override
  Widget build(BuildContext context) {
    return DefaultTabController(
      length: _tabTitles.length,
      child: Scaffold(
        appBar: AppBar(
          elevation: 0.0,
          title: Text(
            '消息中心',
            style: TextStyle(
              color: Color(AppColors.APPBAR),
            ),
          ),
          iconTheme: IconThemeData(
            color: Color(AppColors.APPBAR),
          ),
          bottom: TabBar(
              tabs: _tabTitles
                  .map((title) => Tab(
                        text: title,
                      ))
                  .toList()),
        ),
      ),
    );
  }

  _buildMessageList() {}
}
运行:
TAB效果有了,接下来则需要构建一下TAB之后下面页面的内容:

运行:

这里只以私信为例,前面两个就占个位得了,这里私信又有一个新接口需要请求:

所以新建一个URL:

然后咱们来请求一下它,并根据数据来构建私信列表显示:
import 'dart:convert';

import 'package:flutter/cupertino.dart';
import 'package:flutter/material.dart';
import 'package:flutter_osc_client/constants/constants.dart';
import 'package:flutter_osc_client/utils/data_utils.dart';
import 'package:flutter_osc_client/utils/net_utils.dart';

class MyMessagePage extends StatefulWidget {
  @override
  _MyMessagePageState createState() => _MyMessagePageState();
}

class _MyMessagePageState extends State<MyMessagePage> {
  List<String> _tabTitles = ['@我', '评论', '私信'];
  List messageList;
  int curPage = 1;

  @override
  Widget build(BuildContext context) {
    return DefaultTabController(
      length: _tabTitles.length,
      child: Scaffold(
        appBar: AppBar(
          elevation: 0.0,
          title: Text(
            '消息中心',
            style: TextStyle(
              color: Color(AppColors.APPBAR),
            ),
          ),
          iconTheme: IconThemeData(
            color: Color(AppColors.APPBAR),
          ),
          bottom: TabBar(
              tabs: _tabTitles
                  .map((title) => Tab(
                        text: title,
                      ))
                  .toList()),
        ),
        body: TabBarView(children: [
          Center(
            child: Text('暂无内容'),
          ),
          Center(
            child: Text('暂无内容'),
          ),
          _buildMessageList(),
        ]),
      ),
    );
  }

  _buildMessageList() {
    if (messageList == null) {
      //获取私信
      _getMessageList();
      return Center(
        child: CupertinoActivityIndicator(),
      );
    }
    return RefreshIndicator(
        child: ListView.separated(
            itemBuilder: (context, index) {
              return Padding(
                padding: const EdgeInsets.all(10.0),
                child: Row(
                  children: <Widget>[
                    Image.network(messageList[index]['portrait']),
                    SizedBox(
                       10.0,
                    ),
                    Expanded(
                      child: Column(
                        children: <Widget>[
                          Row(
                            mainAxisAlignment: MainAxisAlignment.spaceBetween,
                            children: <Widget>[
                              Text(
                                '${messageList[index]['sendername']}',
                                style: TextStyle(
                                    fontSize: 16.0,
                                    fontWeight: FontWeight.bold),
                              ),
                              Text(
                                '${messageList[index]['pubDate']}',
                                style: TextStyle(
                                    fontSize: 12.0, color: Color(0xffaaaaaa)),
                              ),
                            ],
                          ),
                          Text(
                            '${messageList[index]['content']}',
                            overflow: TextOverflow.ellipsis,
                            maxLines: 1,
                            style: TextStyle(fontSize: 12.0),
                          ),
                        ],
                      ),
                    ),
                  ],
                ),
              );
            },
            separatorBuilder: (context, index) {
              return Divider();
            },
            itemCount: messageList.length),
        onRefresh: _pullToRefresh);
  }

  Future<Null> _pullToRefresh() async {
    curPage = 1;
    _getMessageList();
    return null;
  }

  void _getMessageList() {
    DataUtils.isLogin().then((isLogin) {
      if (isLogin) {
        DataUtils.getAccessToken().then((accessToken) {
          print('accessToken: $accessToken');
          //拼装请求
          Map<String, dynamic> params = Map<String, dynamic>();
          params['dataType'] = 'json';
          params['page'] = curPage;
          params['pageSize'] = 10;
          params['access_token'] = accessToken;
          NetUtils.get(AppUrls.MESSAGE_LIST, params).then((data) {
            print('MY_INFORMATION: $data');
            if (data != null && data.isNotEmpty) {
              Map<String, dynamic> map = json.decode(data);
              var _messageList = map['messageList'];
              setState(() {
                messageList = _messageList;
              });
            }
          });
        });
      }
    });
  }
}
上面的代码比较多,其实都比较好理解,不多说了,直接运行看看效果:

对于界面上这样的布局:
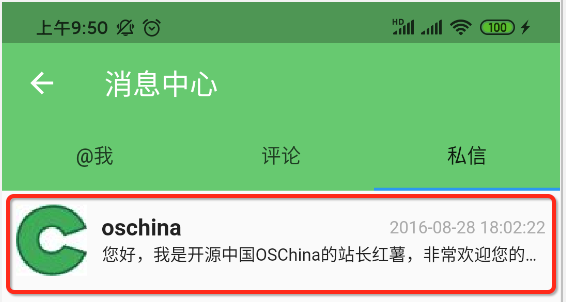
可以看到在Flutter中写着还是蛮麻烦的:
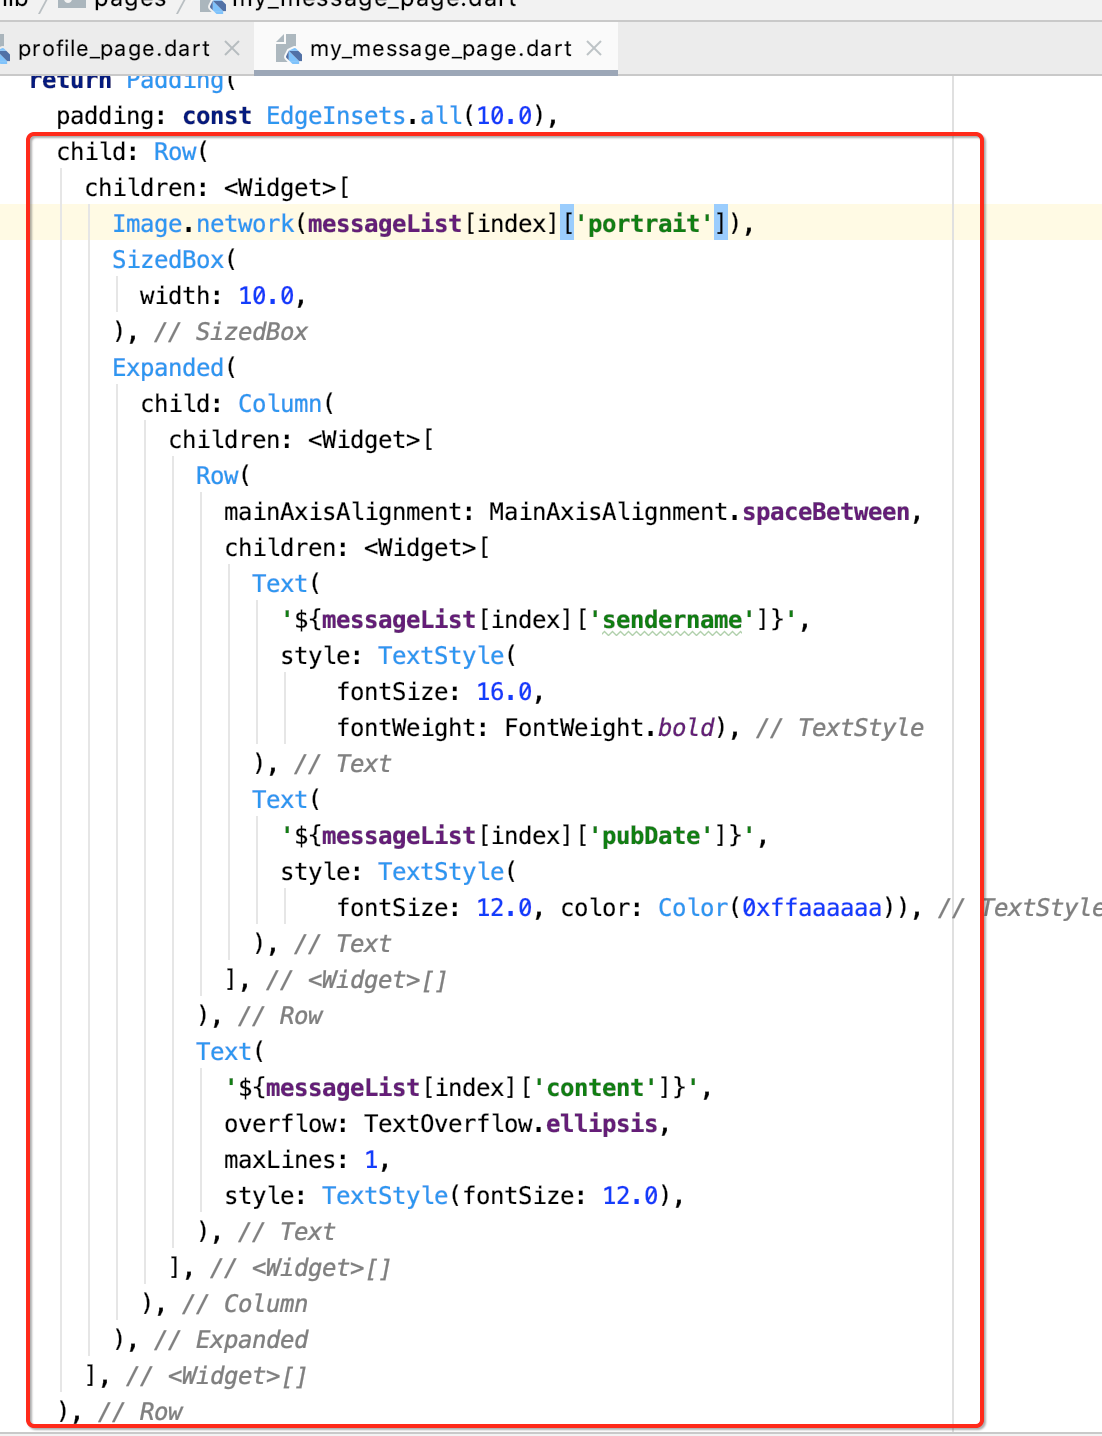
而且这种嵌套看着也比较头晕,只怪自己还是比较菜,慢慢来,先能跟着做出效果来,之后再慢慢熟练,这里有上拉刷新的逻辑,那分页下拉加载呢?关于这块可以参考https://www.cnblogs.com/webor2006/p/12748524.html,需要自己手动添加逻辑,这里略过了。