babel 是编译工具,把js高级语言转换成浏览器能识别的js语言。
webpack 是打包工具,定义入口文件,将所有模块引入整理后,通过 loader 和 plugin 处理后,打包输出。
loader让webpack也能够去处理那些非js文件的模块(如ES6新增的API,webpack本身是能处理简单的js文件)
webpack 通过 babel-loader 使用 babel 。
Loader是什么?
Loader 只是一个导出为函数的 JavaScript 模块。现在我们可以知道其实loader就是一个函数,我们可以在这个函数里做一些事情。谁会调用这个函数呢(loader runner 会调用这个函数,然后把上一个 loader 产生的结果或者资源文件(resource file)传入进去。)
Loader职责是什么?
Loader职责是单一的,只做一件事。 假设一个源文件需要多步转换才能正常使用,就只能通过多个Loader去转换了。拿到最初的资源文件内容,转换成我们想要的结果,最后输出来
多个Loader执行会有什么情况?
在调用多个Loader去转换一个文件时, 第一个Loader将会拿到需处理的原内容,上一个Loader处理后的结果会传给下一个接着处理,最后的Loader将处理后的最终结果返回给Webpack,但是这里有个重要的多loader执行顺序是从右到左的(case: use:['style-loader', css-loader]先回执行css-loader再执行style-loader)
如何创建loader:
1.初始化项目
npm init
2.安装webpack
npm install webpack webpack-cli --save-dev
3.创建main.js,index.html
<!DOCTYPE html>
<html lang="en">
<head>
  <meta charset="UTF-8">
  <meta http-equiv="X-UA-Compatible" content="IE=edge">
  <meta name="viewport" content="width=device-width, initial-scale=1.0">
  <title>Document</title>
</head>
<body>
  <script src="./dist/main.js"></script>
  测试
</body>
</html>
console.log('start')

function a() {
  alert(1)
}

a();

console.log('end')
4.创建delconsole-loader.js并编写loader所需要的转换逻辑【删除所有的console.log()】
// 由于nodejs是遵从commonjs规范的所以导出格式
module.exports = function(context) {
  //context是被处理文件里面的内容
  // 替换内容
  context = context.replace(/console.log(.*)/g, '');
  // 返回想要的结果 return context;
  return context
}
5.创建webpack.config.js配置文件
const path = require('path');
module.exports = {
  mode: 'development',
  entry: './main.js',
  output: {
      path: path.resolve(__dirname, './dist'),
  },
  module: {
    rules: [
      // 自定义loader
      {
        test: /./,
        use: ['./loader/delconsole-loader'],
      }
  ]
  }
}

6.执行命令打包
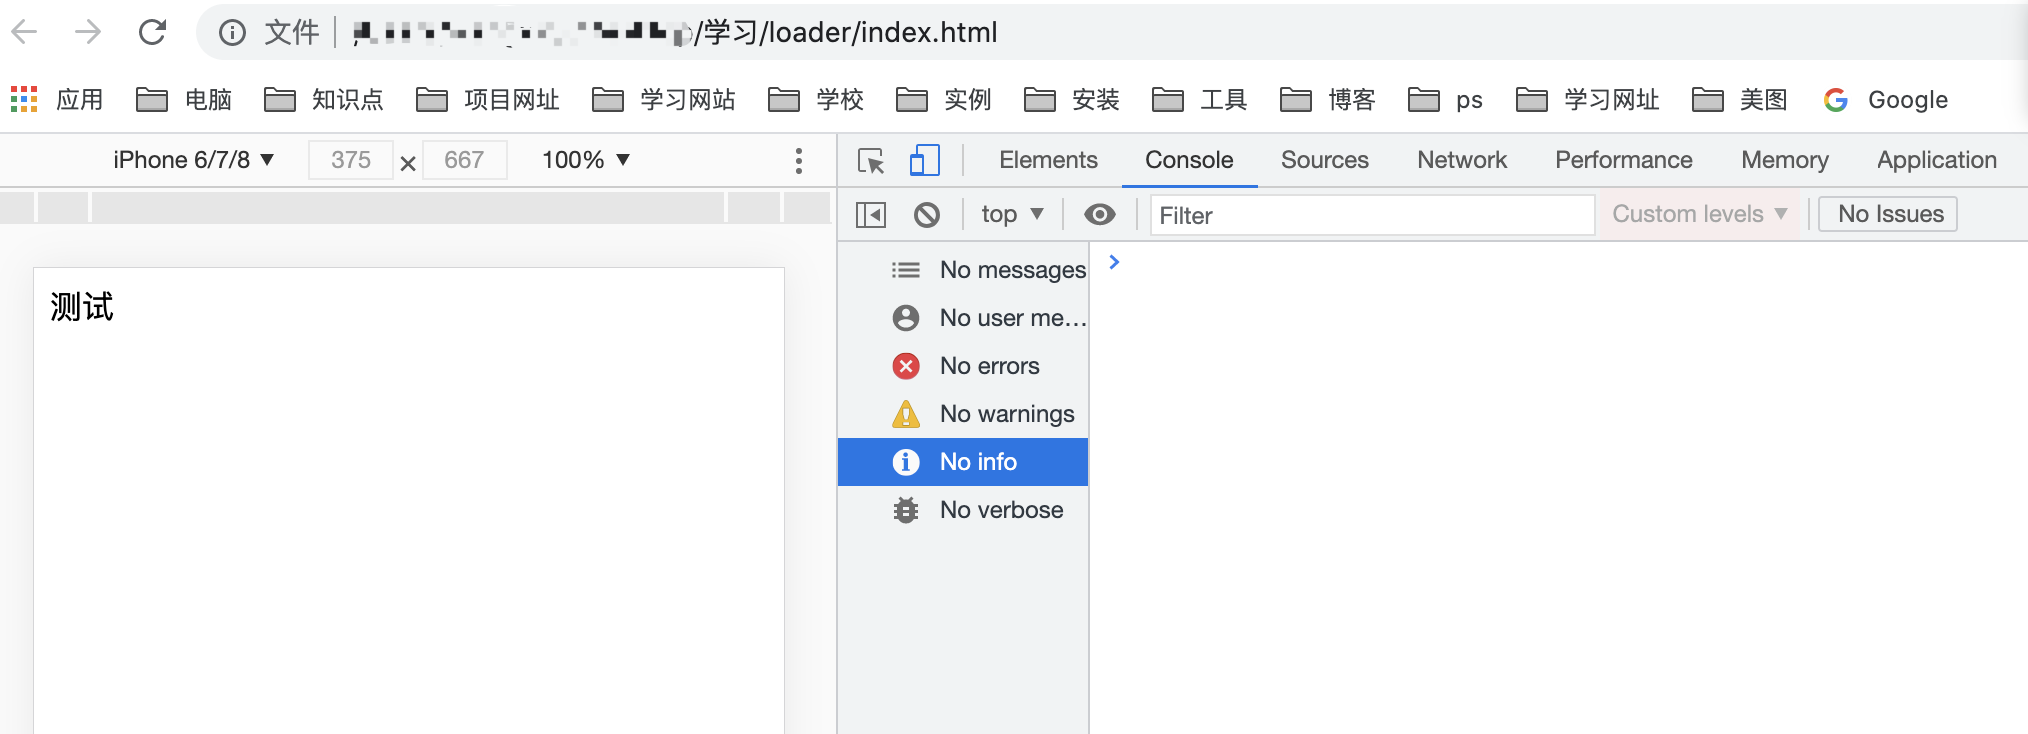
npm run build
7.查看打包后的效果

可以看到没有console的输出了
8.查看打包后的js文件
/*
 * ATTENTION: The "eval" devtool has been used (maybe by default in mode: "development").
 * This devtool is neither made for production nor for readable output files.
 * It uses "eval()" calls to create a separate source file in the browser devtools.
 * If you are trying to read the output file, select a different devtool (https://webpack.js.org/configuration/devtool/)
 * or disable the default devtool with "devtool: false".
 * If you are looking for production-ready output files, see mode: "production" (https://webpack.js.org/configuration/mode/).
 */
/******/ (() => { // webpackBootstrap
/******/     var __webpack_modules__ = ({

/***/ "./main.js":
/*!*****************!*
  !*** ./main.js ***!
  *****************/
/***/ (() => {

eval("

function a() {
  alert(1)
}

a();


//# sourceURL=webpack://loader-del-console/./main.js?");

/***/ })

/******/     });
/************************************************************************/
/******/
/******/     // startup
/******/     // Load entry module and return exports
/******/     // This entry module can't be inlined because the eval devtool is used.
/******/     var __webpack_exports__ = {};
/******/     __webpack_modules__["./main.js"]();
/******/
/******/ })()
;