1.python3虚拟环境准备
2.安装uwsgi
(mydjango118) [root@localhost Ace_crm]# pip3 install uwsgi
(mydjango118) [root@localhost Ace_crm]# which uwsgi
/root/Envs/mydjango118/bin/uwsgi
3.安装django
(mydjango118) [root@localhost Ace_crm]# pip3 install django==1.11.18
(mydjango118) [root@localhost Ace_crm]# which django-admin
/root/Envs/mydjango118/bin/django-admin
4.创建项目
(mydjango118) [root@localhost Ace_crm]# django-admin startprojec
t mydj118
更改配置
(mydjango118) [root@localhost mydj118]# vim mydj118/settings.py
ALLOWED_HOSTS = ["*"]
5.使用uwsgi
创建一个测试文件text.py写入如下代码
def application(env, start_response):
    start_response('200 OK', [('Content-Type','text/html')])
    return [b"Hello World"]
启动,并通过浏览器访问8888端口
(mydjango118) [root@localhost mydj118]# uwsgi --http :8888 --wsgi-file test.py
uWsgi热加载python程序
(mydjango118) [root@localhost mydj118]# pwd
/opt/allenv/day81/Ace_crm/mydj118
(mydjango118) [root@localhost mydj118]# uwsgi --http :9999 --module mydj118.wsgi --py-autoreload=1
此时修改django代码,uWSGI会自动加载django程序,页面生效
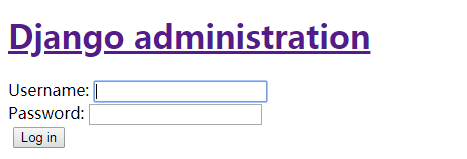
访问admin页面
10.0.0.21:9999/admin
通过配置文件启动uwsgi
手动创建这个配置文件,写入如下信息.uwsgi.ini
[uwsgi]
# Django-related settings
# the base directory (full path)
#这里写入项目的绝对路径
chdir           = /opt/allenv/day81/Ace_crm/mydj118
# Django's wsgi file
#写入django的第二层文件夹,和wsgi.py文件
module          = mydj118.wsgi
# the virtualenv (full path)
#虚拟环境的绝对路径
home            = /root/Envs/mydjango118
# process-related settings
# master
master          = true
# maximum number of worker processes
processes       = 5
#如果你没用nginx,想直接访问django后台,可以使用http协议
http = 0.0.0.0:8000
#如果你用了nginx进行反向代理,请使用socket协议,注释掉http协议
#如果你用了nginx进行反向代理,请使用socket协议,注释掉http协议
#如果你用了nginx进行反向代理,请使用socket协议,注释掉http协议
#socket          = 0.0.0.0:8000
启动
(mydjango118) [root@localhost mydj118]# uwsgi --ini uwsgi.ini
配置nginx结合uWSGI
修改uwsgi.ini文件,将http改为socket
[uwsgi]
# Django-related settings
# the base directory (full path)
#这里写入项目的绝对路径
chdir           = /opt/allenv/day81/Ace_crm/mydj118
# Django's wsgi file
#写入django的第二层文件夹,和wsgi.py文件
module          = mydj118.wsgi
# the virtualenv (full path)
#虚拟环境的绝对路径
home            = /root/Envs/mydjango118
# process-related settings
# master
master          = true
# maximum number of worker processes
processes       = 5
#如果你没用nginx,想直接访问django后台,可以使用http协议
#http = 0.0.0.0:8000
#如果你用了nginx进行反向代理,请使用socket协议,注释掉http协议
#如果你用了nginx进行反向代理,请使用socket协议,注释掉http协议
#如果你用了nginx进行反向代理,请使用socket协议,注释掉http协议
socket          = 0.0.0.0:8000


# ... with appropriate permissions - may be needed
# chmod-socket    = 664
# clear environment on exit
vacuum          = true
配置nginx
server {
        listen       80;
        server_name  www.wanglan.com;

        #charset koi8-r;

        #access_log  logs/host.access.log  main;

        location / {
                include uwsgi_params; #导入uwsgi_params
                uwsgi_pass 0.0.0.0:8000; #转发给8000端口
        }
检测重启nginx
[root@localhost conf]# nginx -t
nginx: the configuration file /opt/nginx1-12//conf/nginx.conf syntax is ok
nginx: configuration file /opt/nginx1-12//conf/nginx.conf test is successful
[root@localhost conf]# nginx -s reload
访问主机IP已及admin,但是admin此时没有静态文件
django的静态文件与nginx配置
mysite/settings.py
STATIC_ROOT='/opt/nginx1-12/static'
STATIC_URL = '/static/'
STATICFILES_DIRS=[
    os.path.join(BASE_DIR,"static"),
]
收集静态文件,在项目的manang.py同级目录中执行
(mydjango118) [root@localhost mydj118]# mkdir static
(mydjango118) [root@localhost mydj118]# python3 manage.py collectstatic
查看收集的文件
(mydjango118) [root@localhost mydj118]# cd /opt/nginx1-12/static

(mydjango118) [root@localhost static]# ll
total 0
drwxr-xr-x 6 root root 47 Mar 12 16:17 admin

(mydjango118) [root@localhost static]# ls admin/
css  fonts  img  js
配置nginx
server {
        listen       80;
        server_name  www.wanglan.com;

        #charset koi8-r;

        #access_log  logs/host.access.log  main;

        # 这个是最低级匹配,所有的请求,最终都会进入到这里,进行方>向代理
        location / {
                include uwsgi_params;
                uwsgi_pass 0.0.0.0:8000;
        }

        # 当请求url,从static路径开始时,从这里匹配
        location /static{
                alias /opt/nginx1-12/static;
        }
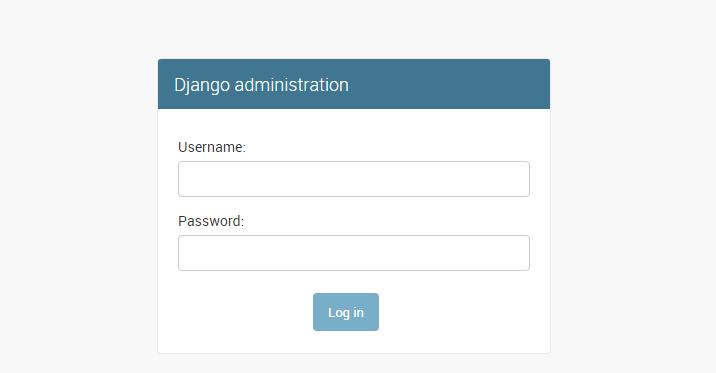
再次访问admini
supervisor
supervisor 是基于 python 的任务管理工具,用来自动运行各种后台任务,当然你也能直接利用 nohup 命令使任务自动后台运行,但如果要重启任务,每次都自己手动 kill 掉任务进程,这样很繁琐,而且一旦程序错误导致进程退出的话,系统也无法自动重载任务。
基于virtualenv的supervisor
由于supervisor在python3下无法使用,因此只能用python2去下载!!!!!!
[root@localhost opt]# yum install python-setuptools
[root@localhost opt]# easy_install supervisor
通过命令生成supervisor的配支文件
echo_supervisord_conf > /etc/supervisord.conf
然后再/etc/supervisord.conf末尾添加上如下代码
[program:s17uwsgi]
command=/root/Envs/mydjango118/bin/uwsgi --ini  /opt/allenv/day81/Ace_crm/mydj118/uwsgi.ini
stopasgroup=true
killasgroup=true
command最好写绝对路径
(mydjango118) [root@localhost mydj118]# find / -name uwsgi
/root/Envs/mydjango118/bin/uwsgi  #uwsgi绝对路径
(mydjango118) [root@localhost mydj118]# find / -name uwsgi.ini
/opt/allenv/day81/Ace_crm/mydj118/uwsgi.ini #uwsgi.ini绝对路径
启动supervisor服务
[root@localhost ~]# supervisord -c /etc/supervisord.conf
通过命令管理任务,管理uwsgi
[root@localhost ~]# supervisorctl -c /etc/supervisord.conf
管理supervisor的命令
start 任务名
stop 任务名
stop all
start all
status 任务名