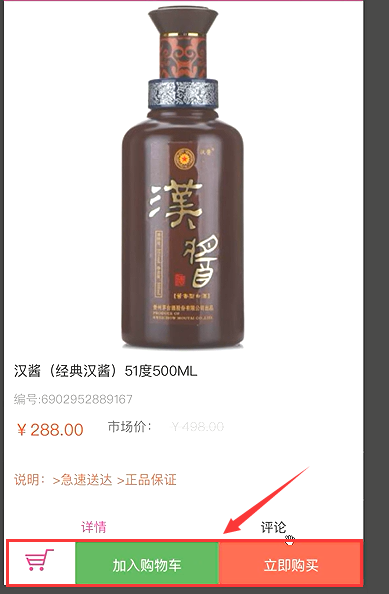
49.详细页_Stack制作底部工具栏
一直悬浮在最下面的
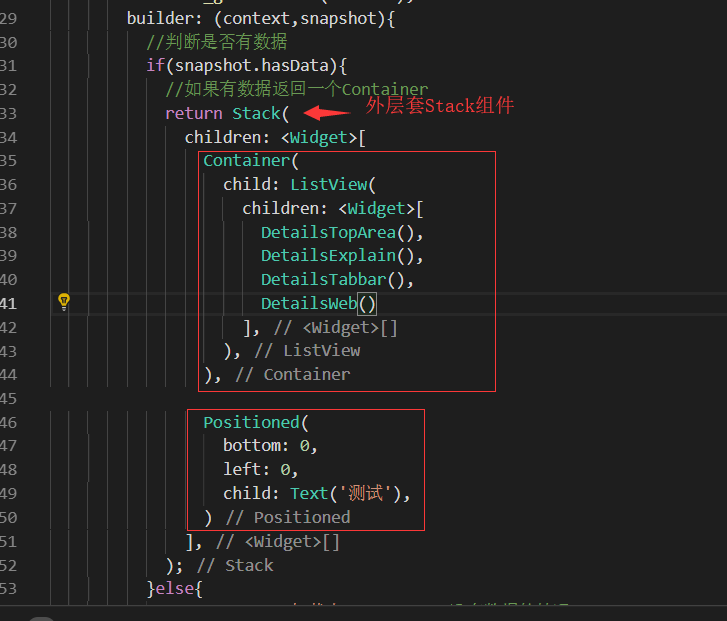
Stack层叠组件。里面用Row 可以横向布局
开始
stack如果想定位就要用position去定位。
修改return返回值的这个地方
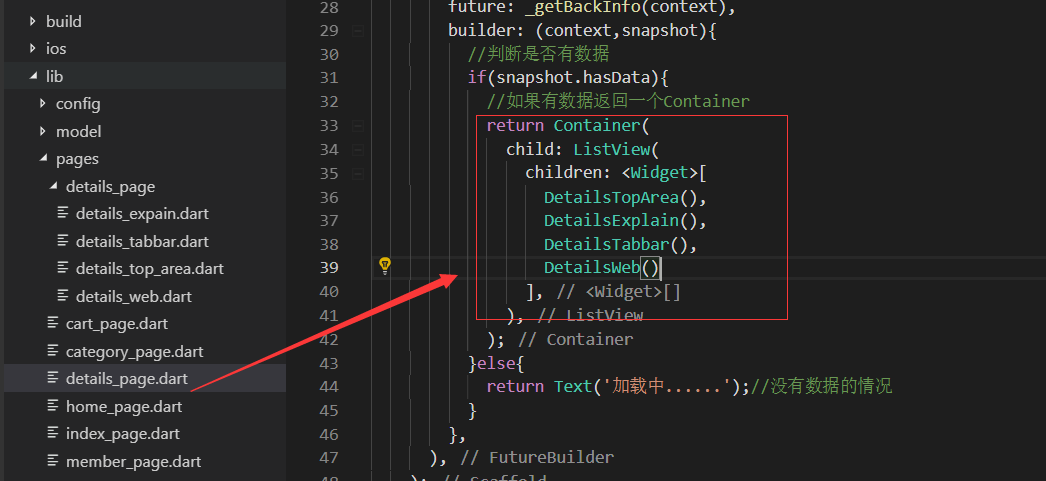
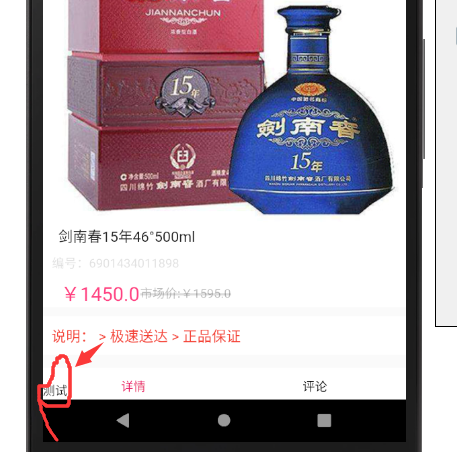
大R刷新查看效果,可以看到固定的在左下角的测试的字样。一直固定在底部
做底部的固定栏widget
新建页面:在文件夹details_page/details_bottom.dart 在布局用三个InkWell 因为都是可以点击的。
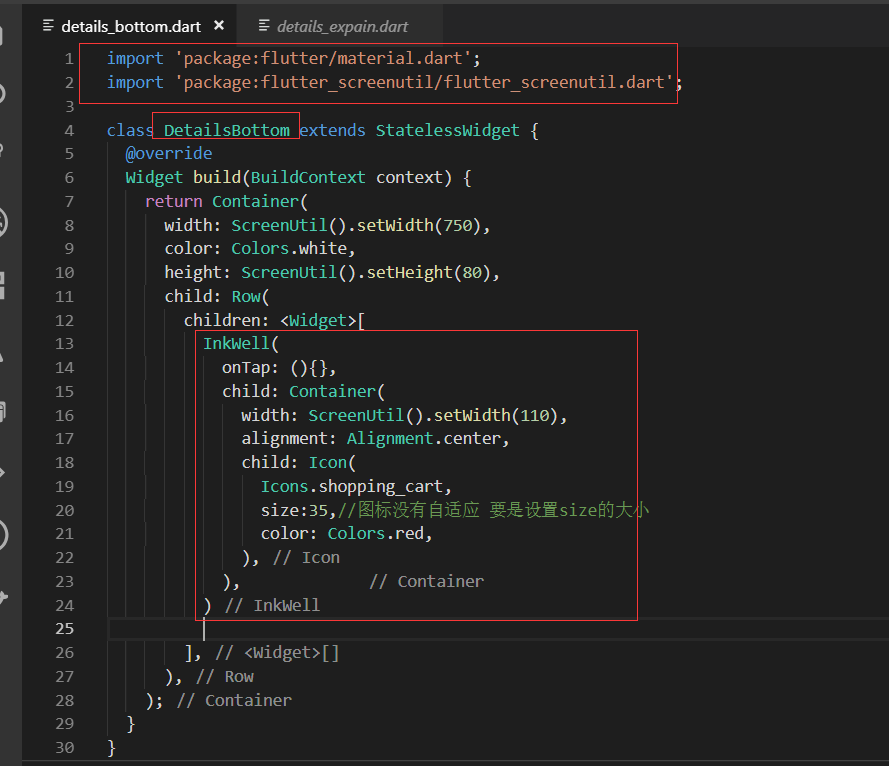
加入购物车的InkWell

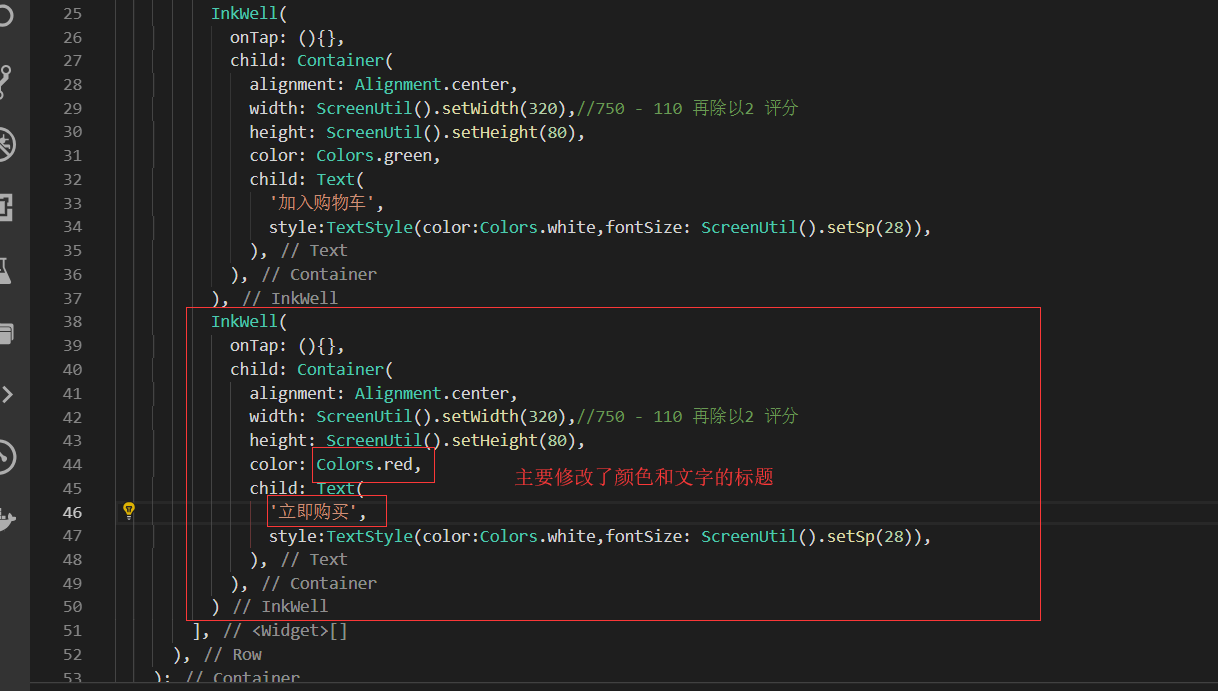
立即购买,复制购物车的InkWell改改就可以了。
引用这个组件

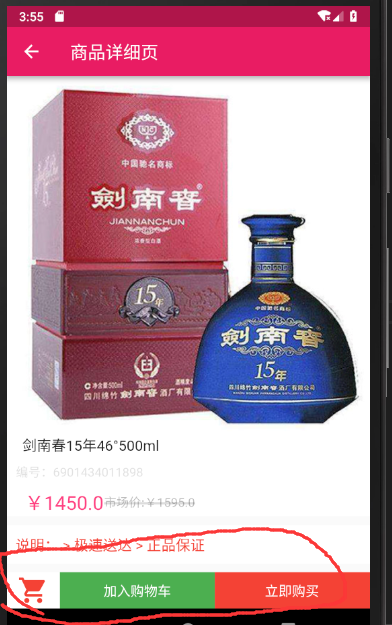
效果展示
最终代码:
details_bottom.dart
import 'package:flutter/material.dart';
import 'package:flutter_screenutil/flutter_screenutil.dart';

class DetailsBottom extends StatelessWidget {
  @override
  Widget build(BuildContext context) {
    return Container(
       ScreenUtil().setWidth(750),
      color: Colors.white,
      height: ScreenUtil().setHeight(80),
      child: Row(
        children: <Widget>[
          InkWell(
            onTap: (){},
            child: Container(
               ScreenUtil().setWidth(110),
              alignment: Alignment.center,
              child: Icon(
                Icons.shopping_cart,
                size:35,//图标没有自适应 要是设置size的大小
                color: Colors.red,
              ),
            ),
          ),
          InkWell(
            onTap: (){},
            child: Container(
              alignment: Alignment.center,
               ScreenUtil().setWidth(320),//750 - 110 再除以2 评分
              height: ScreenUtil().setHeight(80),
              color: Colors.green,
              child: Text(
                '加入购物车',
                style:TextStyle(color:Colors.white,fontSize: ScreenUtil().setSp(28)),
              ),
            ),
          ),
          InkWell(
            onTap: (){},
            child: Container(
              alignment: Alignment.center,
               ScreenUtil().setWidth(320),//750 - 110 再除以2 评分
              height: ScreenUtil().setHeight(80),
              color: Colors.red,
              child: Text(
                '立即购买',
                style:TextStyle(color:Colors.white,fontSize: ScreenUtil().setSp(28)),
              ),
            ),
          )
        ],
      ),
    );
  }
}
details_page.dart
import 'package:flutter/material.dart';
import 'package:provide/provide.dart';
import '../provide/details_info.dart';
import './details_page/details_top_area.dart';
import './details_page/details_expain.dart';
import './details_page/details_tabbar.dart';
import './details_page/details_web.dart';
import './details_page/details_bottom.dart';

class DetailsPage extends StatelessWidget {
  final String goodsId;

  DetailsPage(this.goodsId);//flutter 1.2的最新的写法 构造函数

  @override
  Widget build(BuildContext context) {

    return Scaffold(
      appBar: AppBar(
        leading: IconButton(
          icon: Icon(Icons.arrow_back),
          onPressed: (){
            Navigator.pop(context);//返回上一个页面
          },
        ),
        title: Text('商品详细页'),
      ),
      body: FutureBuilder(
        future: _getBackInfo(context),
        builder: (context,snapshot){
          //判断是否有数据
          if(snapshot.hasData){
            //如果有数据返回一个Container
            return Stack(
              children: <Widget>[
                Container(
                  child: ListView(
                    children: <Widget>[
                      DetailsTopArea(),
                      DetailsExplain(),
                      DetailsTabbar(),
                      DetailsWeb()
                    ],
                  ),
                ),

                Positioned(
                  bottom: 0,
                  left: 0,
                  child: DetailsBottom(),
                )
              ],
            );
          }else{
            return Text('加载中......');//没有数据的情况
          }
        },
      ),
    );
  }

  Future _getBackInfo(BuildContext context) async{
    await Provide.value<DetailsInfoProvide>(context).getGoodsInfo(goodsId);
    //print('加载完成...........');
    return '完成加载';
  }

}