# VUE2.0安装
1:先安装node.js
2: 安装npm
3: 安装webpack
npm install webpack -g
4: 安装cnpm
npm install -g cnpm -registry=https://registry.npm.taobao.org
5: 安装vue脚手架
npm install vue-cli -g
6: 创建vue项目
vue init webapck youJobName
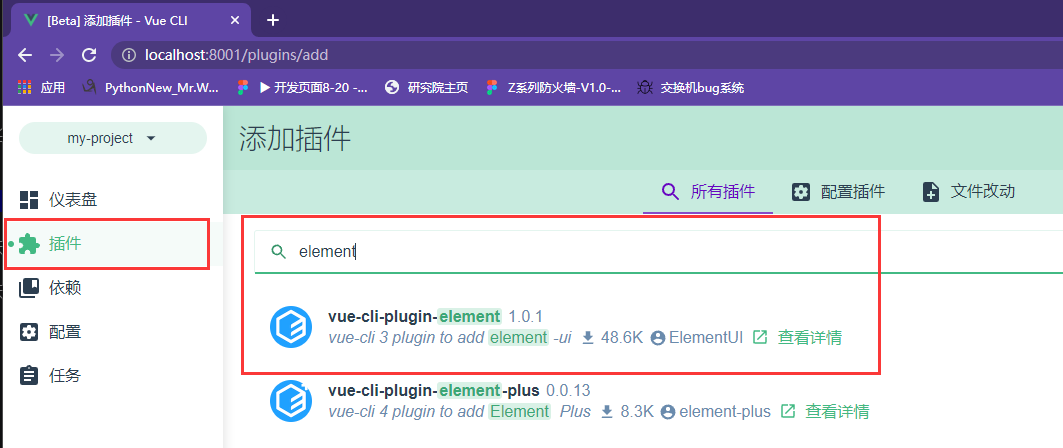
7: 安装element UI
cnpm install --save element-ui

// 如果第一次安装报错请继续执行一次这个命令
// 检测是否安装上

8: 配置element UI
# main.js
import ElementUI from 'element-ui'
import 'element-ui/lib/theme-chalk/index.css'
Vue.use(ElementUI)
VUE3配置安装:
直接where vue 到目录去删除vue 2.0所有相关的,再执行命令 cnpm install -g @vue/cli 下载最新版本
查看版本号: vue -V


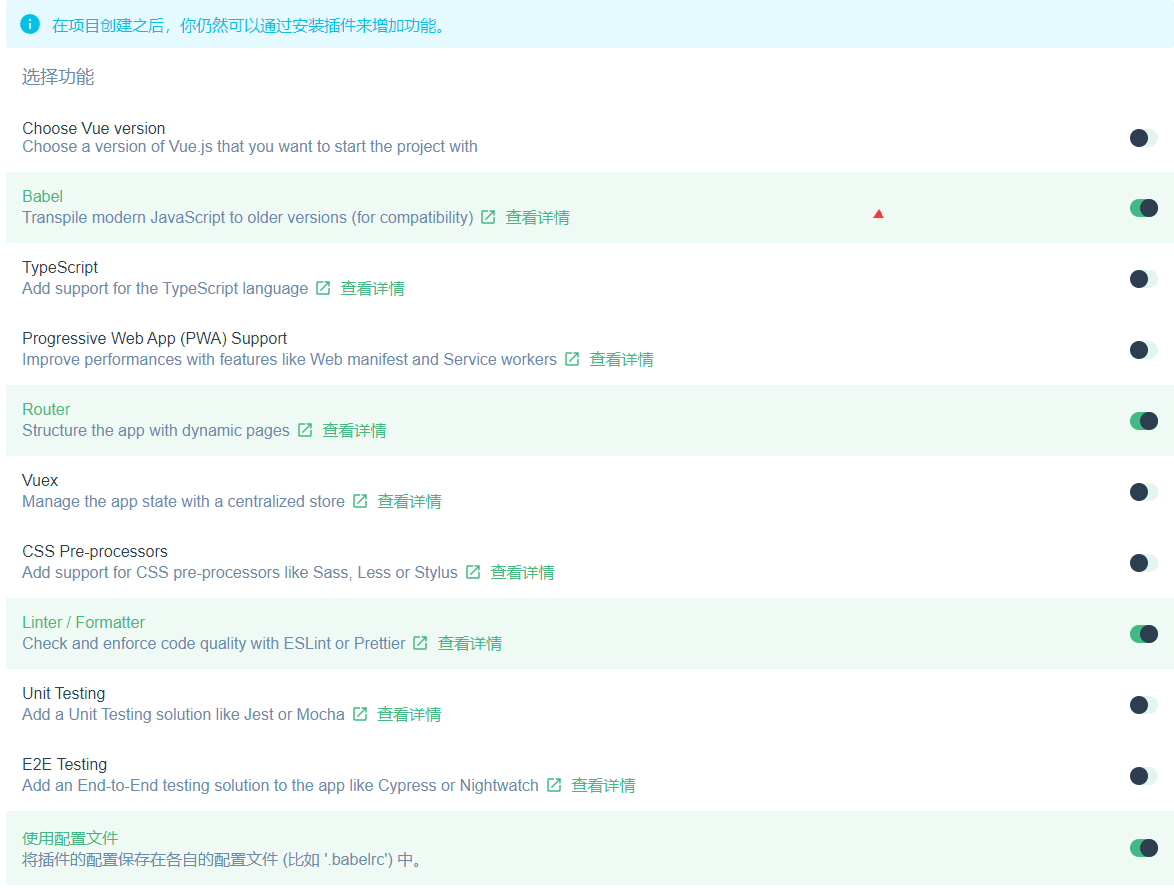
使用vue ui初始化项目


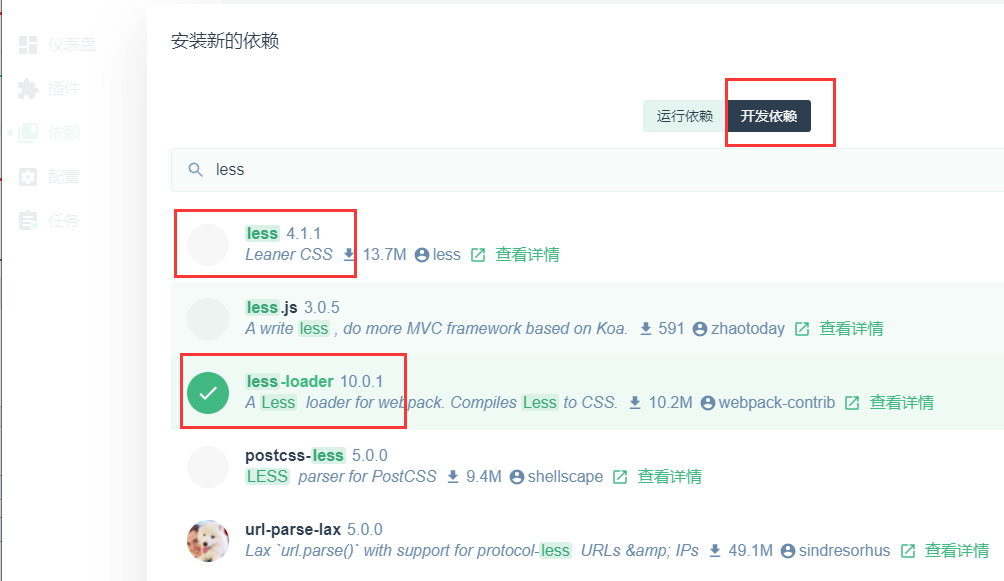
两个都要安装 ,这里有个问题,安装后版本之间不兼容问题,如果还是报错建议直接在终端/CMD 卸载上面环境的less后 执行命令安装:
cnpm install less@3.9.0
cnpm install less-loader@5.0.0 -s


PS: VSDOES自动校验格式:
{
    "editor.fontLigatures": null,
    "editor.mouseWheelZoom": true,
    "editor.fontSize": 16,
    "window.zoomLevel": 1,
    "editor.formatOnType": true,
    "editor.formatOnSave": true,
    "vetur.format.defaultFormatter.js": "none",
    "javascript.format.insertSpaceBeforeFunctionParenthesis": true,
    "eslint.codeAction.showDocumentation": {
        "enable": true
    },
    "editor.quickSuggestions": {
        "strings": true
    },
    "eslint.nodePath": "",
    "editor.tabSize": 2,
    "eslint.nodeEnv": "",
    "editor.codeActionsOnSave": {
        "source.fixAll": true,
    },
}
