• elementui使用MessageBox 弹框自定义内容$msgbox:实现一个textarea文本输入框


    1、首先我们可以看下官网的例子:

    <template>
      <el-button type="text" @click="open">点击打开 Message Box</el-button>
    </template>
    
    <script>
      export default {
        methods: {
          open() {
            const h = this.$createElement;
            this.$msgbox({
              title: '消息',
              message: h('p', null, [
                h('span', null, '内容可以是 '),
                h('i', { style: 'color: teal' }, 'VNode')
              ]),
              showCancelButton: true,
              confirmButtonText: '确定',
              cancelButtonText: '取消',
              beforeClose: (action, instance, done) => {
                if (action === 'confirm') {
                  instance.confirmButtonLoading = true;
                  instance.confirmButtonText = '执行中...';
                  setTimeout(() => {
                    done();
                    setTimeout(() => {
                      instance.confirmButtonLoading = false;
                    }, 300);
                  }, 3000);
                } else {
                  done();
                }
              }
            }).then(action => {
              this.$message({
                type: 'info',
                message: 'action: ' + action
              });
            });
          }
        }
      }
    </script>

    看到的效果是:

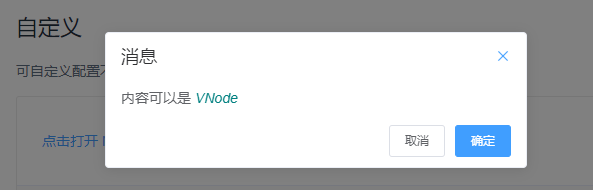
    显示的内容是固定的,肯定不是我们想要的结果了,我们需要动态的表单数据;原理很简单,就是自己创建dom节点,一开始我想的是直接创建el-input标签,代码如下(只用改变message这块代码)

     message: h('div', null, [
                            h('el-input', {
                                attrs: {
                                    type: 'textarea',
                                    rows: 4
                                },
                                props: {
                                    value: _this.commentContent,
                                }
                            })
                        ]),

    效果是可以出来的,但是根本输入不了任何内容:

     查了很多资料,但是未找到任何原因,F12查看渲染出来的组件也是正常的,这里如果有大佬知道原因的话麻烦请指点一下:

    (初步猜测,el-input标签渲染之后是多个标签,未渲染之前设置value值,根本没有绑定上真正的textarea标签,可能直接绑定在外层的div上了)

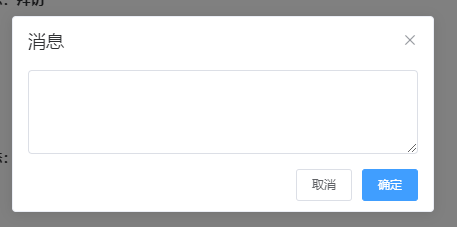
     2、后面我换了一种写法,就是根据textarea渲染之后的样子直接一点点画出来,直接看代码吧:

     message: h('div', {
                            attrs: {
                                class: 'el-textarea',
                            },
                        }, [
                            h('textarea', {
                                attrs: {
                                    class: 'el-textarea__inner',
                                    autocomplete: 'off',
                                    rows: 4,
                                },
                                value: _this.commentContent,
                            })
                        ]),

    然后可以看到效果Ok了

    还有一个问题就是,这样写的话,vue自动的双向绑定已经没有效果了,只能自己写一个事件监听,监听到数据变化自己手动绑定,上最终完整代码(监听input事件,手动同步input输入内容):

    onComment: function () {
        var _this = this;
        const h = _this.$createElement;
        _this.$msgbox({
            title: '消息',
            message: h('div', {
                attrs: {
                    class: 'el-textarea',
                },
            }, [
                h('textarea', {
                    attrs: {
                        class: 'el-textarea__inner',
                        autocomplete: 'off',
                        rows: 4,
                        id:'commentContent'
                    },
                    value: _this.commentContent,
                    on: { input: _this.onCommentInputChange }
                })
            ]),
            showCancelButton: true,
            confirmButtonText: '评论',
            cancelButtonText: '取消',
            beforeClose: (action, instance, done) => {
                if (action === 'confirm') {
                    instance.confirmButtonLoading = true;
                    instance.confirmButtonText = '评论中...';
                    alert(_this.commentContent);
                } else {
                    done();
                }
            }
        }).then(action => {
            _this.$message({
                type: 'info',
                message: 'action: ' + action
            });
        });
    },
    onCommentInputChange() {
        this.commentContent = document.getElementById("commentContent").value;
    }

    可自行测试;欢迎大佬拍砖~~~

  • 相关阅读:
    codeblocks 更换颜色主题
    python3 回顾笔记1
    linux查找目录下的所有文件中是否含有某个字符串
    jupyter notebook 远程访问
    ubuntu ufw防火墙
    加载大量的xml数据 使用压缩方法解决(当然较小时也可以压缩)
    lua string介绍
    Lua和C++交互详细总结
    编写高性能的 Lua 代码
    lua中遍历table的几种方式比较
  • 原文地址:https://www.cnblogs.com/wanggang2016/p/13362058.html
Copyright © 2020-2023  润新知