wxml结构(删除部分代码):
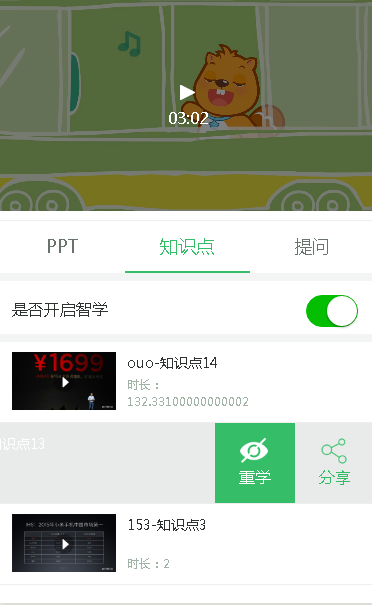
<view class="chapter-item" wx:for="{{klgData}}" data-index="{{index}}" bind:touchstart="touchS" bind:touchmove="touchM" bind:touchend="touchE" wx:key="item.id"><!-- 主要代码 -->
    <view class="klg-content"  style="{{item.contentStyle}}"><!-- 主要代码 -->
        <view class="left-side">
            <image wx:if="{{item.image}}" mode="aspectFill" class="chapter-image" src="{{host+item.image}}" />
        </view>
        <view class="right-side">
            <text class="chapter-text chapter-name">{{item.title}}</text>
            <text class="chapter-text chapter-time">时长:{{item.duration}}</text>
        </view>
    </view>
    <view class="operates" style="{{item.btnStyle}}"><!-- 主要代码 -->
        <view class="klg-btn returnBtn" catchtap="removeKlg">
            <image mode="aspectFill" data-id="{{item._id}}" data-klgid="{{item.klgid}}" class="btn-icon" src="../../images/video_icon_value.png" />
            撕书
        </view>
        <view class="klg-btn shareBtn"><image  data-id="{{item.id}}" mode="aspectFill" class="btn-icon" src="../../images/video_point_icon_share.png" />分享</view>
    </view>
</view>
wxss相关代码(主要是定位,已标识主要代码):
.chapter-item{
    overflow:hidden;
    border-bottom: 1px solid #eee;
    position: relative;
    height:80px;
    display: flex;
}
.left-side,.right-side{
    float:left;
      display: inline-block;position:relative;height:58px;
}
.right-side{flex:1;}
.left-side{105px;padding-right:10px;flex:0 0 105px}
.chapter-name{flex:1;display:block;color:#2E3330;}
.chapter-time{display:block;position:absolute;bottom:0;left:0;}
.chapter-image{104px;height:58px;}
.chapter-text{display: block;}
.klg-content{position: absolute;left:12px;top:10px;}//主要代码 绝对定位
.operates{position: absolute;top:0;overflow:hidden;z-index: 99;right:-160px;}//主要代码 绝对定位
.klg-btn{color:#34BC67;80px;line-height: 60px; float: left;text-align: center;font-size: 16px;position: relative;padding-top:24px;}
.btn-icon{28px;height:28px;text-align: center;position: absolute;top:14px;left:25px;}
js相关代码:
//这里delBtnWidth为160,存放在data里面
//手指刚放到屏幕触发
        touchS:function(e){
            console.log("touchS"+e);
           //判断是否只有一个触摸点
            if(e.touches.length==1){
                  this.setData({
                    //记录触摸起始位置的X坐标
                    startX:e.touches[0].clientX
                  });
            }
        },
         //触摸时触发,手指在屏幕上每移动一次,触发一次
        touchM:function(e){
            console.log("touchM:"+e);
            var that = this
            if(e.touches.length==1){
                 //记录触摸点位置的X坐标
                  var moveX = e.touches[0].clientX;
                  //计算手指起始点的X坐标与当前触摸点的X坐标的差值
                  var disX = that.data.startX - moveX;
                 //delBtnWidth 为右侧按钮区域的宽度
                  var delBtnWidth = that.data.delBtnWidth;
                  var contentStyle = "";
                  var btnStyle="";
                  if(disX == 0 || disX < 0){//如果移动距离小于等于0,文本层位置不变
                    contentStyle = "left:12px";
                    btnStyle = "right:-160px";
                  }else if(disX > 0 ){//移动距离大于0,文本层left值等于手指移动距离
                    contentStyle = "left:-"+disX+"px";
                    btnStyle = "right:"+(-160+disX)+"px";
                    if(disX>=delBtnWidth){
                          //控制手指移动距离最大值为删除按钮的宽度
                          contentStyle = "left:-"+delBtnWidth+"px";
                          btnStyle = "right:0px";
                    }
                  }
                  //获取手指触摸的是哪一个item
                  var index = e.currentTarget.dataset.index;
                  var list = that.data.klgData;
                  //将拼接好的样式设置到当前item中
                  list[index].contentStyle = contentStyle;
                  list[index].btnStyle = btnStyle;
                  //更新列表的状态
                  this.setData({
                       klgData:list
                  });
            }
        },
        touchE:function(e){
            console.log("touchE"+e);
            var that = this
            if(e.changedTouches.length==1){
              //手指移动结束后触摸点位置的X坐标
                  var endX = e.changedTouches[0].clientX;
                  //触摸开始与结束,手指移动的距离
                  var disX = that.data.startX - endX;
                  var delBtnWidth = that.data.delBtnWidth;
                  //如果距离小于按钮的1/2,不显示按钮
                  var contentStyle = disX > delBtnWidth/2 ? "left:-"+delBtnWidth+"px":"left:12px";
                  var btnStyle = disX > delBtnWidth/2 ? "right:0px":"right:-160px";
                  //获取手指触摸的是哪一项
                  var index = e.currentTarget.dataset.index;
                  var list = that.data.klgData;
                  list[index].contentStyle = contentStyle;
                  list[index].btnStyle = btnStyle;
                  //更新列表的状态
                  that.setData({
                       klgData:list
                  });
            }
        }
结果: