AsyncConfigurer:部分源码
/**
 * Interface to be implemented by @{@link org.springframework.context.annotation.Configuration
 * Configuration} classes annotated with @{@link EnableAsync} that wish to customize the
这里注意:人话就是要用Configuration类和EnableAsync}定制化
 */
public interface AsyncConfigurer {

	/**人话是:执行器实例
	 */
	@Nullable
	default Executor getAsyncExecutor() {
		return null;
	}

	/**源码注释自己去看,我这里只说人话:这里是异步时获取异常的
	 */
	@Nullable
	default AsyncUncaughtExceptionHandler getAsyncUncaughtExceptionHandler() {
		return null;
	}

}
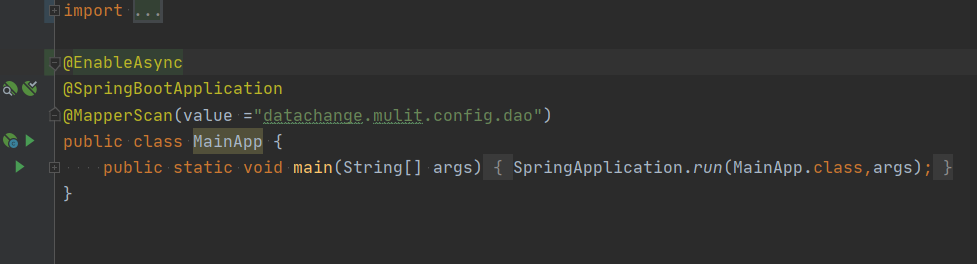
在springboot中使用:
1,在启动类上添加注解@EnableAsync
2.在使用的方法上使用@Async
3.在需要的类上使用@Async,这时候该类里面的方法都是异步的
4.@Async的默认线程池为SimpleAsyncTaskExecutor(不推荐使用)。
5.需要异常时需要手动new一个异常出来
@Async默认异步配置使用的是SimpleAsyncTaskExecutor,该线程池默认来一个任务创建一个线程,若系统中不断的创建线程,最终会导致系统占用内存过高,引发OutOfMemoryError错误。
针对线程创建问题,SimpleAsyncTaskExecutor提供了限流机制,通过concurrencyLimit属性来控制开关,
当concurrencyLimit>=0时开启限流机制,
默认关闭限流机制即concurrencyLimit=-1,当关闭情况下,会不断创建新的线程来处理任务。
基于默认配置,SimpleAsyncTaskExecutor并不是严格意义的线程池,达不到线程复用的功能。
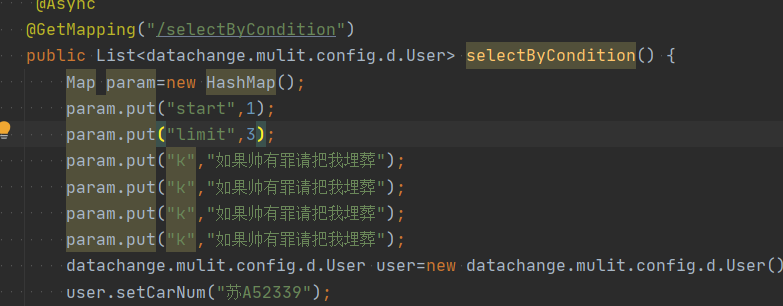
无返回值的调用:
有返回值调用:记得使用Futrue线程,请记住这个有返回但是阻塞future.get会有等待,跟具业务要求合理安排即可
自定义线程池:
1.重新实现接口AsyncConfigurer;

2.继承AsyncConfigurerSupport;

3.配置由自定义的TaskExecutor替代内置的任务执行器
/**
 * @auth wangbiao
 * @date 2022 年 08 07 日 14:52
 * @description:实现AsyncConfigurer接口
 */
@Slf4j
@EnableAsync
@Configuration
public class MyAsyncConfigurer implements AsyncConfigurer {


    @Override
    public Executor getAsyncExecutor() {
        return executor();
    }


    @Bean("kingAsyncExecutor")
    public ThreadPoolTaskExecutor executor() {
        ThreadPoolTaskExecutor executor = new ThreadPoolTaskExecutor();
        int corePoolSize = 10;
        executor.setCorePoolSize(corePoolSize);
        int maxPoolSize = 50;
        executor.setMaxPoolSize(maxPoolSize);
        int queueCapacity = 10;
        executor.setQueueCapacity(queueCapacity);
        executor.setRejectedExecutionHandler(new ThreadPoolExecutor.CallerRunsPolicy());
        String threadNamePrefix = "kingDeeAsyncExecutor-";
        executor.setThreadNamePrefix(threadNamePrefix);
        executor.setWaitForTasksToCompleteOnShutdown(true);
        // 使用自定义的跨线程的请求级别线程工厂类19         int awaitTerminationSeconds = 5;
        executor.setAwaitTerminationSeconds(5);
        executor.initialize();
        return executor;
    }
    @Override
    public AsyncUncaughtExceptionHandler getAsyncUncaughtExceptionHandler() {
        return (ex, method, params) -> log.info(String.format("执行异步任务'%s'", method), ex);    }
}
package datachange.mulit.config.config;

import org.springframework.aop.interceptor.AsyncUncaughtExceptionHandler;
import org.springframework.scheduling.annotation.AsyncConfigurerSupport;

import java.util.concurrent.Executor;

/**
 * @auth wangbiao
 * @date 2022 年 08 07 日 16:15
 * @description: 继承AsyncConfigurerSupport类 ,这种方式和实现AsyncConfigurer接口一样,就不再赘述了
 */
public class MytAsyncConfigurerSupport  extends AsyncConfigurerSupport {
    public MytAsyncConfigurerSupport() {
        super();
    }

    @Override
    public Executor getAsyncExecutor() {
        return super.getAsyncExecutor();
    }

    @Override
    public AsyncUncaughtExceptionHandler getAsyncUncaughtExceptionHandler() {
        return super.getAsyncUncaughtExceptionHandler();
    }
}
package datachange.mulit.config.config;

import org.springframework.core.task.TaskExecutor;
import org.springframework.scheduling.concurrent.ThreadPoolTaskExecutor;

import java.util.concurrent.ThreadPoolExecutor;

/**
 * @auth wangbiao
 * @date 2022 年 08 07 日 16:26
 * @description:自定义TaskExecutor,作为一个普通的javabean使用,
 */
public class TaskExecutorExample {

    public TaskExecutorExample(TaskExecutor taskExecutor) {
        this.taskExecutor = taskExecutor;
    }

    private TaskExecutor taskExecutor;


    public void printMessage() {
        for (int i = 0; i < 25; i++) {
            taskExecutor.execute(new MessageTask("message" + i));
        }
    }

    //自己的任务,在实际使用时可以更具业务编写,然后扔到printMessage里面交给执行器taskExecutor即可
    private class MessageTask implements Runnable {
        protected String message;

        public MessageTask(String message) {
            this.message = message;
        }

        @Override
        public void run() {
            System.out.println(message);
        }
    }

    public static void main(String[] args) {

        //要自定义一个执行器的示例使用才可以
        ThreadPoolTaskExecutor executor = new ThreadPoolTaskExecutor();
        int corePoolSize = 10;
        executor.setCorePoolSize(corePoolSize);
        int maxPoolSize = 50;
        executor.setMaxPoolSize(maxPoolSize);
        int queueCapacity = 10;
        executor.setQueueCapacity(queueCapacity);
        executor.setRejectedExecutionHandler(new ThreadPoolExecutor.CallerRunsPolicy());
        String threadNamePrefix = "kingDeeAsyncExecutor-";
        executor.setThreadNamePrefix(threadNamePrefix);
        executor.setWaitForTasksToCompleteOnShutdown(true);
        // 使用自定义的跨线程的请求级别线程工厂类19         int awaitTerminationSeconds = 5;
        executor.setAwaitTerminationSeconds(5);
        executor.initialize();
        TaskExecutorExample taskExecutorExample = new TaskExecutorExample(executor);

        //调用自己的业务
        taskExecutorExample.printMessage();


    }
}