1. 下载 iconfont 文件
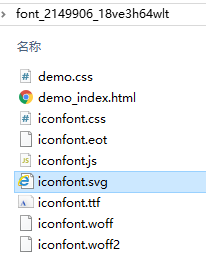
把在 https://www.iconfont.cn/ 上下载好的图标解压

2. 用 node.js 生成 iconfont.json 映射
在解压好的文件夹里增加一个新文件 genJson.js
在 genJson.js 中写入以下内容
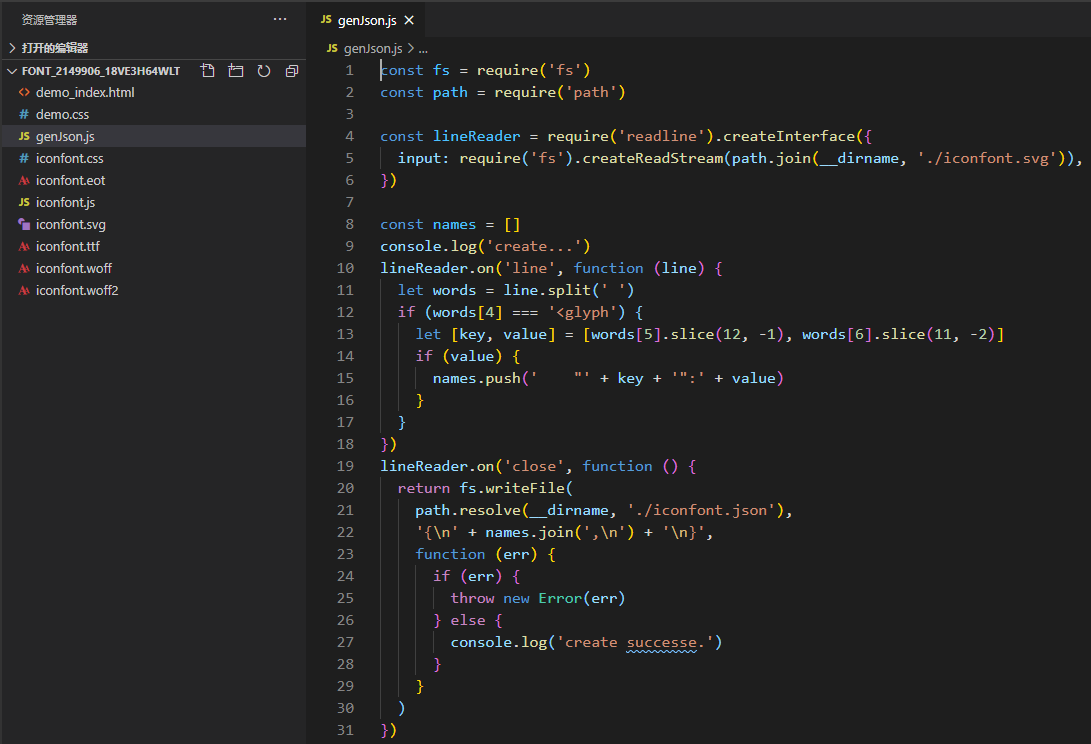
const fs = require('fs')
const path = require('path')

const lineReader = require('readline').createInterface({
  input: require('fs').createReadStream(path.join(__dirname, './iconfont.svg')),
})

const names = []
console.log('create...')
lineReader.on('line', function (line) {
  let words = line.split(' ')
  if (words[4] === '<glyph') {
    let [key, value] = [words[5].slice(12, -1), words[6].slice(11, -2)]
    if (value) {
      names.push('    "' + key + '":' + value)
    }
  }
})
lineReader.on('close', function () {
  return fs.writeFile(
    path.resolve(__dirname, './iconfont.json'),
    '{
' + names.join(',
') + '
}',
    function (err) {
      if (err) {
        throw new Error(err)
      } else {
        console.log('create successe.')
      }
    }
  )
})
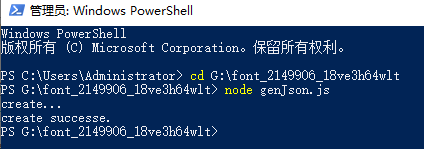
运行命令 node genJson.js 生成 iconfont.json
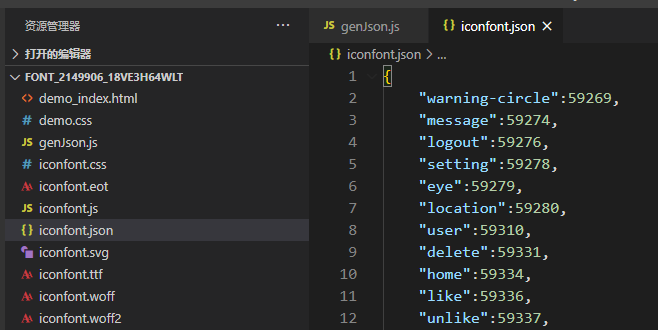
生成后的 iconfont.json 文件内容如下格式:
3. 配置 自定义图标

在 components 文件夹下新建文件夹 iconfont, 复制 步骤1 中 iconfont.ttf 和 步骤2 中的 iconfont.json, 并新建 index.ts
在 index.ts 中写入以下内容:
import { createIconSet } from '@expo/vector-icons';
import glyphMap from './iconfont.json';

export default createIconSet(glyphMap, "iconfont", require('./iconfont.ttf'));
4. 使用方法

import Icon from '../components/iconfont';

export default function TabHot() {
  return (
    <View style={styles.container}>
      <Text style={styles.title}>Tab Hot</Text>
      <Icon
        name="fire"
        size={26}
        style={{ marginBottom: -3 }}
        color="red"
      />
    </View>
  );
}

图标name的名字,打开步骤1中下载的 demo_index.html 查看
以后图标有删改的,只需重新生成 iconfont.json, 然后 替换 componentsiconfont 下的 iconfont.ttf 和 iconfont.json 即可。