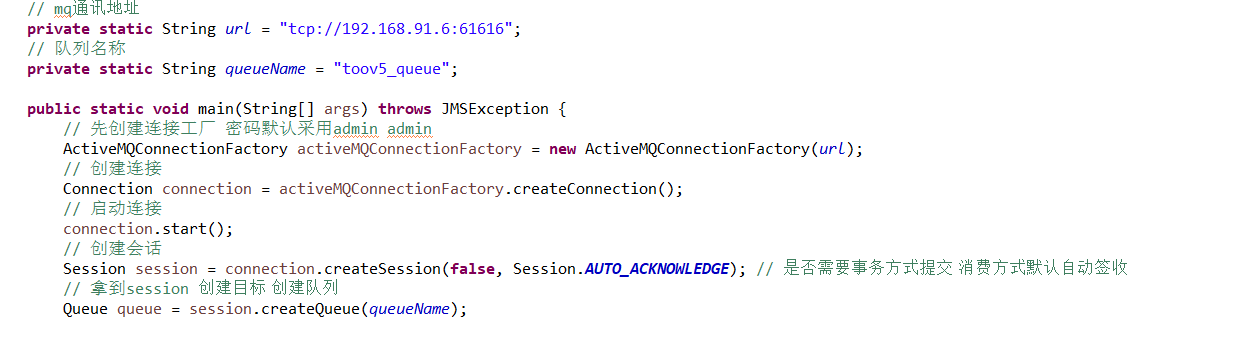
package com.toov5.producer;

import javax.jms.Connection;
import javax.jms.JMSException;
import javax.jms.MessageProducer;
import javax.jms.Queue;
import javax.jms.Session;
import javax.jms.TextMessage;

import org.apache.activemq.ActiveMQConnectionFactory;


public class producerTest {
    // mq通讯地址
    private static String url = "tcp://192.168.91.6:61616";
    // 队列名称
    private static String queueName = "toov5_queue";

    public static void main(String[] args) throws JMSException {
        // 先创建连接工厂 密码默认采用admin admin
        ActiveMQConnectionFactory activeMQConnectionFactory = new ActiveMQConnectionFactory(url);
        // 创建连接
        Connection connection = activeMQConnectionFactory.createConnection();
        // 启动连接
        connection.start();
        // 创建会话
        Session session = connection.createSession(false, Session.AUTO_ACKNOWLEDGE); // 是否需要事务方式提交 消费方式默认自动签收
        // 拿到session 创建目标 创建队列
        Queue queue = session.createQueue(queueName);
        // 创建生产者
        MessageProducer producer = session.createProducer(queue); // 生产者生产的消息 是放在这个queue里面的
        for (int i = 1; i < 10; i++) {
            // 拿到队列 创建消息
            TextMessage textMessage = session.createTextMessage("消息内容" + i);
            // 发送消息
            producer.send(textMessage);
        }
        // 关闭连接
        connection.close();
        System.out.println("消息发送完毕");
    }

}
依赖:
     <dependencies>
		<dependency>
			<groupId>org.apache.activemq</groupId>
			<artifactId>activemq-core</artifactId>
			<version>5.7.0</version>
		</dependency>
    </dependencies>
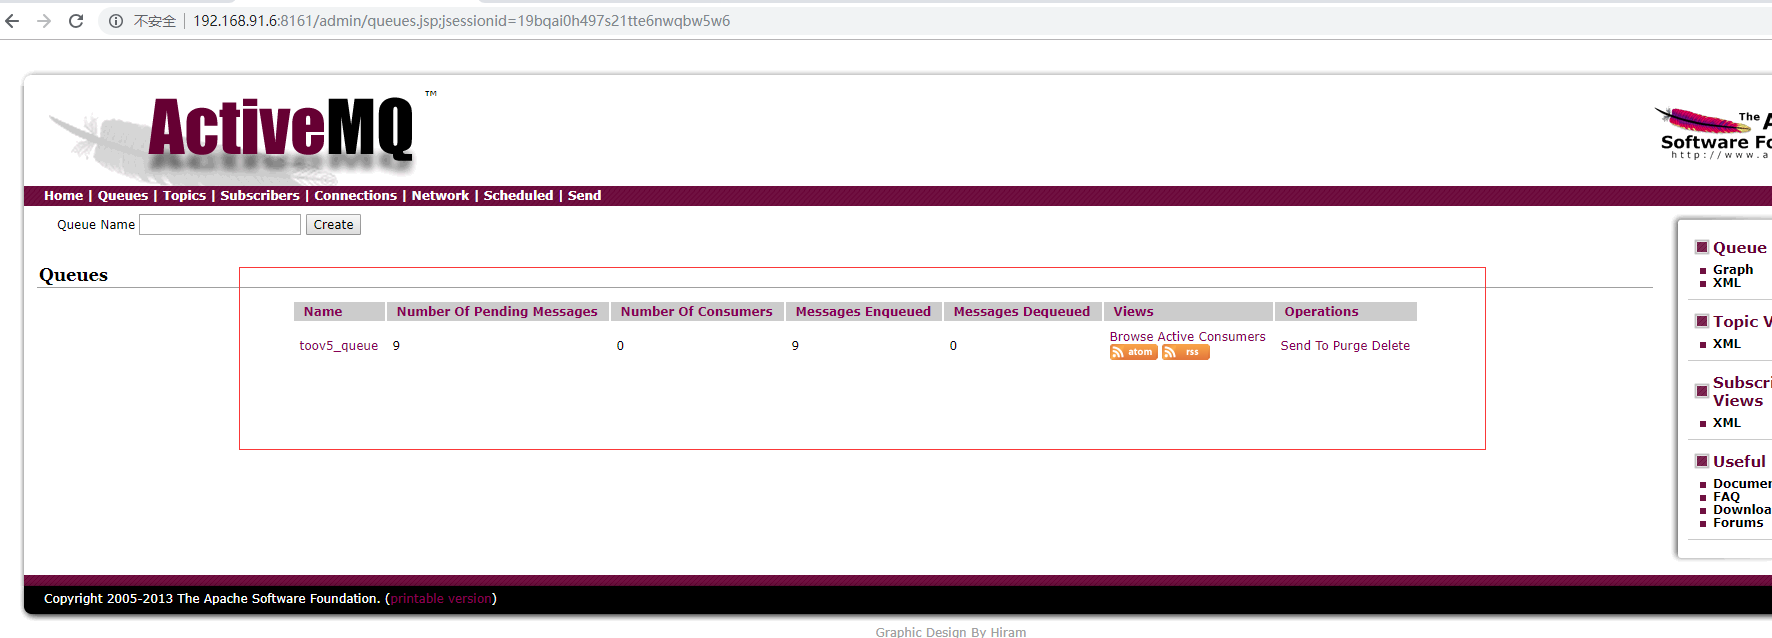
查看结果:
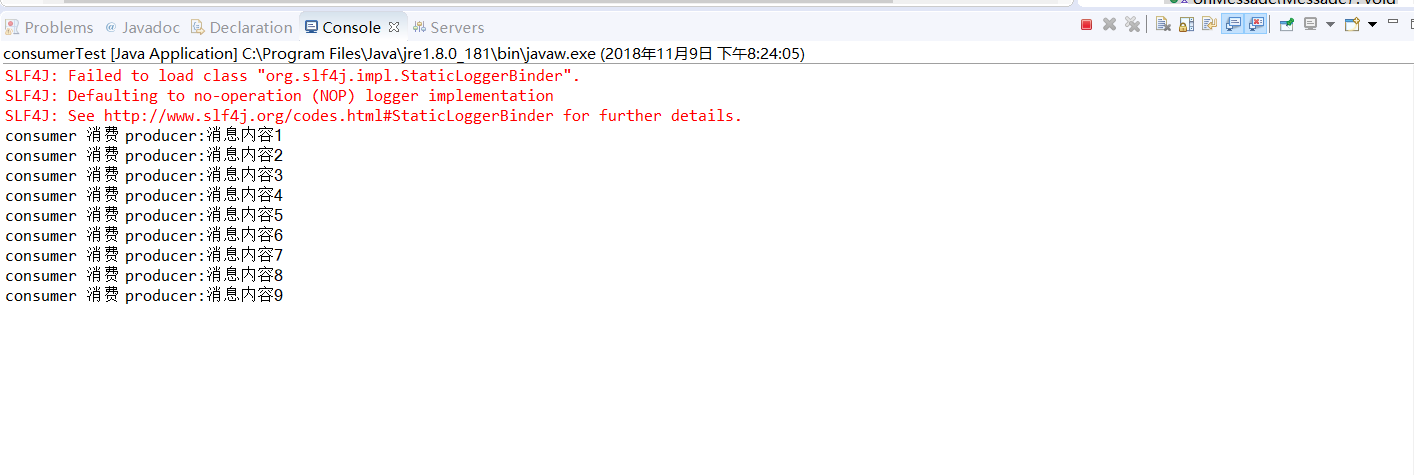
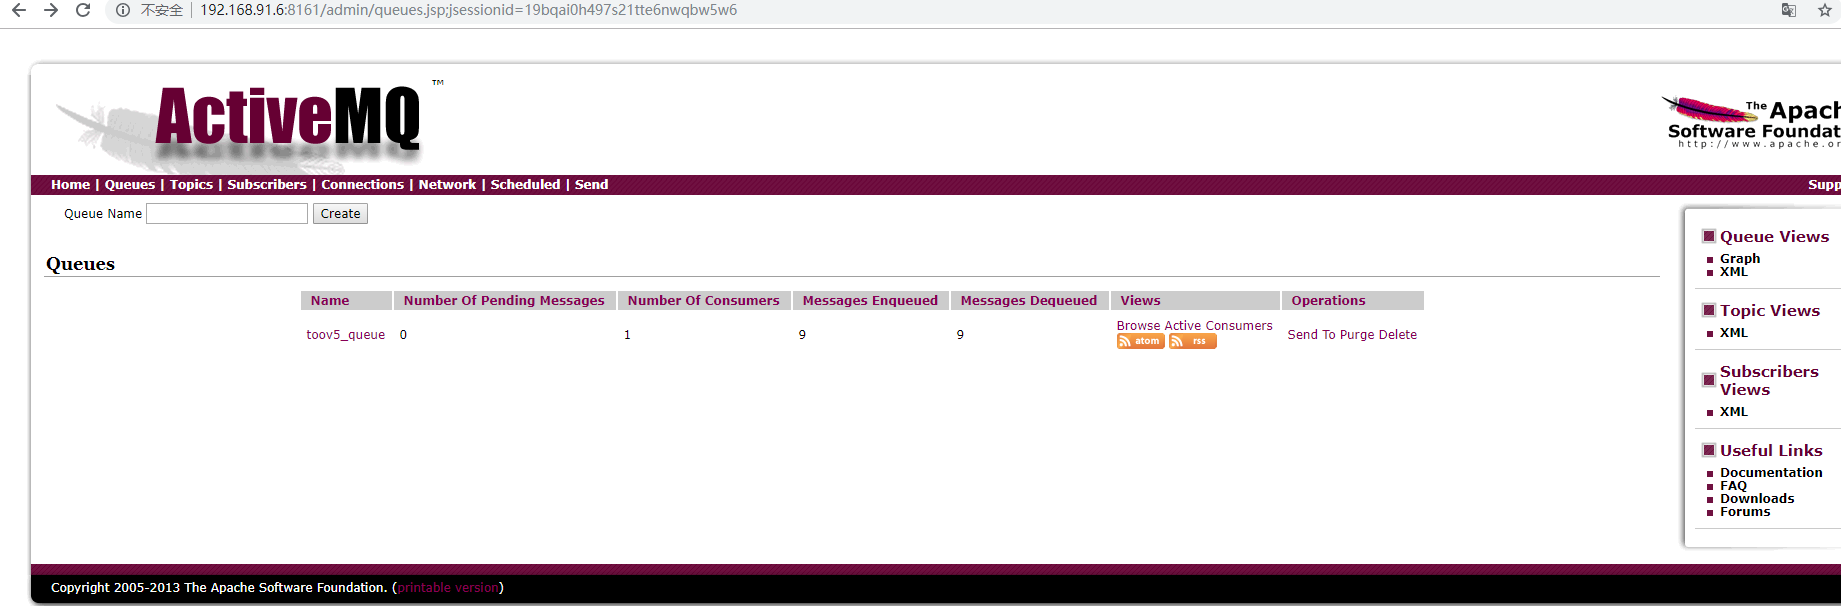
创建完了 producer 下面 comsumer:
package com.toov5.producer;

import javax.jms.Connection;
import javax.jms.JMSException;
import javax.jms.Message;
import javax.jms.MessageConsumer;
import javax.jms.MessageListener;
import javax.jms.Queue;
import javax.jms.Session;
import javax.jms.TextMessage;

import org.apache.activemq.ActiveMQConnectionFactory;


public class consumerTest {
    // mq通讯地址
    private static String url = "tcp://192.168.91.6:61616";
    // 队列名称
    private static String queueName = "toov5_queue";

    public static void main(String[] args) throws JMSException {
        // 先创建连接工厂 密码默认采用admin admin
        ActiveMQConnectionFactory activeMQConnectionFactory = new ActiveMQConnectionFactory(url);
        // 创建连接
        Connection connection = activeMQConnectionFactory.createConnection();
        // 启动连接
        connection.start();
        // 创建会话
        Session session = connection.createSession(false, Session.AUTO_ACKNOWLEDGE); // 是否需要事务方式提交 消费方式默认自动签收
        // 拿到session 创建目标 创建队列
        Queue queue = session.createQueue(queueName);


        //创建消费者
        MessageConsumer consumer = session.createConsumer(queue);
        //启动监听 监听消息
        consumer.setMessageListener(new MessageListener() {

            public void onMessage(Message message) {
                //强制转换
                TextMessage textMessage = (TextMessage) message;
                try {
                    System.out.println("consumer 消费 producer:"+textMessage.getText());
                } catch (JMSException e) {

                    e.printStackTrace();
                }
            }
        });
         //监听时候 不要关闭连接 关闭就不监听了 一只处于监听状态 (长连接)

    }

}
生产者,消费者 代码相同